
Sharing files& photos& and folders with anyone has become easier with time. There were times when people relied on the Bluetooth-technology to share the pictures from one device to the other& but there is one restriction& and that is& both devices should be in the specified range of each other. But now here we are when these cloud-based storage services have flipped the game altogether. Here we are when we can easily share photos on Google Drive.
Google Drive offers the audience cloud-based storage - a portal to store their photos with a discretion to share it with a small group of people while maintaining their privacy as they like.
So& if you are among those who are interested in keeping a safe stock of pictures to yourself or else want to share it with your immediate references& then Google Drive is by far the best facility you can opt for. It would not only provide a safe abode for your fond memories but would allow you to share it with your chosen people in no time.
This post is& in fact& a mini-guide to let you know how to share the pictures from Google Drive from a different range of devices.
So& let’s get started!
Table of Contents
Part 1- How to share photos on Google Drive from a computer?
Sharing the photos on your computer is a matter of following a few steps.
Simple access to Google Drive is what it takes to get the process started. Upload the pictures from the desired folder lying on your desktop& and the rest is just a cakewalk.
Here’s how it works!
1. Simply open up the Google drive from your Google Account and upload the pictures in a separate folder to keep a proper track.
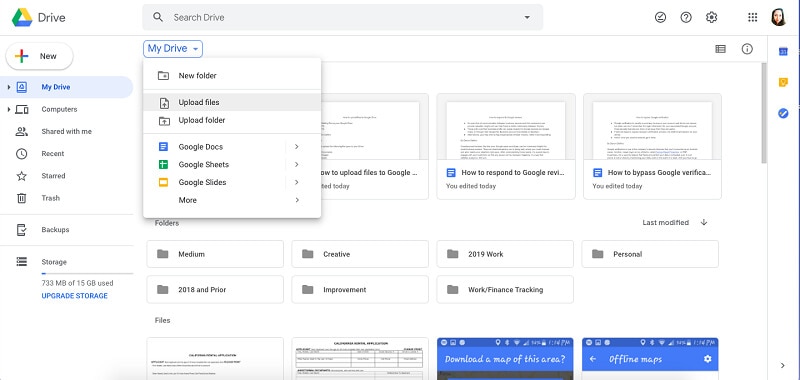
2. Now right-click the folder and choose the ‘Share’ option.
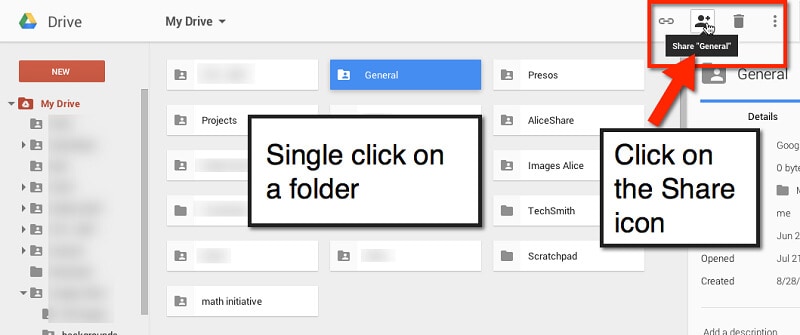
3. Once you have clicked the ‘Share’ option& a box would appear where you need to type the people's email addresses with whom you want to share the pictures.
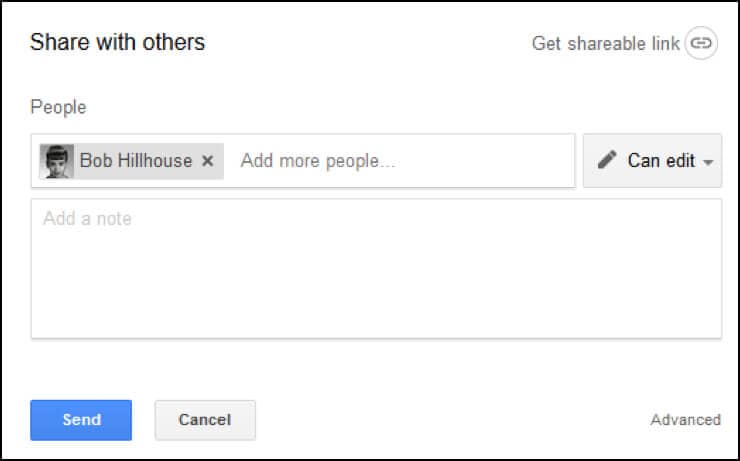
4. After typing their names and giving away the permissions as you desire& (which is whether to view or edit the folder. If you press on the edit button then the shared contacts would be able to add or delete the pictures from the folder)& simply click’ Save and Share’ and your pictures stand shared with your selected contacts.
Note: You can also choose to share the files if you don’t wish to share the entire folder.
Part 2- How to share photos on Google Drive from mobile?
Now hopping on to our next category& which will speak on how to share your pictures from Google Drive while using your mobile phones.
The simpler fact is that either you would be an android user or an iOS user. So& based on your device-type& you have to follow the simple steps and get the utility of sharing your pictures through the Google Drive App.
For iPhone Users:
Let’s elaborate a bit and see how it goes from uploading the pictures in Google Drive to share it with your friends!
Follow the simple steps to share the photos from Google Drive on your iPhone.
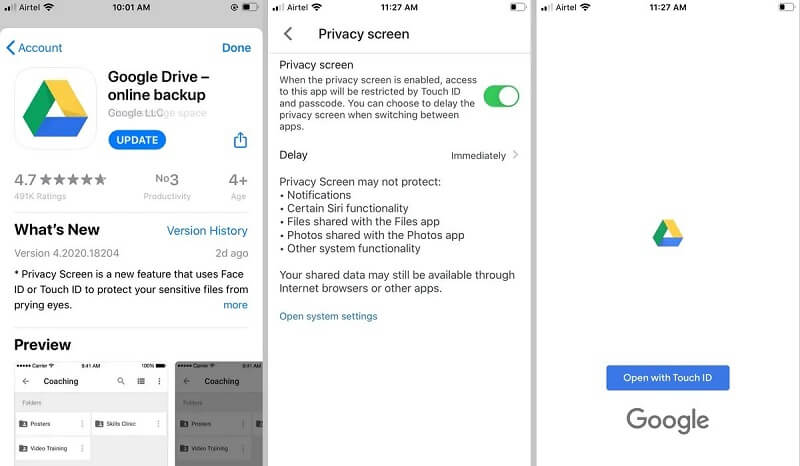
1. Go to the App Store and download the Google Drive App.
2. Once the installation is complete& click on the Google Drive icon.
3. The next step is to log in with your desired Google Account& and it would land you on the Google Drive page.
4. To add your pictures& you must then click on the Add (+) button& which appears on your screen's top right corner.
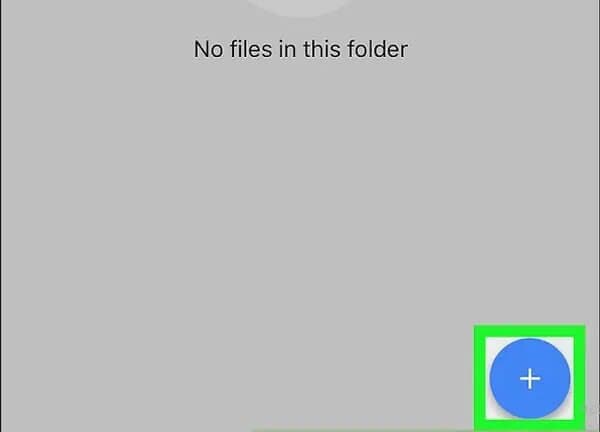
5. Create a new folder and reach within it to upload your pictures.
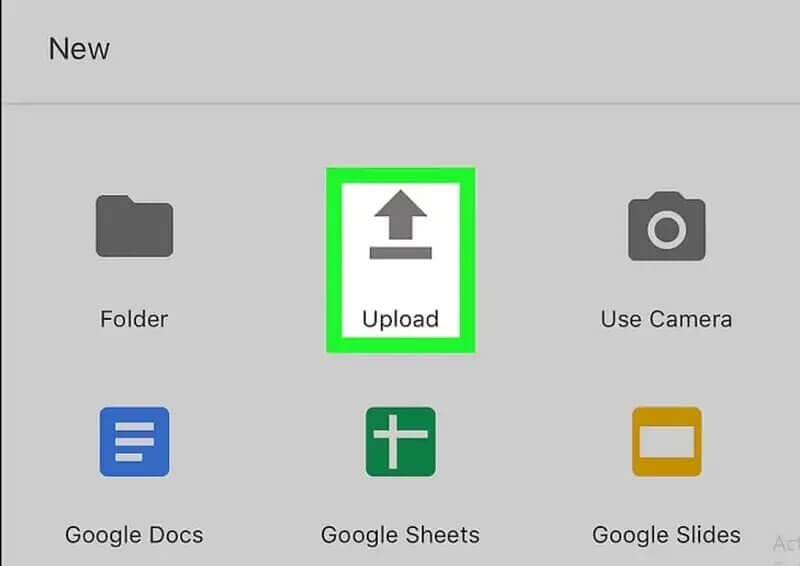
6. Now press the Add (+) button again and choose ‘Upload Photos and Videos’.
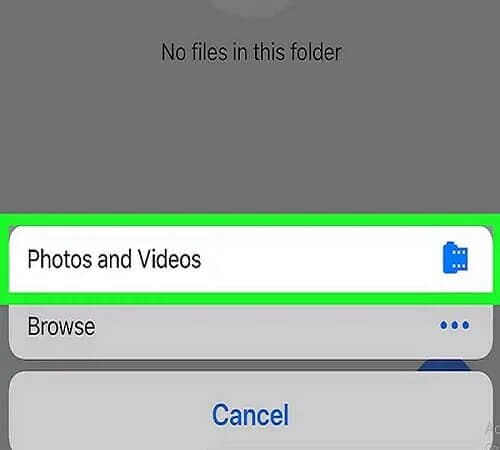
7. Now picking the photos from your camera roll or other folders of your mobile& you can upload the pictures from your phone to your Google Drive
8. Once the upload is complete& select the folder and choose the ‘Share’ option from the main menu. Now type the email address of the people with whom you want to share the pictures.
9. Alongside this& you can choose to permit them to ‘View’ or ‘Edit’ the shared files. (If you choose the ‘Edit’ option& they’ll be able to add or delete the photos from the folder). Now click Share and Save.
Note: There is also a provision to share a link with those who don’t have the Google Account
For Android Users:
If you are an android user& you can download the Google Drive App from the Play Store.
Follow the steps mentioned below to start experiencing a hassle-free exchange of photos with your friends and family.
1. Upload the photos on your Google Drive and save it in a separate folder for the future convenience.
2. Once the pictures are uploaded& select the folder and add people.
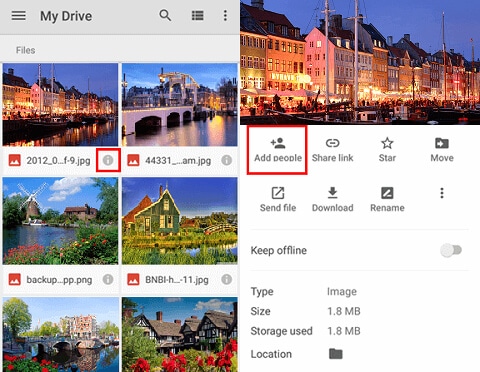
3. Share it with your desired contacts by writing in their email addresses in the column. You can also manage the permissions as to whether to allow them to simply view or edit the folder by checking a tick on either ‘View’ or ‘Edit’ on the box's right side.
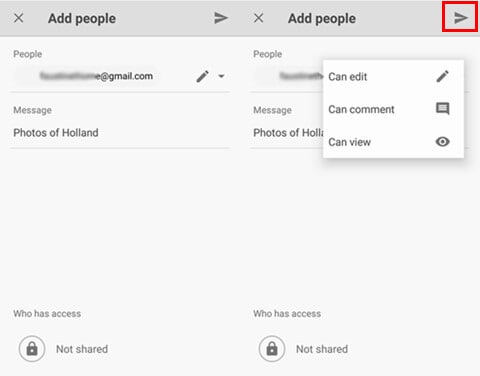
4. Once you are done& simply click ‘Save and Share’& and the photos would appear in the ‘Shared with me’ column of your selected contacts.
That’s it! In addition to that& you can also make use of the ‘Google Photos’& which is specifically designed for smartphones to keep a streamlined track of photos. It also comes with a face recognition feature where you could give a command to automatically line-up the pictures in a specific location.
Part 3- Tips to manage Photos on Google Drive
There are no second thoughts that Google Drive has provisioned everything from ‘head to toe’ to make it a smooth experience for the users. But alongside that& it is important to see how to use the tips and tricks to manage your photos on Google Drive better.
1. The easiest tip is to create the separate photo albums where you need to upload them separately& and it won’t be much of a problem for you to revisit the desired folder and see or share the pictures of your choice and interest.
2. The next tip is to use the ‘Favourites’ icon that appears in the form of a hollow star. You can click the star& and likewise& you would easily be able to access your favorites at any time of the day without going through the lengthy scrolls.
3. You can also make use of the Search Column to find your favorite albums and pictures. Assigning the relevant names to files and folders would be of great advantage when you have to find them from the search bar. So& make sure to start organizing your files from the very beginning to avoid the hotchpotch.
Conclusion:
Google Drive is all you need if you are looking for a secure and convenient platform to virtually share your pictures. It not only offers the convenience of sharing your pictures from different devices but allows a user to have their share of privacy and security& which is of utmost significance.
The advanced features and safe cloud-based storage services that comes with Google Drive allows its users to have a clutter-free device while giving them an easy time sharing it with people.
The major advantage of having your pictures in Google Drive is about having a back-up. Losing the data from the devices is very common. In such instances where the pictures either got deleted or are lost in the course of a crashed hard-disk& you could easily retrieve them from your drive.
The other prevalent app in the line of this course is Google Photos. If you wish to simplify the task a bit more& you may also want to explore Google Photos& which is also made by Google and offer similar options for you to have a great experience& just like Google Drive.
We hope the medium of this blog must have addressed your queries and concerns& and if you haven’t shared the photos on Google Drive as yet& it’s time to give it a try and enter the world of swiftness and creativity.
Share


 100% Secure