
OneDrive is one of the most popular cloud storage solutions in the world today. Microsoft provides it. Because of this& the OneDrive app comes pre-installed on Windows 10 computers.
Many users of Windows 10 computers want to know how to sync OneDrive in Windows 10. So if you have this question on your mind& you are not alone. In this post& we will discuss how to do this in a variety of ways. Let’s get started.
Table of Contents
Part 1: How to Sync File to OneDrive on Window 10/7
OneDrive allows you to sync files between the cloud drive and your computer. What does this mean? It implies that you can access your files from any location in the world. All you need is an internet connection and a device that can connect to the internet.
When you synchronize OneDrive to Windows 10& it means that any changes you make will be affected across devices. Let’s say you change the contents of a file or delete it from a folder via the website. The changes will be effected when you check the same file in the designated folder on your Windows 10 computer.
It is also important to note that you can also install OneDrive on Windows 7. To sync a file to OneDrive on Windows& you have to set it up. Let’s look at how to do this briefly:
Step 1 – If you are using a Windows 10 computer& you can skip this step. This is because OneDrive comes pre-installed& as we mentioned earlier. If you are using a Windows 7 computer& then you have first to install OneDrive. Click here to install.
Step 2 – Now that you have OneDrive installed on your PC& it is time to set it up. If you don’t have an account signed in already& follow these instructions.
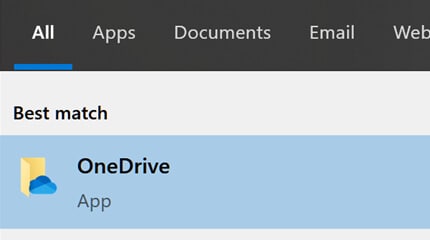
- Click on “Start” or press the “Windows” button on your keyboard.
- Search for “OneDrive” in your list of programs and click on it to launch the app.
- If you are using Windows 10& select OneDrive.
- For Windows 7& go to programs and select “Microsoft OneDrive.”

- If you are making use of Windows 8.1& then look for “OneDrive for Business.” Click on the OneDrive for Business app.
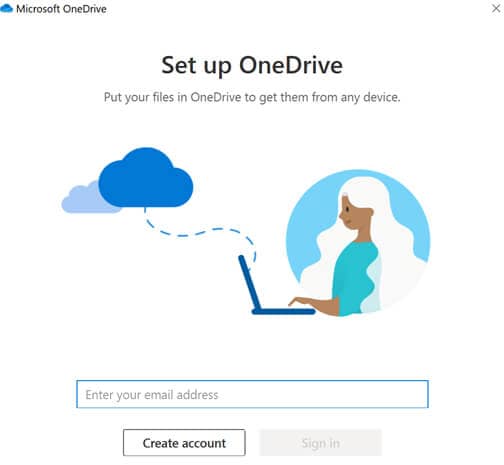
Step 3 – Now that you have launched OneDrive& it is time to log into your OneDrive account. Click on “Sign in” to provide your account details& then log in.
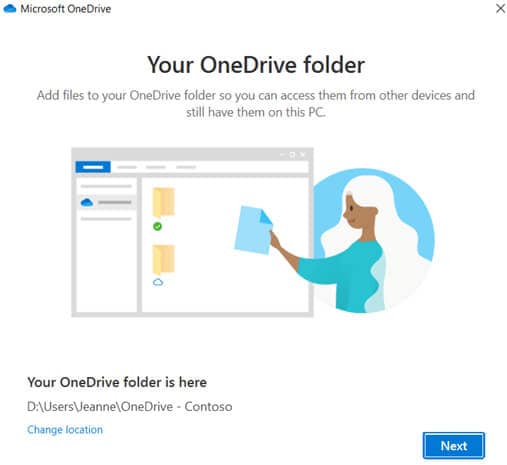
Step 4 – After logging in& you will see “This is your OneDrive folder” on the screen. Click on “Next.” Doing this sets up the default folder for all OneDrive files on your computer. To alter this folder& you can click on “Change Location.” Note that the best time to alter the destination folder for all OneDrive files.
Step 5 – The next screen shows you “All your files& ready& and on-demand.” Here you see how the files are marked. There are three distinct groups& and they are:
- Available when online.
- Available on this device.
- Always available.
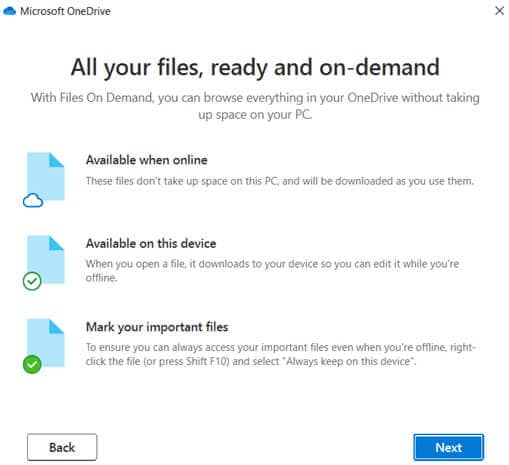
In this section& you can access your OneDrive files without the need to download them. This saves you from using up the local disk space on your computer. It helps you to enjoy the benefits of syncing Onedrive to Windows 10 or other Windows PCs.
Step 6 – Great job! Now& you will see your OneDrive folder in the File Explorer window of your computer. You will see OneDrive Personal and OneDrive (CompanyName) for individuals with more than one account.
You can always change the folders that synchronize between OneDrive and your Windows computer. To do this& right-click on the OneDrive icon sitting in the taskbar area. Click on “Settings” then select “Account” and pick the folders that will sync. You can check all the information about your “OneDrive sync Windows 10” or “OneDrive sync Windows 7” settings.
Sometimes& you may have OneDrive sync issues in Windows 10 or any other Windows. In this case& OneDrive doesn’t sync automatically as it should. To check if this has happened to your computer& take the following steps:
Step 1 – Go to the Taskbar notification area and click on the “OneDrive” icon.
Step 2 – Your action above takes you to a window where you see the most recent actions performed by OneDrive. This means that you can see the last files that synced with OneDrive and when it happened.
What if your files are not syncing as they should? You need to trigger the process manually. While this process is quite easy& it isn’t intuitive. All you have to do here is stop the app and restart it. Here’s how to stop and restart OneDrive:
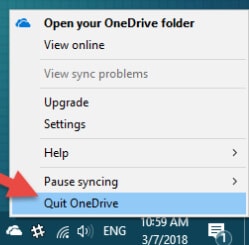
Step 1 – Tap and hold or right-click on the OneDrive icon.
Step 2 – You will get a list of options& click on “Quit OneDrive.”
Step 3 – Open the Windows Start Menu and search for the “OneDrive shortcut.”
Step 4 – Click on the shortcut to launch OneDrive& and it will begin syncing your files automatically.
If you make use of Windows 8.1& the process of discovering OneDrive sync issues is a little different. It also requires a different method to trigger the syncing of files manually. Let’s show you how to check when last OneDrive synced your files:
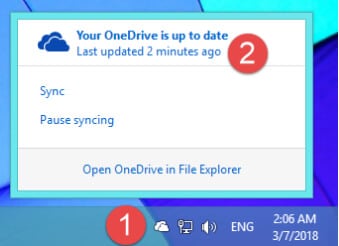
Step 1 – Go to the taskbar notification tray.
Step 2 – Click on the OneDrive icon. It will present you with a small flyout showing when the last OneDrive was updated.
Alternatively& you can open the OneDrive app. Check the start page and check for the link saying “All files are up to date.” What if “Windows OneDrive sync” hasn’t occurred in a while?” Here’s how to manually trigger the process in Windows 8.1:
Step 1 – Go to the taskbar notifications tray.
Step 2 – Click on the “OneDrive icon.”

Step 3 – Click on “Sync.”
Alternatively& you can open the OneDrive app to force the file sync. That’s all there is to know about “Windows OneDrive sync” in Windows. It is not too difficult to carry out or understand. However& the process may be a little stressful or time-consuming.
Part 2: How to Upload File to OneDrive and other Drives by InClowdz
So far& you have learned how to sync OneDrive in Windows 10& 8.1& and 7. This section wants to show you how to upload to OneDrive and other cloud drives using third-party software. This software is known as Wondershare InClowdz.
You are probably wondering what Wondershare InClowdz is? This software was designed to help you deal with all your cloud storage issues. What this implies is that you can migrate data from one cloud storage to another using this app. It also means that you can sync two cloud storage drives on InClowdz.
Finally& InClowdz allows you to manage all your cloud accounts and services on a single platform. Managing your files in your cloud accounts can be pretty stressful. If you are not careful& the files will be all over the place and lack organization. This is why you need an app like InClowdz. It makes it easy to carry out different cloud management procedures easily. These procedures include downloading files& uploading files& deleting files& etc.
We will be showing you how to use Wondershare InClowdz to upload files to OneDrive and other drives in this section. Check the steps below for easier understanding:
Migrate, Sync, Manage Clouds Files in One Place
- • Migrate cloud files such as photos, music, documents from one drive to another, like Dropbox to Google Drive.
- • Backup your music, photos, videos in one could drive to another to keep files safe.
- • Manage all cloud drives such as Google Drive, Dropbox, OneDrive, box, and Amazon S3 in one place.
- • Sync clouds files such as music, photos, videos, etc., from one cloud drive to another.
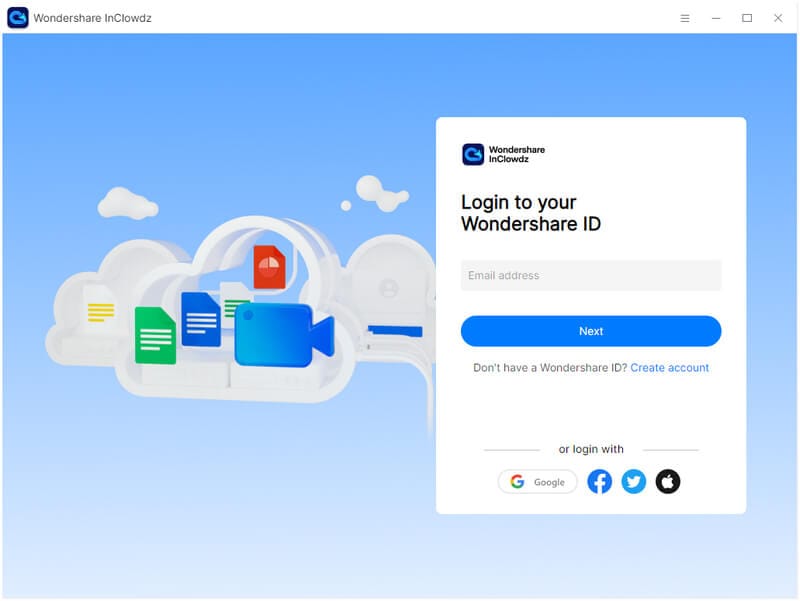
Step 1 – Download Wondershare InClowdz and create an account.
Step 2 – Launch the app and log in using the appropriate account details.
Step 3 – Go to the left pane of the app window and click on “Management.”
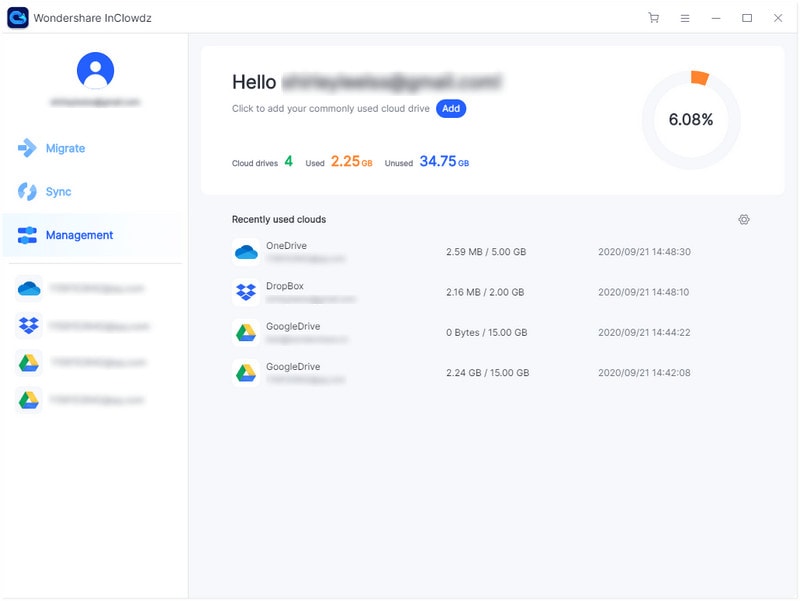
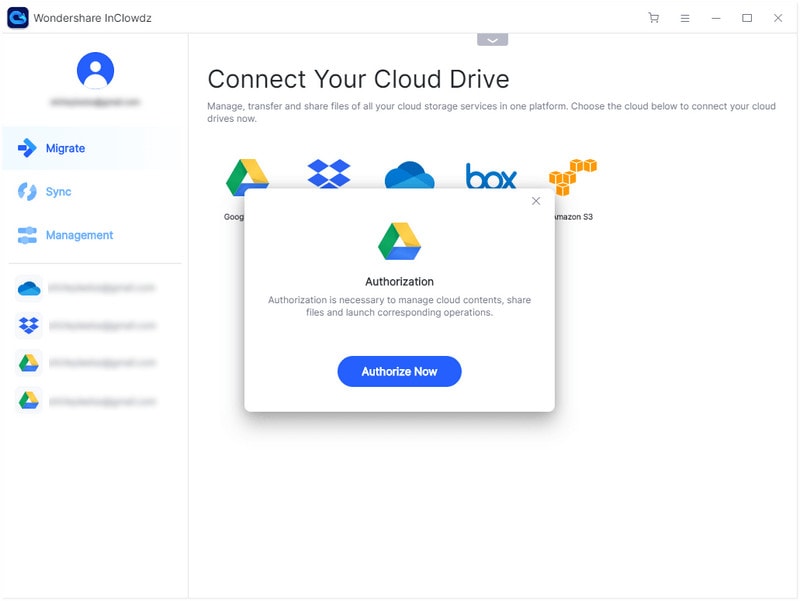
Step 4 – Click on “Add Clouds” if you haven’t added any clouds before now. Check the right side of the window to see if you have previously added any cloud accounts.
Step 5 – Follow the on-screen instructions to authorize your cloud drives.
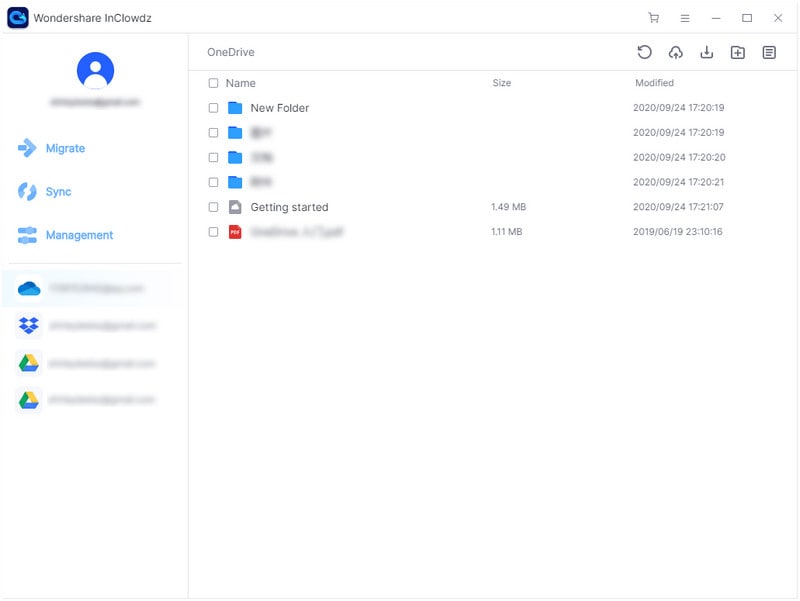
Step 6 – Click on the cloud drive that you plan to manage. When you select it& go to the upper-right corner of the window to check the menu list. Click on “Upload” to select the files you want to upload. Soon& the files will be uploaded to the cloud storage account.
In rounding up this section& allow us to share some important advantages of Wondershare InClowdz with you.
- Saves time.
- It helps you to manage your cloud drives on a single platform.
- Improves your cloud drive organization.
- Saves effort used in managing cloud accounts and services.
Conclusion
Great job!!! Now you know how to sync OneDrive to Windows 10. We have also taught you “OneDrive sync Windows 7 and 8.1.” In the final section of this post& we suggested Wondershare InClowdz upload files to OneDrive and other drives. We also showed you the benefits of using InClowdz.
Share


 100% Secure