
Google Drive is one of the most famous cloud storage platforms on the planet currently. Just like Google Drive& Windows is very popular as well. If you are conversant with Windows& then you should know about File Explorer.
When you use Google Drive often& you’ll need to understand the process of adding Google Drive to File Explorer. Doing this comes with several amazing benefits. We will show you how to add Google Drive to Windows Explorer is like. After this& we will show you a few tricks you can use on Google Drive.
Table of Contents
Part 1: Adding Google Drive to the File Explorer
Using Google Drive as a cloud storage service alone is undermining the benefits you should enjoy. There are so many immense benefits that Google Drive presents to its users. One such benefit is the ability to create and edit documents& sheets& and presentations. This is because of Google Drive’s integration with the G-Suite.
Another advantage of using Google Drive is that you can upload and share all kinds of files. This makes collaboration on projects a lot easier. Now& you can work remotely with members of your team and with clients.
The challenge is that you can only do all of this in your web browser. Guess what. There’s a way to add Google Drive to your file explorer. This must be great news for you. If you make use of Windows 10& then you will know that File Explorer has been renamed. It is now known as Windows Explorer.
In this section& we will show you how to add Google Drive to Windows Explorer permanently. When you do this& it will become easy to access your files and move them to Google Drive. Take the steps below:
Step 1 – Download Google Drive Backup and Sync
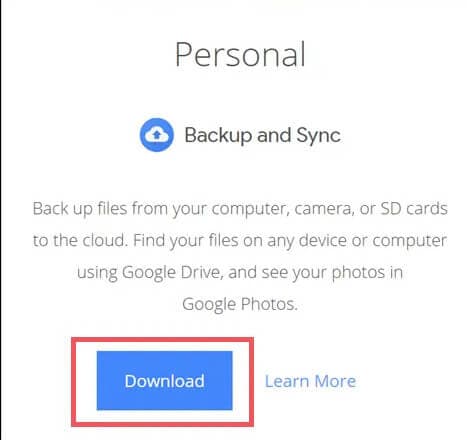
If you already have this app on your computer& then there’s no need for this step. To download Google Drive Backup and Sync to your computer& visit the official Windows website. You can make use of this link. Simply go to Backup and Sync and click Download.
The next thing to do is to click Agree and Download. Following this& you will find a file labeled installbackupandsync.exe in your downloads folder. Double-click on this file to run the installation. Congratulations! You now have Google Drive on your Windows PC& but that’s not all.
Step 2 – Login to your Google Account
Before you can begin using Google Drive on your computer& you have to log in to your Google Drive. To do this& you need to provide your Google login details.
It is important to note that you have to affect the following changes on the app. With this& you will be able to select the data that should sync to the app. This will enable you to conserve space on your PC and Google Drive. Leave other files in your online storage space.
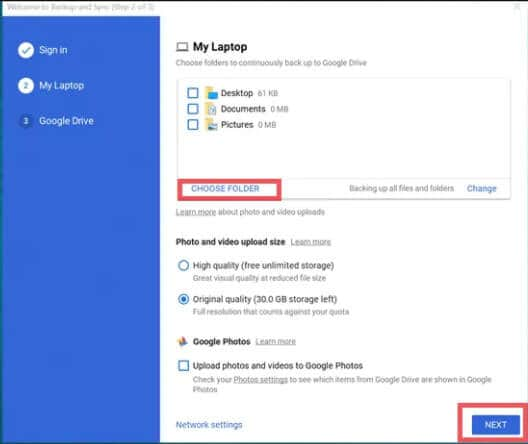
An example is when you need to back up a few files or folders. Simply select the folder by clicking Choose Folder. When you make the required changes& click Next.
Step 3 – Choose the data that you need to sync.
This is a very important step when you are adding Google Drive to File Explorer. You have already installed the Google Drive app on your computer. Your next line of action is to sync the app to the computer. When you do this& you will see Google Drive in your Quick Access menu. You will also be able to access the data on the Drive offline.
Hint: Don’t forget to add the data from your computer to your Google Drive folder. There are three ways of doing this:
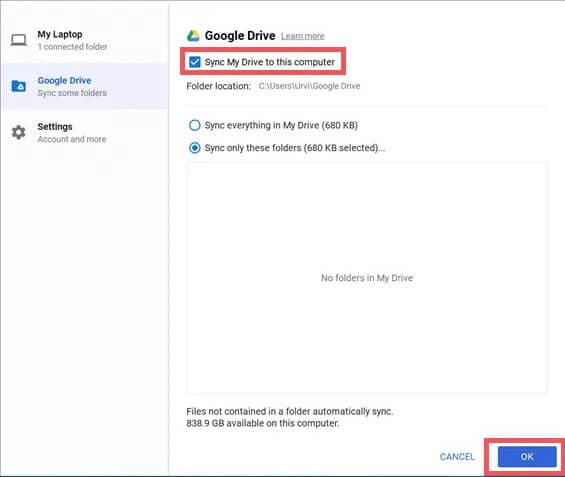
- Sync my Drive to this computer – This option allows you to access all the data in your Drive through your computer.
- Sync everything in My Drive – With this option& you can sync all the folders and files in your Drive with the computer.
- Sync only these folders – This option allows you to select specific folders to sync.
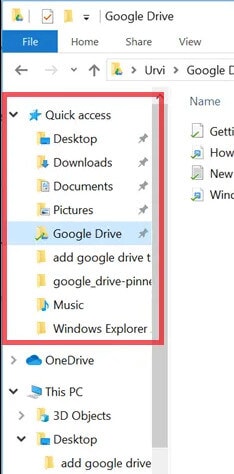
When you have chosen one of the options& click OK. After doing this& the Google Drive Folder shows in your Quick Access menu. Simple& right?
That’s not all; you also see a shortcut on your desktop to give you access to Google Apps. These apps include Docs& Sheets& and Presentation. Now& you can add all the folders and files you need to sync with Google Drive to this folder. You will also be able to access the files present on your Google Drive in the same folder.
You are one step away from adding Google Drive to File Explorer. It is time to pin the Drive folder to your File Explorer Navigation Pane. You can do this with the help of .reg files. It is important to back up the registry files before you run the .reg files below.
Here’s how to carry out this process:
a. Make use of this link to download the required registry file. After this& click GDrive 32-bit if you have a 32-bit operating system. For a 64-bit operating system& click GDrive 64-bit. Now& click Run.
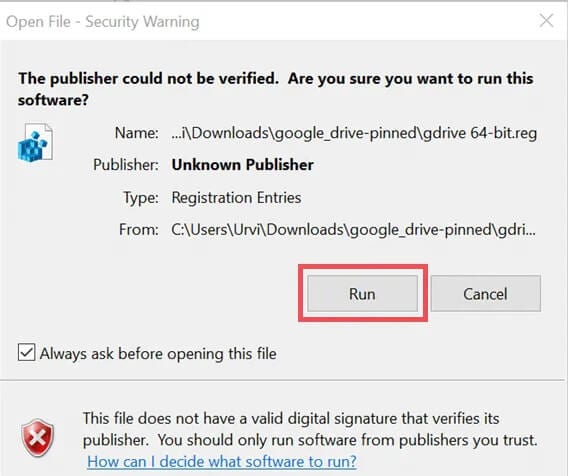
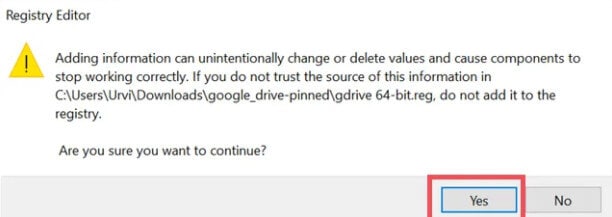
b. When you see the warning box& click Yes. The changes will affect the way the system works.
c. Open your File Explorer. You will see that Google Drive is now pinned to the Navigation Bar. This time& it will be separate from the Quick Access zone.

Part 2: What's the advantage of add Google Drive to Windows Explorer?
Now that you know how to add Google Drive to Windows Explorer& let’s take our discussion further. You must be wondering what advantage of taking this action brings to the table. It is no secret that Google Drive presents you with so many benefits.
But the question is this when you add it to Windows Explorer& how does it help you. Working with Windows daily means that you will use your File Explorer multiple times each day. Adding Google Drive to Windows Explorer helps you organize your files better.
Another advantage of doing this is that it makes you a lot more efficient. With your Google Drive folders and files closer& you can work faster and increase your productivity. Do you now see why you should add Google Drive to your File Explorer?
Part 3: Tips and Tricks
In this final section& we will share some helpful Google Drive tips and tricks. With these tips& you should get the best from using Google Drive.
Keyboard Shortcuts
Would you like to work faster on Google Drive? There are so many shortcuts that you can use. Some of them include:
- Shift + T = Create a new document
- Shift + P = Create a new presentation
- Shift + S = Create a new spreadsheet
- / = Search Drive
If you need a reminder of the different shortcuts in Google Drive& do any of the following:
- Shift + / (for Chrome OS)
- Ctrl + / (for Windows OS or Chrome OS)
- # + / (Mac OS). You can also click on the gear icon. It is located on the top-left edge of the screen. Look through the dropdown menu and select “Keyboard Shortcuts”
Share large files with friends
Gmail has a file transfer limit of 25MB. Do you know that with Google Drive& you can overshoot this limit? Google Drive allows you to share files that are up to 15GB in size. Simply add the files to a new folder in your Drive and share the link.
Crop Images and add borders
When you upload an image to a presentation or document in Google Drive& you can crop it. Other things you can do to the image include add borders and mask the image. Here’s how to do all of this:
a. Crop images
Click on the image within the presentation or document. Now& click on the crop icon. You will see the icon in the toolbar just above the work page. Drag the handles at the edge and drop them when you are satisfied. To save your changes& tap Enter on the keyboard.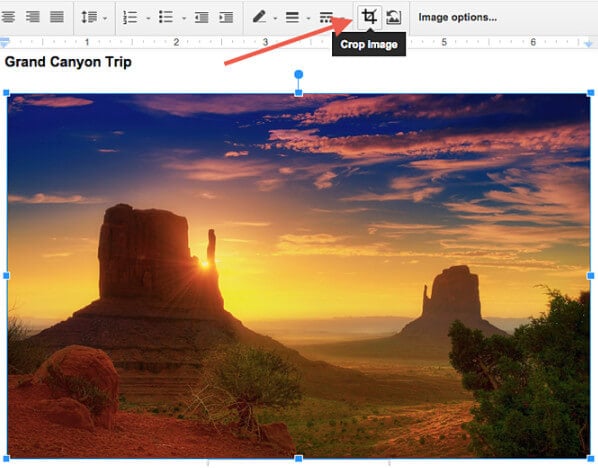
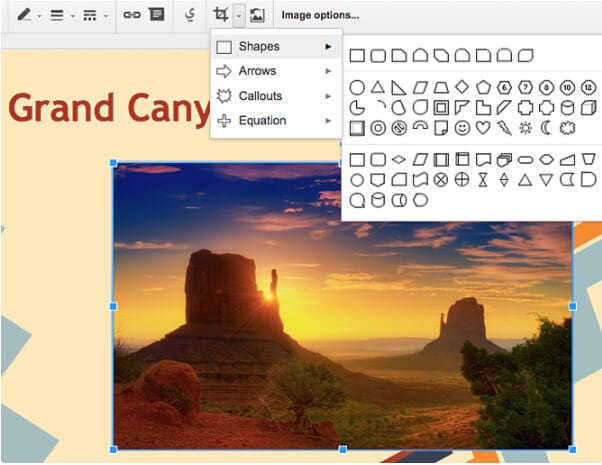
b. Mask images
This means fitting your image into a defined shape. You can only do this in a presentation& not in documents. Click on the image then on the dropdown arrow that appears next to the crop icon. You will see a list of mask categories (4 categories& including callouts& arrows& equations& and shapes). Pick the one you need.
c. Add borders
To add borders& select the image& then click on line color. You can find this in the toolbar. It resembles a pencil. Select the border color and click off the selected image to save changes.

Select Google Drive as the Default Document Location
If you want to get the best from your Google Drive& you can make it the default storage location for documents. You already learned how to add Google Drive to Windows Explorer earlier.
- Right-click on the Documents folder on your computer.
- Go to Properties and click on Include a Folder.
- Choose the Google Drive folder then click on Include Folder.
- Now& go to library locations and select Google Drive.
- Click on Set Save Location and click apply to save the changes.
Conclusion
Adding Google Drive to File Explorer comes with several amazing benefits. We have shown you how to add Google Drive to Windows Explorer and some helpful Google Drive tips. Start using them right away.

 100% Secure