
Do you know that iCloud and Google Drive are some of the most commonly used cloud storage devices? Google Drive is not just an ordinary app as it not only offers to store data& photos& and videos in cloud storage. It also provides unlimited cloud storage to its users if they want to upload high-quality multimedia content.
For storage purposes& iCloud offers only 5 GB of free storage shared with other Apple products. On the other hand& Google Drive provides 15 GB of free storage& but it is also shared among other Google products.
Most importantly& if you choose high-quality backup mode instead of the original quality& you can upload unlimited pictures. But you will be wondering how you can transfer photos from iPhone to Google Drive? Here is your answer& but first& you need to understand why to transfer?
Table of Contents
Part 1: Why to transfer photos from iPhone to Google Drive?
Online and cloud storage are the first choices in people‘s minds when deciding to make smartphone backup files. Nearly all Android devices have preinstalled the Google Drive app. If you are using an iPhone& you must have an idea about the restricted cloud storage space available on iCloud. This is where Google Drive is useful& so it will be important to understand how you can easily move photos from iPhone to Google Drive.
Secondly& transferring photos from iPhone to Google Drive will also help you to download and restore important data to your iOS device quickly. In this blog& you will learn quickly how to transfer photos from iPhone to Google Drive. Most importantly& it will be one of the best options that you can choose easily. Read further to learn how to use Google Drive to store your iPhone files.
Part 2: How to move photos from iPhone to Google Drive?
You can easily transfer photos from iPhone to the Google Drive app in two ways. Automatically and manually. Automatically will be the best choice for you& but I will discuss both options for you. So let’s start!
2.1 Directly from iPhone
You can either manually or automatically move iPhone photos to Google Drive. Manually uploading indicates the need to back up individual images from your iOS device if necessary. Automatic photos uploading also means syncing your iPhone photos to your Google Drive account& so that any changes made to the device photos are saved on Google Drive automatically.
Follow these steps to upload photos to Google Drive from an iPhone manually:
Step 1: Download and update the Google Drive app on your iPhone from the App Store to start this process.
Step 2: Start the app and log into your Google account. Google Drive is activated by clicking on the iPhone home show drive button. A list of new folders would then be shown.
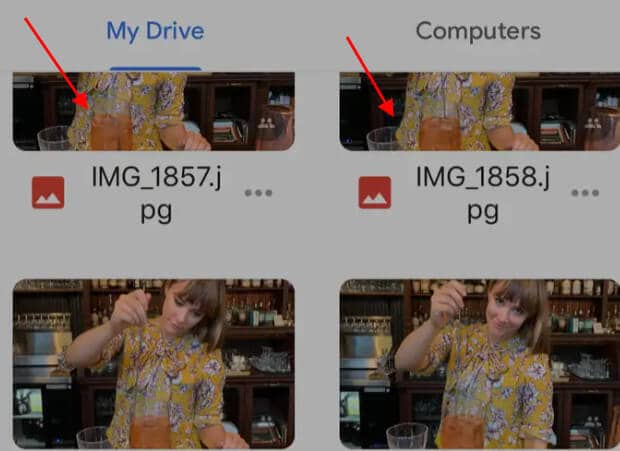
Step 3: Tap to select your chosen folder. Alternatively& tap the Plus (+) icon at the bottom right-hand corner and make a new folder where the pictures can be saved.
Step 4: Next& you need to tap the screen's blue and white (+) button.
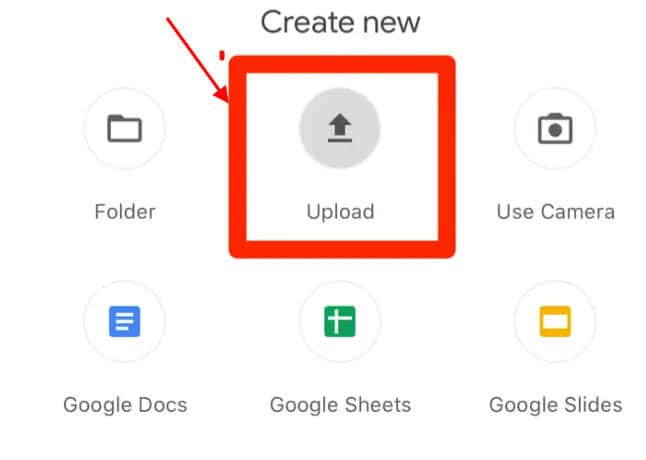
Step 5: Here& you need to select Upload from the options. This helps you to import files to Drive from your iPhone.
Step 6: Pick Images and Videos from your photo archives and select image files. Keep in mind that you'll be asked to authorize the Drive app to view your pictures if you haven't imported images from your iPhone before. Tap the OK button to continue.
Step 7: Press to pick all the images you want to share. When the photo is chosen& a blue check will appear.
Step 8: Press the Upload button at the screen's top-right edge when you finish choosing images. This will allow all of the photos selected to be saved to Google Drive.
Automatically upload photos to Google Drive from an iPhone
If you want to transfer pictures from iPhone to Google Drive automatically& you can use the Google Drive Backup and Update feature. You can store images and videos privately in your Google Drive folder without sharing them through this app. Every synchronized android device often displays any improvements you made to your pictures or videos. This ensures that the new updates will still look the same when you edit or upload an image on your iPhone on Google Drive. You need to follow these steps to use backup and sync on your iPhone.
Step 1: First of all& you need to install on your iPhone the Google Drive app. If you haven't yet activated this app& open the App Store& and select the Google Drive update for iOS.
Step 2: Sign up your Google Account later.
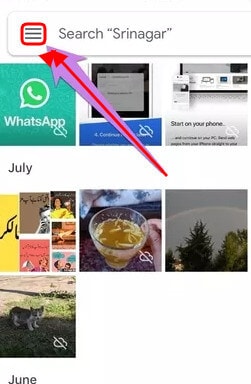
Step 3: Now& you need to press the top menu button. Three horizontal lines represent this icon.
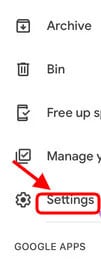
Step 4: Now& choose the setting from this menu.
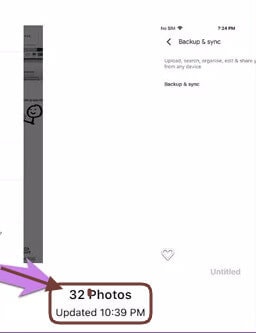
Step 5: Pick back up and sync options.
Step 6: To turn on this feature& toggle the Backup and Sync button.
Step 7: Here& you will see the message asking this application require access to your iPhone files& allow this Google Drive& or give it access.
Step 8: Open the app Options.
Step 9: Tap privacy and select pictures. Now toggle the switch to turn on the option.
Alternatively& you can open the Google Drive app and auto backup for photos in Google Drive from Settings->Photos- > then turn to Auto Backup on your iPhone. To confirm if all of your iPhone photographs are saved automatically& open the Google Drive app& sign in and press Images on your Google account. You can see whether the files are backed up or ready to be saved on the page's top.
If required& by signing in to your Google account& you can update your backup settings& pick the Backup account name& and tap the Upload size option.
You can also transfer photos from iPhone to Google Drive through the computer.
2.2 Using a Computer
This can be done in two ways. The first is for offline photos& while the second is for iCloud photos.
Transfer Offline Photos
For transferring offline photos& you will need to transfer your pictures via file transfer applications from your iPhone or connect them via a USB cable to your computer. For this& you will follow these steps.
Step 1: First of all& open photos.google.com on your PC via any web browser once images are on your system. Now login to your account with Google.
Step 2: Click Upload at the top and choose Computer.

Step 3: Then& browse the iPhone files you have copied to your system recently.
Step 4: Select files for Google Drive upload.
Transfer iCloud pictures
For this& you will need to download the images saved in iCloud first to Google Drive on your PC. For this& you will follow these steps.
Step 1: Open your Apple ID on icloud.com/photos and log in.
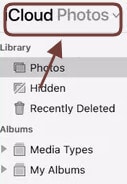
Step 2: Click on the Picture Select option to the right of the pictures.

Step 3: Then select your pictures and videos for Google Drive. To select all files& press CTRL + A (Windows) and CMD + A (macOS).

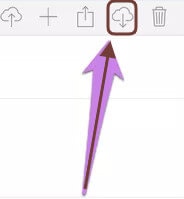
Step 4: Once you will select all the important files& click on the download icon to save them on your PC.
Step 5: A ZIP file is created. You& therefore& have to download and extract it. Open photos.google.com after extracting it.
Step 6: Click on the computer-followed Upload icon. Click to the ZIP folder you have extracted. You will see pictures and videos that have been added.
The thing to Note:
In both ways& the uploaded files will automatically appear on your iPhone on the Google Drive app if you use the same Google Account. You don't have to allow any configuration. Even if backup and synchronization are disabled& photos will still be automatically synchronized.
Find out if the upload is successful.
When the transfer is completed& the total number of pictures on your iPhone and Google Drive should be rechecked to find out if the upload process was successful. To check the total number of iPhone photos& you will follow these steps.
Step 1: Open and scroll down the Apple Photos app. You’re going to see the count of total pictures.
Step 2: Similarly& open and scroll down icloud.com/photos. Note the number of photos.
Step 3: Now open the Google dashboard and check in the Google Drive the number of images. It should match the above number if there were no pictures or videos already on Google Drive.
Conclusion
There are two different ways to transfer iPhone images to Google Drive. You can do this on your own iPhone or iPad or use a computer or laptop. In this blog& you will read to learn how to move pictures from the iPhone to Google Drive from both sources. Remember& if you have several files on your iPhone& the process will always take time& depending on the number of photos and videos. The whole process also depends on the speed of your internet connection. Have patience while the photos transfer. If you ever want to transfer back images from Google Drive to iCloud& you can easily do it.

 100% Secure