Ultimate Guide: Fixing
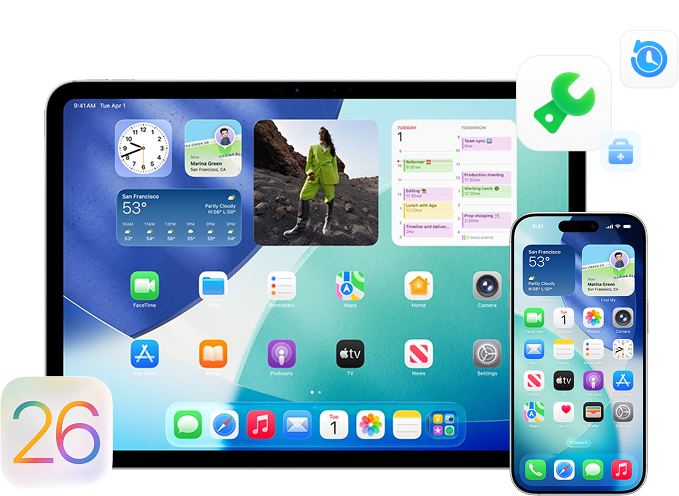
iOS/iPadOS 26
Update Problems
Solve your iOS/iPadOS 26 update problems with our comprehensive guide. Also, try Dr.Fone for quick iOS system fixes.
Best Companion for Effortless
iOS 26 Update
Dr.Fone - Full Toolkit
All the Tools You Need to Keep Your Mobile at 100%
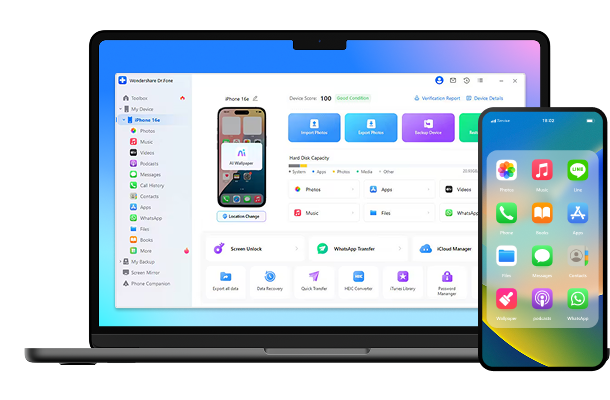
Dr.Fone Basic
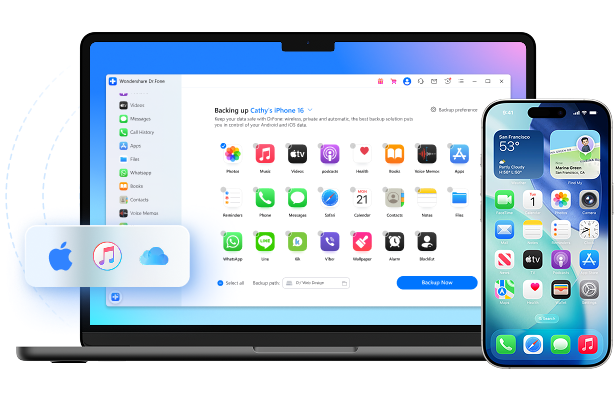
Back up your data before iOS update. Say no to data loss stress.
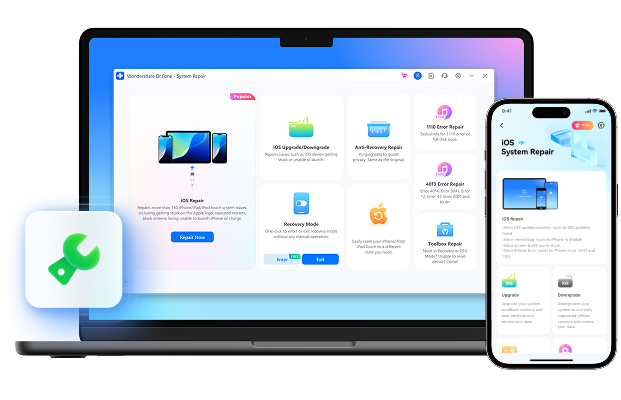
Common iOS 26 Issues and Fixes
Problem #1.
The iOS 26 Battery Drain Issue primarily stems from temporary background activities (such as data indexing, resource downloading, and app adaptation) after major system updates, as well as increased resource consumption by new features and potential compatibility glitches with some apps .
Solutions:
Problem #2.
The iOS 26 Beta may get stuck on "Install Now" due to insufficient storage space, unstable network connections, system cache or setting anomalies, and expired or damaged Beta profile.
Solutions:
Problem #3.
The iOS 26 Beta Update may not show up due to reasons such as device incompatibility, not being enrolled in the Apple Beta Software Program, having an unstable network connection, incorrect date and time settings, or insufficient storage space.
Solutions:
Problem #4.
Your iPhone may be experiencing overheating and battery drain after the iOS 26 update due to buggy apps, background app refresh, battery drain, and an overworked processor.
Solutions:
Problem #5.
The iOS 26 Black Screen issue may be caused by a combination of factors such as incomplete installation, system glitches, incompatible apps, overloaded processes, battery problems, or hardware damage.
Solutions:
Problem #6.
The inability to install iOS 26 can be attributed to various factors, including device incompatibility, insufficient storage space, unstable network connections, low battery levels, issues with the Beta profile, and server - related problems.
Solutions:
Problem #7.
The iPhone Glitches after iOS 26 Update are mainly caused by factors such as interrupted update processes, compatibility issues between the new system and devices or apps, corrupted firmware files, underlying hardware problems exposed by the new system, and instability of the beta version.
Solutions:
Problem #8.
The "Unable to Verify Update iOS 26" issue typically arises from network interruptions during verification, corrupted update files, expired certificates, incorrect date/time settings, or server-side problems with Apple's verification servers.
Solutions:
Problem #9.
The RCS Messaging Not Working in iOS 26 can be attributed to reasons such as the lack of carrier support, the region not being eligible for RCS services, incorrect settings, network - related problems, or issues with the recipient's device.
Solution:
Problem #10.
The issue of Siri not responding on iOS 26 can be caused by various factors, such as Siri being disabled, microphone problems, low power mode being enabled, software bugs in iOS 26, network connection issues, and interference from Bluetooth devices.
Solutions:
Problem #11.
The iOS 26 Beta Control Center bugs, such as unresponsive toggles, missing icons, or layout glitches, often stem from incomplete beta software coding, conflicts with custom settings, or compatibility issues with system extensions.
Solutions:
Problem #12.
The issue of iMessage not working on iOS 26 typically stems from unstable network connections, Apple server outages or maintenance, misconfigured settings (e.g., disabled iMessage toggle) after the update, software bugs in the new system, incorrect date/time settings, or failed activation due to carrier-related issues .
Solutions:
Problem #13.
The iOS 26 Camera Not Working issue may stem from software glitches in the new system, app-specific bugs, camera hardware malfunctions, permission restrictions, or conflicts with background processes.
Solutions:
Problem #14.
The iOS 26 freezing issue often occurs due to software instability in the beta version, including unoptimized code, conflicts between system processes, app incompatibility, or insufficient memory allocation.
Solutions:
Problem #15.
The "iOS 26 Developer Mode Not Showing" issue typically results from incomplete enrollment in the Apple Developer Program, unrecognized device - to - computer connections, beta profile glitches, or intentional hiding of the option in early beta builds for security control.