How To Use Special Features of Dr.Fone - Virtual Location?
Wondershare Dr.Fone - Virtual Location comes with multiple unique features that can be used to enhance the flow of spoofing location. With all these amazing features, you can easily change your iOS location without blinking an eye. Rather than making things complicated, Dr.Fone makes it easy for you to manage operations when you perform actions like changing Android locations.
Manage Your Phone Wherever You Go
Index
Part 1: Circle Route (For Multi-Stop Route)
The circle route feature is under the multi-stop route mode. When your starting point is close to the ending point, a pop-up asks if you want to set up a circle route. Click Yes to create a circular path on the map.

Part 2: Realistic Mode (For One-Stop Route and Multi-Stop Route)
This particular feature makes the simulation look realistic with the ability to fluctuate the speed of the simulation. If you wish to turn on realistic mode for the one-stop or multi-stop route, look for the respective checkmark option in the panel on the left.

Part 3: Fluctuation Mode (For Teleport Mode)
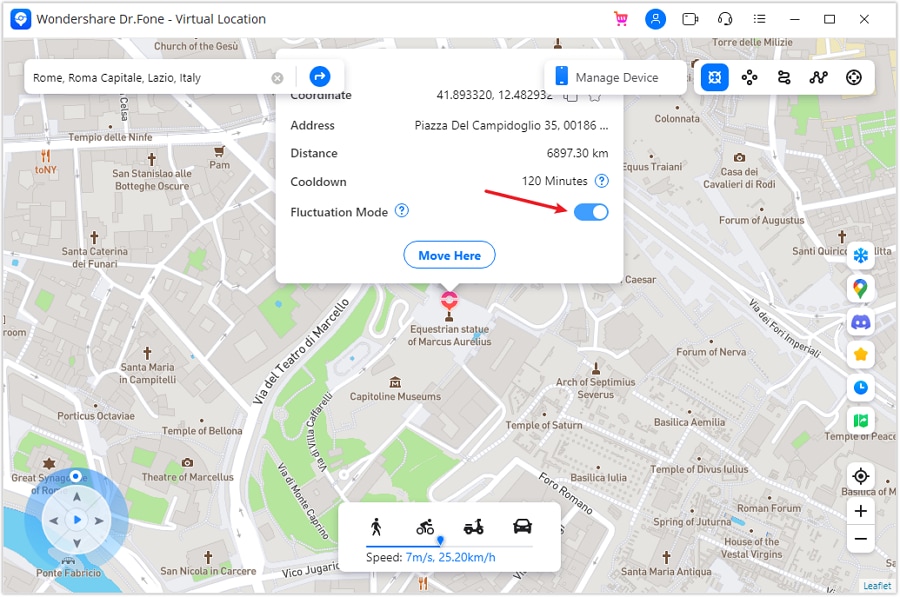
Whenever you are teleporting your smartphone device to another location, you can try using the fluctuation mode feature offered against it. As you activate Teleport Mode from the top-right section and search for a location, you will discover the Fluctuation Mode toggle in the confirmation tab. Turn on the toggle to slightly switch the location from the selected point to show realistic motion.
Part 4: Cooldown Timer (For Teleport Mode and Jump Teleport Mode)
While teleporting the location of your smartphone to different places for playing games like Pokemon Go, you are bound to activate a cooldown timer within your location-changing app to show realistic movement. By locating the Cooldown Timer on the right pane of icons, activate it, and this feature will automatically calculate the cooling time by measuring the distance between your destination and the starting point.

It is recommended not to start the movement until the cooldown time is completed to avoid unnecessary bans. Moreover, you can also activate the Auto jump after cooldown in the Jump teleport mode after turning on the Cooldown Timer.
This option will automatically jump you to the next destination once the timer ends. It is helpful for games like Pokemon Go, where the game servers can detect frequent jumps with no cooldown time.
Part 5: Import/Export GPX File
You can also import and export specific navigated locations from Dr.Fone in the form of GPX files. While you can export GPX files for keeping a record of your location, you can also import such files for inserting specific locations to simulate or teleport to. Find out how you can import and export GPX files with this location-changing application:
If you have defined a proper location to simulate at a particular instant using Dr.Fone - Virtual Location, you can have this location exported by clicking the Export icon on the top of the left panel. This will open a window where you can set the location for saving the GPX file.

For importing a GPX file on the platform, click the Import button on the right pane. As this opens a window, select the GPX file you wish to import to the platform.
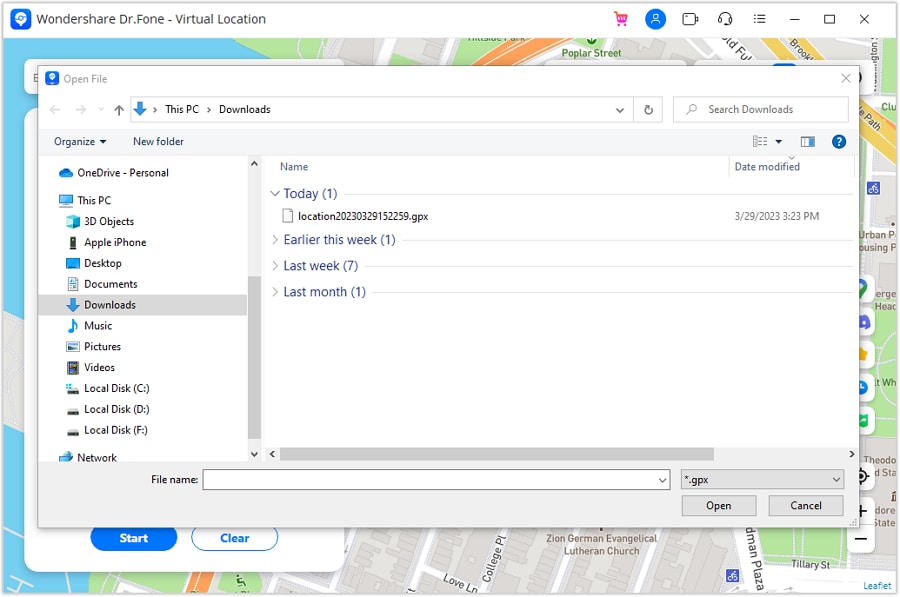
Wait for a moment until Dr.Fone - Virtual Location recognizes the specific locations within the GPX file and displays them on the map.

Part 6: Historical Records
If you want to use a similar track record on your smartphone again, you can access the historical records saved on the platform for easy access.
Click the Historical Records button on the right pane to access the entire history involving the connected smartphone and the location spoofing platform.
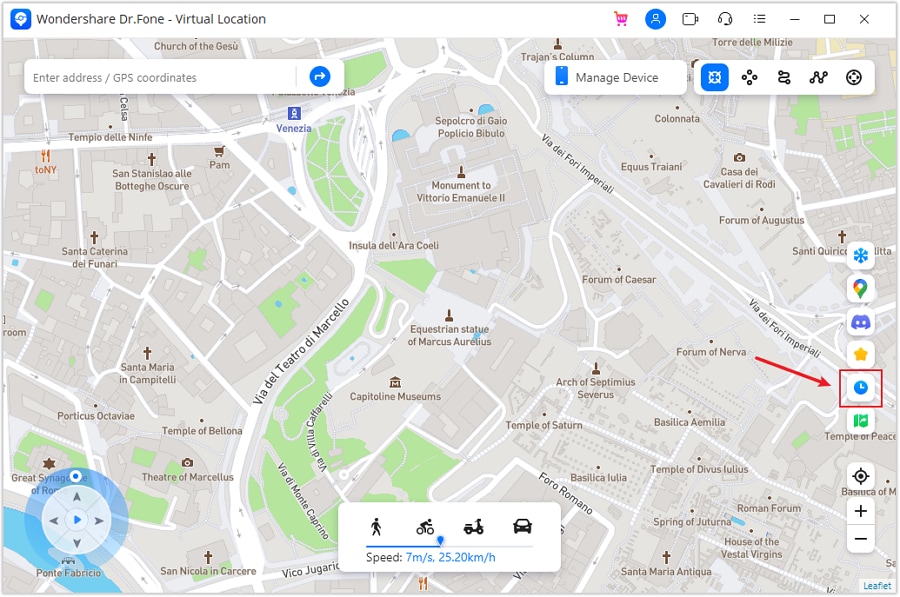
Select the Go button adjacent to any particular historical record to re-launch a similar simulation for the device. You can also click Clear All to delete all historical records.

Part 7: Favorite List
You can also set up favorite locations within the platform to define quick accessibility to your favorite locations. To do that, you have to follow the guidelines shown next:
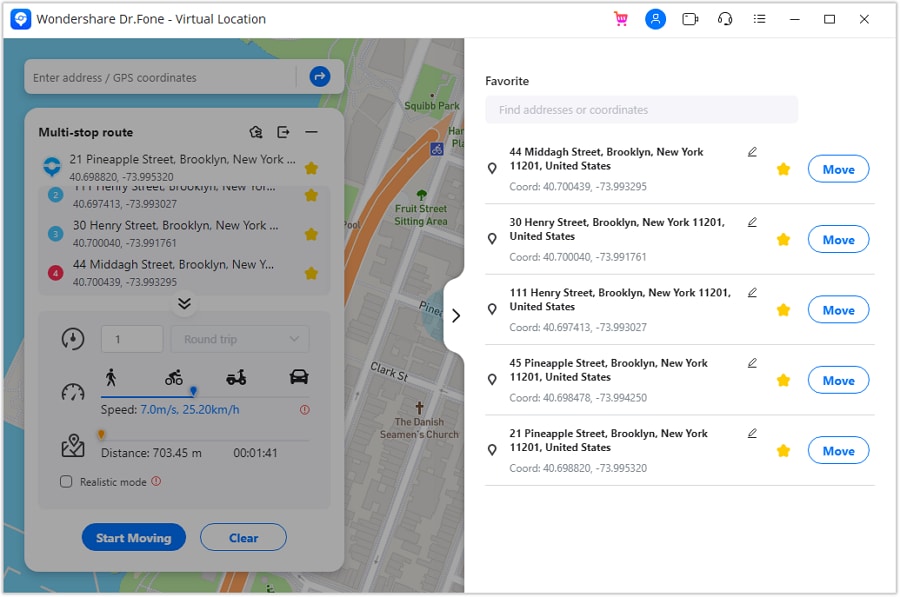
While setting up locations in Jump Teleport Mode, One-Stop Route, or Multi-Stop Route, you can tap on the Favorite icon adjacent to every marked location or favorite an entire route with the Favorite icon on the top of the left panel.
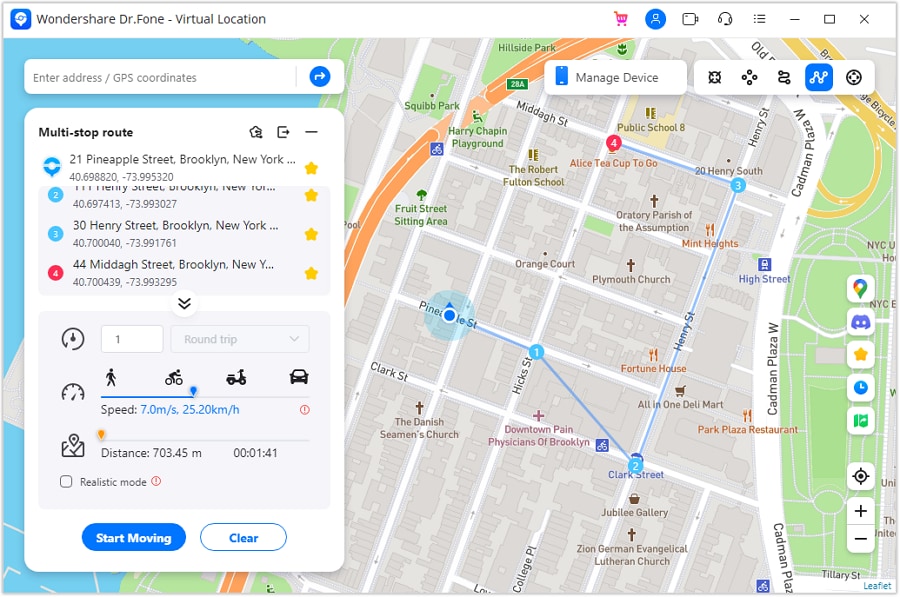
To look for your favorite locations, look for the Favorite icon on the right pane to open a list containing all locations you have marked. You can choose the Move option to automatically move into a particular location in no time.
Need help?
You might find the answer to your question in the FAQ or additional information below:


