How To Connect Smartphone Devices To Fake Locations?
The need to fake location arises for many reasons, influencing the need for a proper location spoofer. While many tools provide location spoofing, they are not accurate or appropriate. This is where Dr.Fone - Virtual Location puts in a great show of providing a proper system to fake locations. Look through this guide to learn how to connect iOS/Android devices with Virtual Location.
Manage Your Phone Wherever You Go
Part 1: Connect iOS Device
Method 1. Connect iOS Device with a USB Cable
Connect your iDevice with a USB cable, and launch the tool from the navigation of Toolbox > Virtual Location. As you open it, click Get Started on the window to proceed.

* Dr.Fone's Mac version still has the old interface, but it does not affect the use of Dr.Fone's function; we will update it as soon as possible.
As you successfully proceed to the next window, you will observe the map before you.

Click the No Device button on the top-center of the screen to open a new window. This pop-up window shows the devices connected to the computer, i.e., your iPhone. Select the device you want to connect and click Next on the screen.

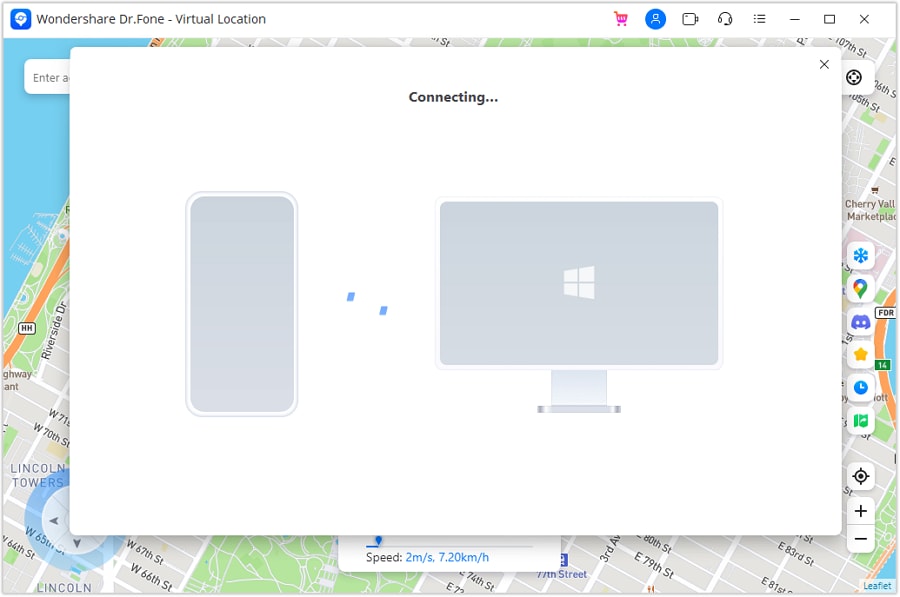
The pop-up window displays that the device is trying to connect to the computer.
You will have to activate Developer Mode on your iDevice. For that, follow the on-screen instructions to open the Settings of your iDevice and continue to Privacy & Security > Developer Mode and turn on its toggle to activate the settings.

The device will prompt to restart, for which you will have to press the Restart option on the iDevice. As it restarts, unlock and select the option of Turn On against the pop-up that appears on its screen. Enter your password on the iDevice.

Once you perform the on-screen instructions, the platform will automatically detect the iDevice.

The device will successfully connect, and the map will be displayed. You can click Manage Device to control or uncontrol your device. Start traveling now!

Method 2: Connect iOS Device with Wi-Fi
On trying to connect the iDevice with Wi-Fi, when you proceed to select the No Device option on the map and a pop-up window opens, look for the Wi-Fi option there. Click the option showing Want to connect via Wi-Fi networks to proceed next.
As you progress to the next screen, you will be provided with a set of instructions. If the device is the first time to try to connect via Wi-Fi, you will have to connect the iDevice with a USB connection first. Then, it can be easily connected to the Virtual Location through Wi-Fi. However, ensure the device and computer are connected to the same network.

Part 2: Connect Android Device
To connect your Android device, you will have to establish a USB connection between the device with the computer. After connecting your Android and launching the Virtual Location tool from the Toolbox of Dr.Fone, a new window opens. Select Get Started from the available button and continue.
As you progress further, the map appears on display at the front, where you can easily change your location.
As you connect the Android device with the platform, click on the No Device option, and then select the Android device > click Next.
You will have to allow USB debugging on your Android device to proceed with the connection. Check the option on your Android device and if you did not receive it, click Show Again on the computer.

The following pop-up instructions show the option of changing the mock location settings on Android. Open Developer Options and look for the Select mock location app option. On the next screen, select dr.fone to connect the Android device.

The device connects to the Virtual Location successfully, and a default location is displayed on the map!
Need help?
You might find the answer to your question in the FAQ or additional information below: