2 Methods to Root Nexus 7 Easily

Jul 12, 2024 • Filed to: Manage Device Data • Proven solutions
The interesting thing about your Nexus 7 is the mode with which it functions, especially when new. With time newer versions of the android versions come up and you have to keep up with current times. This means updating your device regularly. However, with time still, it tends to be significantly outdated. Well you may either have to root you nexus 7 to give it a different OS, or still retain the android OS but it will be updated to the most current version. Well complications with your device such as having you’re sim port locked could occur. Using Android Root, you may be able to unlock your device and use it with your desired sim cards. Other complications such as having a bricked phone may occur and the most effective way to resolve this is to root your nexus 7.
Android Root is, a well formulated software that assist in the rooting of any bricked android device or a device with any other complications that make the use of the device a pain in the neck. This is one of Wondershare’s great inventions that assist with any of your android issues.
Part 2: Root Nexus 7 with Android SDK
An Android SDK is a Software Development Kit. It is a set of set of software development tools that allows the creation of applications for a certain software package tools that allows the creation of applications for a certainsoftware package or similar development platform.
Step 1
Install the adb and fastboot commands.On Windows you should download the Android SDK, however you can just download the zip which contains the adb, fastboot and dependencies.
Step 2
On your Nexus 7, go to System Settings->Developer Options->Check USB Debugging (You may need to slide the toggle switch in the action bar to on). If you do not see the USB Debugging option, go to System Settings->About Tablet->Tap on 'Build Number' 7 times. Connect your Nexus to your computer.
Step 3
Make sure the drivers have downloaded and installed if you're on Windows - Windows Update should automatically find them. Once connected, open up a terminal window (Windows: Win+R, type cmd press Enter. Ubuntu: ctrl+alt+t) and navigate to where you have unzipped the fastboot & adb programs (no need to do this on Linux - they are in the path).
Type adb backup -all -no system to back up your userdata to the backup.ab file.
Step 4
Type adb reboot-bootloader and press enter. Your Nexus 7 will reboot into fastboot mode.
Step 5
When the device is in fastboot mode, type fastboot OEM unlock and press enter. Read the information on the device, and touch the Yes option. Your bootloader will be unlocked. This will erase all userdata.
Step 6
Download the latest TWRP recovery image from this page. Save it in the same location as the fastboot binary. Issue the fastboot flash recovery twrp.img command to flash this recovery image.
Step 7
Almost done! Using the on-device fastboot controls, reboot into the recovery menu. Select Advanced then ADB Sideload. Download the latest SuperSU zip file and save it to the same location as adb and fastboot. Don’t unzip it.
Step 8
Issue the command adb sideload CWM-SuperSU-v0.99.zip, and then reboot the device. You're now rooted.
Step 9
Type adb restore <backup file made in 3.5> to restore backup.
Part 3: Root Nexus 7 with Towelroot.
Rooting has now become easy with the aid of this software. With Towelroot, rooting is done in just one click as you only have to download the app and root your device using it without the aid of a computer.
Step 1.
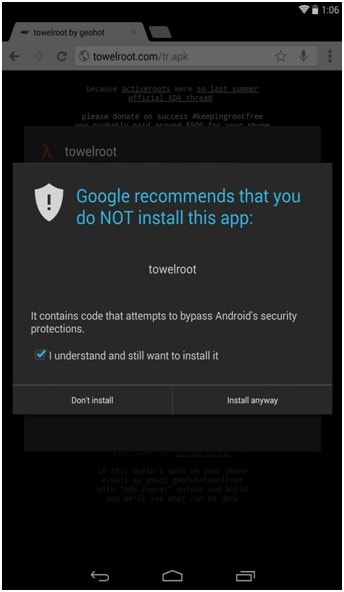
To acquire the application, enable "Unknown sources" on your Nexus 7. Thus allowing you to install an application from a source other than the Google Play Store.
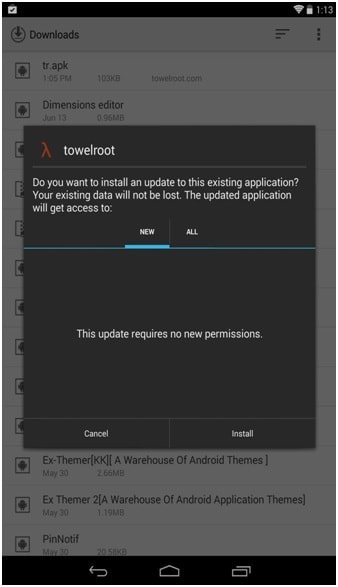
Step 2.
Download, install and launch the app. Due to safety purposes make certain you understand the risks while installing the app.
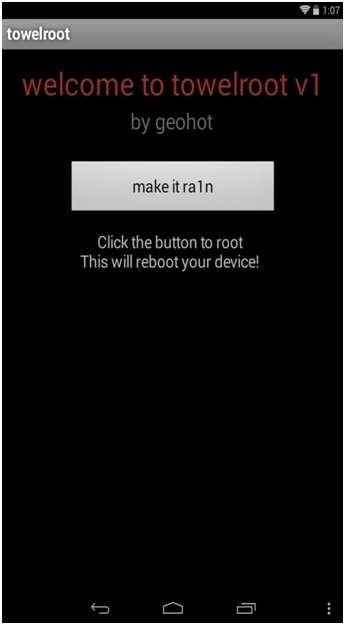
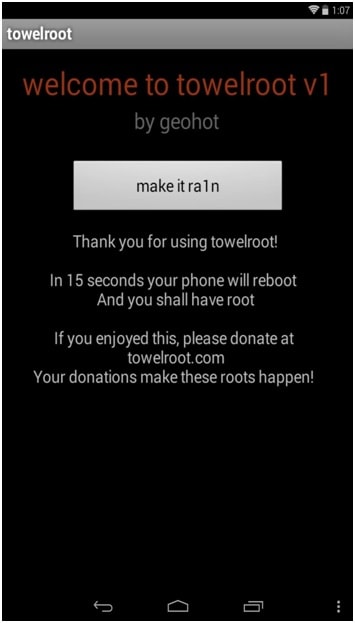
Step 3
Launch the application and the make it rain button. Your device will automatically reboot and be rooted.
Step 4
When your Nexus 7 reboot, verify the root with an application such as, Root Checker.
Step 5
Towelroot will root your device, but it will not install a root manager, which is to prevent malicious applications from gaining root access, so install SuperSU off the Google Play Store from the developer Chainfire.
So these were the steps to root Nexus 7 with one click. Hope it helps all of you out there.


Android Root
- Generic Android Root
- 1. Text Message Apps for Android
- 2. Root Android ONE Devices
- 3. 30 Useful Android Root Apps
- 4. Best Android Root File Managers
- 5. Get Root Access with Computer
- 6. Delete Preinstalled Apps on Android
- 7. Get Free In-APP Purchase
- 8. Wifi Hotspot Apps without Rooting
- 9. Get Root Access on Android
- 10.Root Android Devices
- 11.Root Android Phones and Tablets
- 12.Root Smartphone on Android
- 13.Why Root Android and How to Root it
- 14.Root Android 4 Series in Two Ways
- 15.Tools to Root Android Online
- Specific Android Root
- 1. Root Samsung Galaxy S7& S7 Edge
- 2. Root LG Devices with Root Script
- 3. Samsung Root Software to Root
- 4. Root Motorola Devices
- 5. 2 Solutions to Root ZTE Devices
- 6. Solution to Root Huawei P9 Safely
- 7. 2 Methods to Root Nexus 7 Easily
- 8. Solutions to Root Sony Devices
- 9. Root Any HTC Device in One Click
James Davis
staff Editor