The Complete Guide to the
 Update
Ready for the next big thing? Unlock exciting new iOS 27 features with Dr.Fone. Your one-stop solution to safely upgrade your iPhone without data loss.

Should I Update to iOS 27?
Upgrading to a new iOS version, such as iOS 27, can be an exciting prospect. However, it is crucial to consider several factors before updating to iOS 27.
iOS 27 Compatibility Check
iPhone 16 series
iPhone 15 series
iPhone 14 series
iPhone 13 series
iPhone 12 series
iPhone 11 series
iPhone SE
What's New in iOS 27 Features?
Avoid Update Risks
To avoid iOS update risks, ensure your iPhone is backed up, has at least 20 GB of free storage, and is plugged into a charger with over 50% battery. Disable Automatic Updates in your settings if you want to hold off on major upgrades until initial bugs are resolved.
How to Prepare for iOS 27 Update?
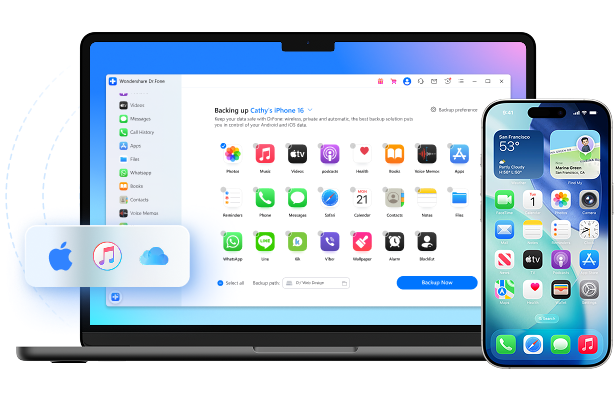
Don't Skip the Backup!
Using iCloud
The Smart Way: Backup with Dr.Fone
Download the latest version | Secure & verified
Using iTunes/Finder

Ensure Sufficient Storage Space
Before updating your iPhone/iPad, it is advisable to make sure that it has 5-10GB of free storage space.

Stable Internet Connection
When upgrading iOS, the firmware packages are often quite large. Slow Wi-Fi speeds can cause longer download times and may even lead to upgrade failures.

Charge Your Device
Ensure your device has sufficient battery life or connect it to a power source while performing the update.
How to Install iOS 27: 3 Simple Methods
How-to steps:
Upgrade to iOS 27 safely and quickly with Dr.Fone — keep your data intact and avoid system errors during the update.
Best Companion for Effortless iOS 27 Update
Advantages:
Disadvantages:
How-to steps:
Best Companion for Effortless iOS 27 Update
Advantages:
Disadvantages:
How-to steps:
Best Companion for Effortless iOS 27 Update
Advantages:
Disadvantages:
FAQs about the iOS 27 Update
iOS 27 Tips and Tricks

What Is the iOS 27 Release Date?
The final public version of iOS 27 was officially released on September 15, 2026. Learn how to upgrade your device and delete iOS 27 here.
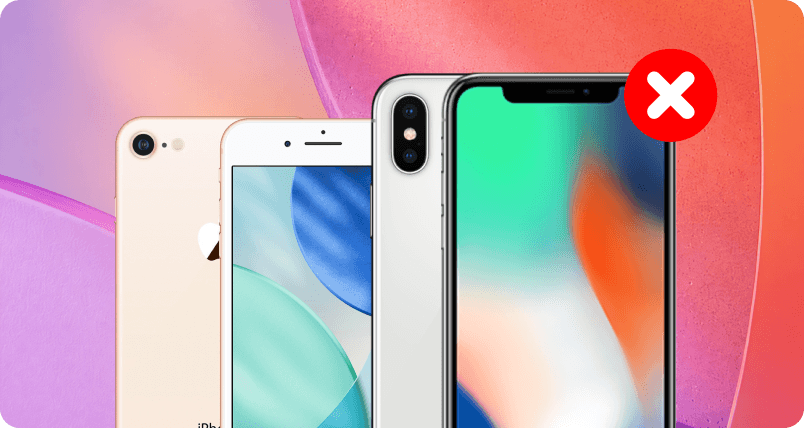
What iPhones Will Not Get iOS 27 Update?
iOS 27 is reportedly dropping support for all iPhones powered by the A13 Bionic chip. This means the update will not be available for the following models: iPhone 11 (11 Pro & 11 Pro Max); iPhone SE (2nd generation), and all older models (iPhone XS, XR, X, etc.)
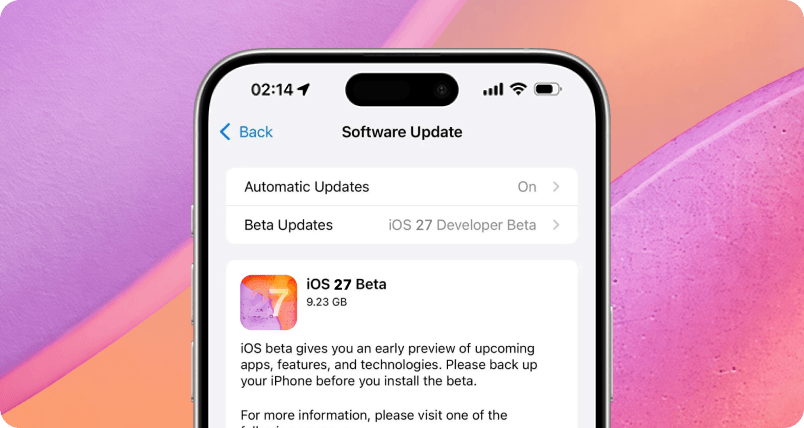
Is iOS 27 Public Beta Safe?
iOS 27 Public Beta is generally safe for everyday use, but it comes with inherent risks—including temporary app crashes, accelerated battery drain, and minor data syncing glitches. Because it is pre-release software, it can cause unexpected system behavior.
Best Companion for Effortless
iOS 27 Update
Dr.Fone - Full Toolkit
All the Tools You Need to Keep Your Mobile at 100%
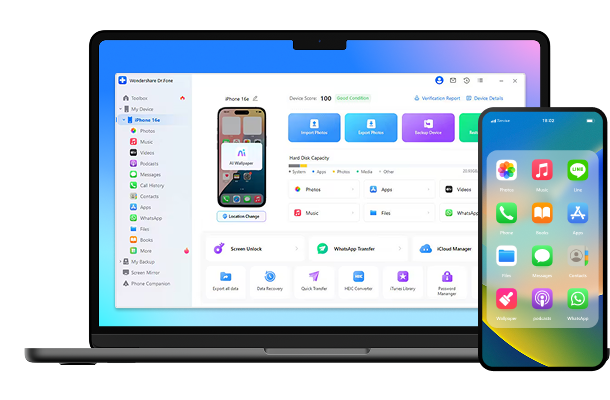
Dr.Fone Basic
Back up your data before iOS update. Say no to data loss stress.