How to Back Up Your iPhone Before Upgrading
iPhone Backup
- iPhone Data Backup
- 1. Back up iPhone in Recovery Mode
- 2. Back Up iPhone With/Without iTunes
- 3. Back up iPhone to Mac
- 4. Back up iPhone/iPad to Computer
- 5. Back up iPhone to Mac Catalina
- 6. Back up Jailbreak Apps And Restore
- 7. iPhone Backup Software
- 8. Back up iPhone/iPad Easily
- 9. Back up iPhone/iPad in DFU Mode
- 10. Back up iPhone Apps and App Data
- 11. Back up Notes on iPhone and iPad
- 12. Back up iOS to External Hard Drive
- 13. Export Notes from iPhone to PC/Mac
- 14.Back up iPhone Photos to Google Photos
- 15. Back Up Your iPhone Voicemails
- 16. Back Up to External Drive
- 17.How to Back Up to NAS
- 18.Back Up iPhone With Broken Screen
- 19.Back Up iPhone to Google Drive
- 20.Buy Used iPhones
- 21.Sell Used Phone for Cash
- 22.Sell Used iPhone for Dollar
- 23.How Much is My iPhone Worth
- iPhone Data Recovery
- 1. Recover iPhone Data Without Backup
- 2. Restore Calendar on iPhone
- 3. Recover Call History on iPhone
- 4. Recover iPhone Lost Data
- 5. Restore iPhone in Recovery Mode
- 6. Undelete iPhone Backup Files
- 7. Recover Deleted iPhone Messages
- iPhone Data Restore
- 1. Restore iPhone from iTunes Backup
- 2. Restore iPhone after Downgrade
- 3. Restore iPhone from Backup
- 4. Restore iPhone from iPad Backup
- 5. Restore iPhone from DFU Mode
- 6. Restore iPhone Deleted Text Message
- iPhone Backup Problems
- 1. Find iPhone Backup Location on Mac
- 2. iPhone Backup Password Never Set
- 3. iPhone Backup Password Forget
- 4. iCloud Backup Taking Forever
- 5. iPhone Won't Backup to iCloud
- 6. iTunes Won't Backup iPhone
- iPhone Restore Problems
- 1. iTunes Stuck on Verifying iPhone
- 2. Not Space to Restore iPhone Backup
- 3. iTunes Backup Not Restoring
- 4. iPhone Won't Restore
- WhatsApp Backup & Restore
- 1. WhatsApp from Google Drive to iOS
- 2. Restore Old WhatsApp Backup
- 3. Restore WhatsApp Chat on iPhone
- 4. Retrieve WhatsApp Chat History
- 5. See Deleted Messages on WhatsApp
- 6. Restore WhatsApp Stuck on iPhone
- 7. iPhone WhatsApp to Google Drive
- 8. Back Up WhatsApp on iPhone
- 9. Backup WhatsApp Data before Changing Number
- iPhone Backup Tips
- 1. Extract Data From iPhone
- 2. Encrypt iPhone Backup
- 3. Reset iPhone Backup Password
- 4. Extract iPhone Backup in Win 10
- 5. How Long take iPhone to Backup
- 6. Find iPhone Backup Location
- 7. iPhone Backup Password
- 8. View iPhone Backup on Computer
- 9. iPhone Backup with iTunes/iCloud
- 10.Check Last Backup on iPhone
- 11.How To Encrypt iPhone Backup
- 12. Best Backup Chargers for iPhone
- 13. Speed Up Your iPhone Backups
- 14. Save Data When iPhone Disabled
- ● Manage/transfer/recover data
- ● Unlock screen/activate/FRP lock
- ● Fix most iOS and Android issues
- Back up Now Back up Now Back up Now

Oct 24, 2025 • Filed to: Backup & Restore Solutions • Proven solutions
Dr.Fone Basic:
Better Control for Your Phone
Manage, transfer, back up, restore, and mirror your device
Before you upgrade your device, remember to do one thing: back up your iPhone. Within your device lies a wealth of invaluable data that represents both practical functionality and sentimental memories.
Imagine the anguish of losing years' worth of photos, videos, and messages that hold special moments. The frustration you may feel for having to rebuild your contact list from scratch. The consequences can be irreparable.
A backup is a duplicate copy of all your files or data. You safely stored them in an alternate location. It serves as an insurance policy, allowing you to restore your device to its previous state if anything goes awry during the upgrade.
Now, find out more about why and how to back up your iPhone before upgrading!
Part 1: Different Methods to Backup Your iPhone
We already know that ensuring the safety of our iPhone data is paramount. Thankfully, Apple provides various methods to back up your device, granting you peace of mind and a reliable safety net.
This section will explore two popular in-app tools for iPhone backup:
1. iTunes Backup
One of iTunes' functions offers a comprehensive solution for backing up your iPhone. Utilizing iTunes allows you to create a complete offline backup stored directly on your computer.
Follow this step-by-step guide to back up your iPhone using iTunes:
- Step 1: Using a USB cable, connect both your iPhone and computer. Then, open iTunes on your computer to start the backup process.
- Step 2: Locate and click on your device within the iTunes window. It will grant you access to your device's details and settings.
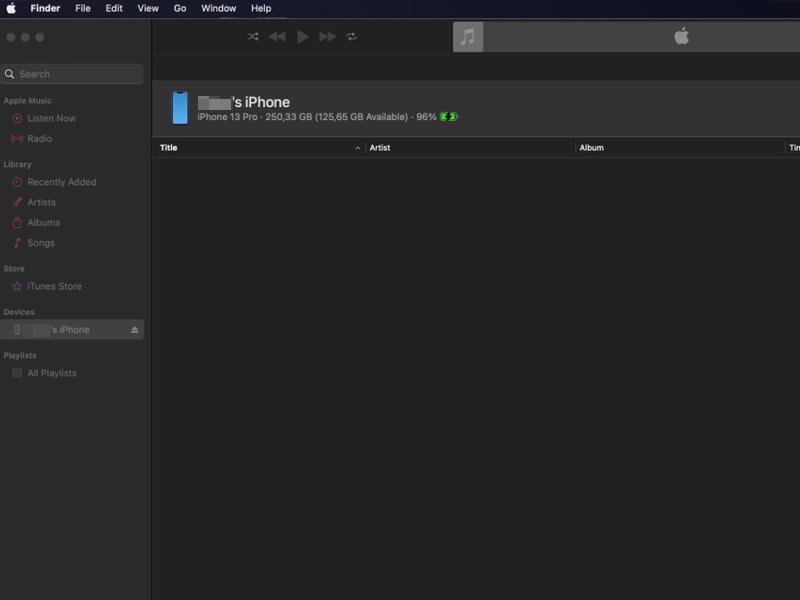
- Step 3: Select the Summary settings and click “Back Up Now.”
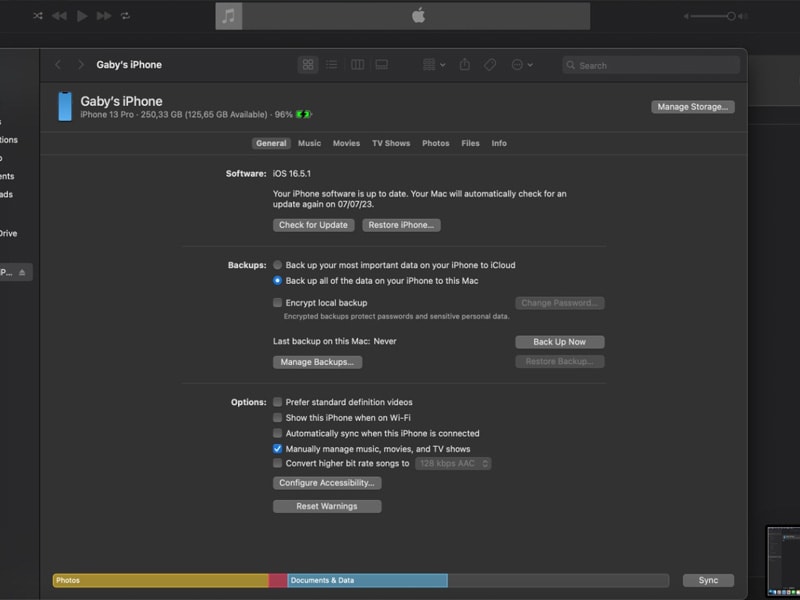
If you want to encrypt your backup, select Encrypt device backup, create a unique password, and finalize the process by clicking "Set Password."
Pros:
- iTunes offers a local backup stored on your computer, giving you direct access and control over your data.
- You don't need to rely on an internet connection to back up using iTunes.
Cons:
- iTunes backuprequires manual initiation and regular connection to your computer for backups.
- Backups are tied to the specific computer where iTunes is installed, limiting accessibility across multiple devices.
2. iCloud Backup
Besides iTunes, one popular method for backing up your iPhone is using iCloud. iCloud offers an automated and secure backup solution, ensuring that to protect your data in the cloud. You can access them anywhere as long as you can access your iCloud.
How to backup iPhone before upgrading using iCloud:
- Step 1: To activate automatic iCloud backups, access your iPhone Settings, then tap on your iCloud profile. From there, navigate to "iCloud Backup" and toggle the switch to enable it.

- Step 2: Once you have enabled it, any of your iPhone data will be automatically included in your iCloud backups.
Pros:
- iCloud can be configured to automatically back up your iPhone. It eliminates the need for manual intervention. Any new data will be automatically synced to your iCloud account.
- When you back up your voicemails using iCloud, your data is safeguarded through robust encryption protocols. Your iPhone data remains private and secure.
Cons:
- The storage space provided by iCloud is based on your subscription plan. Free iCloud accounts come withlimited storage capacity.
- Exclusive to Apple devices and requires an internet connection.
Part 2: Top 5 iPhone Backup Apps
When backing up your iPhone, exploring third-party apps can offer additional features and benefits beyond the built-in options. Let's take a look at these top 5 iPhone backup apps:
1. Wondershare Dr.Fone
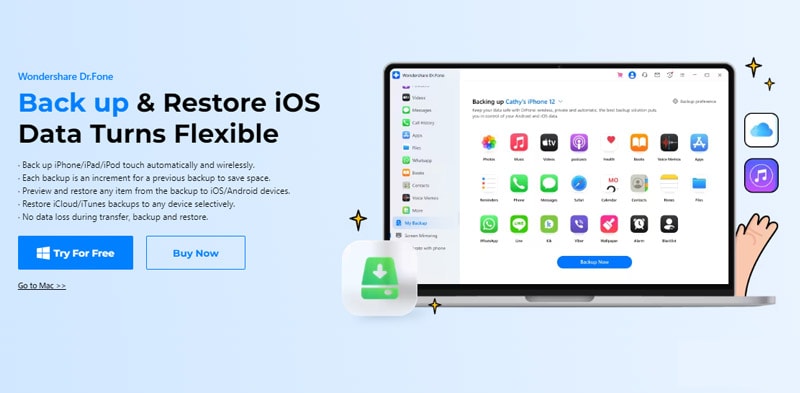
Dr.Fone Back Up feature is highly recommended and trusted by its users for reliable backup solutions. With a strong track record and positive user feedback, you can rely on Dr.Fone to securely back up your iPhone data and protect it from any potential loss or damage. The subscription cost is also relatively reasonable compared to other similar tools.
List of features:
- Backs up all data on your iPhone, including photos, videos, contacts, messages, call history, etc.
- Supports selective backup, so you can choose which data to back up.
- Allows you to preview the backup before restoring it.
- You can use it to recover lost or deleted data from your iPhone.
Pros:
- Easy to use for beginners alike.
- Powerful features.
- User-friendly interface.
Cons:
- It can be slow on old devices.
Pricing: Start at $39.95/year.
2. FonePaw iOS Transfer
FonePaw iOS Transfer is a comprehensive software that allows you to manage your iOS data. Whether it's photos, music, contacts, or messages, FonePaw iOS Transfer provides a seamless solution for transferring your data in one click. Additionally, you can create backups, restore data, and even directly transfer files between iOS devices.
List of features:
- Ability to transfer files from computer to iPhone.
- Synchronize your iTunes library with your iPhone.
- Backup and restore contacts with ease.
Pros:
- You can directly transfer files between iOS devices, eliminating the need for a computer as an intermediary. This feature is particularly useful when upgrading to a new iPhone.
- The interface is user-friendly and makes it easy to perform actions.
Cons:
- The software lacks the capability to back up notes and apps from your iOS device.
- You can only unlock the advanced features in the paid version.
Pricing: Start at $24.46/month or $59.47 for 1 PC for a single-user license.
3. iMazing
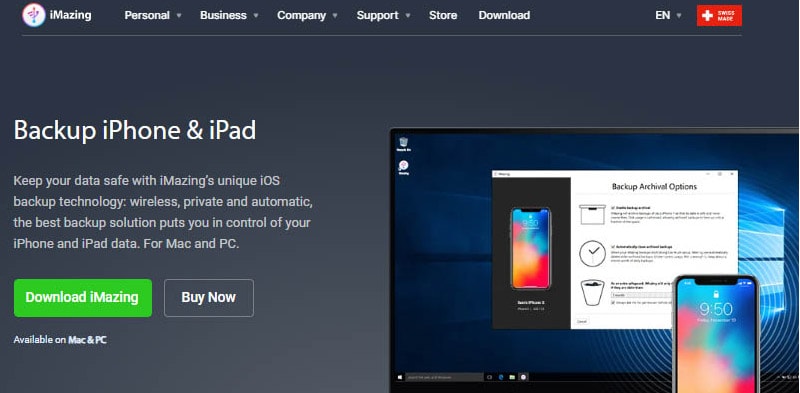
Unlike other software, iMazing ensures that you won’t need to overwrite your iPhone backups. What's more, iMazing doesn't rely on paid cloud storage, making it a cost-effective option. This tool also provides a seamless backup experience that ensures the safety of your valuable information without any inconvenience.
List of features:
- Transfer data between your iPhone and computer.
- Ability to create custom backups.
Pros:
- It’s free to use
- Provides easy instruction
Cons:
- Limited features
Pricing: Free.
4. ApowerManager
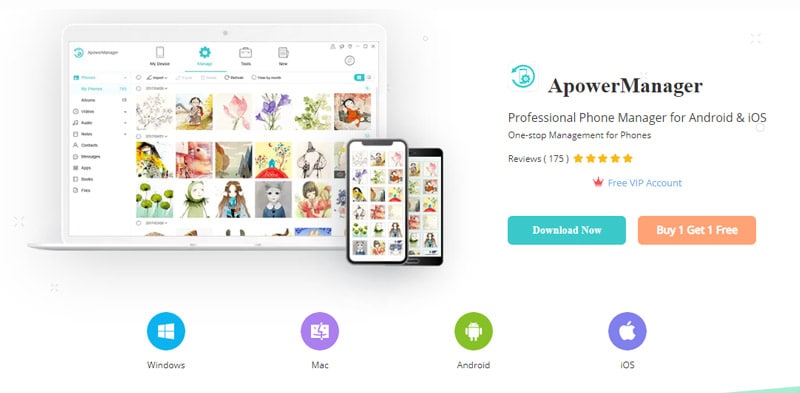
ApowerManager presents a well-structured display of your apps, documents, and files. It conveniently categorized them for easy access. The app grants you complete control over notes and app files on iOS devices. You can also mark specific folders as favorites under the Files tab.
List of features:
- Manage, import, or export your iPhone data.
- Transfer files between your device and computer.
Pros:
- Supports both iOS and Android
- Easy connectivity via Wi-Fi
Cons:
- Minor responsiveness issues in the app
Pricing: $29.95/month or $59.95 for a lifetime subscription.
5. IBackup
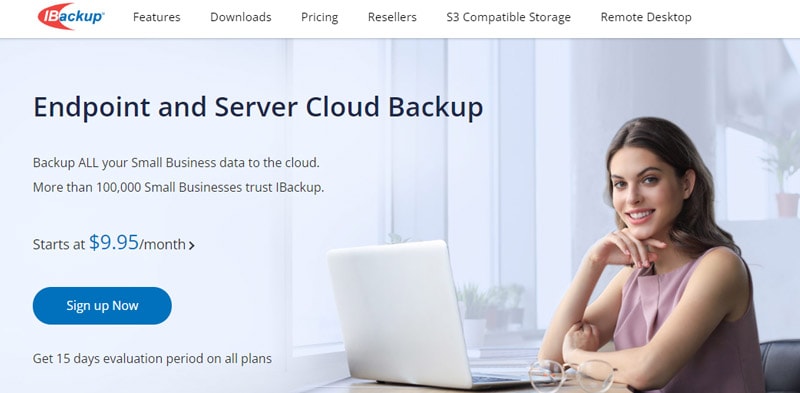
IBackup is a robust online backup service that offers secure data storage. Small businesses can benefit greatly from its features, such as the ability to support an unlimited number of computers and efficient file-sharing tools.
List of features:
- Keep older versions of modified files for up to 30 versions
- Perform backups even when files are open or in use
- Share files by sending download links via email using set download limits and access durations
Pros:
- Supports an unlimited number of computers
- Efficient file-sharing tools
Cons:
- Not as user-friendly as some other services
- Some users find the user interface of IBackup not intuitive
Pricing: $9.95/month.
Part 3: How To Use the Best iPhone Backup App
After carefully evaluating various iOS backup software options, Dr.Fone emerges as the standout choice. Its exceptional features and user-friendly interface make it the best iPhone backup app available.
You can follow these instructions on how to back up iPhone before upgrade with Dr.Fone Back Up feature:
- Step 1: Start the iPhone backup
To initiate the backup process, open Dr.Fone on your computer. Locate the "My Backup" option in the left panel and click on "Back Up Now."

- Step 2: Allow for the backup process
After that, Dr.Fone's intelligent system will automatically detect and back up various file types from your iOS device. Allow the software to run its course until all your data is safely stored on the platform.

Upon completion, you will see a prompt window that provides you with comprehensive backup details. You can access the backups by clicking "View Backups" or directly locate the backup folder by selecting "Open in Folder."
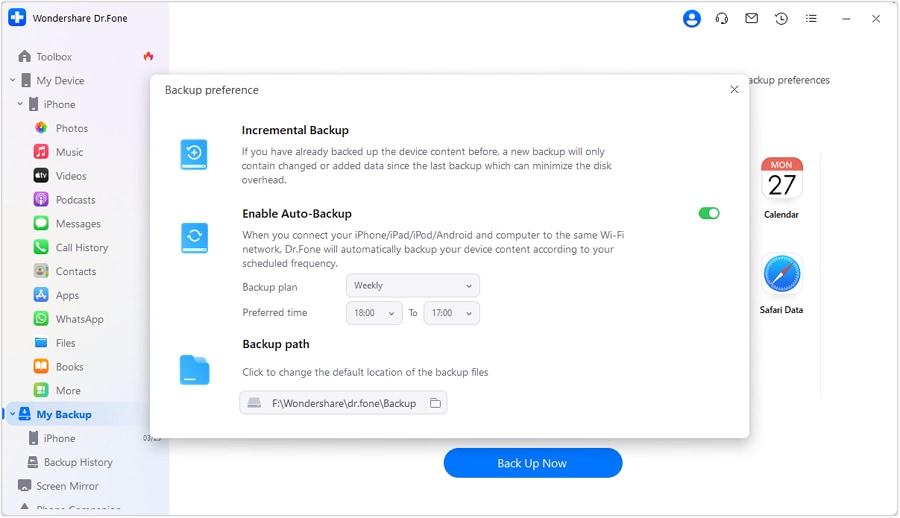
If you prefer a more automated approach to backups, Dr.Fone also offers an "Auto-Backup" feature. Here's how you can set up the auto-backup:
- Step 1: Enable automatic backups
Launch Dr.Fone and navigate to My Devices > Backup preferences. This step will open a window with a range of options for backing up your data. Then, switch on the "Enable Auto-Backup."
- Step 2: Connect devices to the same Wi-Fi network
For the automatic backup feature to work effectively, ensure that both your iPhone and computer are connected to the same Wi-Fi network. Once connected, your device will automatically back up according to the selected Backup Plan and Preferred Time.
- Step 3: Review backup details
To review your backup history, Dr.Fone provides a "Backup History" feature. By clicking on it, you can access a list of all the backups made. Further, check the contents of each backup file by clicking the "View" button.

With Dr.Fone as your trusted iPhone backup app, you gain complete control over your backups. Its powerful and intuitive features make it an exceptional choice for safeguarding your precious data before upgrading.
Conclusion
Before upgrading your iPhone, it is essential to prioritize the safety of your data by backing it up. By creating a backup, your data remains intact and easily recoverable.
You have learned about different methods to back up your iPhone, including built-in options provided by Apple. Remember, when using any backup app or method, follow instructions carefully to ensure a successful backup. Double-check that your important files, contacts, and apps are included in the backup to avoid any regrets later.
Take the necessary steps to back up your iPhone before upgrading. Don't risk losing everything. Back it up!
Dr.Fone Basic:
Better Control for Your Phone
Manage, transfer, back up, restore, and mirror your device


James Davis
staff Editor