How to Transfer Phone Files to Computer

Jul 12, 2024 • Filed to: Manage Device Data • Proven solutions
It is not uncommon to want to move files from your phone memory to your computer. There are several reasons why you may need to do this. The most common reasons are a need for storage space and performing operations on the files.
Whatever your reason is, it is important to know how to transfer files from the phone to the PC. There are several methods of moving files to computers from phones. We will discuss a few in this post.
Part One: Transfer files from phone to computer in one click
You must have heard of third-party software that helps in managing phones. Dr.Fone is one such third-party software. This app was designed to facilitate the transfer of files between phones and computers.
There are several modules such as the Dr.Fone Phone Manager for Android. This is the one we will focus on in this post. It enables the user to move files and manage them across several devices.
Many users see Dr.Fone as superior software to many others on the market. This is because it is compatible with several kinds of files such as SMS, documents, videos, photos, music, and apps. Beyond this, it bridges the gap between phones and computers where both devices are originally incompatible.
Above all, Dr.Fone is the people’s favorite because of its one-click advantage. Below is a summary of the capabilities of Dr.Fone Phone Manager.
Dr.Fone - Phone Manager
Transfer Data Between Phone and PC Seamlessly.
- Manage, transfer, and import/export music, videos, photos, SMS, contacts, and apps.
- Backup for your files on the computer and ensures easy restore on the occasion of data loss.
- Transfer between iTunes and Android.
- Compatible with Android and iOS.
- Compatible with Mac and Windows.


With all of these in mind, let’s look at how to move files from phone to PC using Dr.Fone. For easier understanding, we have broken the process into steps.
Step 1 – Launch Dr.Fone on your computer. After it opens, select the “Transfer” component. Now, you can plug your device using a USB data cable.

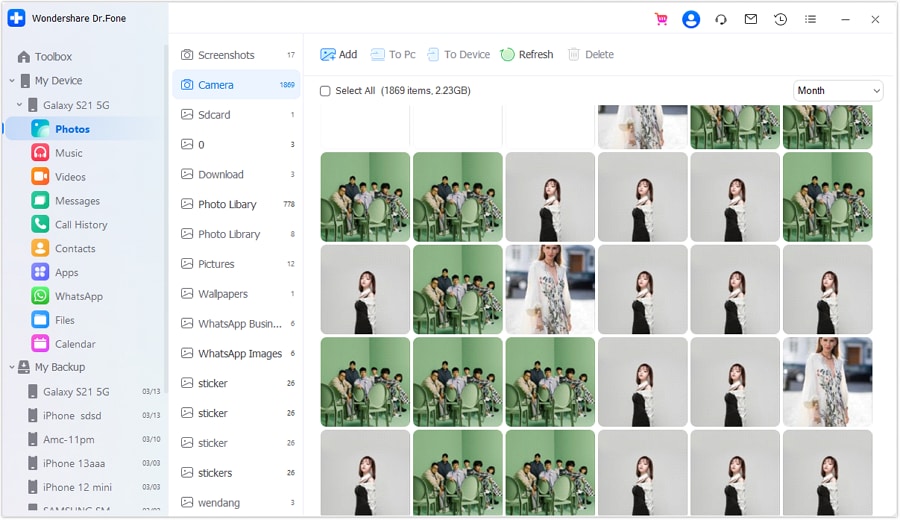
Step 2 – Immediately you establish a connection, the software presents you a couple of options on the home page. Choose the section from which you want to move the files. The likely sections include photos, music, videos, etc. For this post, we will be using photos.

Step 3 – If you want to transfer photos, click the “Photos” tab. It shows you all the images present on your device.
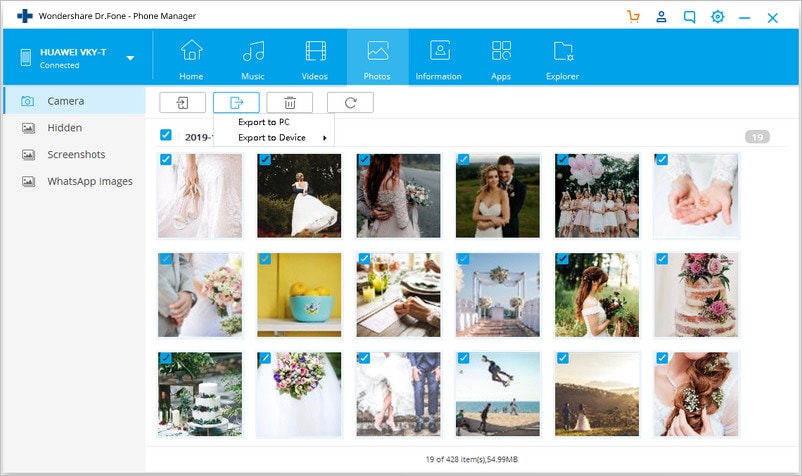
Step 4 – Choose the photos that you need to move to your computer. After selecting the photos, click on “Export to PC” to initiate your transfer.
Step 5 – Select the location you desire to store the files on your computer. Once you do, click ok and the transfer begins immediately.
Can you see that using Dr.Fone to for file transfer from mobile to PC is very simple? Let’s take a look at other methods of transferring files to your computer from a phone.
Part Two: Transfer files from phone to computer using file explorer
Moving files to your computer from a phone using file explorer even though most people think it contrary. There are two methods of doing this, each one involves a plug and play. The two methods are:
- Transfer using a USB cable
- Transfer using SD card
We will discuss each of these in the steps below.
Transfer using a USB cable
You can make use of this method if you do not have a phone manager app on your computer. All you need is a USB data cable. For the process to be seamless, make sure you use an original.
When it comes to transferring files to and from your computer, this is the most basic method. So how do you do this? Check out the steps below:
Step 1 – Connect your smartphone to the computer using a USB data cable.
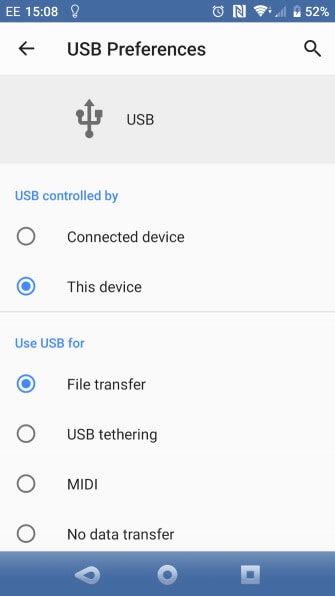
Step 2 – Choose your connection type and set it to file transfer. If you don’t do this, your computer will end up charging your device instead of accessing files.
Step 3 – If this is the first time you are connecting the device to the computer, a prompt pops up. It asks you to “Allow Access” to your phone. Click on “Allow.” Most likely you’ll get this prompt on your mobile phone as well.
Step 4 – Open the File Explorer on your computer. You can do this by clicking on the shortcut on the taskbar. An alternative method is to go to the “Start Menu” and click on “File Explorer” from here.
Step 5 – Under “This PC” you should see your mobile phone. It is easy to identify once you know the name of your device.
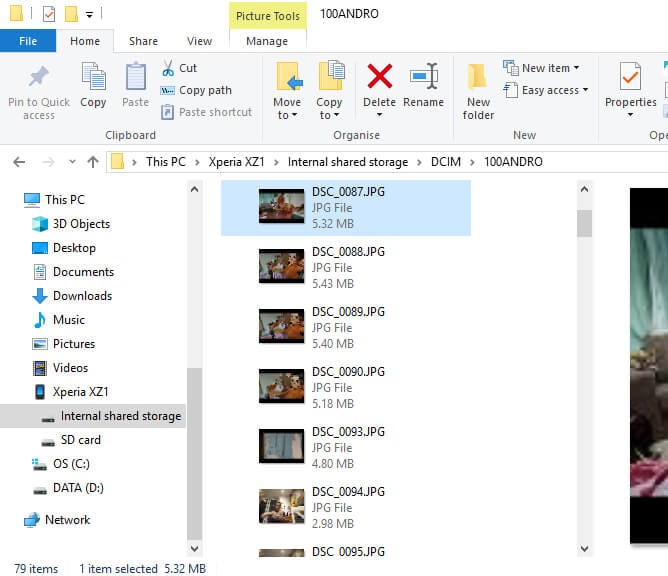
Step 6 – Double-click on your device to reveal the different folders on your device. Browse through the folders to find the content you want to copy.
Step 7 – Select the content you want and right-click on it. This reveals a menu list and you can choose “Copy.” An easier way to do this is to select the content you want to move and press “CTRL + C” to copy.
Step 8 – Open the folder you want to store the files on your computer. Right-click inside the folder and select “Paste.” Another way to do this is to open the folder and press “CTRL + V.”
Note that Windows will install the drivers of your phone if this is the first connection.
Transfer using SD Card
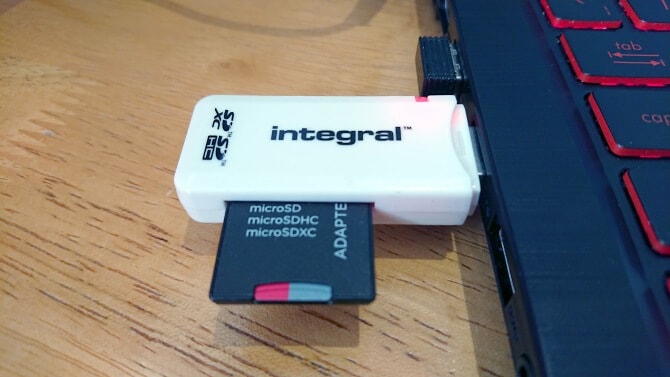
This is the second way to transfer files from phone to PC using file explorer. It doesn’t need a USB connection but a card reader. Most computers come with an SD card slot. If yours doesn’t have one, then you can buy an external SD card reader.
The process is quite simple. Check out the steps below:
Step 1 – Copy your files from your phone memory to the SD card.
Step 2 – Eject the SD card from your phone and put it in the SD card adapter.
Step 3 – Insert the SD card adapter into the card slot on your computer. If your computer doesn’t have one, insert the card adapter into the external card reader and plug it in.
Step 4 – Open “File Explorer” on your computer. You can do this either through the shortcut on the taskbar or via the “Start” menu.
Step 5 – Find your SD card under “This PC.” Double-click on it to open the SD card.
Step 6 – Locate the folder that contains the files you want to copy.
Step 7 – Select all the files you want to copy and right-click. This provides you a list of options, select “Copy.” You can also press “CTRL + C” after selecting all the files to copy them.
Step 8 – Open the destination folder and right-click here. Select “Paste” to transfer the files. You can also open the folder and press “CTRL + V” on your keyboard to transfer the files.
Congratulations, your transfer is complete. Now, let’s check out the final method of file transfer from mobile to PC.
Part Three: Transfer files from phone to computer with cloud service
Using cloud storage is a very reasonable option when you want to transfer files without cables. Wi-Fi is not also a necessity as long as you have an internet connection. There are several cloud services but we will look at two. They are
- Dropbox
- OneDrive
Let’s discuss these better below.
Using Dropbox
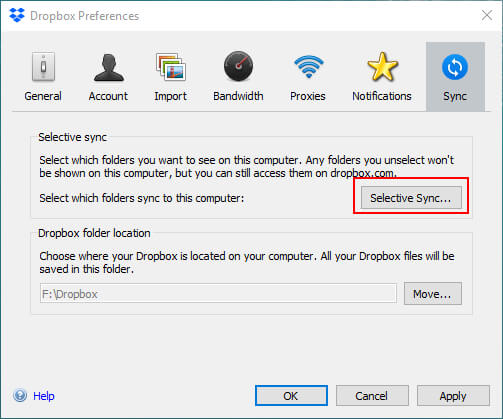
Dropbox is a cloud storage app. You can also use the website as well. The idea is to sync your different devices on this app. How do you do this?
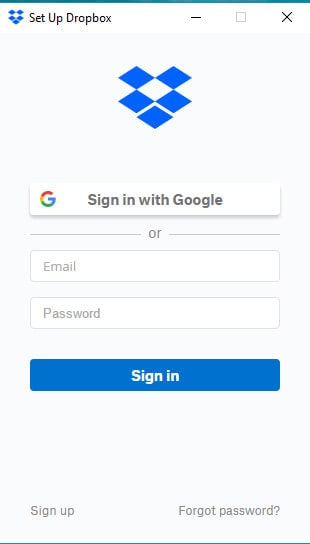
Step 1 – Install Dropbox on your computer and phones. You can also do the same if you have a tablet.
Step 2 – Sign in to the app on your phone and your computer.
Step 3 – Add all the files you want to transfer on your phone into Dropbox. Once you do this, it automatically appears on your computer and other connected devices.
Step 4 – Simply download the files to your computer when you need them.
Using OneDrive
OneDrive is another great cloud storage app you can use to transfer files from phone to PC. If you are new to using cloud storage, you may prefer this app. It is easier to use and comes preinstalled on Windows 10.
Here’s how to transfer your files using OneDrive:
Step 1 – Select the files or folders you need to share and tap “Share” on your phone. This gives you the option of sharing a link.
Step 2 – Choose whether the recipient can edit it or just view it. Since you are sharing it with your computer, you should choose “View and Edit.”
Step 3 – Click on “Share” to transfer the app.
Step 4 – Open OneDrive on your computer and select the files you want to download. Click “download” to transfer them to your computer.
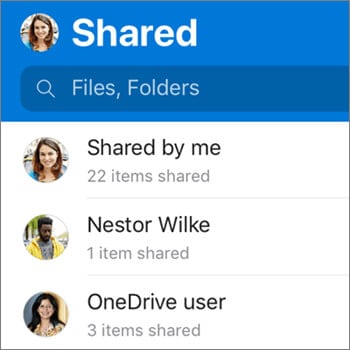
Usually, you receive an email telling you that an OneDrive folder or file has been shared with you. To locate such files, select Menu and click “Shared” in the app.
Conclusion
Now you know how to transfer files from phone to PC. It is not as difficult as you thought it will be, right? If there’s any part you don’t understand, ask us in the comments section and we will clarify.


Phone Transfer
- Get Data from Android
- Transfer from Android to Android
- Transfer from Android to BlackBerry
- Import/Export Contacts to and from Android Phones
- Transfer Apps from Android
- Transfer from Andriod to Nokia
- Android to iOS Transfer
- Transfer from Andoid to iPhone
- Transfer from Samsung to iPhone
- Samsung to iPhone Transfer Tool
- Transfer from Sony to iPhone
- Transfer from Motorola to iPhone
- Transfer from Huawei to iPhone
- Transfer from Android to iPod
- Transfer Photos from Android to iPhone
- Transfer from Android to iPad
- Transfer videos from Android to iPad
- Get Data from Samsung
- Transfer Data to Samsung
- LG Transfer
- Mac to Android Transfer
Alice MJ
staff Editor