How To Recover Data from an iOS Device?
When important data becomes inaccessible or is accidentally deleted from an iPhone or iPad, a data recovery tool can help you scan the device and retrieve available files. Dr.Fone - Data Recovery (iOS) offers two device recovery modes: Standard Recovery for a faster scan of commonly used data and Advanced Recovery for a deeper scan of supported devices and apps.
Manage Your Phone Wherever You Go
Recover Data with Standard Recovery
Standard Recovery provides a faster scan for commonly used data on an iPhone or iPad. Follow the steps below to connect your device, scan the selected data types, preview the results, and recover the files you need.
Launch Dr.Fone on your computer after installation. Continue to Toolbox > Data Recovery to open the recovery tool.

* Dr.Fone for Mac may still use the previous interface. This does not affect the use of the Data Recovery function.
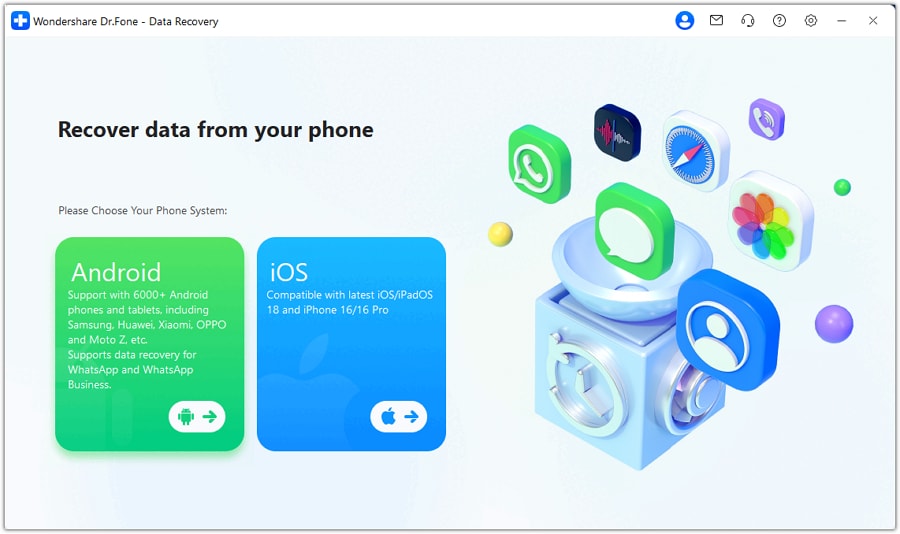
Select iOS as the device type because you want to recover data from an iPhone or iPad.
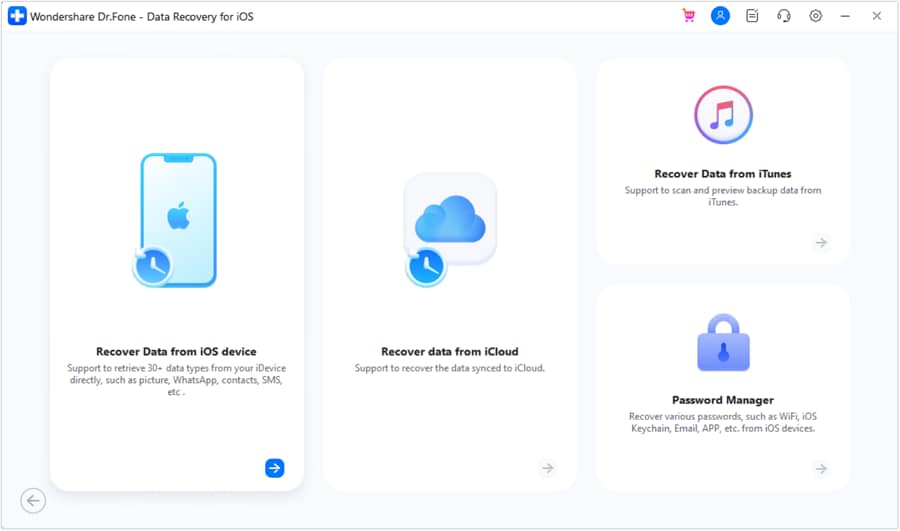
On the next screen, select Recover Data from an iOS device to start recovering data from your iPhone or iPad.
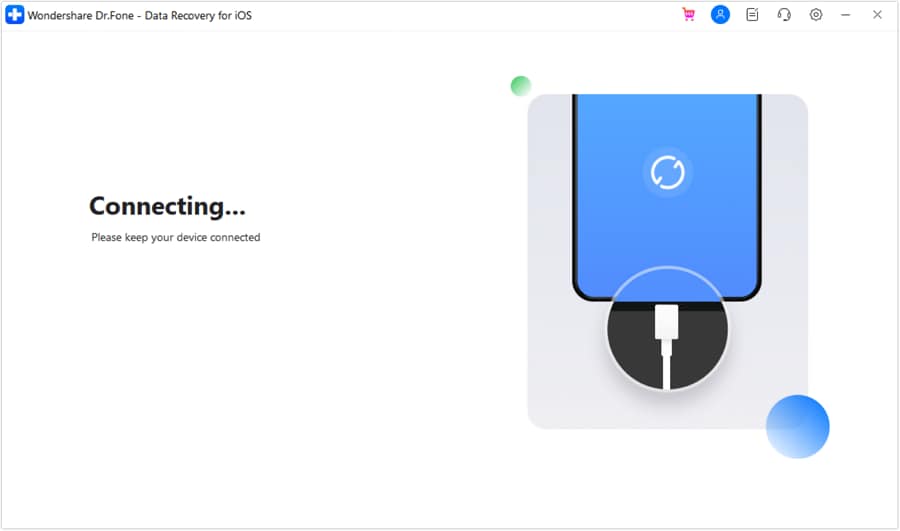
Connect the iOS device to the computer with a USB cable and wait for Dr.Fone to detect it.
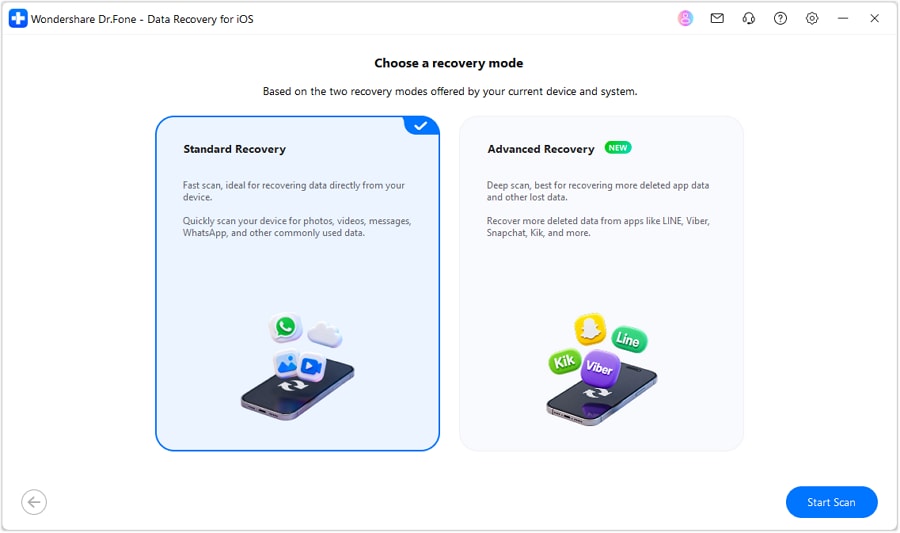
After the device is detected, Dr.Fone checks the device and system information. Select Standard Recovery for a faster scan of commonly used data.
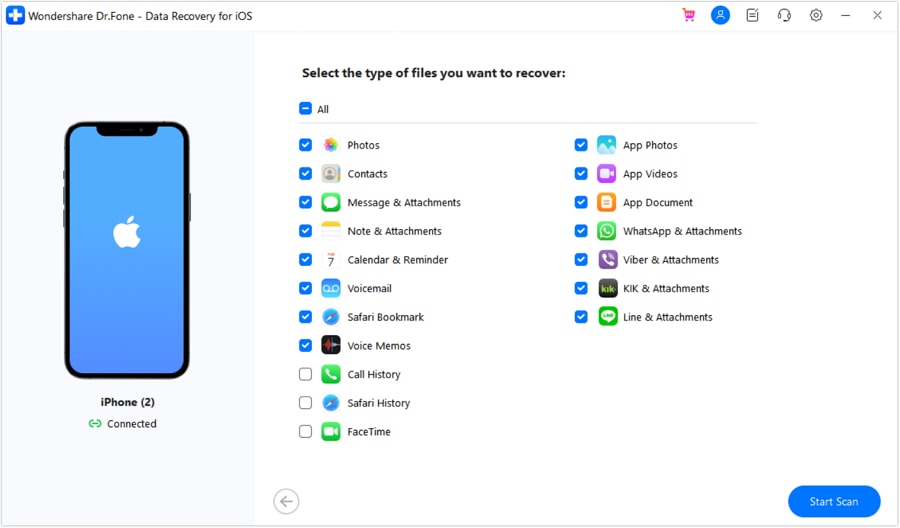
Select the file types you want to scan, and then click Start Scan in the bottom-right corner.
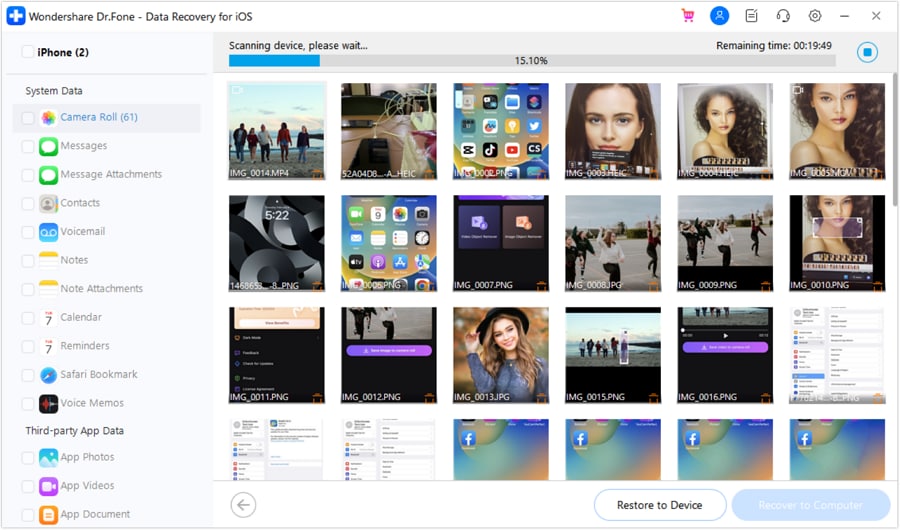
Dr.Fone scans the selected data on the iOS device. Keep the device connected and wait until the scan is complete.
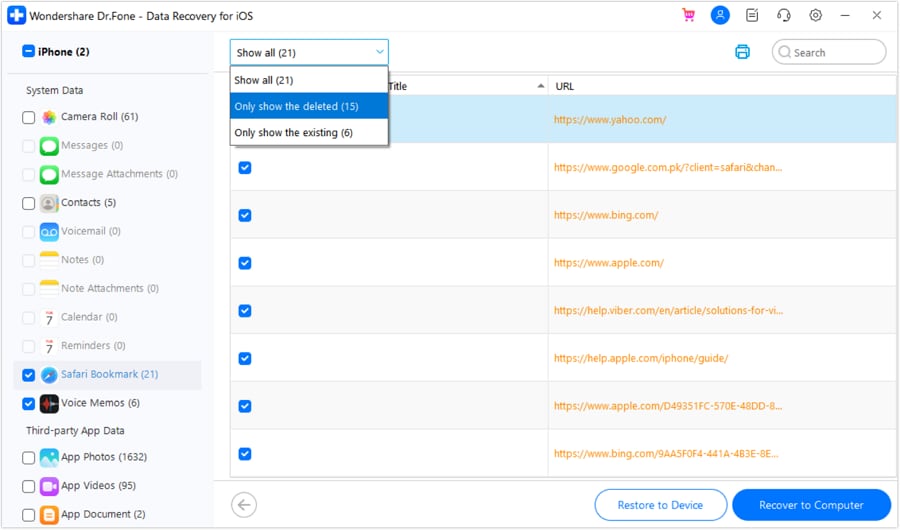
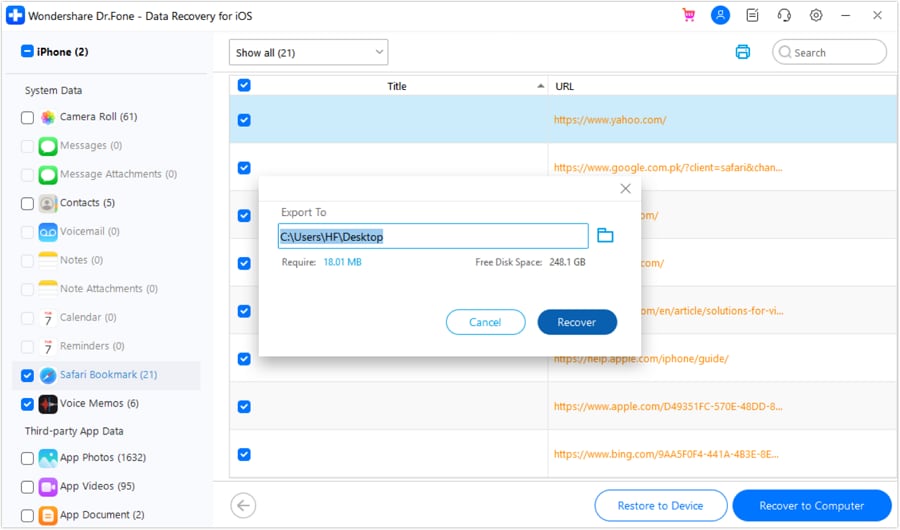
After the scan, preview the available data and filter the results by all data, existing data, or deleted data. Select the items you want to recover. To return supported data to an iOS device, click Restore to Device. To save the selected files locally, click Recover to Computer and continue to Step 12.
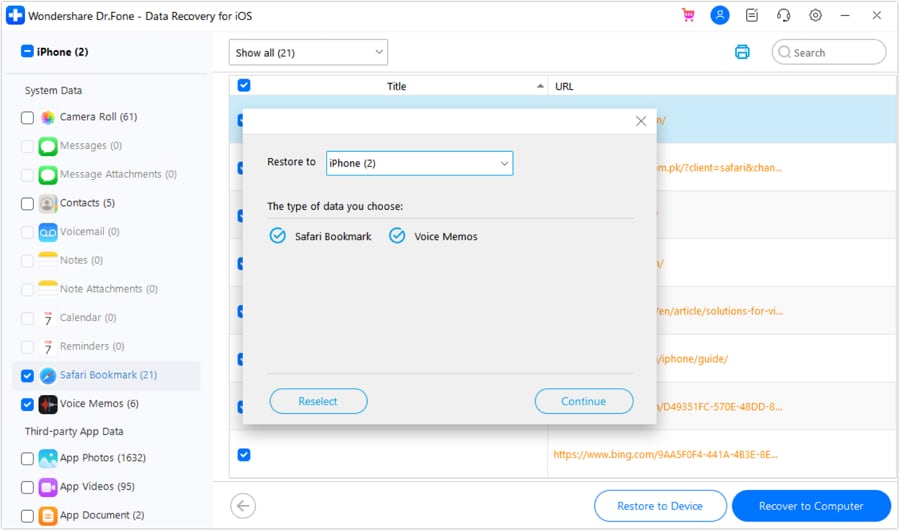
If you selected Restore to Device, choose the connected iPhone or iPad that will receive the data. Review the recoverable data, and then click Continue.
If prompted, disable Find My on the iOS device. After disabling it, return to Dr.Fone on the computer and click OK.
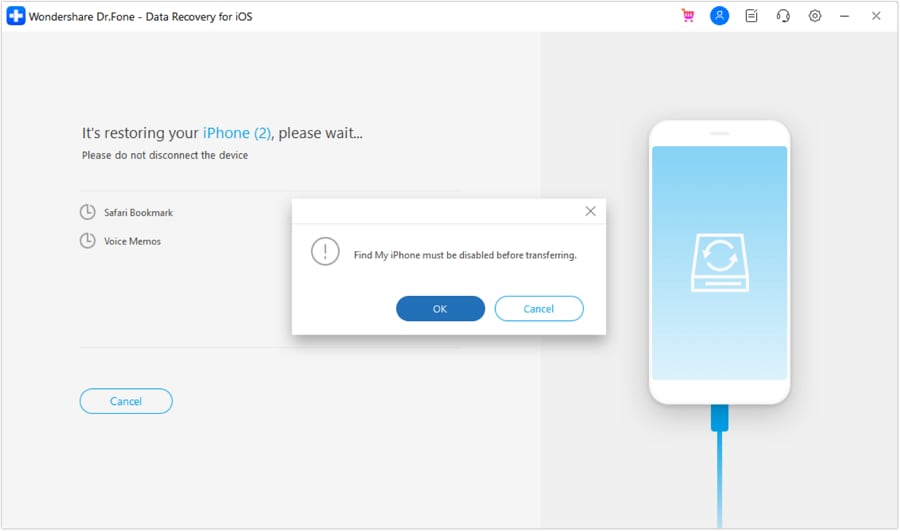
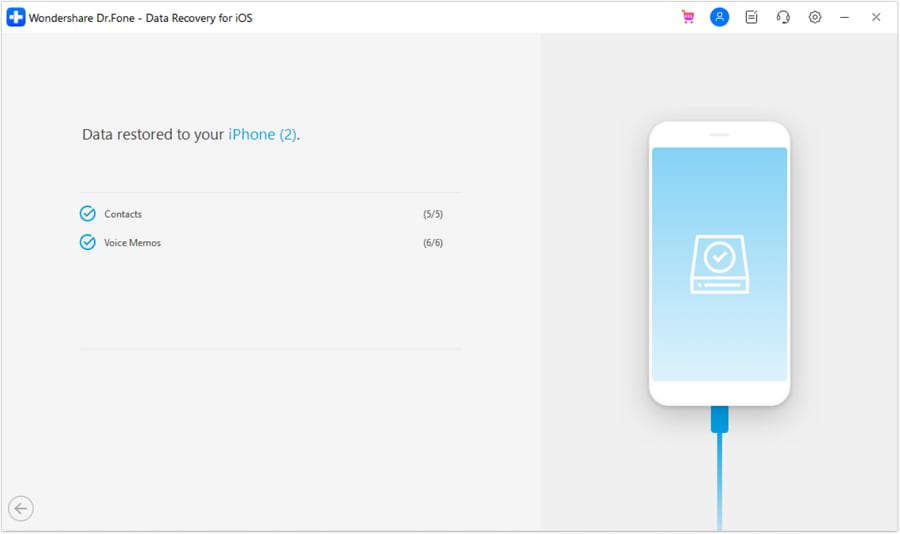
Keep the device connected while Dr.Fone restores the selected data. A confirmation appears when the process is complete.
If you selected Recover to Computer, choose a location for the recovered files, and then click Recover to save them.
Recover More Data with Advanced Recovery
Advanced Recovery performs a deeper scan for more deleted data on supported iOS devices and from supported third-party apps. The initial setup is the same as Standard Recovery, so the repeated steps are summarized below.
Complete Steps 1–4 under Standard Recovery: open Toolbox > Data Recovery, select iOS and Recover Data from an iOS device, and connect the device. After Dr.Fone detects the device, select Advanced Recovery and click Start Scan.

Select the system or third-party app data you want to scan, or choose All to scan every available category. Selecting only the data types you need may reduce the scanning time. Click Start Scan after making your selection.

Supported data types may include:
- Contacts
- Notes and note attachments
- Alarms
- Snapchat and attachments
- Gmail and attachments
- Viber and attachments
- Kik and attachments
- LINE and attachments
Dr.Fone may ask you to verify your Apple ID before retrieving certain data types. Follow the on-screen instructions to complete the verification.

Follow the instructions in Dr.Fone to trust the Dr.Fone DataLink app. On the iPhone, open Settings > General > VPN & Device Management, and then open the developer profile shown on the screen.

Tap Trust, allow the required access, and launch Dr.Fone DataLink. Then return to Dr.Fone on the computer.

Dr.Fone retrieves and scans the selected data. Keep the iOS device connected until the scan is complete. The required time depends on the amount of data stored on the device.

When the scan finishes, preview the results and filter them by all data, existing data, or deleted data.

Select an app category in the left panel to preview available deleted messages and attachments before recovery. The examples below show recovered Gmail, Kik, and LINE data.


Select the items you want to recover. For recovered View Once data, you can remove unwanted items from the results list so they do not remain there for future scans.
Click Recover to Computer to save the selected files locally. If Restore to Device is available for the selected data type, you can return the data to a connected iPhone or iPad. These final actions follow the same process described in Steps 8–12 under Standard Recovery.
WHAT YOU'LL NEED
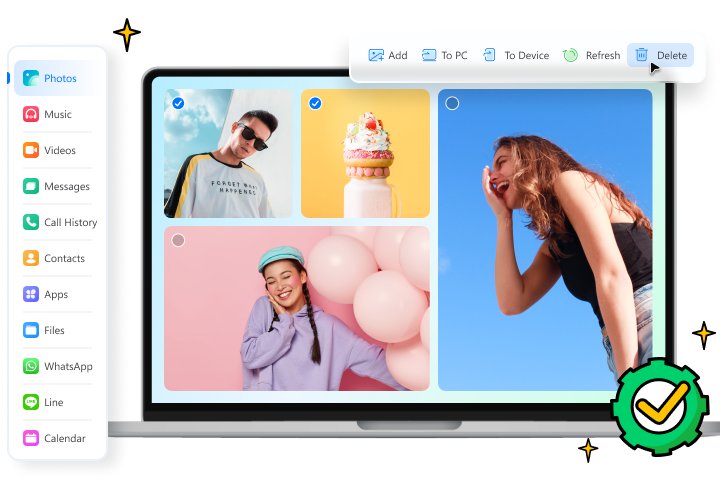
Dr.Fone provides a complete set of tools for solving iOS and Android phone problems.
Need help?
You might find the answer to your question in the FAQ or additional information below: