How To Recover Data From Google Drive?
There are many cloud backup services that in the market to provide users with ample space to keep data backups. While you store essential data within platforms like Google Drive, there's a chance that your data might get compromised due to issues with the cloud platform.
To keep your data safer, Dr.Fone - Data Recovery (Android) provides a reliable option for recovering data from Google Drive. Learn how to recover from Google Drive with the help of Wondershare Dr.Fone.
Manage Your Phone Wherever You Go
Recover Data from Google Drive
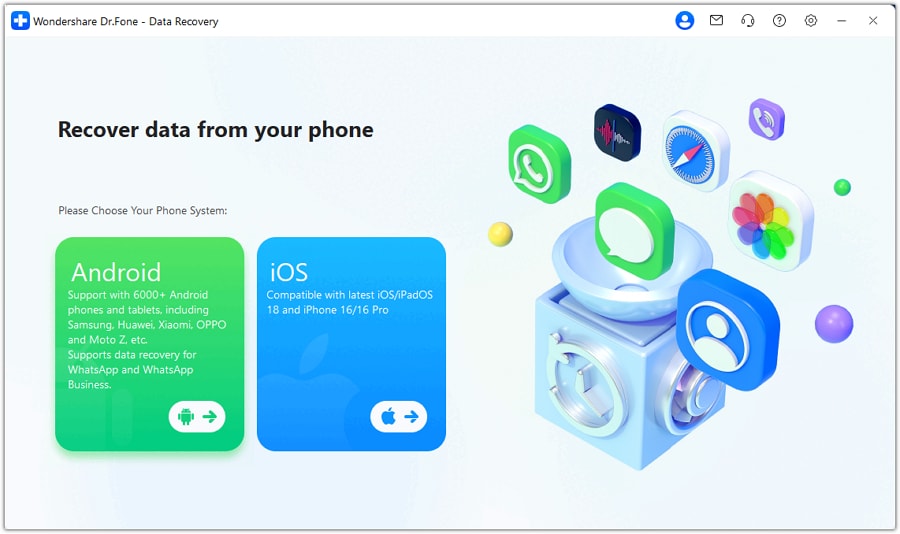
To recover from Google Drive, you will have to launch Wondershare Dr.Fone on your computer and continue under the following navigation: Toolbox > Data Recovery.

* Dr.Fone Mac version still has the old interface, but it does not affect the use of Dr.Fone function. We will update it as soon as possible.
Once you are on the next window, proceed to select the option of Android to continue the data recovery process.
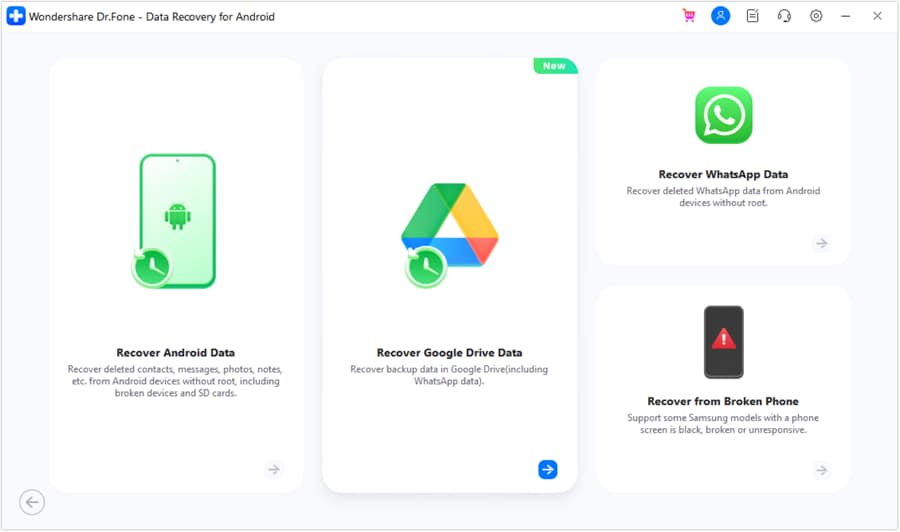
In the following window, look for the Recover Google Drive Data option out of the available set to proceed with the data recovery process.
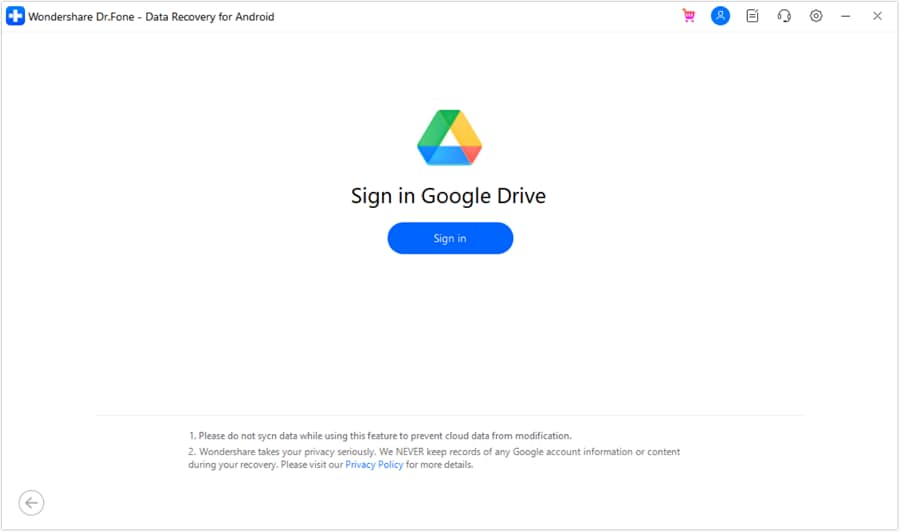
On the next screen, you will be prompted to sign into your Google Drive account. Click the Sign In button to lead to the next window.
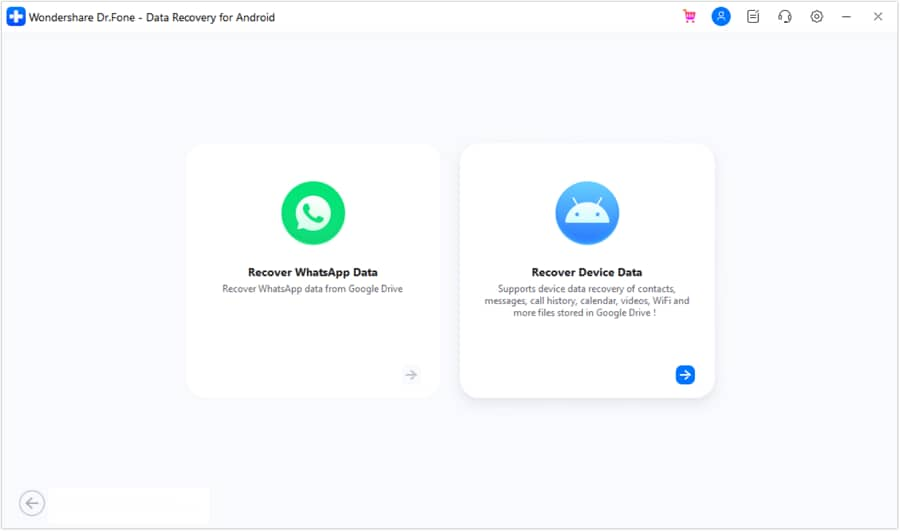
As you successfully sign into your Google Drive account, select the option of Recover Device Data out of the two options appearing on the next screen.
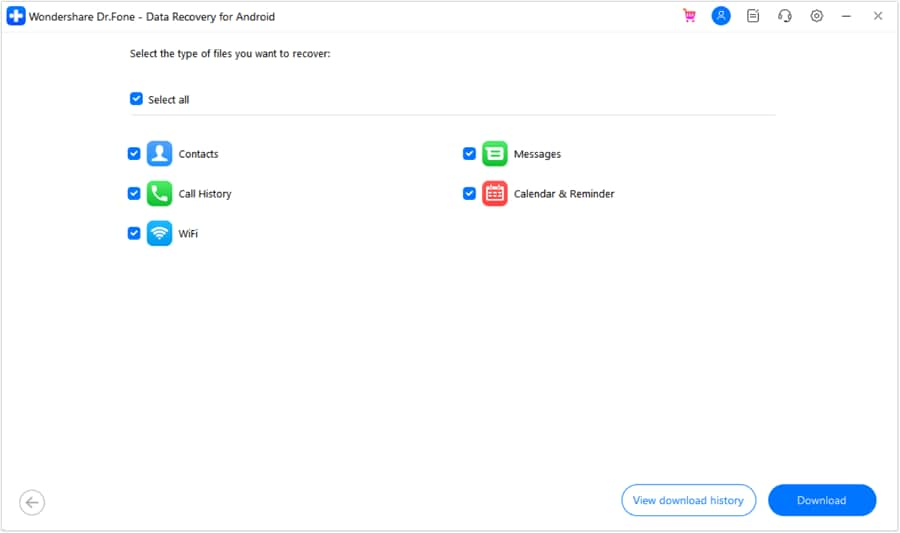
Following this, you will be prompted with the file types that can be recovered during the process. Select all the types you wish to save and click Download to continue next. You can also select the View download history option to view the previous Google Drive downloads that proceeded with this tool.
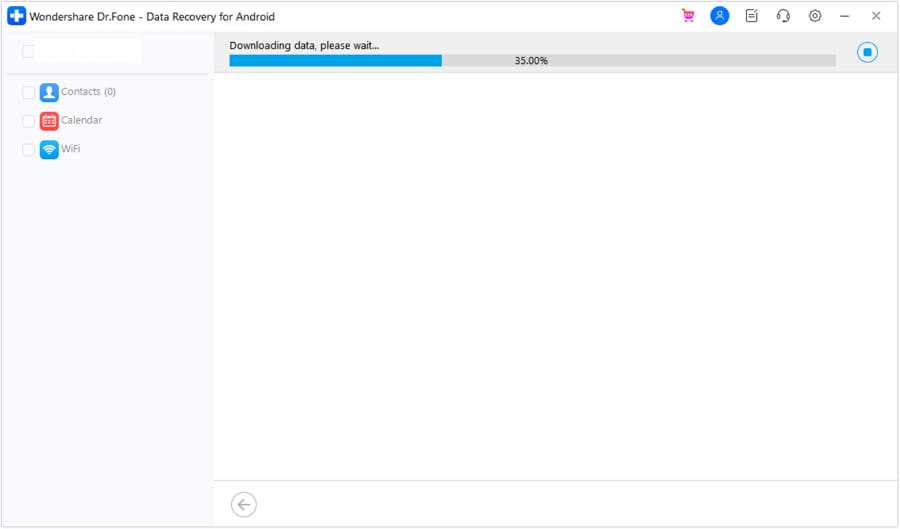
As you continue downloading data from your Google Drive account, the following window will show the progress.
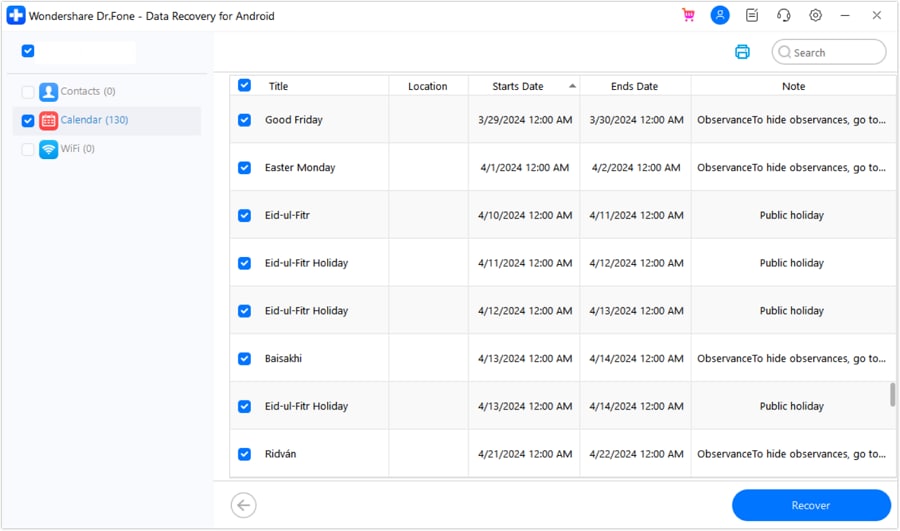
The window previews all the data that has been recovered from Google Drive. Navigate into the respective data type section from the left panel. Select the data that you wish to recover on your computer. You can also print out specific data types with the Printer icon available on the top-right of the screen.
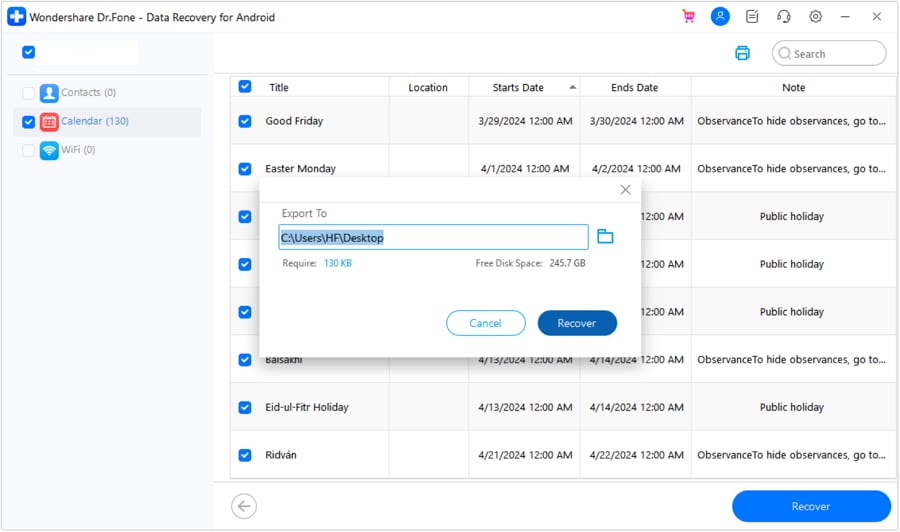
On selecting the Recover button on the bottom-right of the screen, you will be prompted to a pop-up window. Define the location where you want to recover the data and click Recover to execute the process.
WHAT YOU'LL NEED

Dr.Fone provides a complete set of tools for solving all iOS/Android phone problems.
Need help?
You might find the answer to your question in the FAQ or additional information below: