
3 Quick and Easy Methods to Back up Android to PC in Minutes
Android Backup

Jun 25, 2025 • Filed to: Backup & Restore Data • Proven solutions
Smartphones have become essential for managing everything—from contacts and messages to documents, photos, and videos. But relying solely on your phone for storage can be risky. Over time, crashes, accidental formatting, or system errors may lead to permanent data loss.
That’s why it’s crucial to back up your Android to PC regularly. Keeping a secure copy of your data on a computer ensures that you can recover important files anytime. In this article, we’ll explore three effective methods to back up Android data to your PC, so you never have to worry about losing valuable information again.
Part 1: How to Back Up Android to PC with One Click?
If you're looking for a reliable way to back up Android to PC, Wondershare Dr.Fone - Phone Backup (Android) is a powerful and user-friendly tool worth considering. With its clean interface and intuitive design, even beginners can back up Android data in just a few clicks.
Dr.Fone runs directly on your computer and allows you to create a complete backup of your Android device—storing all data securely on your PC. It supports a wide range of file types, including contacts, SMS, call logs, calendars, notes, photos, videos, and even installed apps.
Dr.Fone - Backup & Restore (Android)
Flexibly Backup and Restore Android Data
- Selectively backup Android data to computer with one click.
- Preview and restore backup to any Android devices.
- Supports 8000+ Android devices.
- There is no data lost during backup, export or restore.


Here is how it helps to back up Android phones to PC:
Step 1: Launch Dr.Fone
Install and launch the program on the computer for Android. Out of the various tools present on the interface of the program, select "My Backup".

Step 2. Set Dr.Fone Link App As the Default SMS App
Before you continue with the backup process, you will have to execute an operation guided by the platform. To back up text messages on your Android device, you will have to open the Dr.Fone Link app and set it as your default SMS application.

Step 3. Wait For the Backup Process to Complete
The backup process will automatically start, with a progress bar showing the completion of the backup.

Step 4. Set Default SMS App Again
Once the backup is about to complete, another prompt appears on the platform asking you to set the default SMS application for your Android.

Step 5. Complete The Backup of the Device
As the backup is completed, it will be displayed in the window for the user. To view the backup in the location of your PC, click Open in Folder. For viewing all backups made across the platform, select View Backups.

This method is ideal for everyday Android users looking for a quick and hassle-free way to back up Android to PC. One of its biggest advantages is broad compatibility—it works with most Android phones and tablets, regardless of brand or model.
Part 2: How to Copy and Transfer Android Data to PC Manually?
One of the simplest ways to back up Android to PC is by manually transferring files using a USB cable. Just connect your Android device to the computer with its original USB cable, then copy and paste photos, videos, music, and documents into a folder on your PC. Here is how you can use this process:
Step 1: Turn on the Android device and enable USB debugging. To enable USB Debugging on the device, go to the “Developer option” by getting into “Settings”.
Step 2: Now, use a USB cable to connect the Android device to the computer to transfer media files. Now enable "USB for file transfer".
Step 3: Now, a window will open on the computer screen where you can have access to the internal storage of the phone as well as the SD card storage if the phone has one.
Step 4: After you have got complete access to the phone's internal and external memory i.e., SD card, you can copy the data or media files and paste them onto the computer memory. You may even drag and drop the files to the computer to transfer. When the file transfer is completed, eject the Android device or disconnect it from the computer.
Using a USB cable to back up Android to PC is one of the easiest and completely free methods available. Simply connect your phone to your computer and transfer files manually. However, this method only supports media file backups like photos, videos, and music.
Part 3: How to Back Up Android to PC with Nandroid Backup (Root Required)?
Nandroid Backup method is a way in which the device's NAND memory data can be saved or can be created a copy of. While this is a great method to create a backup for all the data on the Android device, this method requires the device to be rooted. So, it is important to be diligent while carrying out this operation as this method carries a potential risk for the data saved in the device as well as the phone's operating system. It is required to root the device before backing it up. Here is how you can back up all the data from Android phone to PC using Nandroid.
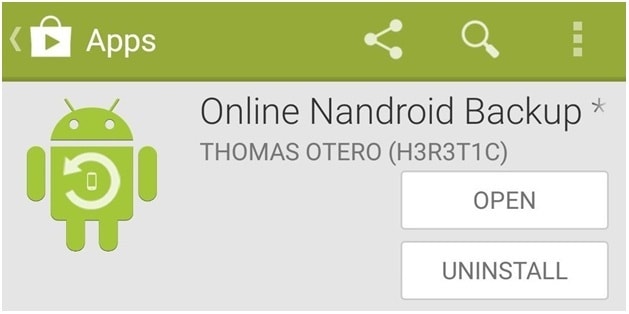
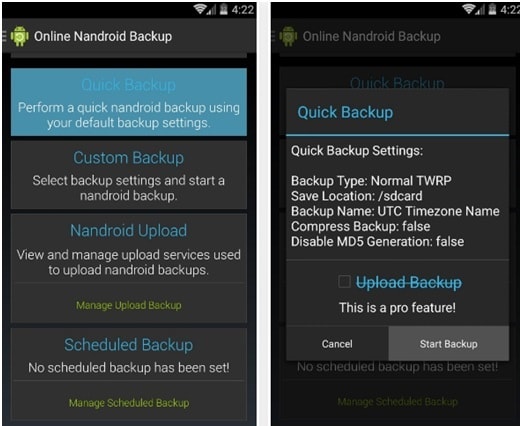
Step 1: Go to Google Play Store and install "Online Nandroid Backup" on the Android device.
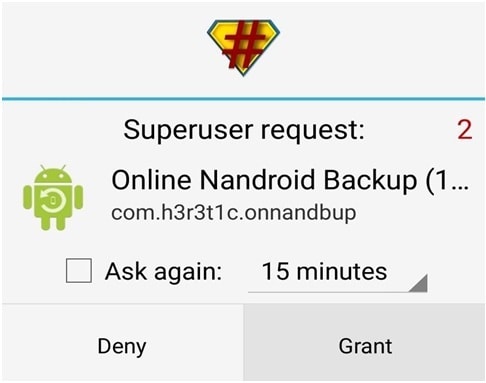
Step 2: When you open the application "Online Nandroid Backup" for the first time, it will ask for Superuser privileges. Grant all privileges.
Step 3: You can now start the backup process, and there will be a few backup options to be configured. Now, choose the "Backup Name". You can choose here how the Nandroid backup is to be labeled. The default option is the "UTC Timezone Name" label as it is based on the date on which the operation was performed.
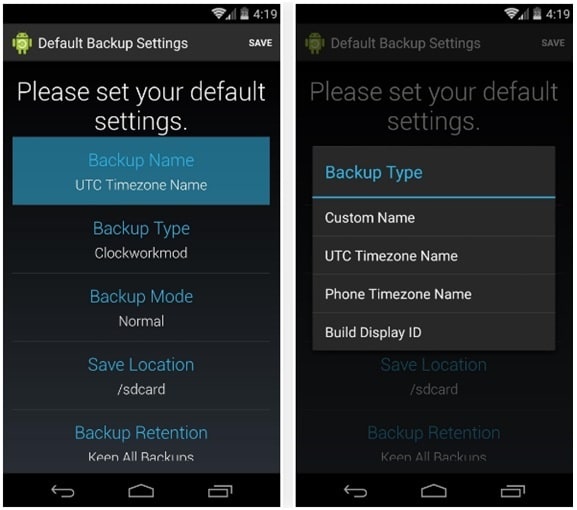
Step 4: Now, choose a Backup Type. Here you can select a format in which the backups will be saved. By default, you would find the "Clockworkmod" set as the Backup Type. If you require TWRP, then set that as the "Backup Type".
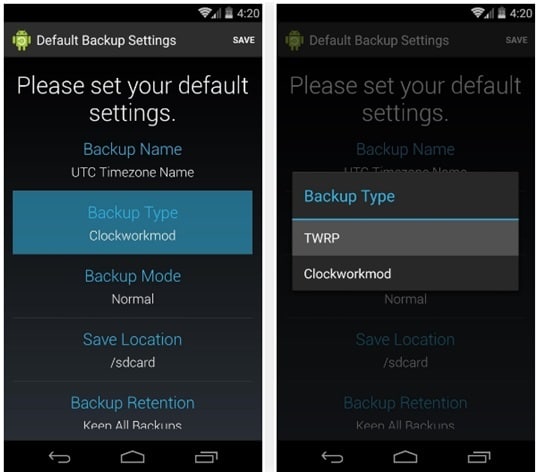
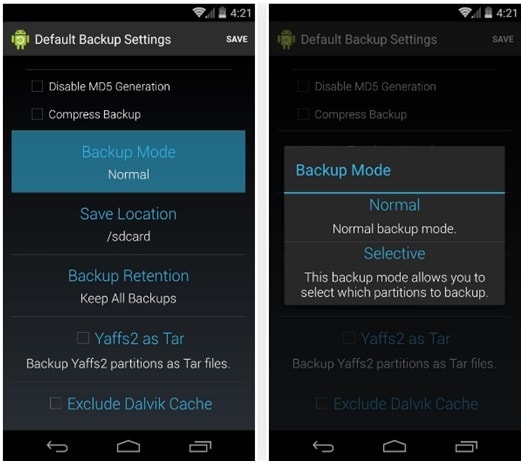
Step 5: Choose the "Backup Mode" now, which helps to choose which partition to start backing up with the Backup Mode. By default, you would find it set as "Normal" which is ideal.
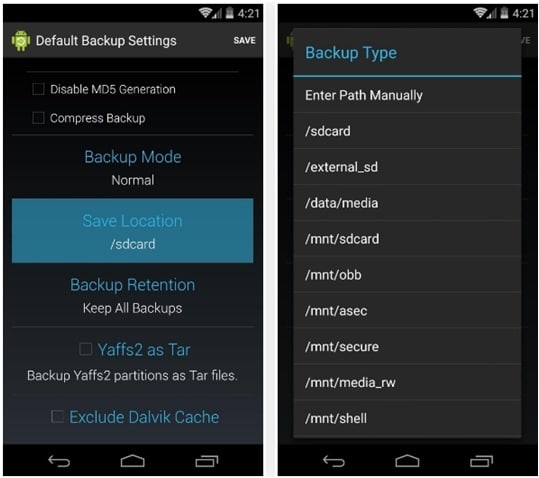
Step 6: Now, choose a location for the Nandroid Backup file to be stored. Make sure that you remember the location you set here.
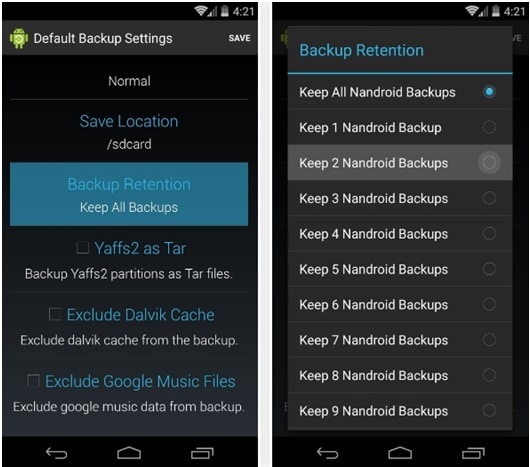
Now you can also choose how many Nandroid backups you would like to be saved before the older one is overwritten. Keep it to 2, preferably.
Now, save the changes made in the configured settings and go ahead with the backup process.
Step 7: To perform the backup, tap on "Quick Backup" from the OLB's main screen and select "Start Backup" on the confirmation dialog that shows up.
The backup process now will take some time to finish.
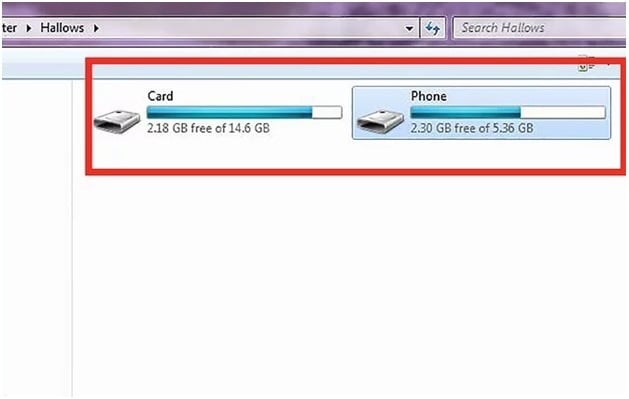
Another method to back up Android to PC is by copying backup files directly from your SD card to your computer. This approach doesn’t require a PC during the initial backup, as the data is first saved to the SD card.
Conclusion
These are some of the most effective methods to back up Android to PC quickly and securely. Whether you prefer using a USB cable, third-party software like Dr.Fone, or an SD card with root access, each method has its own level of complexity and features. Depending on your comfort level and backup needs—such as whether you want to save only media files or perform a full data backup—you can select the approach that works best for you.


Alice MJ
staff Editor