
Full Guide to Restore Android Phone

Jun 30, 2026 • Filed to: Backup & Restore Solutions • Proven solutions
 TL;DR:
Restoring an Android phone's data relies on enabling Google's built-in automatic recovery for cloud files or using Dr.Fone - Backup & Restore (Android) for selective file retrieval via a computer.
● Enabling "Automatic Restore" in the device's "Backup and Reset" settings triggers the automatic download of data previously synced to your Gmail and Google Drive accounts.
● Utilizing Dr.Fone - Backup & Restore (Android) permits selective backup and restoration of specific data types via a USB connection to a PC, but strictly requires the Android device to be rooted.
● Performing a "Factory Data Reset" to fix system malfunctions or viruses permanently erases all local files, making a prior comprehensive backup a mandatory prerequisite.
Ask AI for a summary
 ChatGPT
 Perplexity
 Gemini
 Claude
 Grok
Grok
Dr.Fone Basic:
Better Control for Your Phone
Manage, transfer, back up, restore, and mirror your device
Your phone has become essential for staying connected, capturing photos, storing files, and more. As an Android user, it's important to know how to restore your Android device to prevent losing valuable data like contacts, settings, and passwords. Whether you've lost your phone or need to restore it, understanding how to recover your important files ensures your data stays safe.
Today, you'll learn effective methods to restore your Android phone when needed. This guide is divided into three parts, each offering a clear, easy-to-follow method for restoring data on your Android device.
Part 1: Restore Android Phone from Google Backup
In this section, we’ll show you how to restore your Android phone using Google Backup. Google Backup saves your important files to your Gmail account and Google Drive. To restore, ensure your files are backed up, then follow these simple steps to retrieve data from your Google Backup.
Step 1. Open Notification Panel
At the first step, you need to open Notification panel by touching and sliding down the top of the screen of your Android phone.
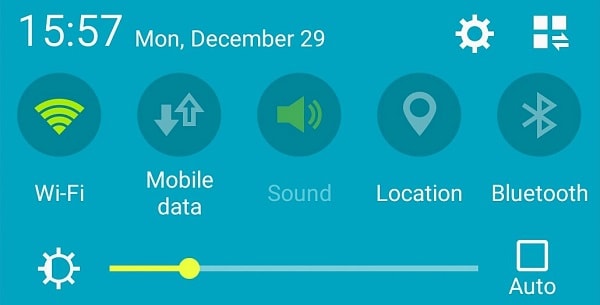
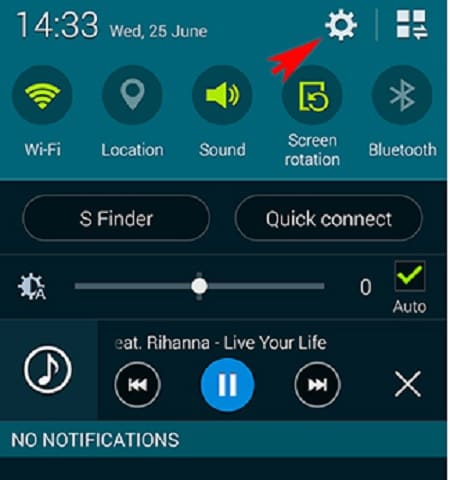
Step 2. Tap on Setting
Now you have to tap on the Settings icon on the display in the step.
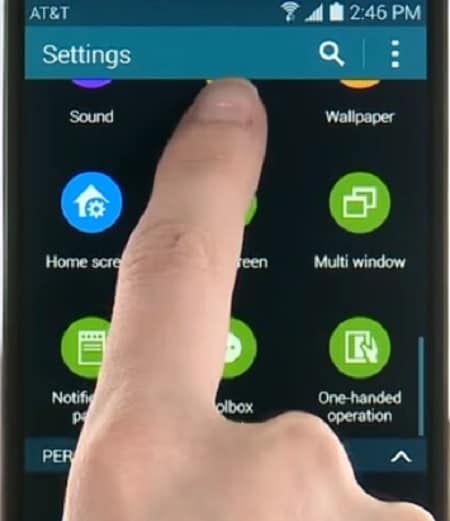
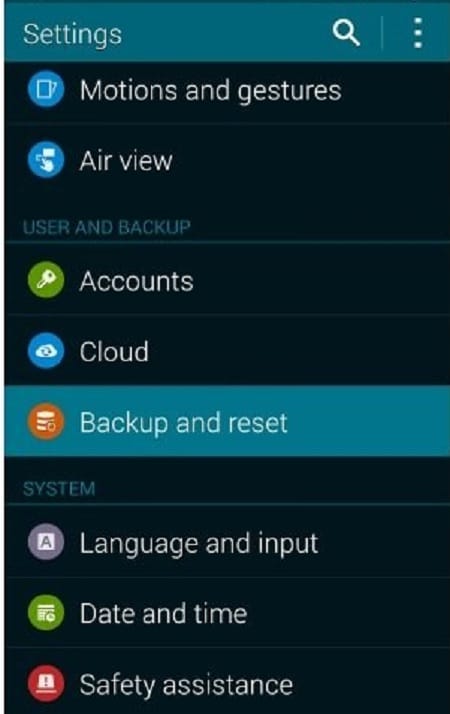
Step 3. Scroll down
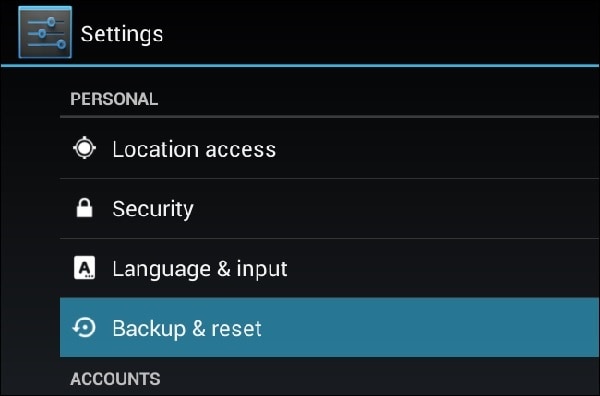
After tapping on Settings, you are going to scroll down in this step to find the ‘Backup and Reset’ button.
Step 4. Tap on Backup and Reset
As find the ‘ Backup and Reset’ button, you have to click on it so that you can proceed ahead.
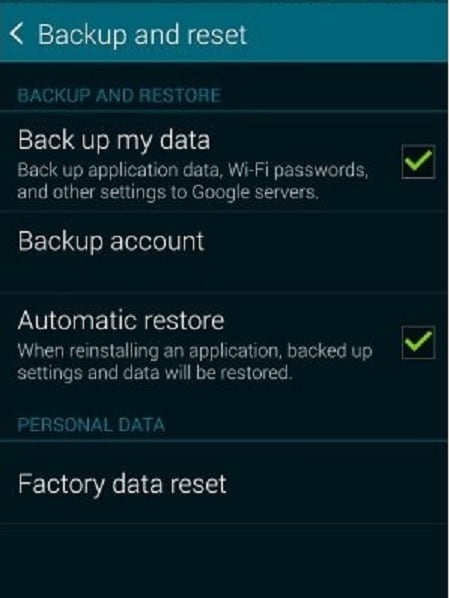
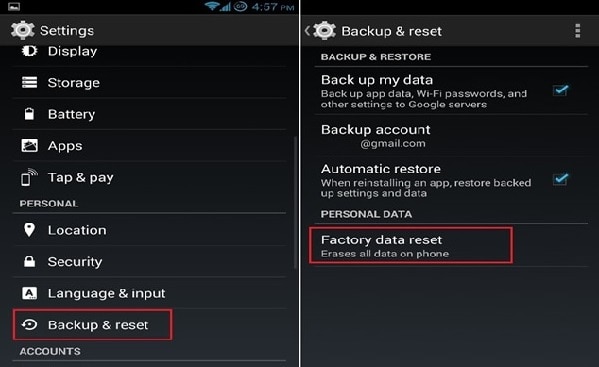
Step 5. Check on the Boxes
Now you must see a new screen with some boxes on it as shown in the image below. You have to check on ‘Automatic Restore’ button. This click will make the data restore automatically on the phone. This way you can always restore your android phone from Google backup just in few steps.
Part 2: Restore Android Phone After Factory Reset
In this section, we’ll guide you on restoring your Android phone after a factory reset. A factory reset is often necessary when your phone is slow, malfunctioning, or infected with a virus. To restore your phone to its previous state, it’s crucial to back up your data first. We’ll show you how to back up and restore using Dr.Fone.
Dr.Fone - Backup & Restore (Android)
Flexibly Backup and Restore Android Data
- Selectively backup Android data to computer with one click.
- Preview and restore backup to any Android devices.
- Supports 8000+ Android devices.
- There is no data lost during backup, export or restore.
Step 1. Launch Dr.Fone on your PC
First of all, you have to download the Dr.Fone application and launch it on your computer. Please note that there must be any other such backup application running at the moment.

Step 2. Connect your Phone to the PC
After selecting ‘Backup & Restore’ among all the functions, you need to connect your Android phone to the PC using a USB cable in this step. It will automatically detect your phone.
Step 3. Click on Backup and Select File Type
Once Dr.Fone detected your phone, you are needed to click on ‘Backup’ button and then select what data type you want to backup to your pc. Please note that your phone needed to be rooted for this method.

Step 4. Click on Backup Again
After you finish selecting the file type, you have to click on ‘Backup’ again so that the actual process starts. This time the Backup button is at bottom as you see in the given screenshot.

Step 5. Wait for Some Moment
You are instructed to wait for some time as the process is time taking depending on the file size.

Step 6. View the backup
As the backup process is complete, you can view the backup files in this step. You have to click on ‘View the backup” to view them.

Step 7. View the content
Now you can view the content by clicking on ‘View’
Now we are showing you how to Restore backup file.
Step 8. Click on Restore
To restore data from a backup file you already did, you need to click on ‘Restore’ and target the older backup file on your computer. You may have backed up the file either on this Android phone or else.
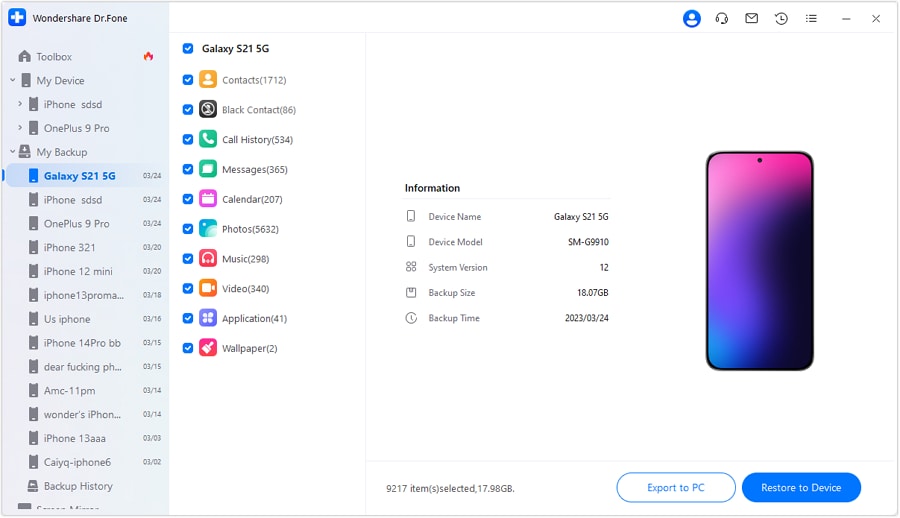
Step 9. Choose Data for Restore
In this step, you need to choose the data you want to restore. You can easily see the selection option on the left side. After selecting, you have to click on ‘Restore to Device’ to initiate the process.
Step 10. Complete the process
It may take some time to restore the files. Once it is done, Dr.Fone will notify you.

Ditch the hassle of multiple apps and simplify your mobile experience with Dr.Fone App, the ultimate all-in-one solution for iOS and Android users. Unlock your device, change your GPS location, and transfer WhatsApp data with ease. Plus, recover lost data from Android devices and transfer files, photos, and music between devices with ease. Fix common system issues and get the most out of Dr.Fone App with our "Tips" section below.
Dr.Fone App - Android Data Recovery
Get Back Your Valuable Data from Android Devices with Ease.
- Supports multiple data types: contacts, photos, videos, audios, and files.
- Compatible with over 6000+ Android brands.
- Recovery history available for review.
- High efficiency and success rate.


Part 3: Restore Android Phone to Previous State
In this section, we’ll explain how to restore your Android phone to its original state using a factory reset. However, it’s essential to back up your files beforehand for later restoration. Follow these simple steps to restore your Android phone.
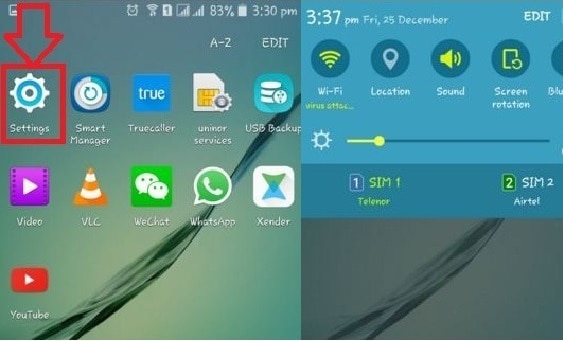
Step 1. Go to Settings
The first step tells you to go to Settings on your phone and tap on it. Either you find the Settings on the screen of your phone, or you tap and scroll the top of the screen to open Notification panel to get the settings as in the image below.
Step 2. Scroll down to Backup & Reset
After getting into Settings window, you have to scroll down and find the ‘Backup & Reset’ button. As you get it, just click on it.
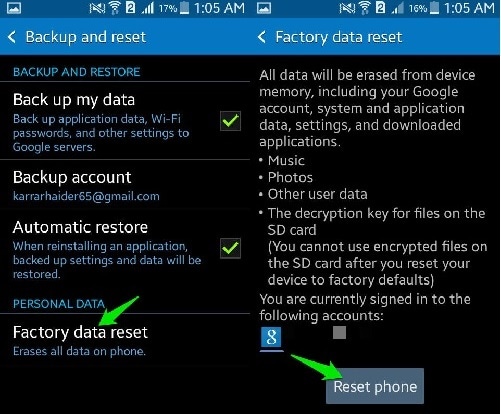
Step 3. Tap on Factory Data Reset
Now you have to click on ‘Factory Data Reset’ on the window as shown in the screenshot.
Step 4. Click on Reset Device
You need to click on ‘Reset Phone’ in this step after reading the information on the screen.
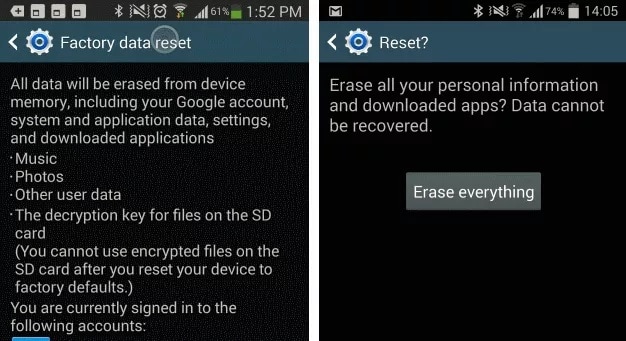
Step 5. Tap on Erase Everything.
This is the final step, and you have to tap on the button’ Erase everything’. After that, the phone will be reset to its previous state. You can restore the backed up files now on it and enjoy.
Conclusion
In conclusion, restoring your Android phone is essential to ensure that your important data, such as contacts, settings, and files, are not lost in case of device issues. By the three methods outlined in this article, you can easily restore your Android phone and regain access to your essential information.
Dr.Fone Basic:
Better Control for Your Phone
Manage, transfer, back up, restore, and mirror your device


Android Backup
- Backp Android
- 1. Backup Android to PC
- 2. Backup Android Photos
- 3. Android Wifi Backup
- 4. Backup Phone with Broken Screen
- 5. Backup Android Rom/Firmware
- 6. Backup SD Card on Android
- 7. Backup Android SMS
- 8. Backup Android Phone With Root
- 9. Backup Android to Mac
- 10. Backup Viber Messages
- Android Restore
- 1. Guide to Restore Android Phone
- 2. Backup and Restore Android Phone
- 3. 2 Ways to Restore Contacts on Android: Step-by-Step Guide
- 4. Restore WhatsApp from iCloud
- Backup Apps
- 1. Android Backup Apps to Backup Files
- 2. 6 Apps to Backup Bookmarks
- 3. Top 10 Contacts Backup App
- 4. Backup Android App and App Data
- 5. The Best Android Backup Extractor
- 6. Top 5 Android Backup Softwares
- 7. 6 Best Android Backup Softwares
- 7. 7 Android Fastboot Reset Tools
- Samsung Backup
- 1. Back Up Samsung to Google Drive
- 2. Backup Contacts on Samsung
- 3. Backup Text Messages on Samsung
- 4. Backup and Restore Samsung Galaxy
- 5. Backup Everything on Samsung
- 6. Backup Samsung Galaxy to PC
- 7. 10 Samsung Cloud Backup Services
- 8. Solution For Samsung Message Backup
- 9. 5 Samsung Photo Backup Solutions
- 10. Backup Samsung S10 to PC
- ● Manage/transfer/recover data
- ● Unlock screen/activate/FRP lock
- ● Fix most iOS and Android issues
- Free Download Free Download Free Download


James Davis
staff Editor