How To Change HEIC Photos to JPG Format?
HEIC photos are commonly connected to iOS devices, which are mostly incompatible with other platforms instead of those supported by the iPhone. In such cases, you have to convert HEIC to JPG so that the images can be easily accessible on all platforms.
To know how Dr.Fone can help in becoming the perfect HEIC to JPG converter, follow the steps below:
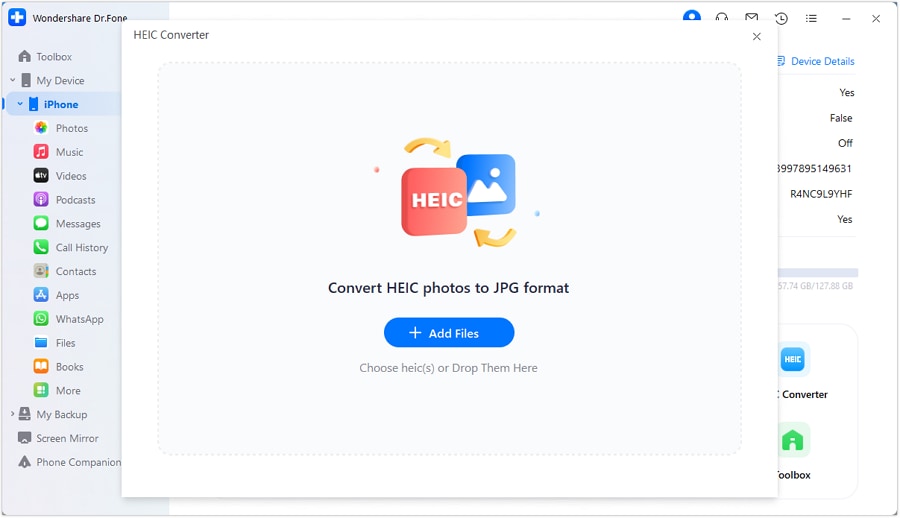
Launch Dr.Fone on your computer and connect your iPhone with a wireless or wired connection. As the connection is established, select the iPhone from the left panel to open the home dashboard for phone management. Continue to choose HEIC Converter from the options on the home screen.

* Dr.Fone Mac version still has the old interface, but it does not affect the use of Dr.Fone function. We will update it as soon as possible.
A new window opens where you have to add HEIC photos for conversion. Choose your images by clicking the + Add Files button.
Add them to the platform after successfully browsing the images. Continue adding more HEIC images by clicking the Add Files button. Once done, continue by tapping on Convert.
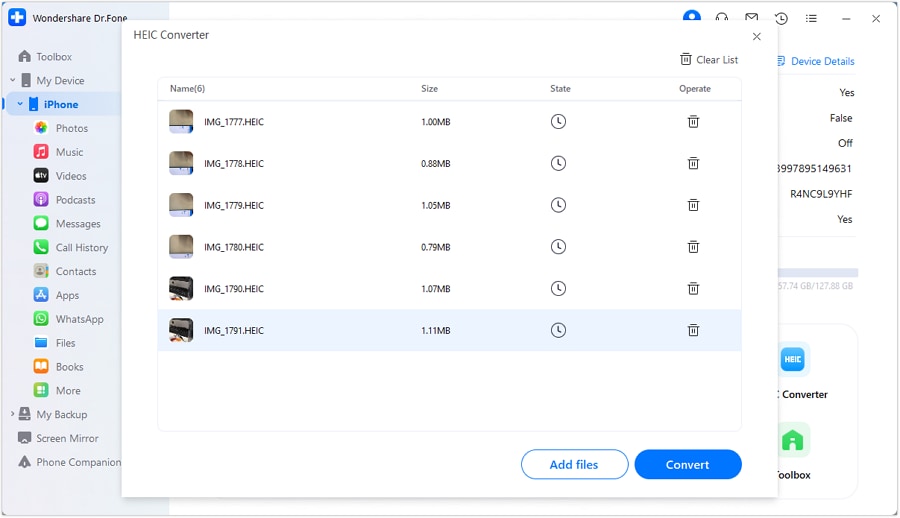
Conversely, you can drag the HEIC images into the platform for conversion.

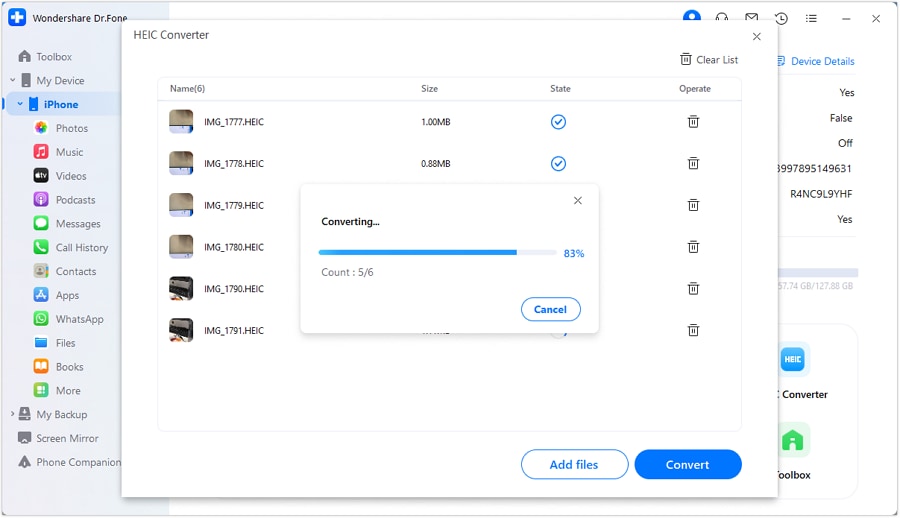
As the conversion process starts, a pop-up window appears showing the completion percentage of the process. If you wish to cancel the process, click Cancel on the pop-up.
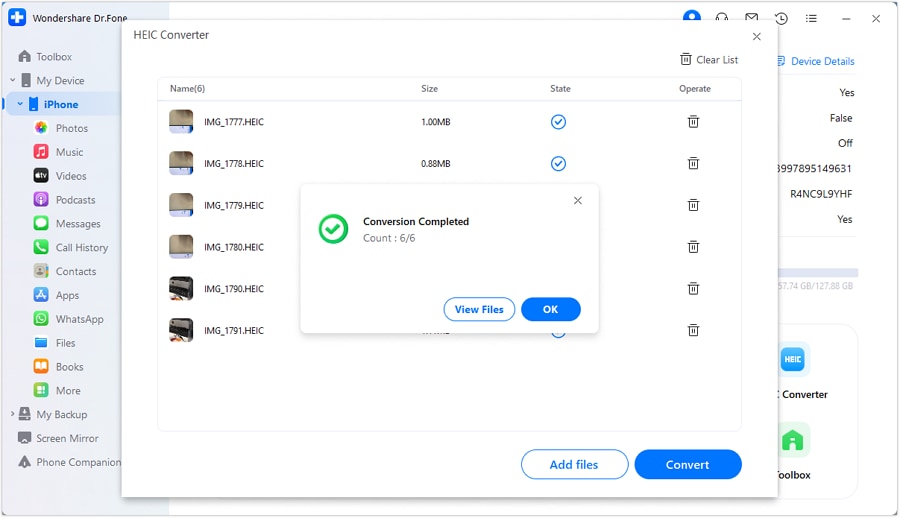
Once the conversion completes, click OK or continue to View Files to check how well Dr.Fone has converted the HEIC to JPG.
WHAT YOU'LL NEED

Dr.Fone provides a complete set of tools for solving all iOS/Android phone problems.
Need help?
You might find the answer to your question in the FAQ or additional information below: