How To Transfer Files to Your Device Quickly With Dr.Fone?
Do you have some files that you want to instantly transfer to your device? Instead of going through places and finding and moving the files to your phone, you can do it in no time with Dr.Fone. The platform provides some great functionalities, including the ability to transfer files to the phone quickly. Find out how it is done with Dr.Fone's intuitive interface below.
Index
How To Perform Quick Transfer From Computer to iOS?
Open Wondershare Dr.Fone and connect your iOS device to the computer. As it is detected by the platform, proceed to select the Quick Transfer button at the bottom of the home screen.

* Dr.Fone Mac version still has the old interface, but it does not affect the use of Dr.Fone function. We will update it as soon as possible.
A new window opens where you can click the Select Files button to import the files that are to be transferred to the phone. You can also drag and drop the files to perform quick operations.

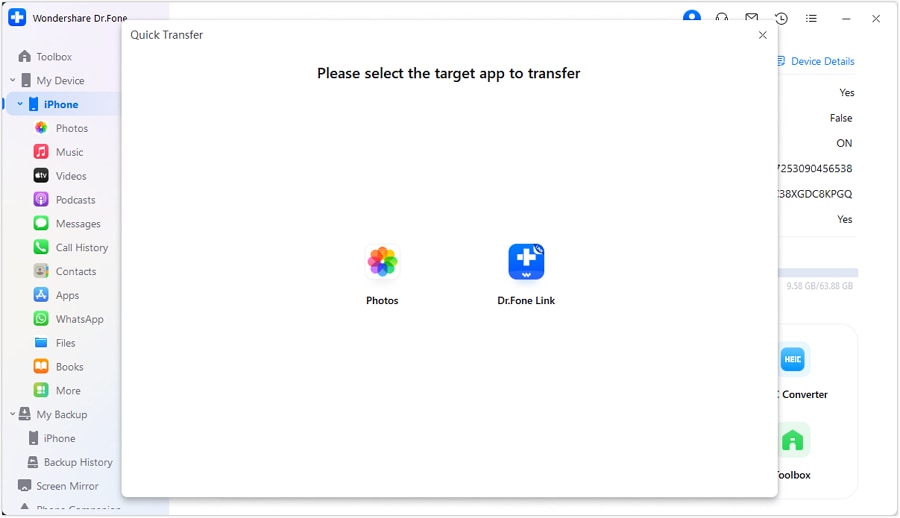
Once done, Dr.Fone might show the option of selecting a target application where you want to store the specific data type. Select to proceed toward the execution of the process.
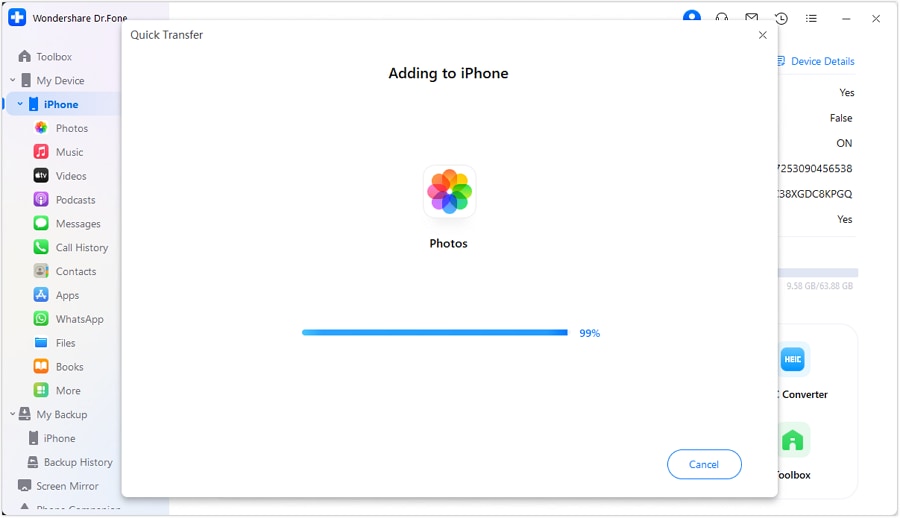
The next window shows the completion of the process with a progress bar. Click the Cancel button to close down the process if needed.
Once done, the screen prompts over the completion of the process with a small indication. To check out where the data is stored, navigate to the “i" icon to open a pop-up showing the location of the transferred data.

Part 2. How To Perform Quick Transfer From Computer to Android?
You will have to connect your Android device with a USB cable to the computer. Proceed to select the Quick Transfer button after the successful detection of the device.

Proceed to drag and drop the files that you want to transfer. You can also click the Select Files button to import them into the platform.

With it done, select Dr.Fone Link, where the files will be stored on your device.
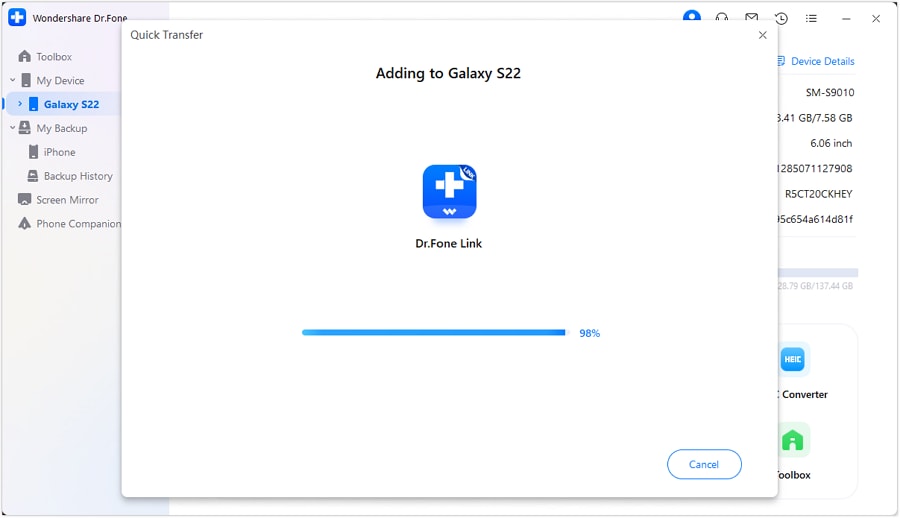
The platform automatically transfers all selected data to the Android using Dr.Fone Link. Once it is done, you can navigate to the “i" icon to find out the location of the transferred data in the Android.

WHAT YOU'LL NEED

Dr.Fone provides a complete set of tools for solving all iOS/Android phone problems.
Need help?
You might find the answer to your question in the FAQ or additional information below: