Transfer Media Data From iTunes to iOS/Android Device
iTunes holds a lot of utilities, out of which managing media stands as one of its staple operations. While you might still be using iTunes for managing your music files, you may need to transfer media data from iTunes to your smartphone for listening to your favorite music. Find out how to transfer iTunes media data to iOS and Android in this guide.
Part 1. Transfer iTunes Media Data to iOS
If you are seeking to transfer iTunes media data to iOS with Dr.Fone iTunes Library feature, the guide right here is the best option that you can come across:
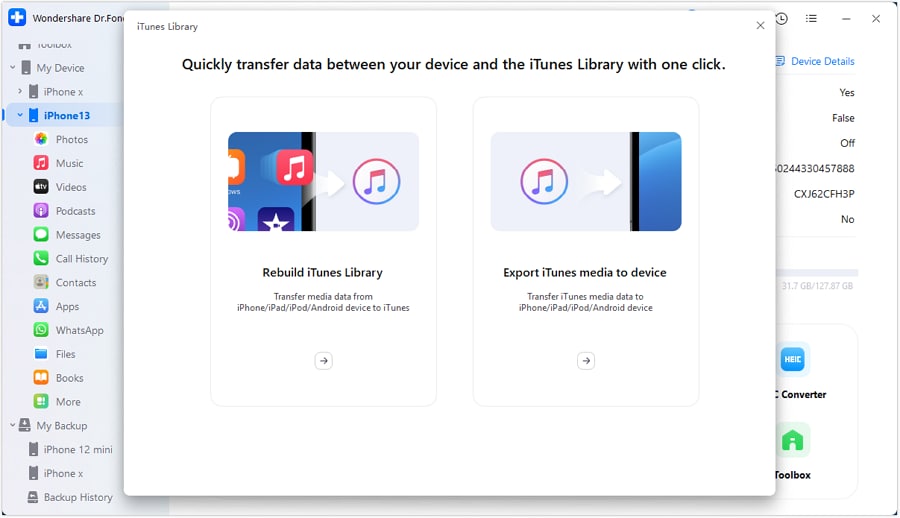
Launch Dr.Fone on your computer and proceed to connect to your iPhone through appropriate means. As it gets displayed on the left panel, continue to select the device and approach iTunes Library from the homepage.

* Dr.Fone Mac version still has the old interface, but it does not affect the use of Dr.Fone function. We will update it as soon as possible.
Select the option of Export iTunes media to device on the next window since you are to transfer data from iTunes to IOS.
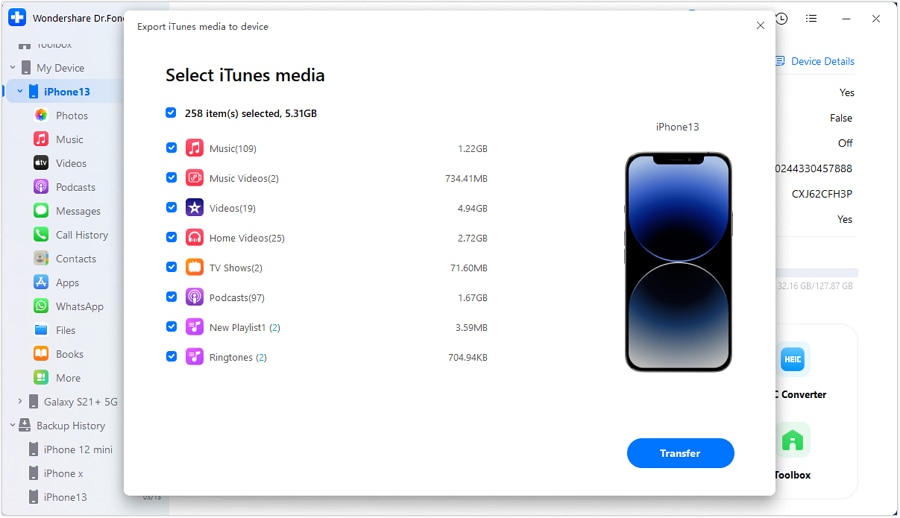
On the next screen, select the media file types that you want to transfer. Checkmark all the file types you wish to transfer and click Transfer.
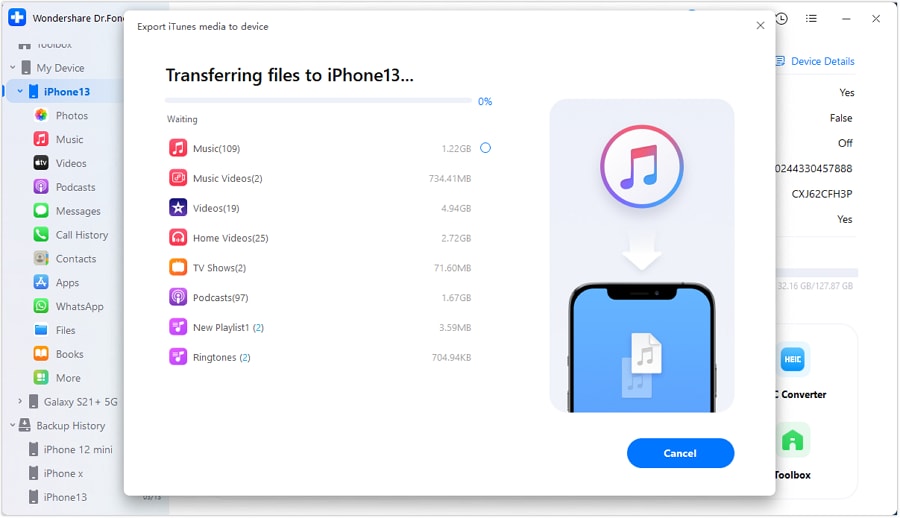
As the process starts, the progress bar shows the completion level of the transfer. You can click Cancel at any time to abort the process.
The next prompt displays the completion of the process. Click OK to conclude the process.

Part 2. Transfer iTunes Media Data to Android
You can also transfer iTunes media data to Android with a similar approach to Dr.Fone – iTunes Library. The guide provided below will help you transfer the required data with ease:
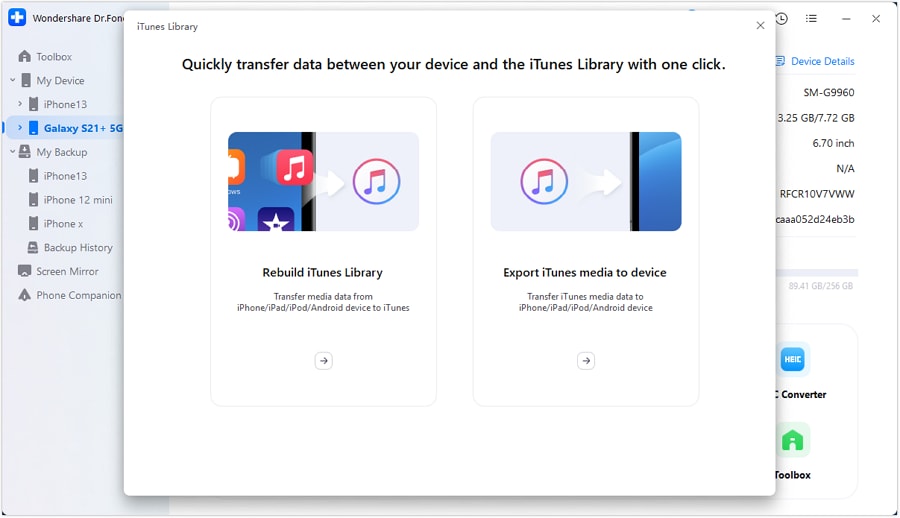
As you open Dr.Fone, connect your Android device using a cabled or wireless connection. Once it appears on the left panel, select it to access the homepage, where you can find the option of iTunes Library.

You will be redirected to a new window, where you must select the Export iTunes media to device option. This option serves the approach of transferring iTunes media to an Android device.
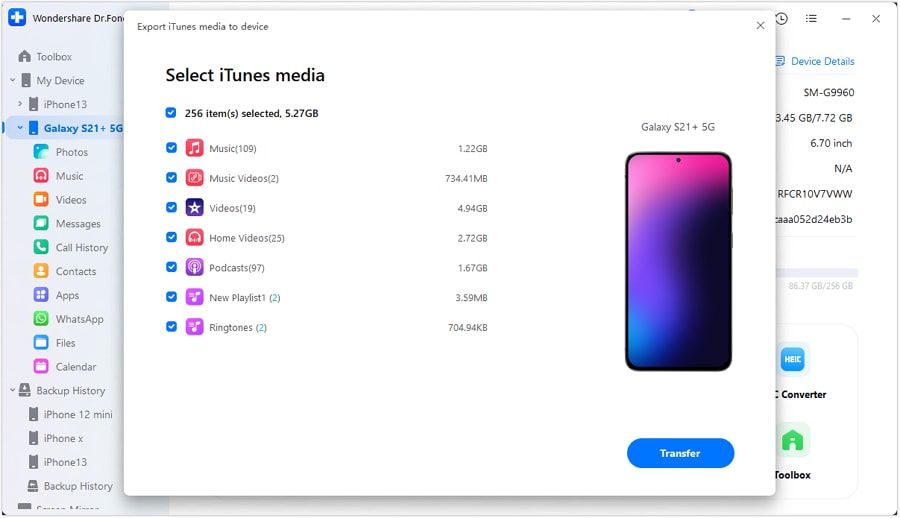
On the next screen, you will be asked to select the file types that you wish to transfer. Checkmark all types that you look forward to transferring. Once done, click Transfer to initiate the process.
The progress bar in the next window will display the completion of the transfer.

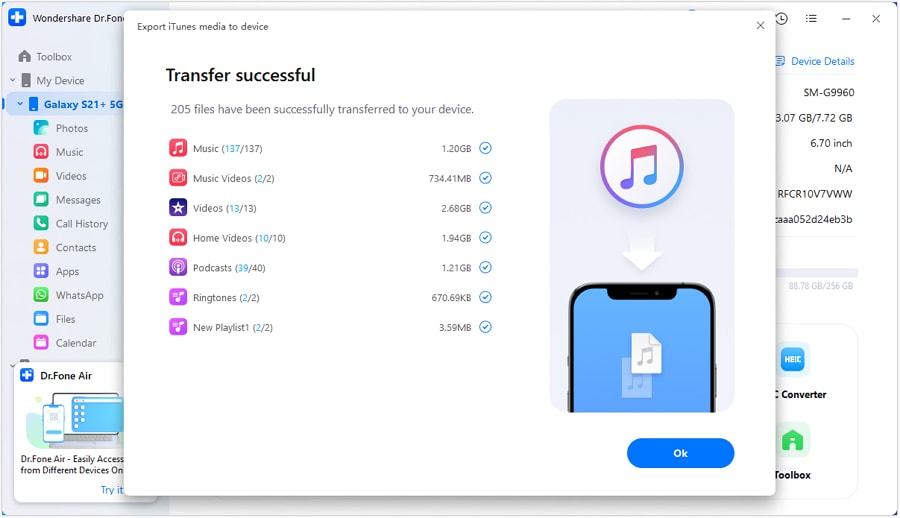
Once the process concludes successfully, continue to select OK for the successful transfer.
WHAT YOU'LL NEED

Dr.Fone provides a complete set of tools for solving all iOS/Android phone problems.
Need help?
You might find the answer to your question in the FAQ or additional information below: