3 Ways to Transfer WhatsApp Messages
Transfer WhatsApp to iOS
- Transfer WhatsApp to iOS
Dec 11, 2025 • Filed to: Social App Management • Proven solutions
When using WhatsApp it is not uncommon to find yourself in a situation where you have too many WhatsApp messages that take up too much memory on your device. It is also true that you may not want to delete the messages as some of them may hold particular meaning to you. If this is the case then you need a way to safeguard these messages so that they are always available to you. One of the following 3 ways will help you transfer WhatsApp messages easily so you can keep them safe but also create space on your device for new ones.

- Method 1: How to Transfer WhatsApp messages to PC from Android
- Method 2: How to Transfer WhatsApp messages to PC from iPhone
- Method 3: How to Transfer WhatsApp to SD card
Method 1: How to Transfer WhatsApp messages to PC from Android
To do this effectively we are going to be using Dr.Fone - Data Recovery (Android).
As the World's First Android data recovery software, Dr.Fone - Data Recovery (Android) can scan your lost and existed WhatsApp messages from your Android phone. And then, you can select what you need to export them to your computer. So you can use this tool to help you easily transfer WhatsApp messages from Android to PC. Some of the features that make Dr.Fone - Data Recovery (Android) the right tool for the job include;

Dr.Fone - Data Recovery (Android)
Selectively transfer WhatsApp messages from Android to your computer.
- Fast, easy and reliable.
- Extract and transfer photos, videos, contacts, messaging, call logs, WhatsApp messages & photos and more.
- Preview and select to transfer your lost or existed WhatsApp contents.
- Compatible with 6000+ Android devices.
Follow these simple steps to transfer your WhatsApp messages to PC from your Android device.
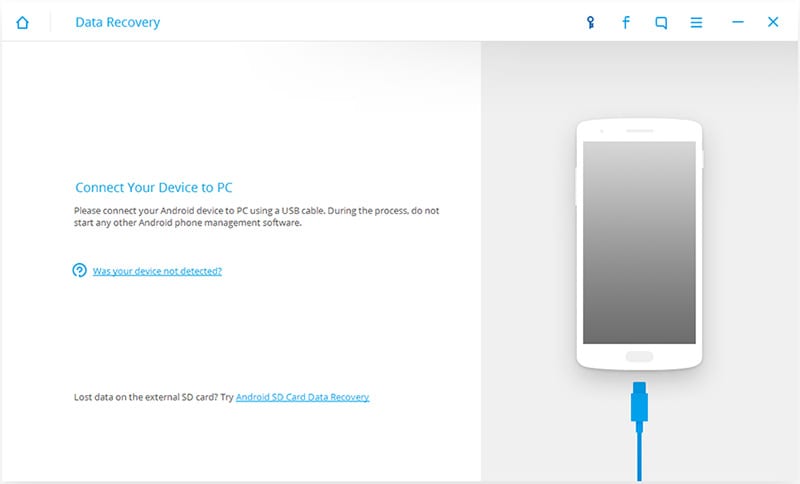
Step 1: Launch Dr.Fone on your PC and then Connect your device to your computer using USB cables.
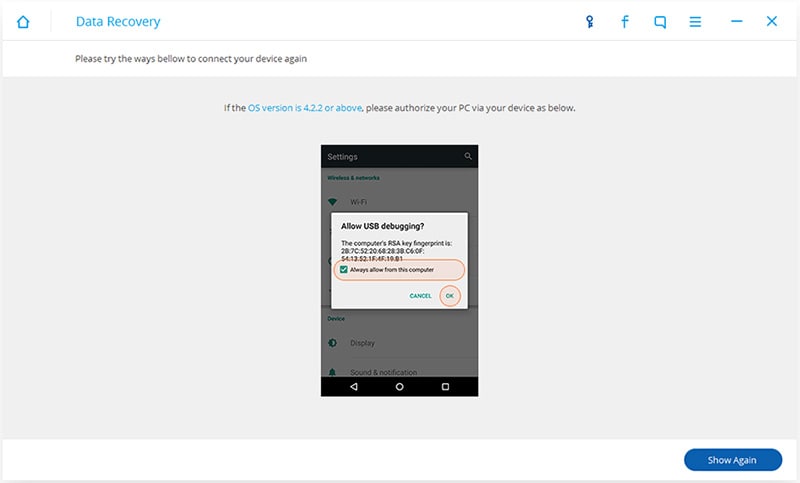
Step 2: Enable USB debugging for your device. The process is different for different Android versions. Just follow the instructions in the following window.
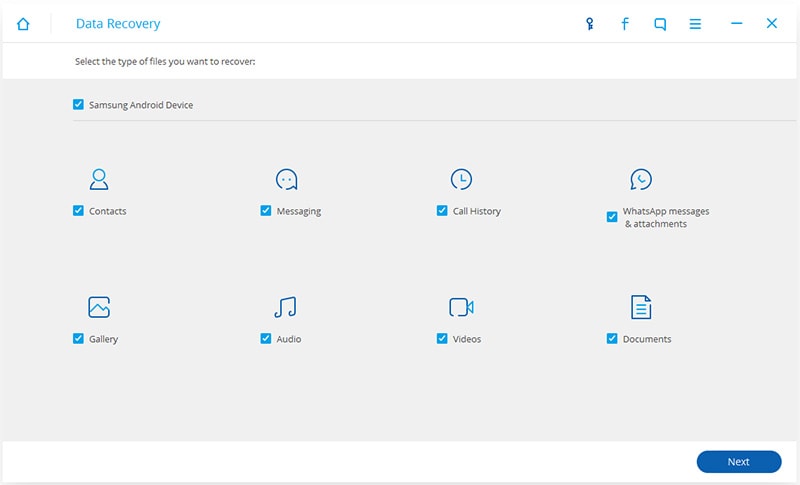
Step 3: Select "WhatsApp messages & Attachments" and then click on "Next" to begin the scanning process.
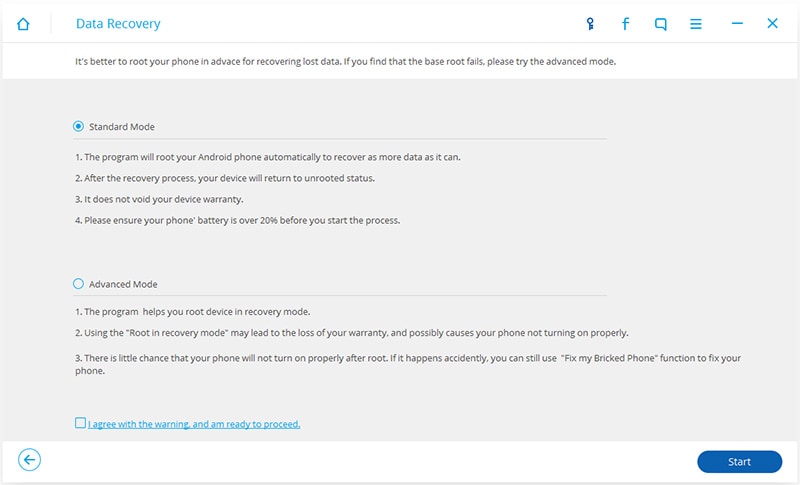
Step 4: You can then choose the scanning mode. The Standard Scanning mode will scan your device very quickly. The Advanced scanning mode is thorough but will take longer.
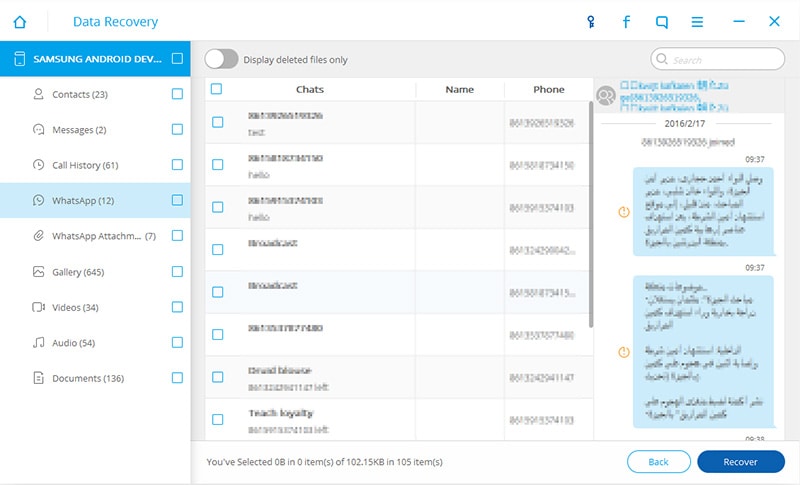
Step 5: Once the scanning process is complete, all your available WhatsApp messages will be displayed in the resultant window. Here, you can choose the ones you want to transfer to your computer and then click on "Recover." The messages will then be successfully saved to your PC.
Method 2: How to Transfer WhatsApp messages to PC from iPhone
If you are an iOS user, the right tool for the job for you would be Dr.Fone - WhatsApp Transfer. It is designed to help users to easily and flexibly handle WhatsApp messages and photos. Some of its features include;
This is the best, simplest and fastest way if you want to learn how to transfer WhatsApp from iPhone to iPhone. With Dr.Fone - WhatsApp Transfer, you can backup and transfer iPhone WhatsApp messages and WhatsApp message attachments, export them to the computer or any other iPhone and restore the backup to the device.

Dr.Fone - WhatsApp Transfer
One-click to transfer WhatsApp messages from iPhone to PC.
- Simple process, hassle-free.
- Transfer iOS WhatsApp to iOS devices, Android devices, Windows computer and Mac.
- Restore iOS WhatsApp backup to iPhone, iPad, iPod touch and Android devices.
- Download WhatsApp Conversations from iOS devices to PC/Mac.
If you are an iPhone user, follow these simple steps to transfer iPhone WhatsApp messages to PC.
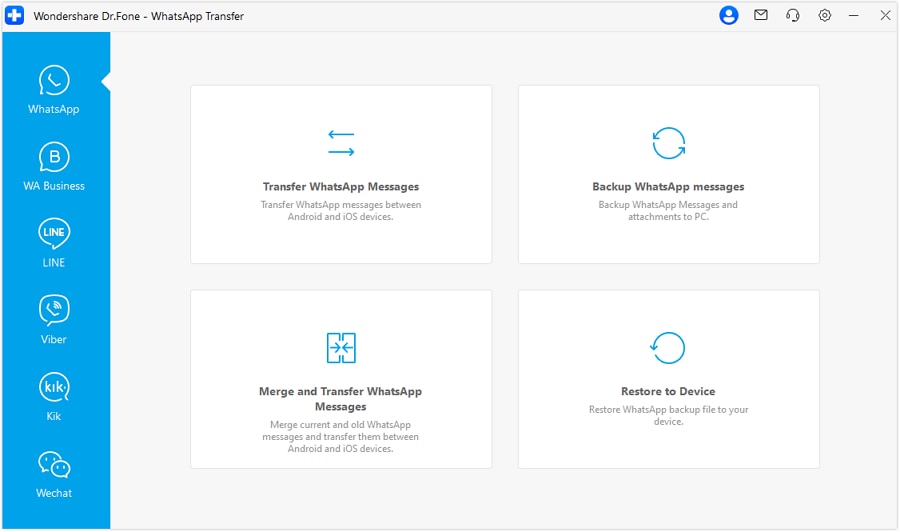
Step 1: Launch the program on your PC and then connect your iPhone to your computer using a USB cable. Click on "WhatsApp Transfer" in the window, then select "WhatsApp".

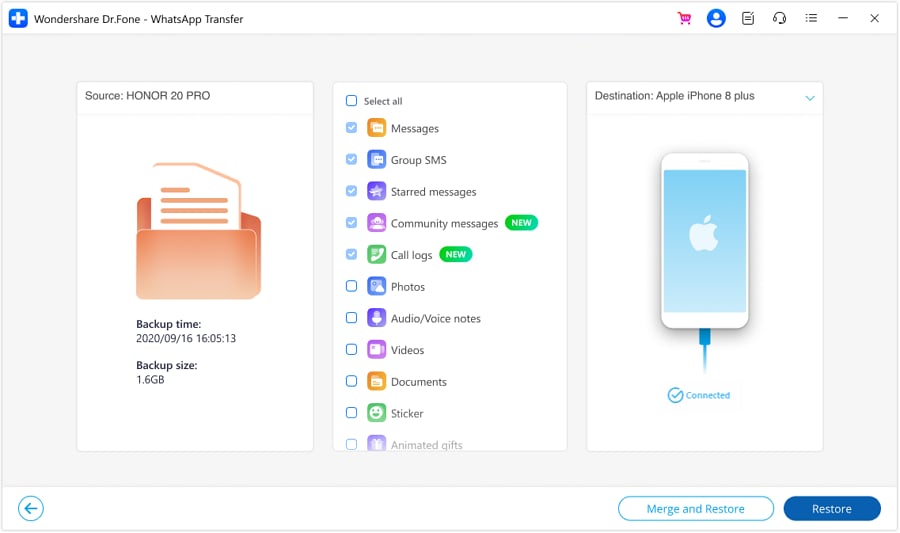
Since we are going to export WhatsApp messages to computer, we need to select the "Backup WhatsApp messages" feature.
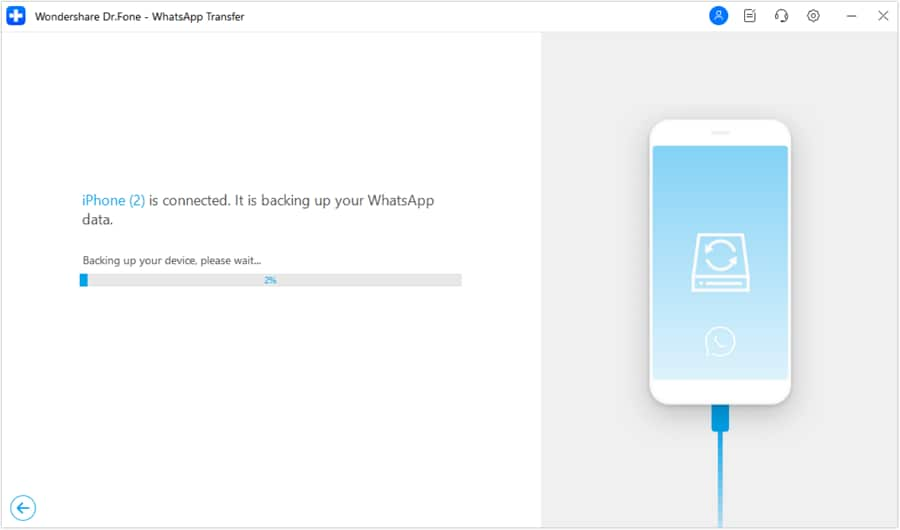
Step 2: The backup process then starts itself.
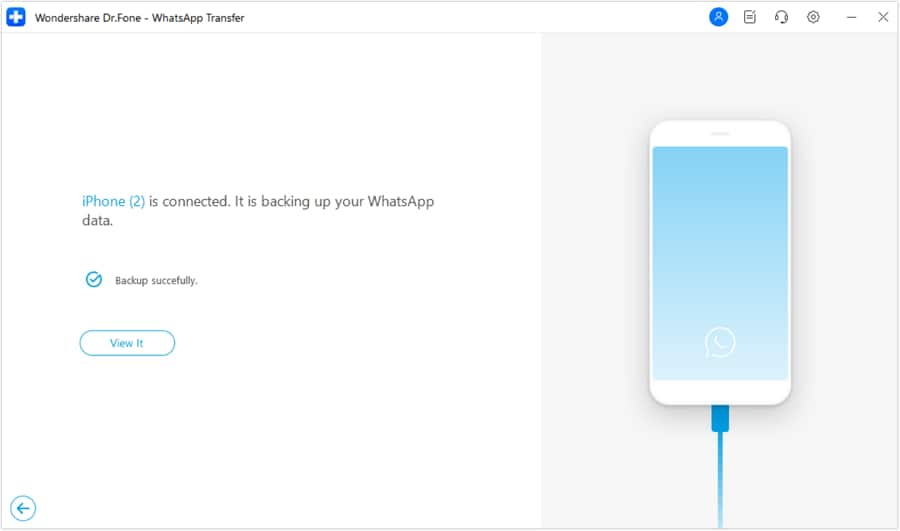
After a few minutes, the backup process is finished. You can go to view your WhatsApp contents on the window.
Step 3: Tick the WhatsApp messages and photos you want and export them to your computer.
Method 3: How to Transfer WhatsApp to SD card
There are several reasons why you would want to move WhatsApp from your internal storage to your SD card. The biggest reason most people do it is because of a lack of space in their internal storage. Transferring your WhatsApp to your SD card is one sure way to free up some space on your internal storage and consequently improve your device's performance.
But moving your WhatsApp from your internal storage to the SD card is not easy. In fact, WhatsApp official help page says it is impossible. Most people who have been able to move WhatsApp to SD card have only done it after rooting their Android devices.
Lucky for you, we found a way to do it without having to root your device. Here's how.
What you need
- • You need the latest version of Android SDK
- • You will also need to install Google USB drivers if you are going to be using a Windows system. Sometimes Windows will automatically download the drivers when you connect the device to PC
Now that we have what we need, here's how to proceed.
Step 1: Connect your Android phone to your PC and then go to the location you extracted the Android SDK and find "adb.exe" file.

Step 2: Execute the file in the command prompt (Type "cmd" in the Windows search. Drag and drop the exe file to the cmd prompt.

Step 3: Run command adb shell, pm set-install-location 2 and then enter exit to finish the process

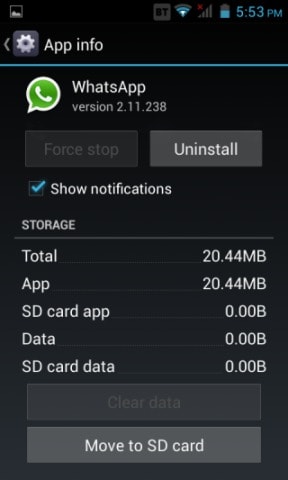
Step 4: Now you can simply move your WhatsApp to SD card. Simply go to settings on the Android device and Tap on WhatsApp. The option to move to SD card will now be enabled.
Whether you are just looking to free up some space or safeguard some of the content on your WhatsApp, the above 3 ways to transfer WhatsApp data are very helpful. They are reliable, easy and above all highly effective.




Bhavya Kaushik
contributor Editor