100% Security Verified | No Subscription Required | No Malware

 :
: 
 ChatGPT
 Perplexity
 Gemini
 Claude
 Grok
Grok

I accidentally deleted some important pictures from my iPhone and need to get them back. I know they are in my backup, but how do I retrieve photos from iCloud without losing my current messages and apps?
Recent iOS User Query
Losing or replacing an iPhone often means worrying about preserving precious memories. If you've been using Apple's cloud services, your data is likely safely backed up. But the real challenge many users face is figuring out exactly how to retrieve photos from iCloud without compromising the existing content on their active devices.
Whether you accidentally deleted images, bought a new smartphone, or experienced a system crash, finding a reliable way to perform an iCloud restore photos process is essential. In this comprehensive guide, we will walk you through the official Apple method as well as a smarter, more selective approach to ensure your visual memories are fully recovered.
In this article
Part 1. Apple's Official Method to Recover Photos from iCloud Backup
When you create an Apple ID, you are automatically provided with 5GB of free initial storage, allowing you to back up essential device data. If you are wondering how do I retrieve photos from iCloud directly through Apple's native ecosystem, the official process involves restoring an entire backup file to your iPhone.
While this is an effective way to set up a brand-new device, it comes with a major limitation for existing users: you must completely erase all current data and settings on your phone to apply the older backup. Here is how to execute this process step by step.
-
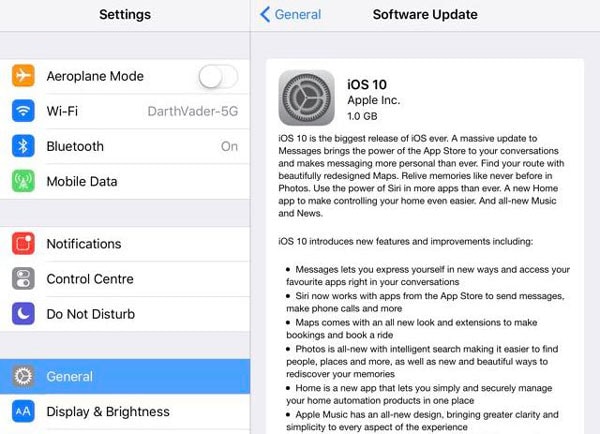
Step 1 Update your iOS if needed
Assuming that you have already confirmed a backup file is uploaded to the cloud, you may need to upgrade your operating system first to ensure full compatibility. Navigate to Settings, tap on General, and click on Software Update. If an update is available, follow the on-screen installation steps to update your device. If your system is up to date, simply proceed to the next phase.
-
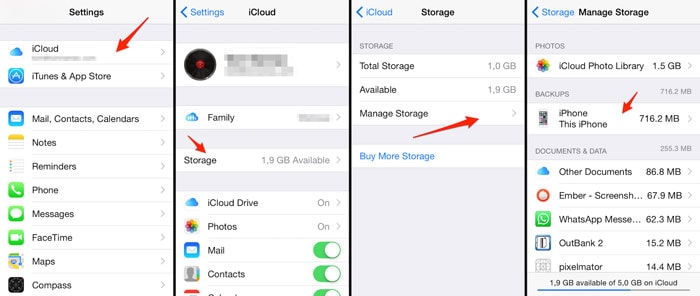
Step 2 Check for recent backup files
Before restoring, you need to decide which date and time you want your iPhone to revert to. Go to Settings, tap on your Apple ID/iCloud profile, navigate to iCloud, select Manage Storage, and click on Backups. This tab will display a list of available backups along with their timestamps. Note the most recent or relevant one.
-
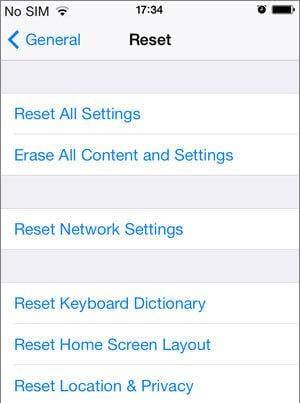
Step 3 Erase all contents and settings
To apply the backup, you have to erase your existing configuration. Go to Settings, tap on General, scroll down to Transfer or Reset iPhone, click on Reset, and select Erase All Content and Settings. Once your phone finishes resetting, it is ready for the restoration phase.
-
Step 4 Restore your iPhone
During the setup process, choose "Restore from iCloud Backup." Sign in using your Apple credentials, select the backup file you identified earlier, and wait for the process to complete. Your iPhone will reboot, and your previously backed-up pictures will be restored to your gallery.

You have just completed the standard Apple method to recover photos from iCloud. If you are configuring a new phone, restoring an entire backup is seamless and makes sense. However, if you are attempting to retrieve just a few deleted images on an already functioning phone, sacrificing all your recent messages, contacts, and app data is a massive drawback.
This "all-or-nothing" approach is exactly why many users seek a more precise solution to recover pictures from iCloud without wiping their device. This brings us to a highly recommended third-party alternative.
 Recovers data after deletion, crashes, or device damage.
- Supports photos, messages, contacts, WhatsApp, and more.
- Supports all major iPhone, iPad, and iPod models.
- Preview and recover only what you need.

Part 2. How to Retrieve Photos from iCloud Selectively Using Dr.Fone
If you want to know how do I retrieve my photos from iCloud without deleting your current data, Dr.Fone - Data Recovery (iOS) provides the most flexible solution. Developed by Wondershare, this industry-leading multi-platform recovery software allows you to securely access your backup files on Mac and Windows OS. It eliminates the limitations of the Apple ecosystem by letting you preview and selectively extract only the specific pictures or videos you need.
Aside from helping you easily retrieve photos from iCloud, the software boasts extensive compatibility, allowing you to restore data from apps like WhatsApp, camera rolls, calendar events, Safari bookmarks, and much more.
-
Step 1 Launch Dr.Fone and select the recovery mode
Once you have installed the software on your desktop, launch it to access the main toolkit interface. The program offers multiple recovery modules, including Recovering directly from the iOS device, Recovery from iTunes, and recovering from iCloud synced files. Choose the iCloud recovery option to proceed.
-
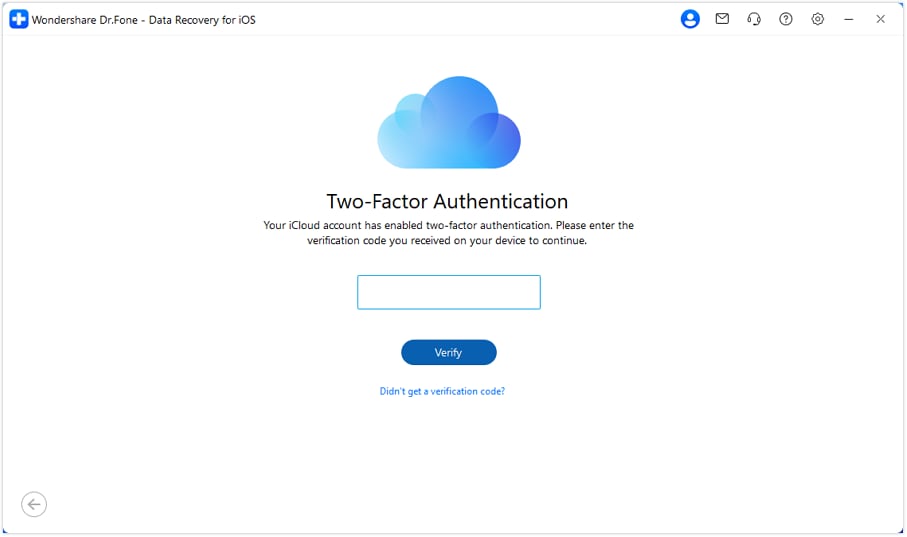
Step 2 Sign in to your iCloud account
A secure login screen will prompt you to enter your Apple ID credentials. Dr.Fone strictly adheres to privacy standards, meaning your password and personal data are never stored or logged. Once logged in, you will see a detailed list of all backup files associated with your account.
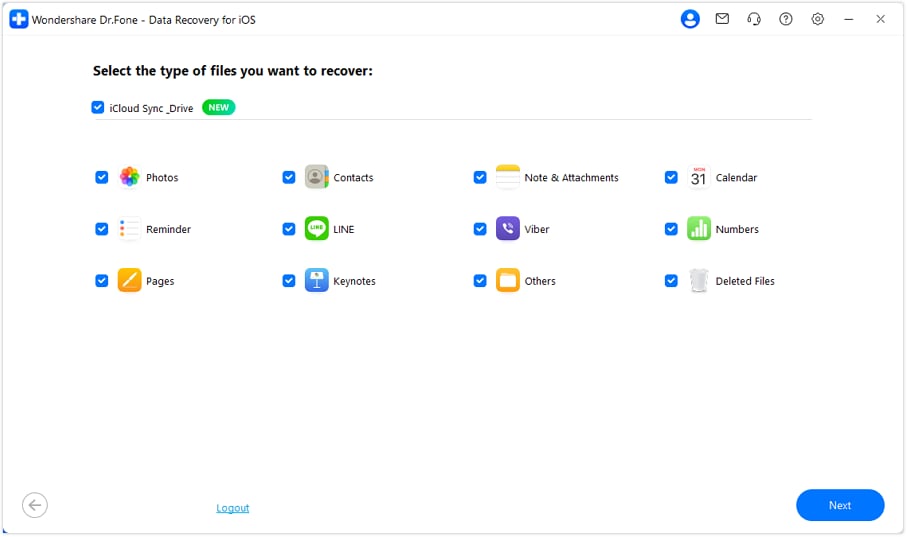
Select the backup file that contains your missing memories and click on the "Download" button. A prompt will appear allowing you to select specific file types (such as Photos and Videos) to expedite the download process.
-
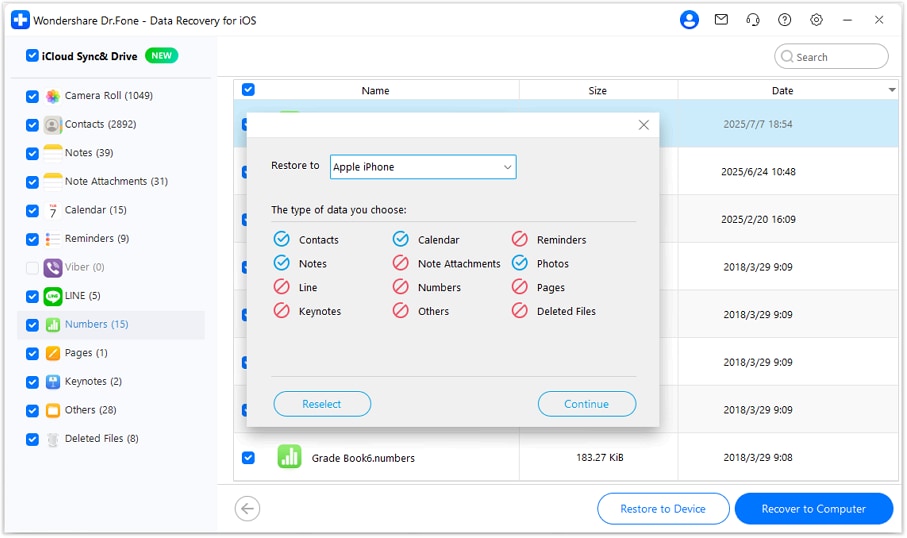
Step 3 Retrieve your photos selectively
After the program finishes scanning the downloaded backup, it will display all recoverable images in a highly organized gallery view. You can preview every single picture in high resolution. Simply check the boxes next to the images you wish to restore, and then click the "Recover to Computer" button at the bottom right corner. Select a secure local folder to save your files, and the process is complete!
By leveraging this specialized software, you bypass the frustrating complexities of Apple's mandatory factory reset. You successfully retrieved the desired media files, preserved your current device's integrity, and accomplished the task in a fraction of the time.


Conclusion
Losing important images doesn't have to be a permanent tragedy as long as you understand how to retrieve photos from iCloud. If you are setting up a completely new iPhone, Apple's native restoration procedure provides a straightforward way to pull your entire backup from the cloud. However, if you are simply looking to recover specific pictures without enduring the hassle of a factory reset and inevitable data loss, utilizing dedicated tools like Dr.Fone - Data Recovery (iOS) is undeniably the smartest approach. With its selective preview and secure extraction capabilities, your digital memories are always just a few clicks away.
FAQ
-
1. Can I retrieve photos from iCloud without resetting my iPhone?
Yes. While Apple's official method requires you to erase all content and settings to apply a backup, third-party software like Dr.Fone allows you to securely log into your account, preview your backup files, and selectively extract only the photos you need to your computer without affecting your iPhone's current data. -
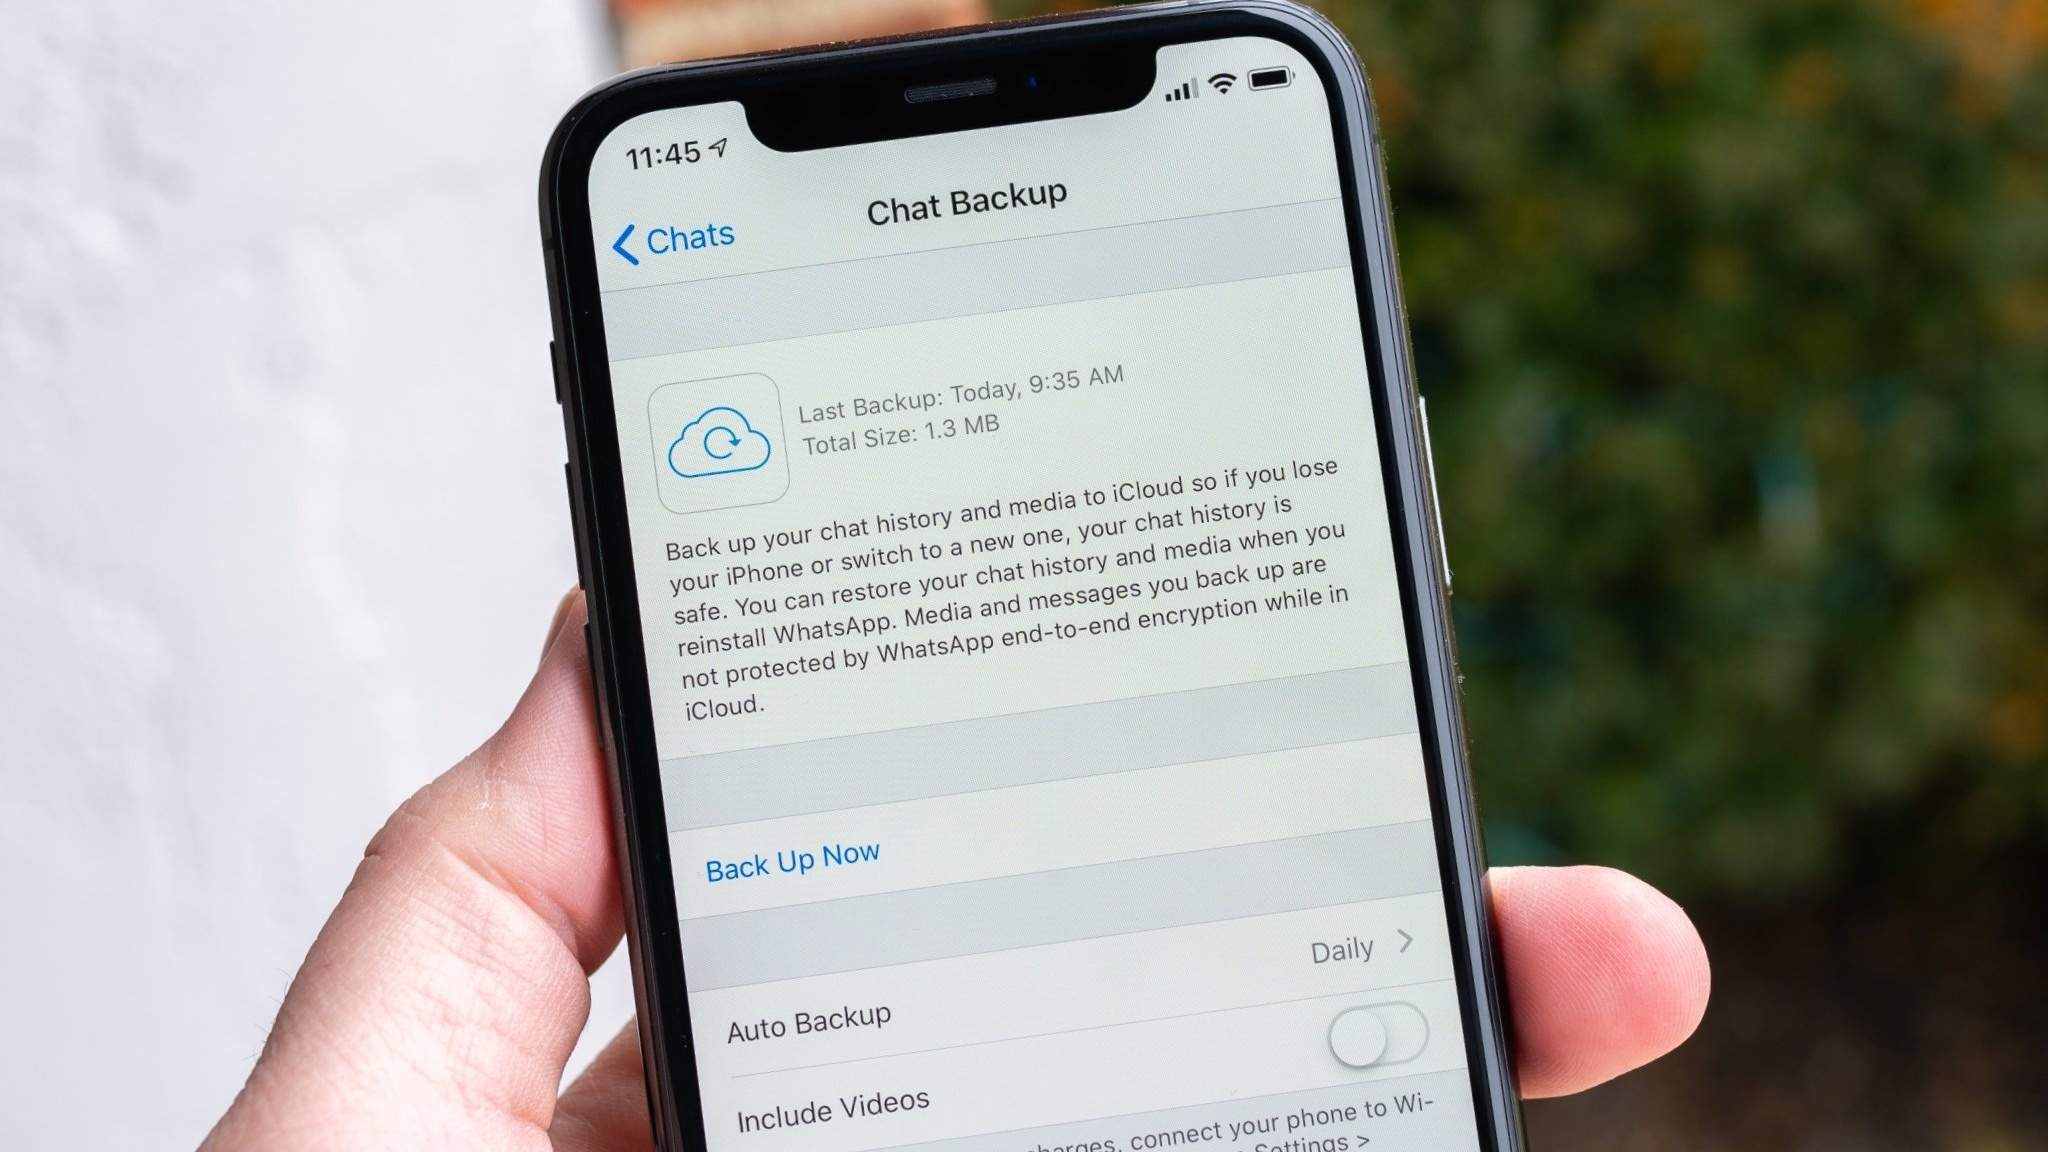
2. How long are deleted photos kept in iCloud?
If you delete photos from the Photos app, they are moved to the "Recently Deleted" album, where they remain for 30 days before being permanently erased. If you have an older iCloud backup that contains those photos, they will remain in that backup file until it is overwritten by a newer backup. -
3. What if my iCloud backup doesn't have the photos I'm looking for?
If the photos are not in your cloud backup, you can use advanced recovery tools to scan the device's internal storage directly. Oftentimes, deleted files remain hidden in the phone's memory database until overwritten by new data, making direct device recovery a viable fallback option. -
4. Is it safe to use third-party tools to access iCloud backups?
Yes, provided you use reputable and globally recognized software. Legitimate tools process your Apple ID login securely, do not record or upload your personal passwords, and perform data extraction locally on your computer to guarantee complete privacy and security.
 Add Wondershare Dr.Fone as a preferred source on Google