How to Fake Snapchat Location without Jailbreak

Jul 12, 2024 • Filed to: Virtual Location Solutions • Proven solutions
Snapchat users are very fond of using custom filters when sharing content on the app. It is a great way to ensure that your images and videos are only viewed by the people that you target. However, a new feature called Geo-filters has brought a lot of mixed feelings amongst Snachatters.
The filter is location-based, which makes any content that you share to be seen by people who are within your geographic fence.
Imagine that you are standing at the Niagara Falls and want to share with people who are in Europe; you will not be able to do this and this is why the filters are problematic to people in the Snapchat community.
Thankfully, there are ways in which you can spoof our device, allowing you to access Geofilters anywhere in the world. Today, you learn several ways in which you can achieve this objective with ease.
Part 1: Benefits that faking Snapchat brings to us
Snapchat comes with a lot of filters, both sponsored and crowdsourced, which you can use to interact with different people. When Geofilters was introduced, it meant that you could only access filters that were designed for specific locations.
Sponsored filters generally tend to target people in certain areas, and this can limit how you disseminate your content on Snapchat.
The main benefit that you get from faking Snapchat is getting access to these filters without even moving an inch.
When you spoof your device, Snapchat thinks that you are actually in the area that you have spoofed to. This virtual location will then allow you to access the filters that are available in that area.
Part 2: A free but complicated way to fake Snapchat location no jailbreak
One of the best ways to fake Snapchat without jailbreak is to use XCode. This is an app on your iPhone that allows you to tweak certain aspects of the apps that you have on your device, including Snapchat.
Get XCode on your device and then launch it. Start by using the locations that are found to setup XCode. You can download XCode from Apple App Store. You will need your Apple ID and password to use XCode.

Here are the steps that you have to follow:
Step 1: Start by creating a basic single-view application
Launch XCode and then create a new project
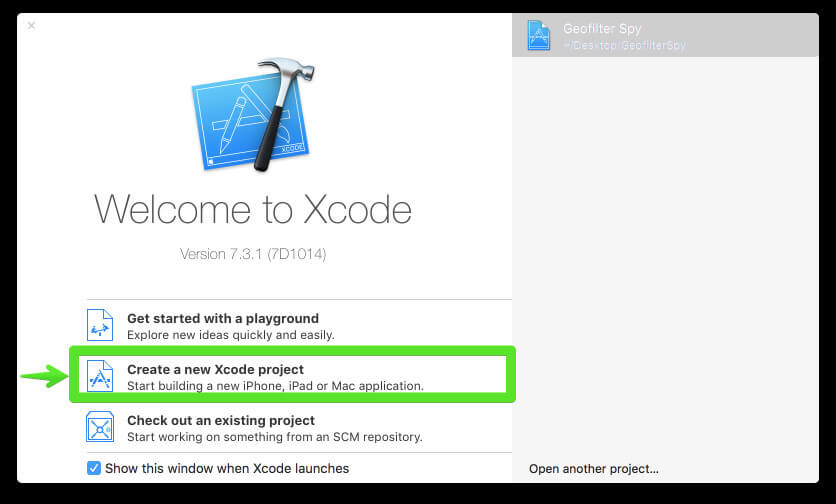
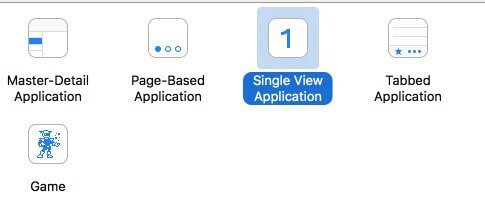
Then choose the option marked “Single View iOS application.
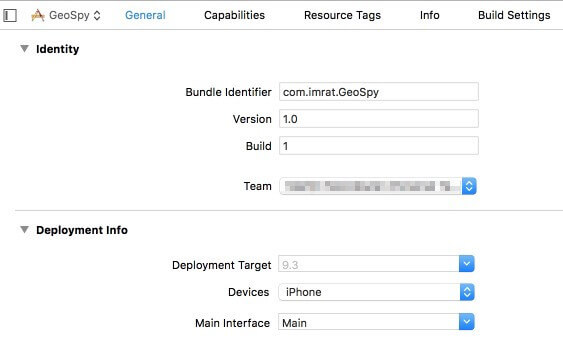
Now customize the project options and give it any name that you desire.

Now proceed and customize the Organization Name and the Identifier. The identifier works like a reverse domain name so you can use anything you desire.
Proceed and select swift as your preferred language and then click on “iPhone” as your device so the app will be small.
Any other options below this should be left in their default states.
Now go ahead and save the project to a location on your computer. Since the version control does not apply in this case, make sure that you uncheck the option before you save the app.

Step 2: transfer and run the created app on your iOS device
People who do not have the latest version of XCode will run into the error shown below.
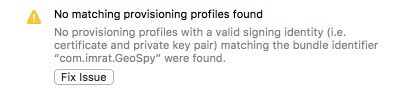
IMPORTANT: do NOT click on “Fix Issue” until you do the following tasks:
- Access the preferences on your XCode
- Choose the accounts tab
- Click on the add (+) icon at the bottom left side of your screen
- Now choose “Add Apple ID”.
- Type in your Apple ID and password
You should now have an accounts screen similar to the one shown in the image below.
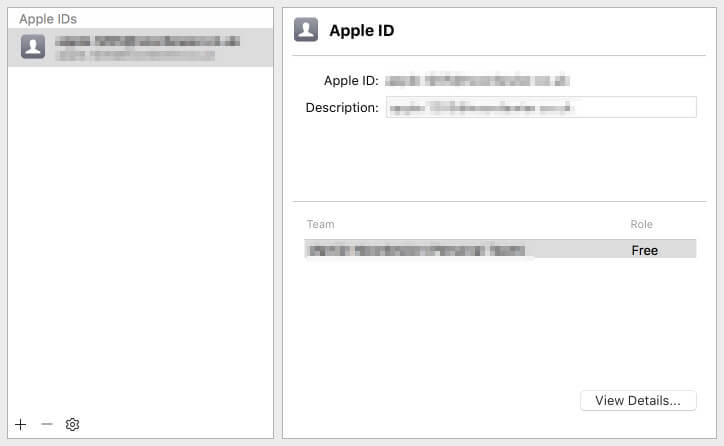
Now close the window and click on the “team” dropdown menu. You may now select the Apple ID that you just created.
Now you can go ahead and click on the “Fix Issue” button.
Now the error will be resolved and you should have a screen that is similar to the image below.
You may now run the app that you created before on your iOS device.
Use an original USB cable to connect the iOS device to your computer.
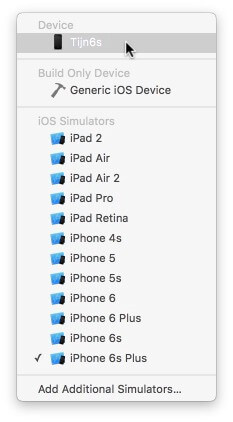
Towards the top right-hand corner of your screen, click on the button that is displaying your project name and then click on the iOS device.

Now your iOS device will be showing at the top. Select it and proceed.
Hit the “Play” icon that is found at the top left side of your screen.
Wait for the process to be complete. You might as well get a cup of coffee as this can take quite a while.

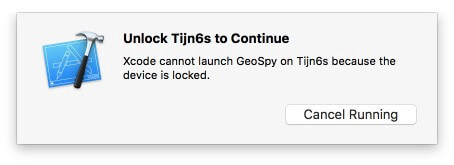
When the process is complete, XCode will install the app on your iOS device. You will get the following error if your device has not been unlocked; unlocking the iOS device will put off the error message.
Now you should be viewing a blank screen on your iOS device. Do not worry; your device has not been ruined. This is the app that you have just created and installed. Pressing the “Home” button will dismiss the blank screen.
Step 3: It’s time to spoof your location
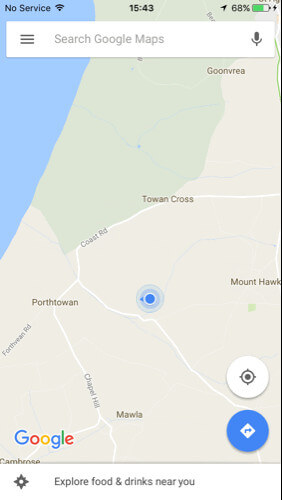
Go to Google Maps or iOS maps which will now show your current location.
Go to XCode and then choose "Simulate Location" from the "Debug" menu and then select a different location to test.
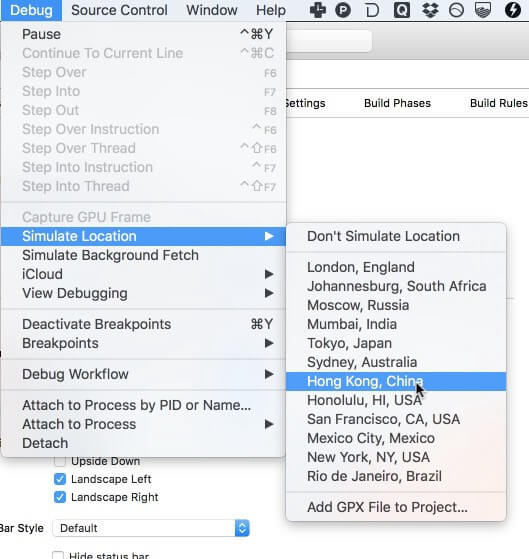
If you have done all that you need to do, then the location of your iOS device should instantly jump to the location that you have chosen.
Now you can proceed and see if you have access to Geo-filters in the new location.
Step 4: Spy Geo-Filters on Snapchat
Now you can launch Snapchat and then access the filters in the area that you have teleported to. Remember that you can move from one location to the next on XCode without having to close Snapchat. Just cancel the current snap after changing the location and create a new snap to see the filters in the new location. If this fails to respond, then go back to Google maps or iOS map app and then ensure that you are in the desired location. Once you have done so, close Snapchat and restart it again, and you will be in the new location once more.
Part 3: A paid but easy way to fake Snapchat location without jailbreak
You can also fake your Snapchat GPS location using a premium app such as iTools. This is a popular application, used to spoof many other apps that require geo-location data to work. Another point to note is that the latest iPhone models cannot be jailbroken. The iOS version today is very secure and you cannot tweak it like before.
Thankfully, you can use a premium, not free, iTools to change your virtual location without jailbreaking the device. You can get iTools on a trial basis, but after the period expires, you will have to pay $30.95 to continue using it.
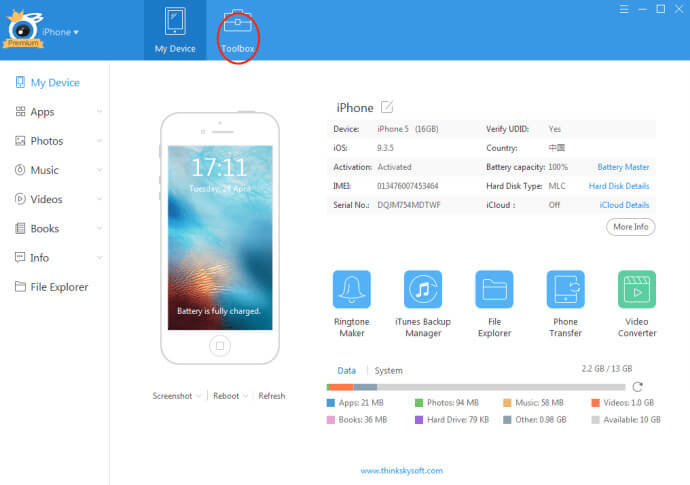
Step 1: Download and install iTools on your computer and then launch it. Connect your iOS device to your computer using the original USB cable that came with the device.
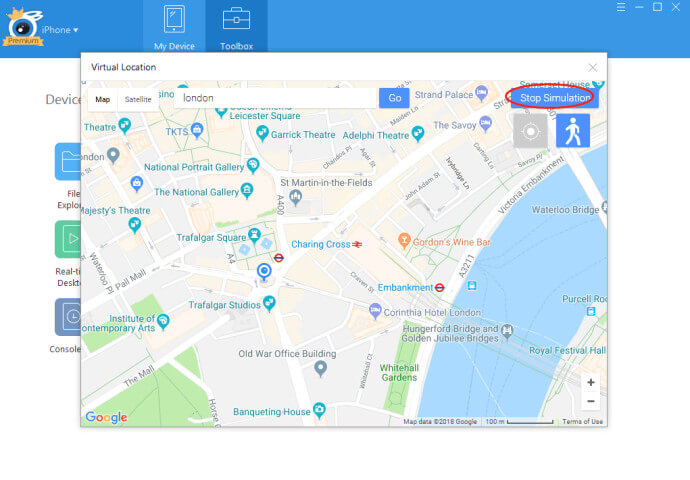
Step 2: Go to the iTools panel and click on “toolbox”.
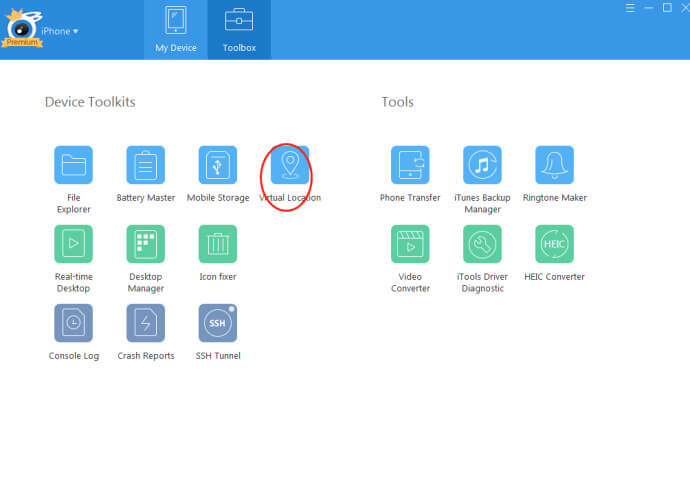
Step 3: Select the Virtual Location button within the Toolbox Panel
Step 4: Type in the location that you want to teleport to and then click on ‘Move Here”.
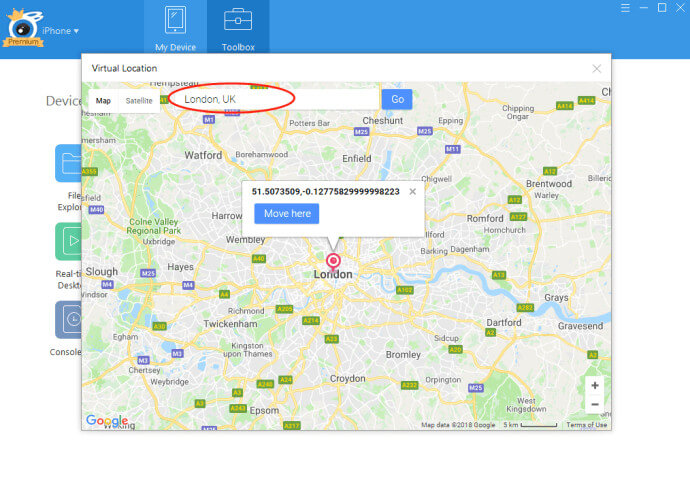
Step 5: Now open your Snapchat and you will be able to access the filters found in the location that you typed in.
Once you are finished with this spoofed location, you can simply select “Stop Simulation” in iTools. This is a premium tool, but very simple to use. It is the best tool to use, especially if you are having a device with the latest iOS version.
Part 4: A brief comparison of XCode vs. iTools to fake Snapchat GPS location
From the steps used in both methods, it is very clear that iTools is the best app to use to fake your Snapchat GPS location for several reasons. Here are some of them:
- Ease of use - Using XCode to fake your Snapchat GPS location is a long and complicated process, whereas using iTools is simple and clean.
- Price – Although XCode is free while iTools is not, the benefits of using iTools surpass the cost. This makes it less-costly when it comes to performance and convenience.
- Security – XCode may not be very secure, especially when it comes to avoiding detection by Snapchat. You may have to keep going back to XCode, and changing the location, switching off Snapchat, and restating it again. However, when using iTools, your location is fixed until you stop the simulation.
- Versatility – XCode cannot be used on the latest iOS devices without posing problems, while iTools is a simple and effective tool for all iOS versions.
In conclusion
When you want to spoof Snapchat to access Geo-Filters in any part of the world, you can use the complicated XCode or pay a fee and use the simpler iTools. There are various benefits that you gain from teleporting using these tools, with Geo-Filters access being the biggest benefit. If you want to use Snapchat all over the world without moving out of your home, then these are the ways that you can go about it.


Snapchat Manage
- Save on Snapchat
- 1. Save Videos in SnapChat
- 2. Save Snapchats on iPhone
- 3. Save Snapchats on Android
- 4. Save Snapchats to Camera Roll
- 5. Save Someone's Snapchat Story
- 6. Save Snapchat Without Notifying
- 7. Download Snapchat Videos
- 8. Delete Saved Chats On Snapchat
- Snapchat Save Apps
- 1. Top Snapchat Saver Apps for iOS
- 2. Snapbox Reviews and Alternatives
- 3. Top Snapchat Photo Saver Apps
- 4. Top Snapchat Saver Apps
- 5. SnapSave Reviews and Alternatives
- Snapchat Hack
- 1. Hack someone’s Snapchat
- 2. Hack into Someone's Snapchat
- 3. Monitor Snapchat on iPhone
- 4. Snapcrack Reviews and Alternatives
- 5. Screenshot Snapchat without Knowing
- 6. Top 5 Snapchat Screenshot Apps
- 7. Best Snapchat Hacking Apps
- 8. Best Snapchat Password Crackers
- Snapchat Problems
- Other Social Apps Tips
- 1. Backup WhatsApp to PC
- 2. Whatsapp from Android to iPhone
- 3. Retrieve Deleted WhatsApp Message
- 4. Top 5 Instagram Password Crackers
- 5. Download Kik Messenger App for PC
- 6. Fix Common LINE App Problems
- 7. Find Facebook Password
- 8. Facebook Dating Is Not Working
- 9. Record Viber Calls on PC/Mobile
- 10. Recover WeChat Account / History
- ● Manage/transfer/recover data
- ● Unlock screen/activate/FRP lock
- ● Fix most iOS and Android issues
- Manage Now Manage Now Manage Now
Alice MJ
staff Editor