How To Transfer Data From Android to iOS/Android?
Data transfer between smartphone devices has been a hefty process. No third-party service has made operations simple as compared to Dr.Fone. Dr.Fone - Phone Transfer provides a complete service in the shape of Phone Transfer that allows you to transfer data from Android to other devices in no time. Discover some important details by going through the comprehensive guide.
Part 1: Transfer Data From Android To iOS
Launch Wondershare Dr.Fone on your computer to proceed into the Toolbox > Phone Transfer tool.

* The Dr.Fone Mac version still has the old interface, but it does not affect the use of the Dr.Fone function. We will update it as soon as possible.
As it opens on a new window, set the Source and Destination devices for the phone transfer. While setting up the devices, their data is also loaded on the platform. You can use the Flip button to change the transfer direction between devices.
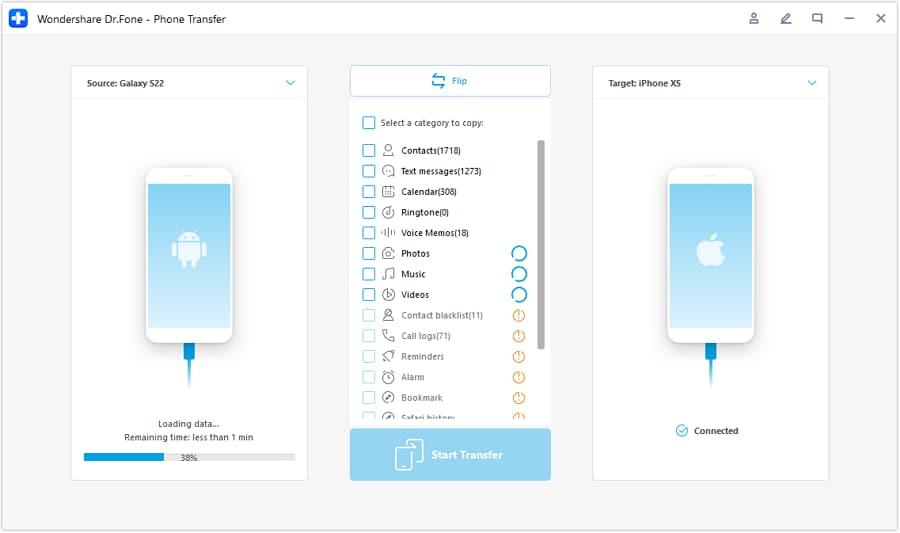
Once the transfer direction is set from Android device to iOS, continue to select the data types that you wish to transfer. Checkmark them and click the Start Transfer button to pursue the particular function.
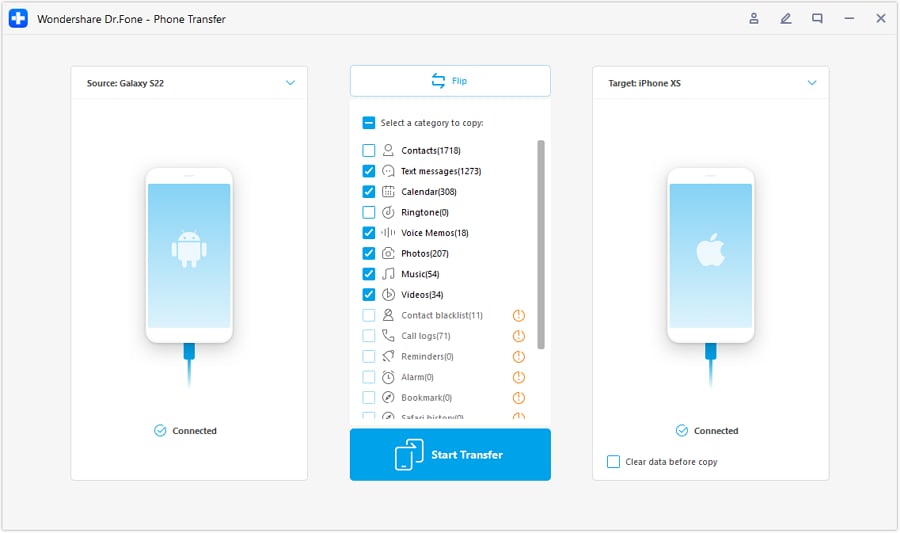
The window opens, showing the progress of the data transfer. Click Cancel if you wish to close down the operations.

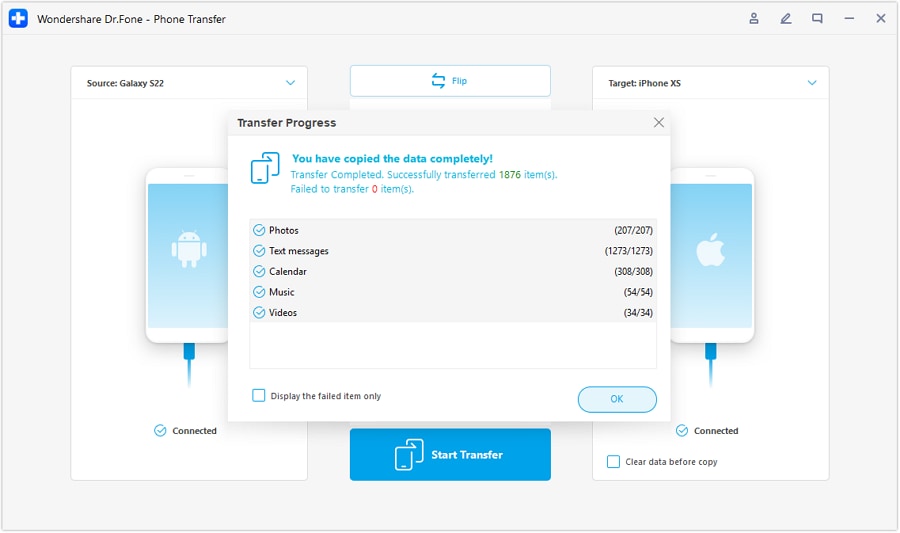
Once done, the window on the front shows the successful execution of the process. Tap OK to close it down.
Part 2: Transfer Data From Android To Android
Connecting both Android devices loads their data onto the platform. Continue to set the Source and Destination devices for the process and use the Flip button if required.
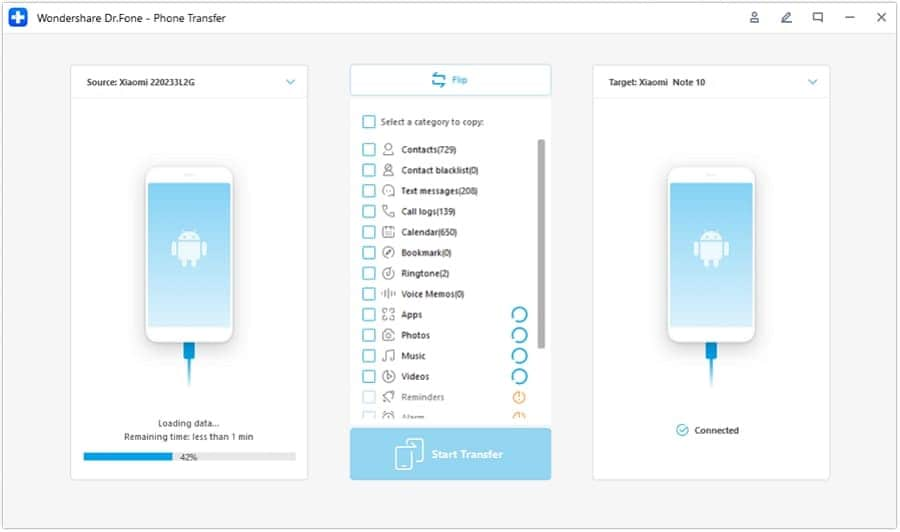
Select the particular data types that are to be transferred in the process. On selecting them, continue to click the Start Transfer button for the procurement of the process.
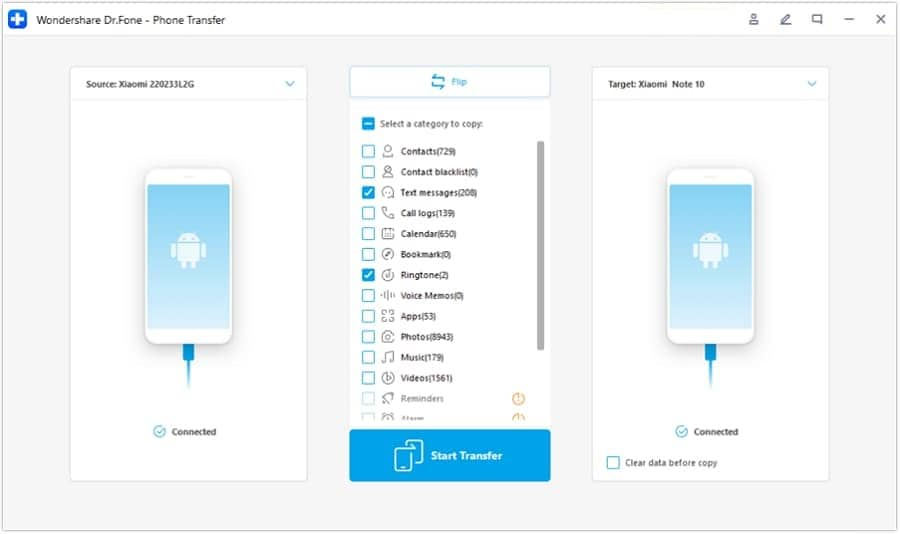
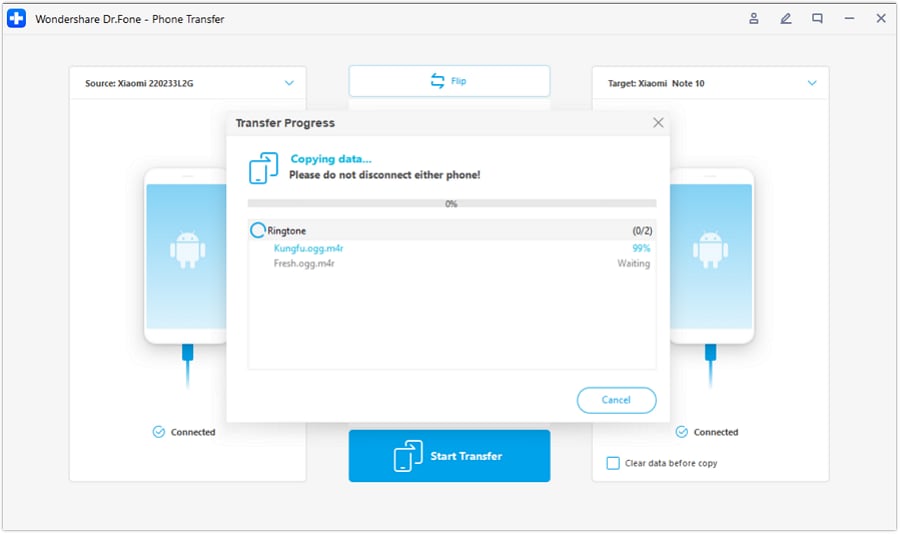
The window opens on display, showing the completion of the process. The progress bar appears in the display, where you can cancel the entire transfer process if needed.
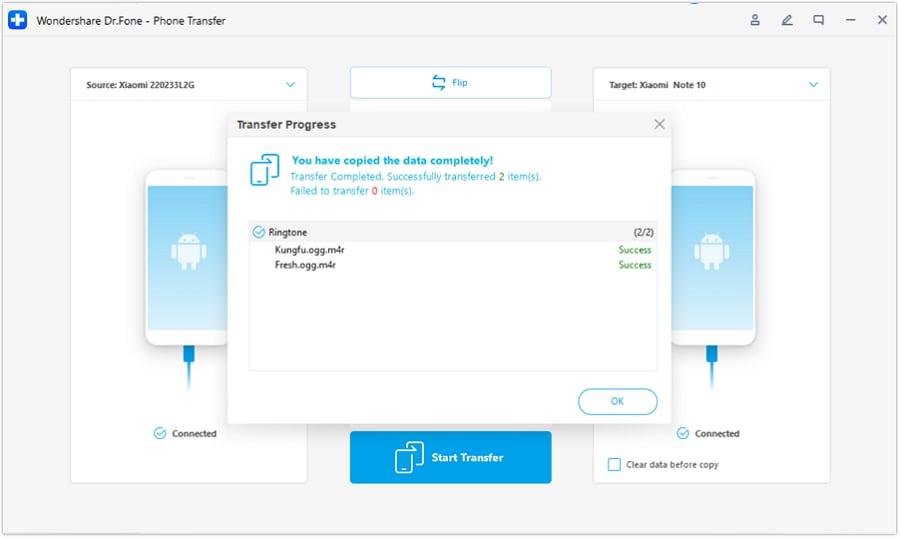
Once the data is transferred successfully, the windows show a clear message of completion. Click OK to conclude the process.
WHAT YOU'LL NEED
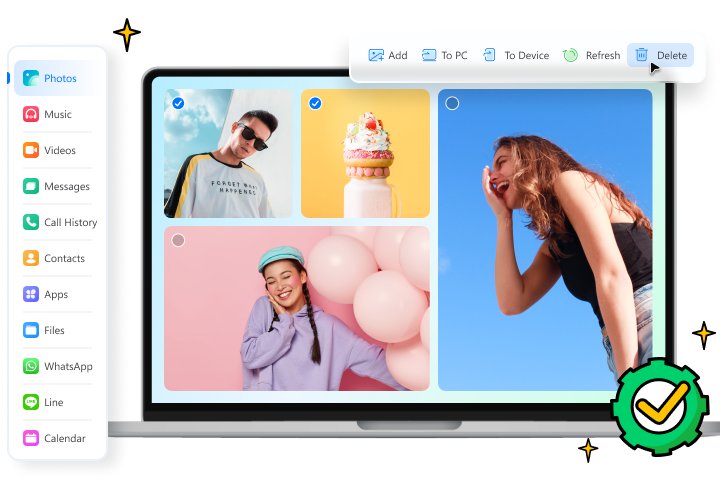
Dr.Fone provides a complete set of tools for solving all iOS/Android phone problems.
Need help?
You might find the answer to your question in the FAQ or additional information below:


