100% Security Verified | No Subscription Required | No Malware

 :
: 
 ChatGPT
 Perplexity
 Gemini
 Claude
 Grok
Grok
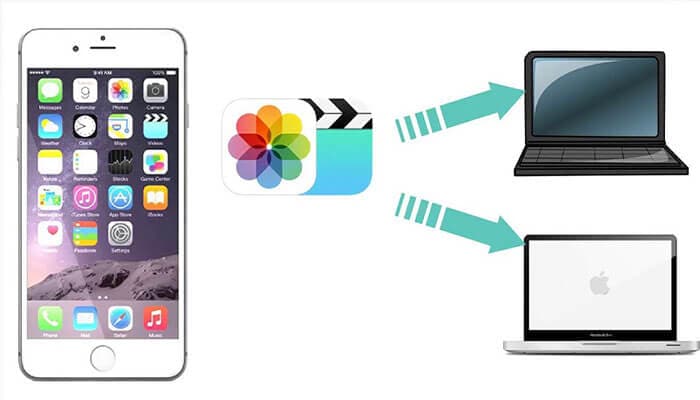
While iPhones are excellent devices, moving your data to a Windows PC can sometimes feel like a puzzle. Unlike the seamless integration with a Mac, syncing files between an iPhone and a PC requires a few extra steps. However, it's a critical task for anyone looking to safeguard their digital life.
Regularly transferring data from your iPhone to your PC is more than just good practice; it's essential for security and device performance. Here’s why you should make it a routine:
- Data Security: Losing your iPhone is stressful enough without also losing irreplaceable photos, contacts, and messages. Backing up your data to a PC ensures that even if your device is lost or damaged, your valuable information is safe and can be restored in minutes.
- Free Up Storage Space: iPhones have finite storage. High-quality photos, videos, and music can quickly consume your device's memory, leading to sluggish performance and preventing you from installing new apps. Moving these large files to your computer frees up valuable space and keeps your iPhone running smoothly.
Apple's iOS is a closed ecosystem designed for security, which can sometimes complicate data transfers to non-Apple devices. While some users might consider jailbreaking, this can void your warranty and expose your device to security risks. Fortunately, there are several safe and reliable methods to copy data from your iPhone to a PC without compromising your device's integrity.
In this article
Part 1. How to Transfer Data From iPhone to PC Without iTunes
Many users prefer to avoid iTunes for data transfer due to its limitations. iTunes can be complex, and its syncing process sometimes risks overwriting existing media files not purchased from the iTunes Store. If you're looking for a more straightforward and flexible way to manage your data, several excellent alternatives are available. This section covers the best methods to move files from your iPhone to your computer without relying on iTunes.
Method 1: Using Dr.Fone - Phone Manager (iOS)
If you want a seamless and powerful solution to transfer data from your iPhone to a PC, Dr.Fone - Phone Manager (iOS) is the ideal tool. It's a comprehensive software designed to simplify file management between your iOS device and computer. Dr. Fone offers an intuitive interface that makes transferring photos, videos, music, contacts, SMS, and even apps incredibly easy. It bypasses the complexities of iTunes, giving you full control over your data.
 Effortlessly manage data through preview, delete, export, etc.
- Transfer all data between devices.
- Robust backup solutions for reliable data protection.
- Mirror screens to PC for meetings, teaching, and control.

Follow these simple steps to transfer your files using Dr.Fone:
-
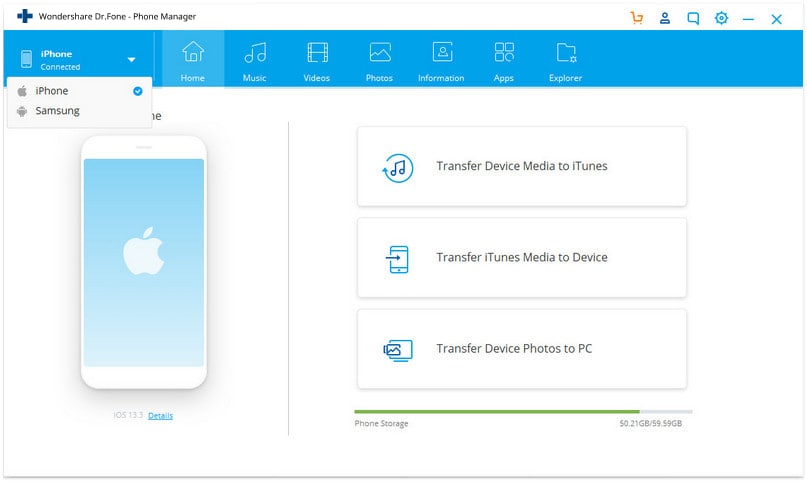
Step 1 Connect Your iPhone to the PC
Download and install Dr.Fone on your computer. Launch the application and connect your iPhone using a USB cable. Wait for the software to detect and recognize your device.

-
Step 2 Navigate to the Data Category
Once your iPhone is connected, a main menu will appear with various data types. You can choose from categories like 'Photos,' 'Music,' 'Videos,' 'Apps,' and more to manage specific files.
-
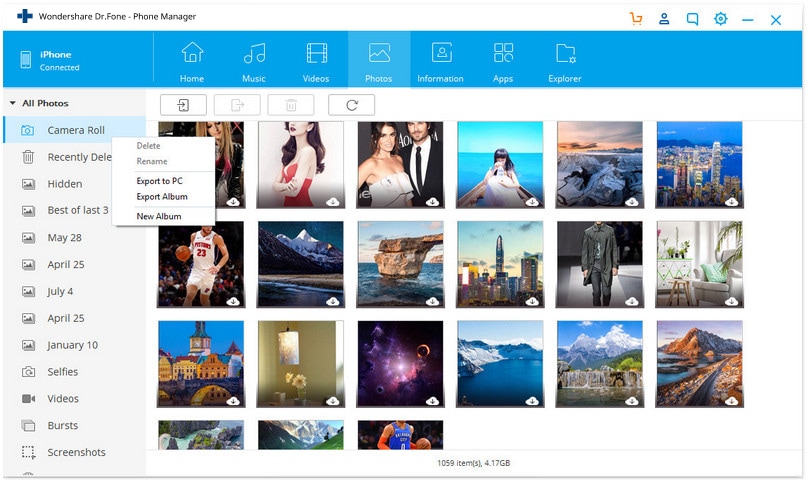
Step 3 Select Files for Transfer
Browse through your files within the selected category. For example, in the 'Photos' tab, you can view all your pictures. Select the specific files or entire folders you want to copy to your PC.
-
Step 4 Export Data to Your PC
After selecting your files, click the 'Export' button. A dialog box will open, allowing you to choose the destination folder on your computer where you want to save the data. Confirm the location, and the transfer will begin.
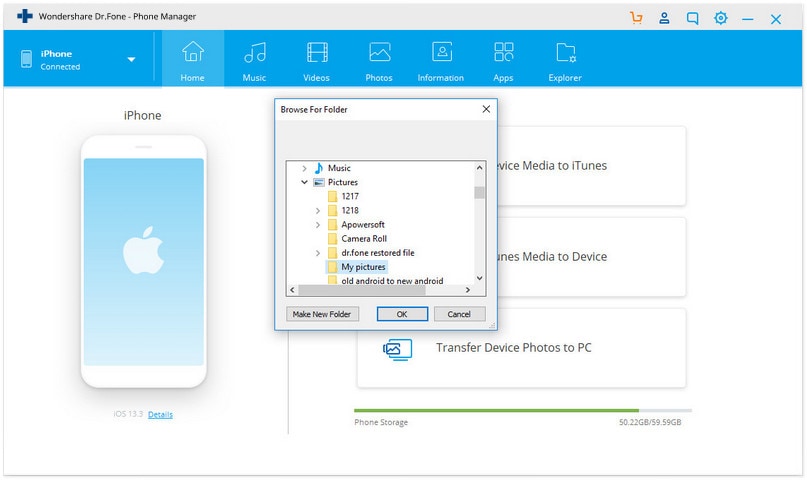
Once the process is complete, your selected files will be safely stored in the designated folder on your PC.


Method 2: Using iCloud Drive
iCloud Drive offers a convenient way to keep your files and documents synced across all your Apple devices and your Windows PC. While it's more of a file-syncing service than a direct transfer tool, it's excellent for accessing your documents, photos, and other data from your computer without a physical connection. It also allows for collaboration on projects in real-time.
Here's how to use iCloud Drive to access your iPhone files on your PC:
-
Step 1 Download iCloud for Windows
Go to the official Apple support website or the Microsoft Store to download and install the iCloud for Windows application on your PC.
-
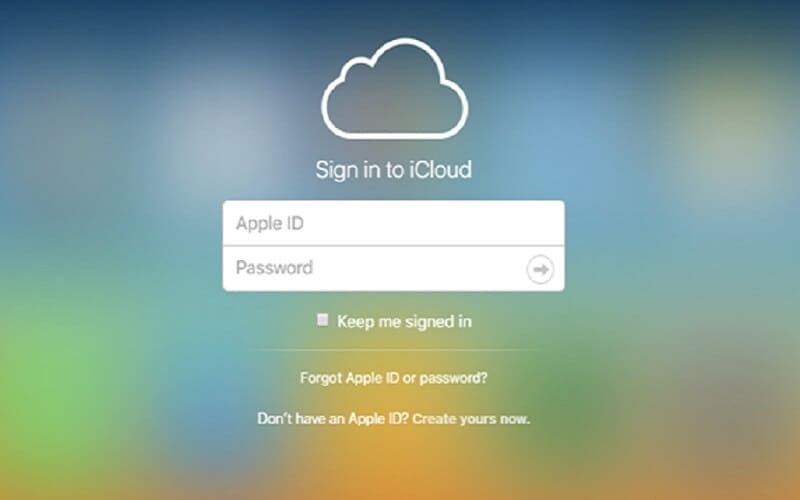
Step 2 Sign In with Your Apple ID
Once installed, open the application and sign in using the same Apple ID you use on your iPhone. Complete the setup process.
-
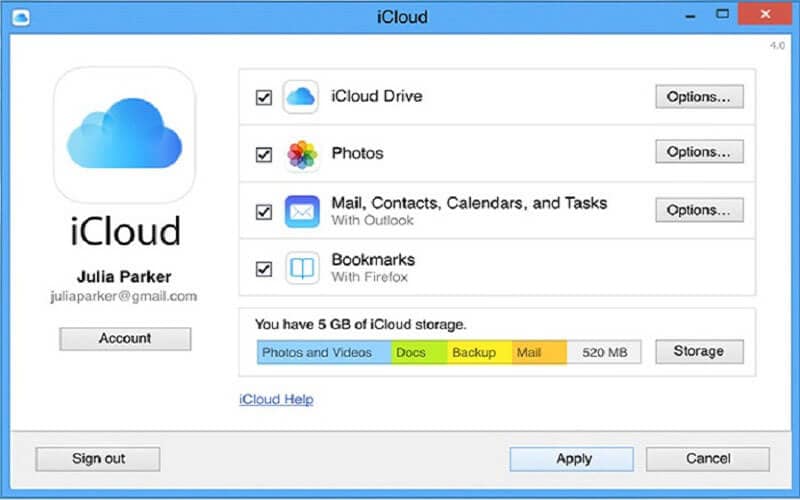
Step 3 Enable iCloud Drive on Your iPhone
On your iPhone, go to Settings > [Your Name] > iCloud, and make sure iCloud Drive is toggled on. You should also ensure that the apps whose data you want to sync are enabled here.
-
Step 4 Access Your Files on PC
On your PC, open File Explorer. You will find a new 'iCloud Drive' folder in the navigation pane. Any files or folders you save to iCloud Drive from your iPhone will automatically appear here, ready for you to access or download.
Method 3: Using Windows Explorer
For a quick and straightforward way to copy photos and videos from your iPhone to a PC, you can use the built-in Windows Explorer (also known as File Explorer). This method doesn't require any additional software and treats your iPhone like a digital camera, giving you direct access to the Camera Roll.
Follow these instructions to transfer photos and videos:
-
Step 1 Connect Your iPhone to the PC
Use a USB cable to connect your iPhone to your Windows computer.
-
Step 2 Trust the Computer
Unlock your iPhone and a prompt will appear asking you to 'Trust This Computer.' Tap 'Trust' and enter your device passcode to authorize the connection.

-
Step 3 Locate Your iPhone in File Explorer
Open 'This PC' or 'My Computer' on your desktop. Your iPhone should appear under the 'Devices and drives' or 'Portable Devices' section.

-
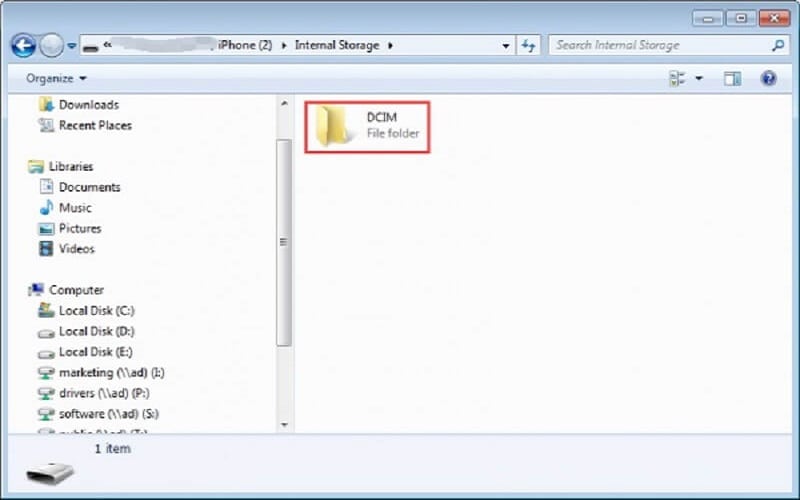
Step 4 Copy Your Photos and Videos
Double-click on your iPhone icon to open it, then navigate to the 'Internal Storage' folder. Inside, you will find a folder named 'DCIM.' This folder contains all the photos and videos from your Camera Roll. You can now copy or drag and drop these files to any folder on your PC.
Part 2. How to Transfer Data from iPhone to PC Using iTunes
For those who prefer using Apple's official software, iTunes remains a viable option for transferring data, especially for creating full backups or syncing media. This method is suitable if you have an iPhone with iOS 4 or later and are comfortable with the iTunes interface.
Here’s a step-by-step guide to transferring files with iTunes:
-
Step 1 Install and Launch iTunes
Ensure you have the latest version of iTunes installed on your PC. Launch the application.
-
Step 2 Connect Your iPhone
Connect your iPhone to your PC with a USB cable. If it's your first time connecting, you may need to trust the computer on your iPhone.
-
Step 3 Select Your Device
A small phone icon should appear in the top-left corner of the iTunes window. Click on this icon to access your device's summary page.

-
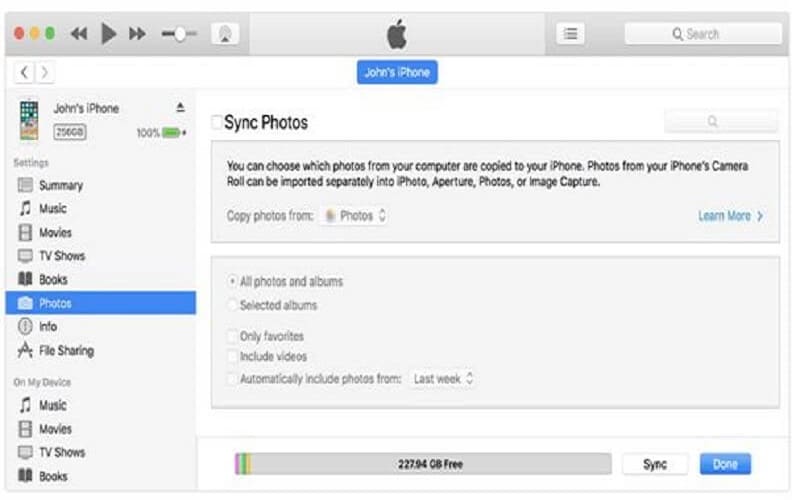
Step 4 Choose the Data to Sync
On the left-hand menu, you'll see a list of content types like Music, Movies, TV Shows, and Photos. Click on 'Photos' to manage your image files.
-
Step 5 Configure Sync Settings
Check the 'Sync Photos' box. From the dropdown menu, select the folder on your computer from which you want to sync photos. You can choose to sync all folders or select specific ones.
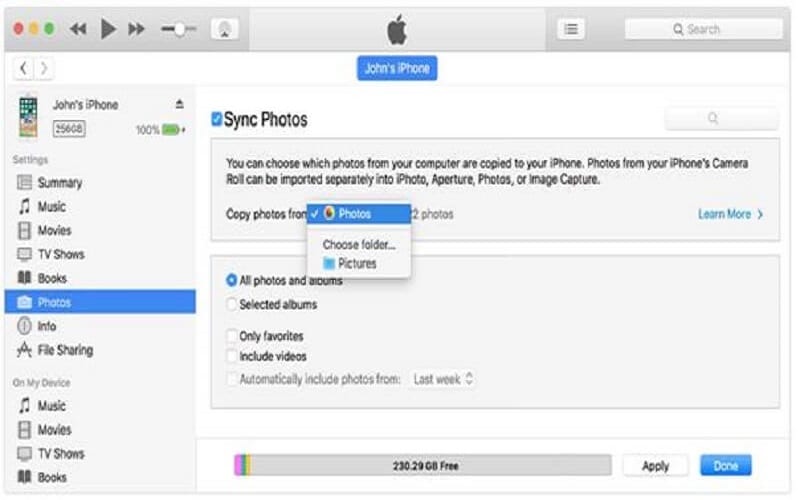
 Note: If you use iCloud Photos, your photos are already synced across devices, and you won't be able to sync them via iTunes.
 -
Step 6 Apply the Changes
If you want to include videos in the transfer, check the 'Include videos' box. Once you've configured your settings, click the 'Apply' button at the bottom-right corner of the window to start the sync process.
Conclusion
Transferring data from your iPhone to a PC is a vital step in protecting your files and optimizing your device's performance. This guide has shown you four reliable methods, each with its own advantages. For a complete and flexible solution that handles all data types without the restrictions of iTunes, Dr.Fone - Phone Manager stands out as the most powerful option. For quick photo transfers, Windows Explorer is incredibly convenient, while iCloud provides excellent wireless syncing. By choosing the method that best fits your needs, you can easily and effectively manage your iPhone data.
FAQ
-
1. What is the easiest way to transfer all my data from an iPhone to a PC?
For a comprehensive transfer of various data types like contacts, messages, music, and photos, using a third-party tool like Dr.Fone - Phone Manager is often the easiest and most direct method. It provides a user-friendly interface and bypasses the limitations of iTunes. -
2. Can I transfer photos from my iPhone to a PC for free?
Yes, you absolutely can. The simplest free method is to use Windows Explorer. Just connect your iPhone via USB, trust the computer, and you can access your Camera Roll photos and videos in the DCIM folder to copy them directly to your PC. -
3. Will using iTunes to sync files delete existing data on my iPhone?
When you sync with iTunes, especially media like music and photos, it can replace the content on your iPhone with the content from your iTunes library. It is designed to mirror your library on your device. Always back up your iPhone before performing a major sync to avoid accidental data loss. -
4. Why can't I see all my files when I connect my iPhone to my PC via USB?
Due to iOS security and privacy protocols, Windows Explorer can only access the Camera Roll (photos and videos) stored in the DCIM folder. It cannot see app data, messages, contacts, or other file types. To access this data, you need to use software like iTunes or Dr.Fone.
 Add Wondershare Dr.Fone as a preferred source on Google