100% Security Verified | No Subscription Required | No Malware
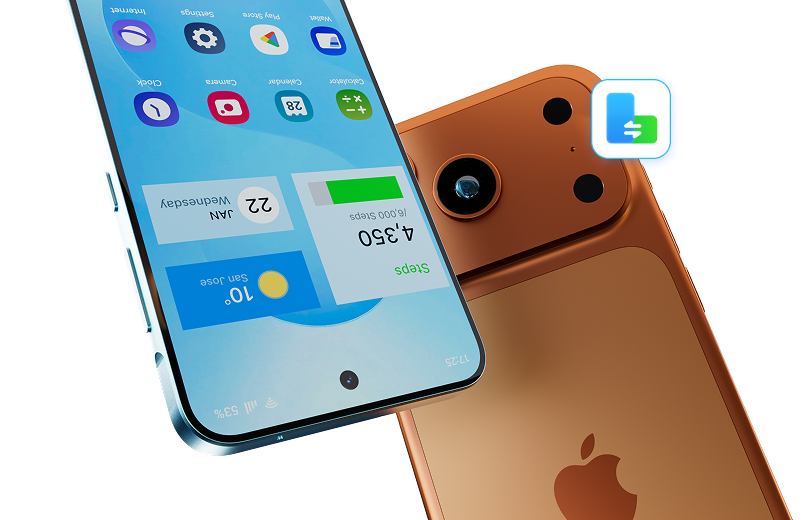

 :
: 
 ChatGPT
 Perplexity
 Gemini
 Claude
 Grok
Grok
Switching from an Android phone to a new iPhone is an exciting upgrade, but the thought of moving your cherished photos can be daunting. You definitely don't want to lose years of memories in the process. Since Android and iOS are fundamentally different operating systems, a simple direct transfer isn't built-in.
Fortunately, you don't have to leave your photos behind. Several high-quality tools and methods exist to make this transition smooth and secure. This guide will walk you through four effective ways to transfer your photos from any Android device to your new iPhone, ensuring every picture arrives safely. Let's explore the options and find the one that works best for you.
In this article
Part 1. The Easiest Way to Transfer Photos from Android to iPhone
When choosing a method to transfer photos between different operating systems, efficiency and reliability are key. For a comprehensive solution that handles not just photos but all your mobile data needs, the Dr.Fone toolkit stands out. It's designed to make complex mobile tasks simple and secure.
Dr.Fone excels at cross-platform transfers, allowing you to move data between Android and iOS devices seamlessly. Whether you're transferring photos from an Android to an iPhone or an iPad, Dr.Fone offers powerful tools to get the job done quickly. Let's look at the two primary methods within the Dr.Fone toolkit.
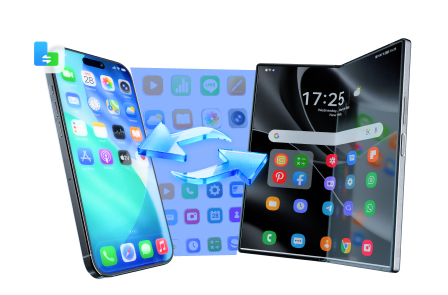
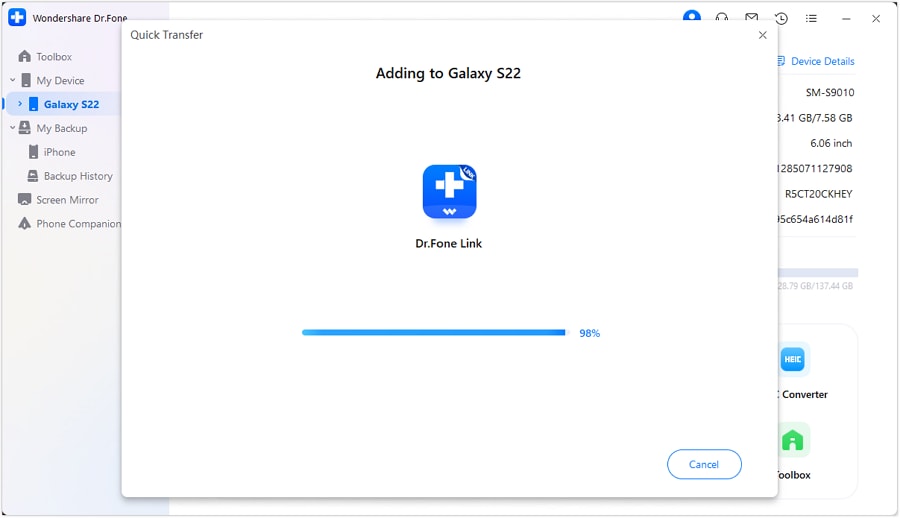
Method 1: One-Click Transfer with Dr.Fone - Phone Transfer
Dr.Fone - Phone Transfer is specifically designed for users switching devices. If you're moving from your old Android to a new iPhone, this tool allows you to migrate all your essential content in just one click. This includes not only your entire photo library but also contacts, videos, messages, and even app data for supported applications.
 Move data between iOS to Android and vice versa.
- Transfer contacts, SMS, photos, videos, music, and more types.
- Available with all phones with Android and iOS versions.
- Simple, click-through process.
Here are the steps to transfer photos from Android to your iPhone using Dr.Fone - Phone Transfer.
-
Step 1 Launch Dr.Fone and Select Phone Transfer
Download and install the Dr.Fone toolkit on your computer. Open the program and click on the "Phone Transfer" module from the main dashboard.

-
Step 2 Connect Both Your Devices
Connect your Android phone and your iPhone to the computer using their respective USB cables.
-
Step 3 Set Source and Destination Phones
The software will automatically detect both devices. Ensure your Android phone is listed as the 'Source' on the left and your iPhone is the 'Destination' on the right. If they are in the wrong order, use the 'Flip' button in the center to switch their positions.

-
Step 4 Start the Photo Transfer
From the list of data types in the middle, check the box next to 'Photos'. You can also select any other data you wish to move. Once you've made your selection, click the 'Start Transfer' button to begin the process.

The transfer will complete in a few moments, moving all your selected pictures from Android to your iPhone without any data loss.


Method 2: Selectively Transfer with Dr.Fone - Phone Manager
If you don't want to transfer your entire photo library and prefer to pick specific pictures, Dr.Fone - Phone Manager (Android) is the perfect tool. This feature gives you full control over your device's data, allowing you to preview and select individual photos, albums, or other files for transfer.
Dr.Fone - Phone Manager is a secure and reliable program for managing your device data. You can transfer not only photos but also contacts, videos, music, and more, with the assurance that your information remains safe. You can easily export photos from your Android device directly to your connected iPhone.
After connecting your Android phone, navigate to the 'Photos' tab. Here you can browse all your images. Simply select the photos you want to move, click the 'Export' icon, and choose 'Export to Device' to send them directly to your iPhone.
Part 2. Using the Move to iOS App for Photo Transfer
Apple provides its own solution for users switching from Android called the 'Move to iOS' app. You can download it for free from the Google Play Store on your Android device. It's designed to transfer your content, including photos, during the initial setup process of a new iPhone.

Follow these steps to proceed:
-
Step 1 Prepare Your iPhone
Begin setting up your new iPhone. When you reach the 'Apps & Data' screen, select the 'Move Data from Android' option. Your iPhone will then display a 12-digit code.

-
Step 2 Install and Open Move to iOS on Android
On your Android phone, go to the Google Play Store, find the 'Move to iOS' app, and install it. Open the app and tap 'Continue', accepting the terms and conditions.

-
Step 3 Enter the Code and Select Data
Enter the 12-digit code from your iPhone into the app on your Android device. This will establish a direct Wi-Fi connection between the two phones. You will then see a 'Transfer Data' screen where you can select the content you want to move. Make sure 'Camera Roll' is checked and deselect anything else you don't want to transfer.

-
Step 4 Wait for the Transfer to Complete
Tap 'Next' on your Android phone and leave both devices alone until the loading bar on your iPhone finishes. Once complete, you can continue setting up your iPhone.
While this method is free, it can be time-consuming for large photo libraries and is restrictive because it only works during the initial iPhone setup.
Part 3. How to Use Google Drive for Android to iPhone Photo Transfer
If you prefer a wireless, cloud-based solution, Google Drive is an excellent option. As a cloud storage service available to anyone with a Google account, it can store documents, videos, and, most importantly, photos. This method involves uploading your photos from your Android device and then downloading them to your iPhone.
Here’s how to transfer photos using Google Drive:
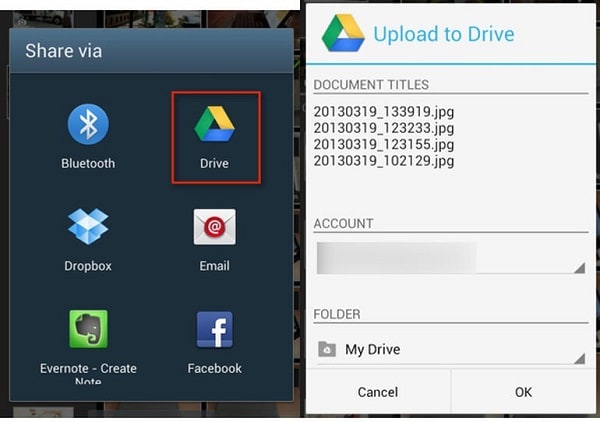
- On your Android Phone: Make sure you have the Google Drive app installed. Open your Gallery app, select all the photos and albums you want to transfer, and tap the 'Share' icon. From the sharing options, choose 'Save to Drive'. The selected photos will begin uploading to your Google Drive account.
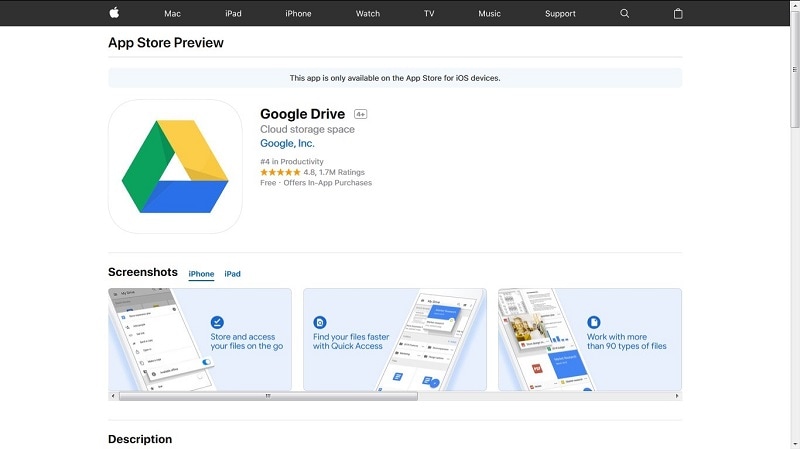
- On your iPhone: Go to the App Store and download the Google Drive app. Sign in with the same Google account you used on your Android device. You will see all the photos you just uploaded.
- Download to iPhone: Open a photo, tap the three-dot menu icon, and select 'Send a copy', then 'Save Image'. You can do this for each photo or select multiple images to save to your iPhone's Camera Roll.
Part 4. Top 3 Apps for Transferring Photos
Beyond the methods above, several third-party apps are designed specifically for transferring photos and other files between devices. Here are three of the most popular and reliable options.
PhotoSync
PhotoSync is a versatile photo-sharing app that works across Android, iOS, computers, and even cloud services. It allows you to transfer your photos over a local Wi-Fi network. You can move photos and videos directly from your camera roll. The app is regularly updated to support RAW files and preserve important EXIF data, making it a favorite among photography enthusiasts.
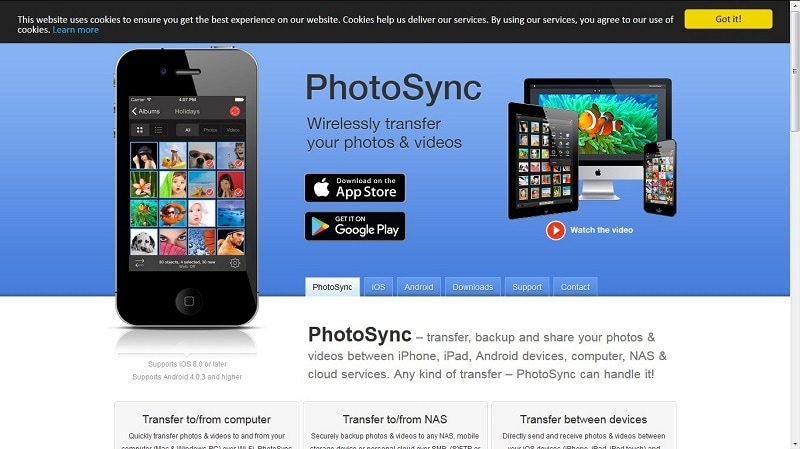
Photo Transfer App
As its name suggests, the Photo Transfer App focuses on making photo transfers simple. It's incredibly popular due to its ease of use. You can move photos from Android to iPhone without any cables, and you can even access your photos from a web browser on your computer. It allows for bulk downloading and works seamlessly across multiple platforms.

Shareit
Shareit is a high-speed file transfer application that can move more than just photos. You can use it to send videos, music, documents, and entire folders between your Android and iPhone. It creates a direct connection between devices, often resulting in very fast transfer speeds. The app is free, secure, and constantly updated, making it a reliable choice for transferring all kinds of files.
Conclusion
After reviewing these different methods, it's clear there are many ways to transfer photos from an Android to an iPhone. While apps like Move to iOS and cloud services like Google Drive are viable, they come with limitations, such as only working during setup or requiring manual uploads and downloads. For a truly seamless, fast, and comprehensive solution, Dr.Fone - Phone Transfer is undoubtedly the best option. It offers a one-click process that saves time and ensures no memories are lost in the transition.
FAQ
-
1. What is the fastest way to transfer a large number of photos from Android to iPhone?
For large photo libraries, the fastest method is typically a direct, wired transfer using a computer and specialized software like Dr.Fone - Phone Transfer. This avoids Wi-Fi speed limitations and the two-step process of cloud services, moving files directly from one phone to the other. -
2. Can I transfer photos from Android to iPhone after I've already set up my iPhone?
Yes. While Apple's 'Move to iOS' app only works during the initial iPhone setup, other methods work anytime. You can use computer software like Dr.Fone, cloud services like Google Drive, or third-party transfer apps like PhotoSync or Shareit to move photos to an already-configured iPhone without needing to reset it. -
3. Do I need a computer to transfer photos from Android to iPhone?
No, a computer is not always necessary. You can use wireless methods such as the 'Move to iOS' app (during setup), Google Drive (by uploading and downloading), or apps like Shareit that create a direct connection between the phones. However, using a computer often provides a more stable and faster transfer. -
4. Will transferring photos reduce their quality?
No, the methods described in this article should not reduce the quality of your photos. Direct transfer tools like Dr.Fone and cloud services like Google Drive (when using original quality settings) move the original files. This ensures your photos arrive on your new iPhone with their resolution and quality intact.
 Add Wondershare Dr.Fone as a preferred source on Google