5 Best Ways for iPhone File Transfer Without iTunes
Oct 24, 2025 • Filed to: Device Data Management • Proven solutions
Dr.Fone Basic:
Better Control for Your Phone
Manage, transfer, back up, restore, and mirror your device
Looking for a hassle-free solution for iPhone file transfer without iTunes? Our comprehensive guide is here to help. Many users experience frustration with iTunes due to its non-intuitive interface and the tendency to delete files not purchased from the iTunes store. If you're among those seeking an alternative method for iPhone file transfer without iTunes, especially for specific tasks like transferring PDFs or other media files, you've come to the right place.
Our article dives deep into the top methods for iPhone file transfer without iTunes, ensuring you can easily move your files between your iPhone and other devices, such as PCs, other iPhones, or different devices altogether. We provide detailed instructions and tips to facilitate a smooth transfer process, allowing you to access your files on any device you prefer. Say goodbye to the complications of iTunes and embrace the simplicity of managing your digital content with our expert guide on iPhone file transfer without iTunes.
Part 1: Transfer iPhone files to computer without iTunes using Dr.Fone - Phone Manager (iOS)
If you want to complete an iPhone file transfer without iTunes, then you must have the right iPhone transfer tool. The right tool is important because it will make your life much easier when you need to transfer files from iPhone to the computer, or vise versa. The best program to use is Dr.Fone - Phone Manager (iOS), an accessible, feature-rich software needed to effortlessly transfer files from iPhone.
Dr.Fone is an excellent all-in-one software package designed to make the transfer of photos and other files between devices a smooth, seamless experience. Whether it be important contacts, multimedia files, apps, and SMS messages, you can transfer the data with Dr.Fone.

Wondershare Dr.Fone
1 Click iPhone File Transfer without iTunes
- Transfer, manage, export/import your music, photos, videos, contacts, SMS, Apps, etc.
- Backup your music, photos, videos, contacts, SMS, Apps, etc. to computer and restore them easily.
- Transfer music, photos, videos, contacts, messages, etc. from one smartphone to another.
- Transfer media files between iOS devices and iTunes.
- Fully compatible with all iOS versions that run on iPhone, iPad, or iPod touch.
Step 1 - Setup Dr.Fone on your computer and connect your iOS device. Wait for the device to be recognized.

Step 2 – After the device is connected, you will be taken to the menu. You can navigate between different categories of data like ‘Music’, ‘Apps’, and ‘Photos’. Select the files you want to add.
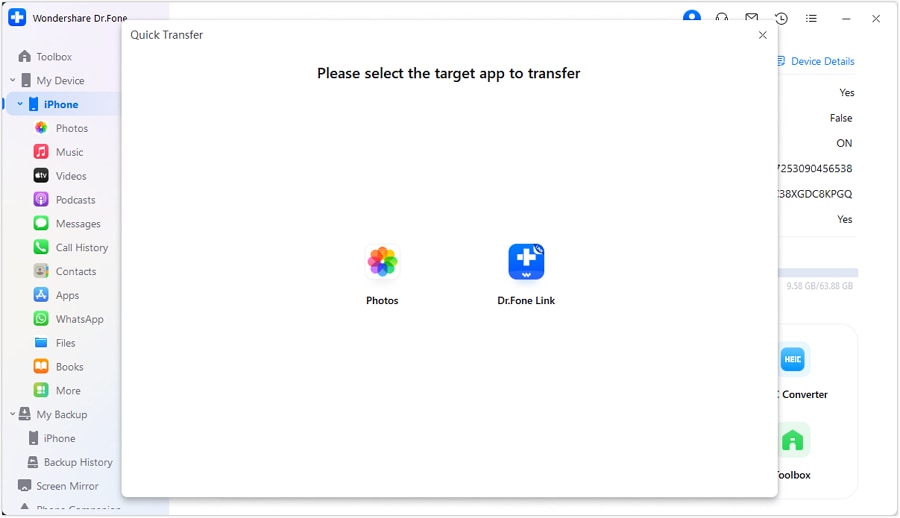
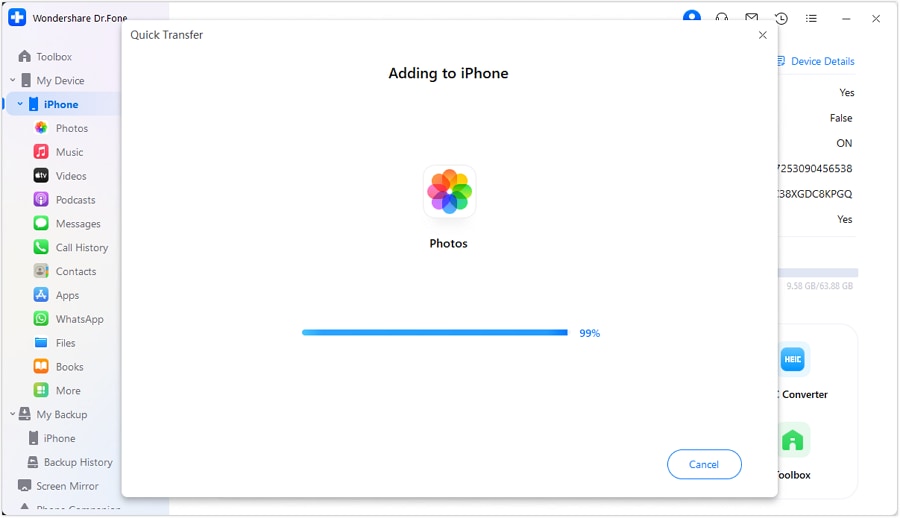
Step 3 – Select all files to transfer and choose the folder to copy the data. Soon, your selected files will get transferred to the chosen location to be readily available as and when required.
Part 2: Four Methods for Transferring iPhone files without iTunes
1. iCloud Drive/Online Drive
Online drives such as iCloud/ Google Drive or DropBox are an excellent system for sharing files across multiple iOS devices. These are cloud drive exclusively for iOS devices. The drive is used to store videos, images, documents, and PDF are stored. The iCloud drive makes the file transferring and data backup an easy, seamless operation. iCloud Drive has an accessible user-interface, easy for organizing, and viewing information. You can access all files through mobile devices and desktop computers. It should be noted that iCloud Drive does not transfer files, but provides access from PC to the iOS device. The drive offers other benefits, and you can share files with other users, and even collaborate on projects in real-time.
If you want to transfer files from your mobile device to your PC, then perform the following steps:
Step 1 - Go to Apple iCloud website to download the iCloud Drive control panel.
Step 2 - Sign in to complete the installation process.
Step 3 – Your iCloud Drive folder should be on the computer.
Step 4 – Transfer the files from your mobile device to the iCloud.
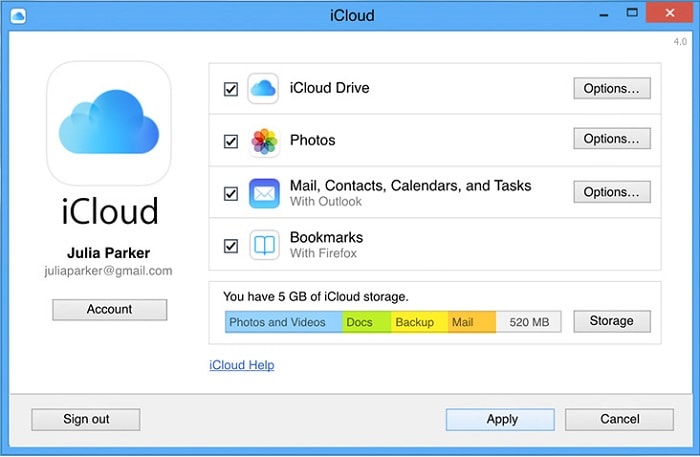
After that, with your system PC visit iCloud account to get access to the saved data under iCloud drive.
2. Transfer the iPhone files/photos using iPhoto
Another striking facility with which you can easily and comfortably transfer your iPhone photos to your computer is using iPhoto provided by Apple (Which is an in-built facility). iPhoto being readily available facility becomes the first choice of the Apple device user, plus it provides easy to use, and with few simple steps, you can transfer files from your iPhone to the Mac system. Let's discuss the process in detail:
Step 1. First of all start with making a connection between the iPhone and the Mac system with the help of USB cable> as soon you make a connection usually iPhoto application gets launched automatically
Otherwise, you can access iPhoto by visiting applications> and then choose the iPhoto app
Step 2. Once all of your photos of your iPhone gets to appear on the screen after the connection, select all or choose the desired one and click on “import selected”> Once selected you can directly move the files to the desired location of your Mac system by using the cut or copy option then paste that to the chosen place on the Mac system.
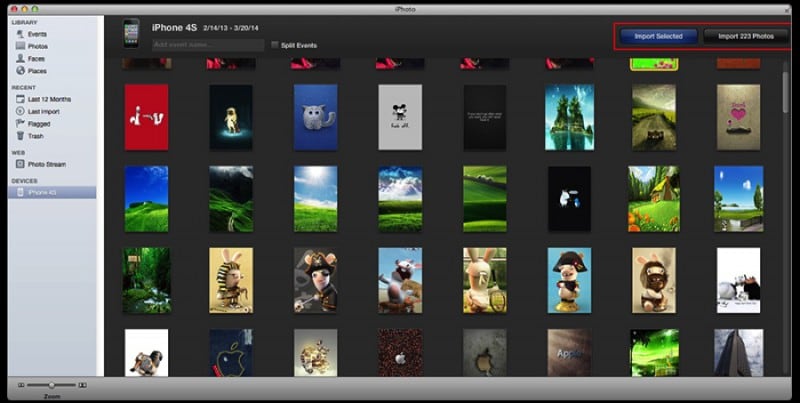
That’s it, using this simple and inbuilt application, transferring process becomes quite easy. So, you no more need to be dependent on iTunes for the file transferring concern.
3. Transfer using the Preview on Mac
The next process is using the Preview application on the Mac device. It is one of the powerful tools, though less known for transferring purposes on your Mac device. So, just sit comfortably and know more about the process of transferring files using the Preview on Mac.
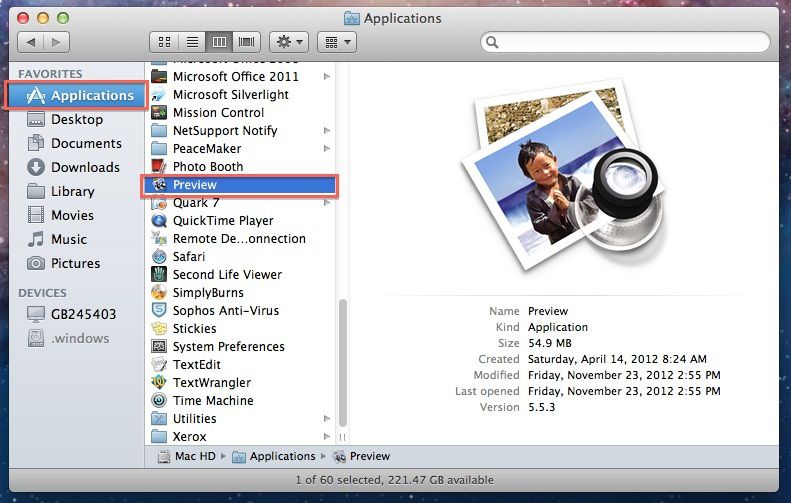
Step 1. First of all, you need to make a connection between your iPhone device and the Mac system using the USB cable. Now select to open the Preview.
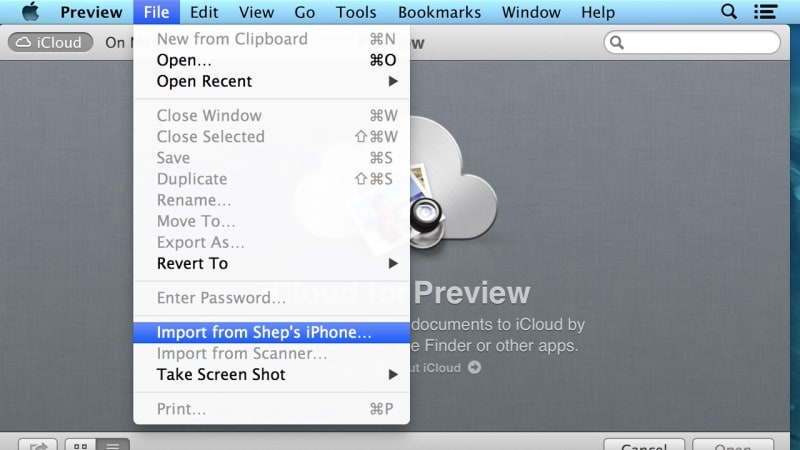
Step 2. There visit the File section> Choose import from iPhone device> Doing so will appear a list of files> Now either you can drag and drop your chosen file to another location of your Mac system or use the open function to choose the location.
Note: Preview is a built-in feature to your Mac device; thus you can access it as per your convenience
4. - Transfer iPhone files with E-mail
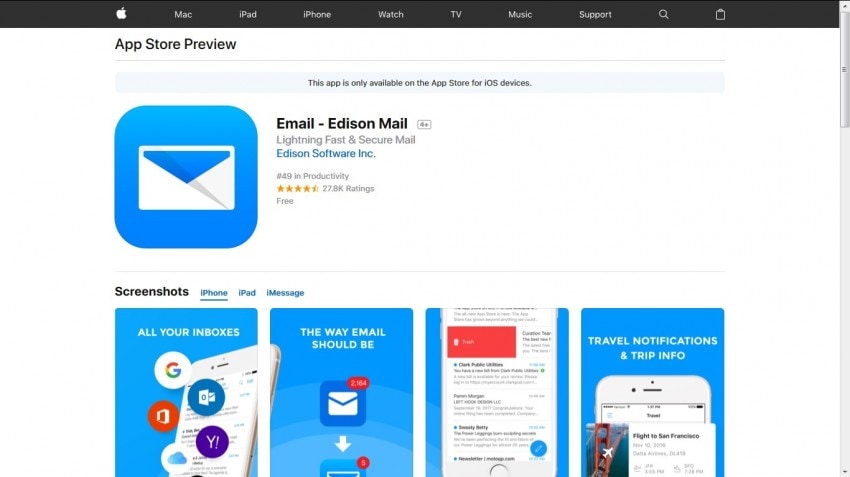
If you do not want to install software or deal with drives, then you can adopt a simple solution: Emails. You can send documents, photos, and videos from an iOS device to your PC using email. The process is relatively simple:
Step 1 – Open an email app on your mobile device. Add an email address, and attach files.
Step 2 – Access email on PC and download files.
The process is simple, along with just keep a check on the internet connection during the process so that files get transferred, and later on you would be able to download and access easily to your system. The most important thing, you can access your email account from anywhere on your chosen device with an internet connection.
Conclusion
I hope that all your queries regarding the iPhone file transfer without iTunes are covered here. Every solution carries their importance, even though the best option amongst them is none other than Dr.Fone - Phone Manager toolkit. The Dr.Fone toolkit guides you throughout the process so that you can easily transfer files using their user-friendly interface. So just go and have a great transfer experience.
Dr.Fone Basic:
Better Control for Your Phone
Manage, transfer, back up, restore, and mirror your device
iPhone Data & Files
- iPhone File Managers
- 1. iPhone File Browsers
- 2. iPhone File Explorers
- 3. iPhone File Managers
- 4. Apps to Transfer File Wirelessly
- Transfer iPhone Files
- 1. Send Large Files For Free
- 2. Transfer File from iPhone to Laptop
- 3. Transfer Files from iPhone to Mac
- 4. Transfer Files from iPhone to PC
- 5. Transfer Files from Mac to iPhone
- 6. Transfer Files from PC to iPhone
- 7. Print Text Messages from iPhone
- 8. Transfer Files Over WiFi
- 9. iPhone File Transfer Without iTunes
- 10. Access iPhone Files Using a PC
- 11. Export Notes from iPhone to PC/Mac
- 12. Save iPhone Text Messages to Computer
- iPhone Manage Tools
- 1. iPhone Transfer Tools
- 2. Manage Apps On iPhone
- 3. Security Apps for iPhone
- 4. Call Forwarding Apps
- 5. iPhone Tracking Apps
- Manage iPhone Apps
- 1. Change Viber Number
- 2. iPhone Calls Apps
- 3. Block People in Facebook
- 4. Monitor Snapchat on iPhone
- 5. Snapchat Saver Apps
- Sync iPhone Data
- 1. Sync Notes from iPhone to Mac
- 2. Ford Sync iPhone
- 3. Sync iCal with iPhone
- 4. iPhone Calendar Not Syncing
- 5. Sync iTunes Library to iPhone
- 6. Unsync iPhone from Computer
- 7. Sync iPhone with Multiple Computers
- More iPhone File Tips
- ● Manage/transfer/recover data
- ● Unlock screen/activate/FRP lock
- ● Fix most iOS and Android issues
- Manage Now Manage Now Manage Now


Bhavya Kaushik
contributor Editor