How To Backup and Restore Social Apps on iOS?
"Many iOS social applications are used for communication alongside WhatsApp. Given the popularity of many iOS social apps used alongside WhatsApp, it's essential to back up their data to protect meaningful content. Storing backups on different platforms is also recommended. Dr.Fone - WhatsApp Transfer offers a unique feature for backing up and restoring social apps, as discussed in the guide.
Index
Part 1: Backup & Restore Kik
Start the process by connecting your iOS device to the computer using a cabled connection. Launch Wondershare Dr.Fone and navigate to Toolbox > WhatsApp Transfer to launch the tool on another window.

* The Dr.Fone Mac version still has the old interface, but it does not affect the use of the Dr.Fone function. We will update it as soon as possible.
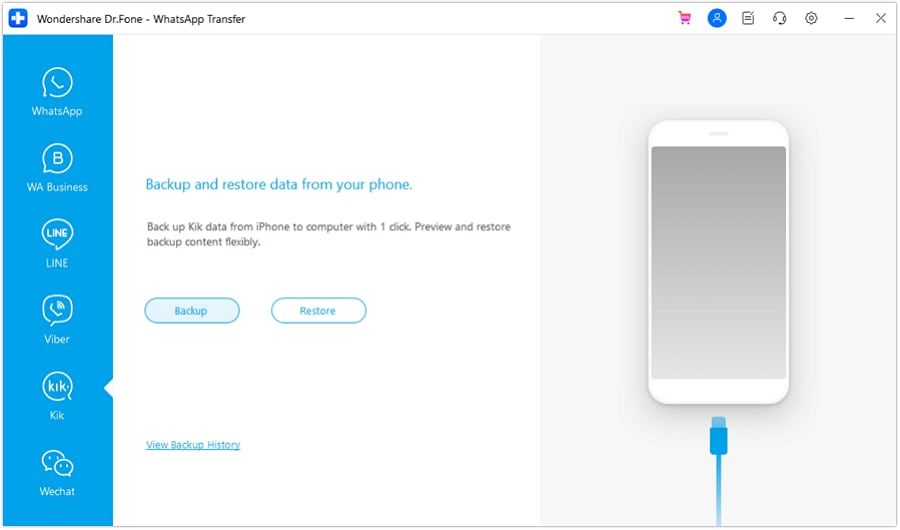
As a new window opens, navigate to Kik from the left panel and continue to select Backup.
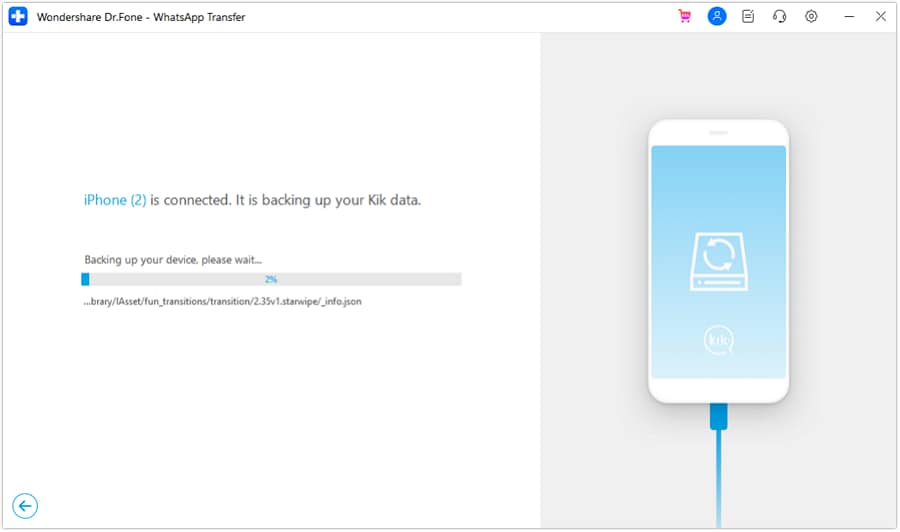
The backup process initiates, and the window displays the progress for a quick check.
Once the backup concludes, a message appears on a similar screen. Click View It or return to the main screen to view the backed-up content,

Next, select the Restore button to restore Kik data to the iOS device.

Select the backup file you want to restore In the following screen and tap the Restore button.

You'll reach a new screen where you have to select the Restore button to initiate the process.

A prompt appears on the screen, offering to remove the previous Kik data on the iOS device. To confirm removal, select the Backup button on the prompt. Otherwise, proceed with Continue.

The next screen shows the progress of the restored Kik data on iDevice. Click Cancel if you wish to stop the process.

Once the process is complete, a comprehensive message appears on the screen. Click OK to conclude the backup and restoration of Kik.

Part 2: Backup & Restore Viber
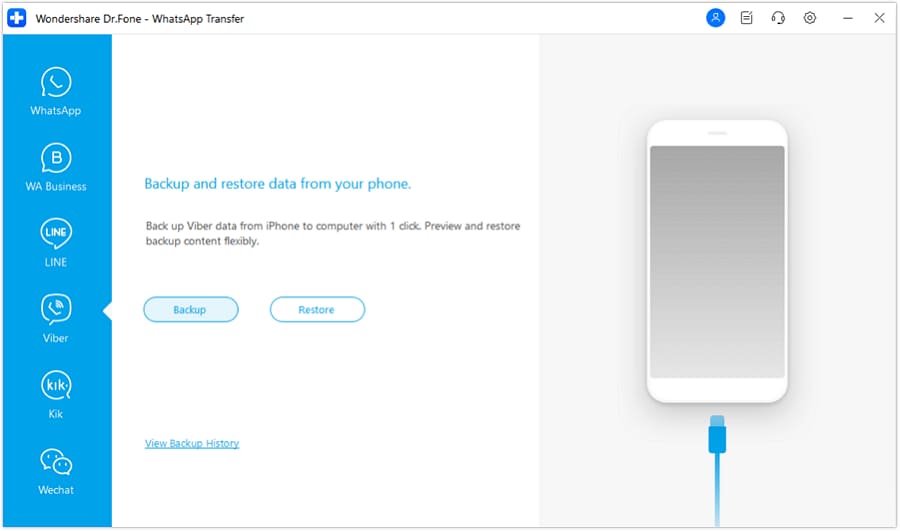
As you open the WhatsApp Transfer tool, lead to Viber > Backup to proceed towards backing up your iDevice.
The backup process starts, displaying the progress of the operations to help the user keep a check on the conditions.

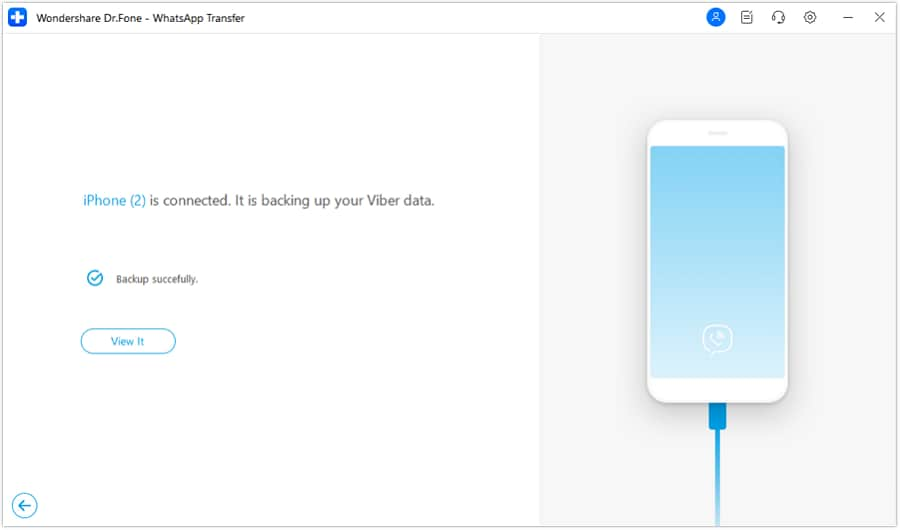
Once the data is backed up, the respective message appears on the screen. Furthermore, you can click View It to immediately check the backed-up data.
After backing up Viber, proceed to the main page of the WhatsApp Transfer tool and follow the Viber > Restore navigation to open the restore window.

On the next screen, locate the specific backed-up file and look for the Restore icon against it.
When directed to a new screen, choose Restore to start the process.

The prompt asks to keep or remove the previous Viber data on your iDevice. Continue with either option of Backup or Continue.

The restoration process starts, which is displayed by a progress bar. To close down the process, hit Cancel if needed.

After a while, you will find the restoration process completed. Follow through to select OK to conclude the process.

Part 3: Backup & Restore LINE
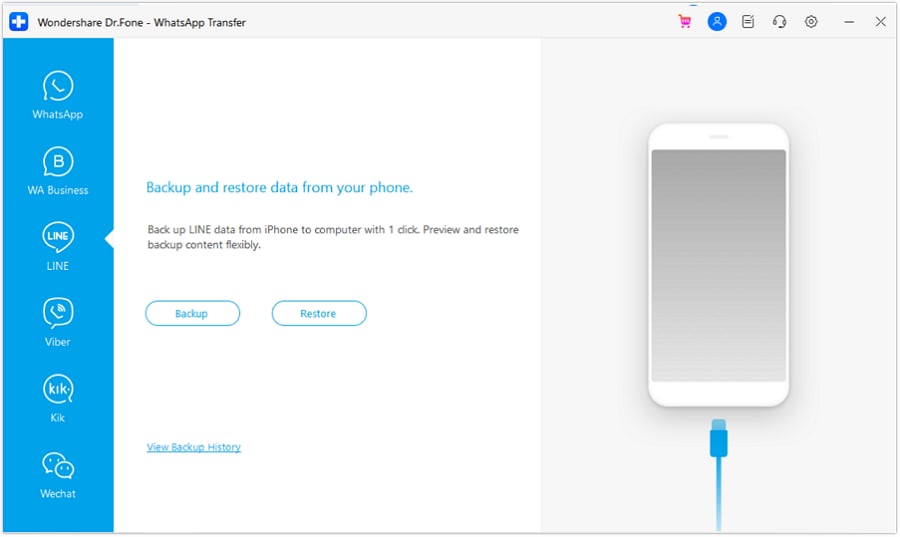
After accessing the WhatsApp Transfer tool, follow the path of LINE > Backup to proceed with the backup of the LINE app on your iOS device.
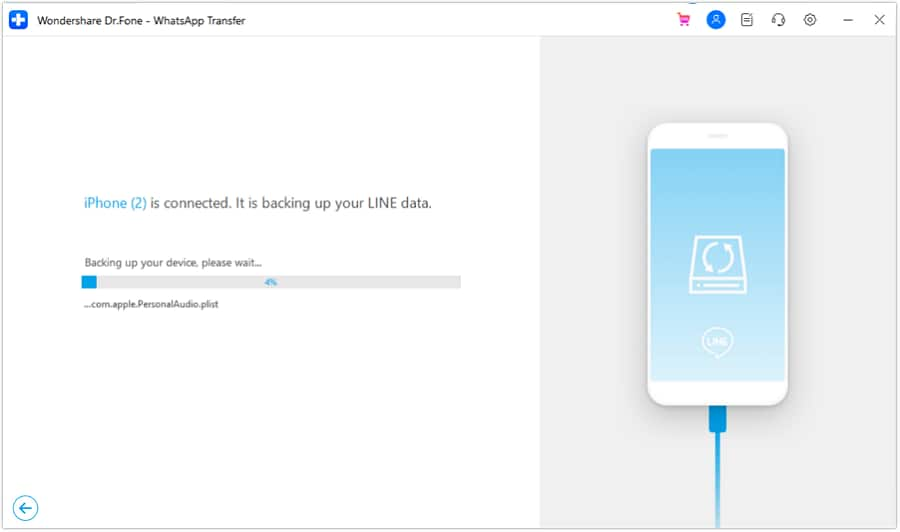
The backup process starts, where its progress is displayed with the bar.
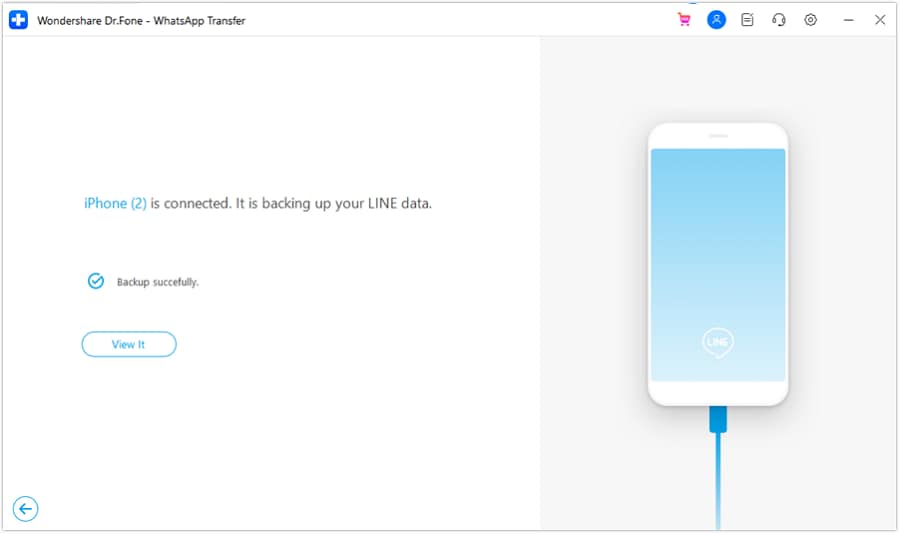
As the backup concludes successfully, click View It to check out the details of the backup.
You can navigate to the homepage and select the Restore button to restore the backed-up LINE data to your iOS device.

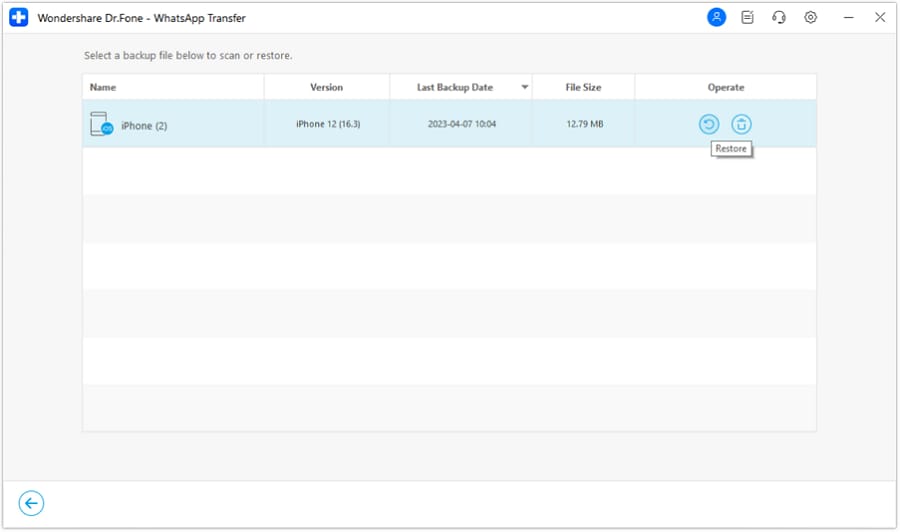
You will find all the backed-up LINE files on the next screen, out of which you have to select the required backup file. Click the Restore icon against the backup file to proceed.
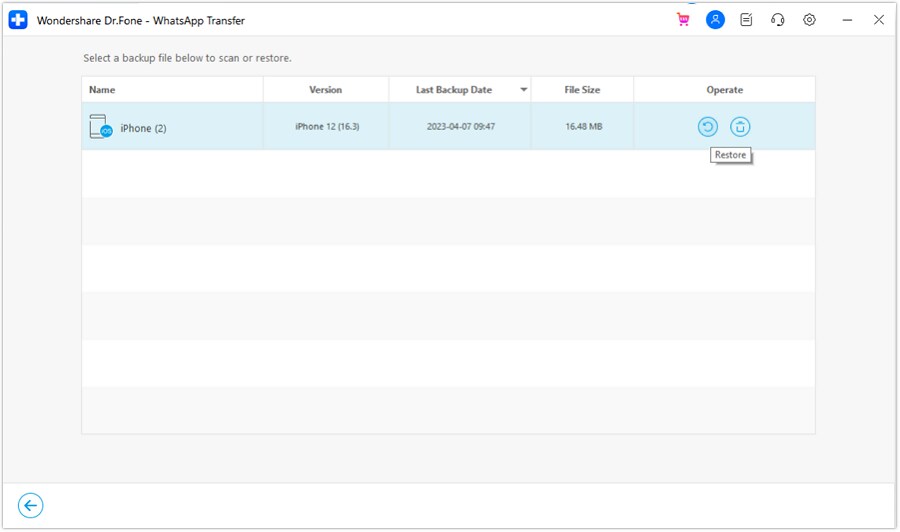
With a new window in the display, click Restore to start the restoration of the LINE app on iOS.

You will be prompted to check the files existing in the iOS device related to LINE. Click Backup to save these files; otherwise, go for Continue.

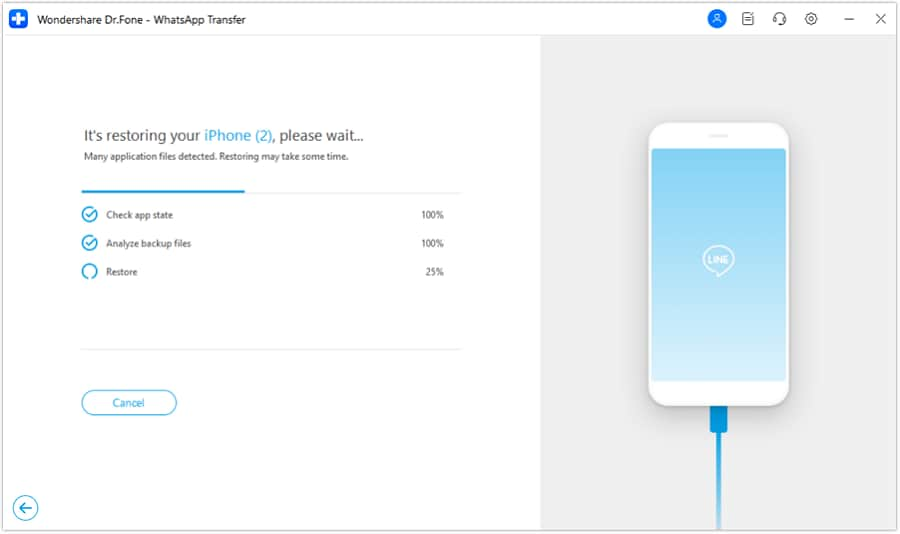
When the restoration process starts, the progress bar will appear like this.
You will have to turn off the Find My Feature on your iDevice to proceed with the conclusion of the process. Go for your iDevice’s Settings, select your name, and propagate to the Find My option. Turn off the toggle for the feature.

As the process completes, the message will display on the screen, where you can click OK to conclude the entire operation.

Part 4: Backup & Restore WeChat
To backup and restore WeChat, open the WhatsApp Transfer tool and proceed with the WeChat > Backup path to initiate the backup process.

On the new screen, you can view the backup progress from the bar.

Once the backup process concludes, select the View It button to look into the backup content.
To restore a backup, select the Restore button from the main page.
A new screen opens, showing the list of all backup files of WeChat that are saved on the platform. Select the backup file you want to restore.
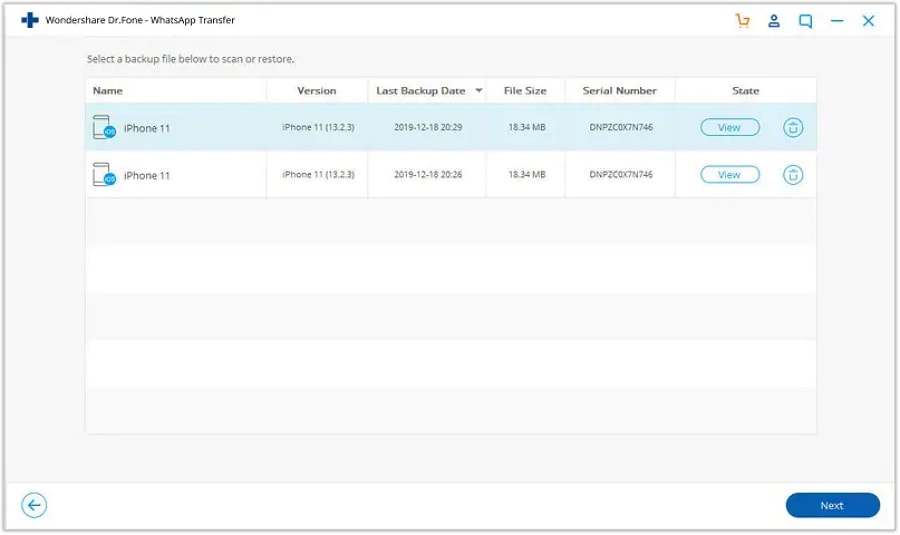
You will then have to select the Restore button to start the process of restoration.
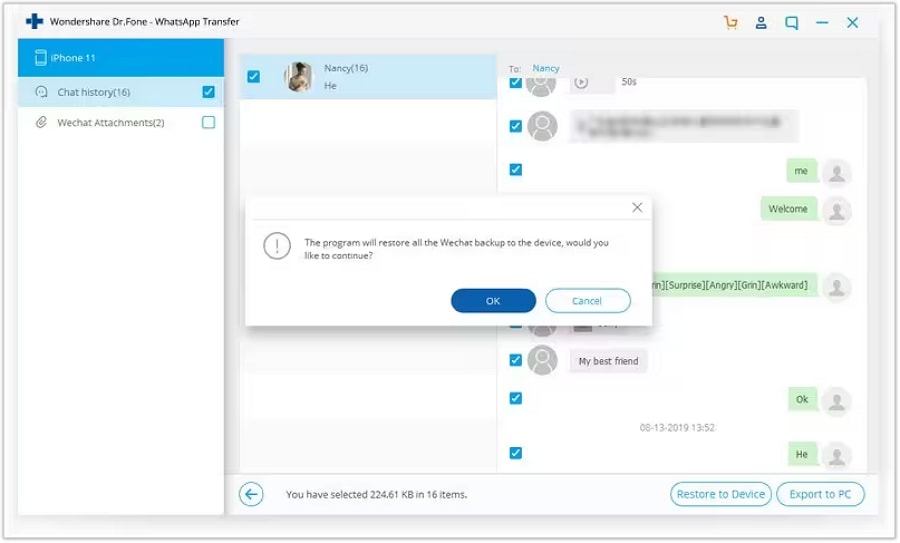
A prompt appears on the screen asking you to verify the status of the WeChat data that exists within the iOS device. Select Backup if you want to save this backup, or proceed with Continue if you are unwilling to maintain the data.
As restoration starts, check the process through the progress bar. Click Cancel if you want to abort the process.
The backup file is restored to the device, and a clear message is displayed.
WHAT YOU'LL NEED

Dr.Fone provides a complete set of tools for solving all iOS/Android phone problems.
Need help?
You might find the answer to your question in the FAQ or additional information below: