Essential Guide: How to Add Ringtones to iPhone 12/XS (Max)

Jul 12, 2024 • Filed to: Manage Device Data • Proven solutions
Sometimes, you get tired of your iPhone default ringtone and you want to add custom ringtones to your iPhone. Adding custom ringtones to new iPhone 12/XS (Max) may be a challenging task for some users. Luckily, there are various ways to add ringtones to iPhone 12/XS (Max).
Here, we will tell you how you can easily customize your ringtone and can make your iPhone ringtone interesting and unique.
Part 1: How to add ringtones to iPhone 12/XS (Max) with iTunes
The iTunes library supports various type of data and it also allows you to make and add ringtones to your iPhone. This process is complex as compared to the other way that we have mentioned in this article. Because it takes a long time to add ringtones to iPhone.
Follow the below step-by-step guide on how to add ringtones to iPhone 12/XS (Max) with iTunes:
Step 1: Install the latest iTunes version on your computer if it is not installed. Then, make a connection between your computer and iPhone using a USB cable.
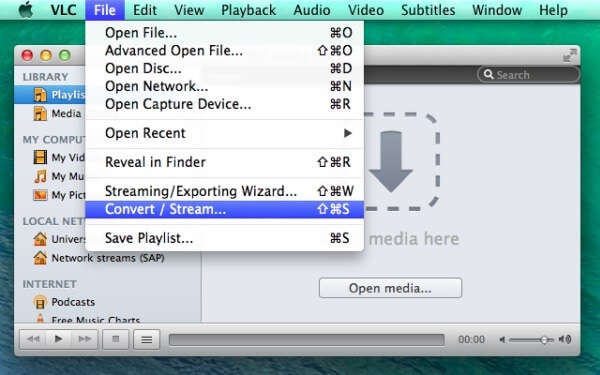
Step 2: Now, to add a ringtone to iPhone, you need to add your desired music or track from your computer to iTunes. You can do this either by drag and drop the music from computer to iTunes or from iTunes, open the “File” menu and then, select the “Open” for adding music to iTunes library.
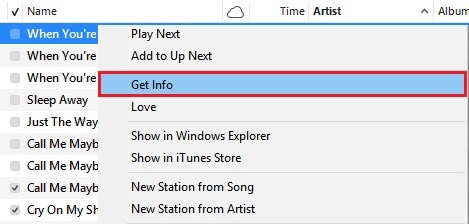
Step 3: Once you locate your desired song to the iTunes, and then right-click the song to select the “get info” from the list.
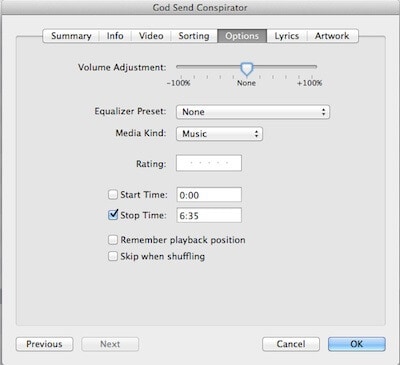
Step 4: After that, go to the “Options” menu when the settings window appears and make a change to your songs such as start and end time. Then, tap on “OK”.
Step 5: Now, delete the duplicate version of the song. Select the song and delete its duplicate version through Control+ Click.
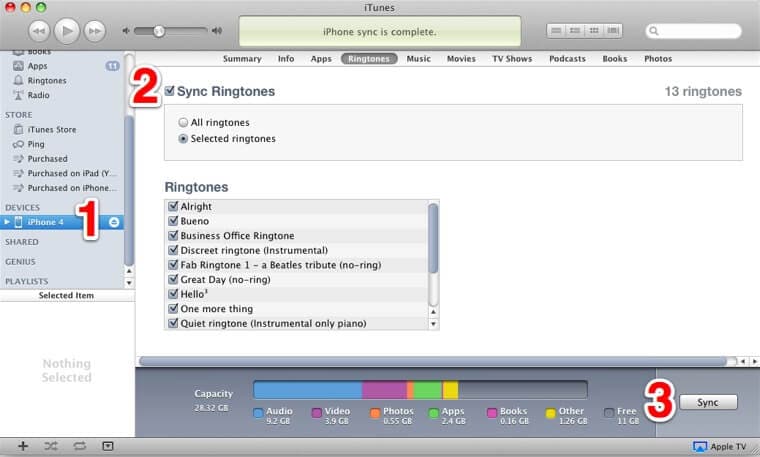
Step 6: Now, alter the file type from .m4a to .m4r to make a ringtone. Then, put this renamed file to your iTunes library. You can do this either through drag and drop or by opening the file. Finally, sync it to your iPhone device as shown in the figure.
Part 2: How to add ringtones to iPhone 12/XS (Max) without iTunes
The Dr.Fone - Phone Manager program is one of the most powerful data transfer tools which allows the users to add ringtones to iPhone 12/XS (Max) (as well as data transfer) in a quick and efficient way. This software can be downloaded for both Windows and Mac. Its installation process is very easy, and it has a user-friendly interface which makes the transfer process much easier.
Dr.Fone - Phone Manager (iOS)
Best alternative to iTunes to add ringtones to iPhone 12/XS (Max)
- Transfers ringtones, images, music between PC (Mac) and phones.
- Also transfers every kind of data such as SMS, applications, messages, contacts between PC (Mac) and phones.
- Fully compatible with all latest iOS and Android versions
 .
. - Transfers files from iTunes to iPhone or even Android


Follow the below step-by-step guide on how to add ringtones to iPhone 12/XS (Max) without iTunes by using Dr.Fone:
Step 1: Download the Dr.Fone software onto your computer and then, run the software. After that, choose the "Phone Manager" module among all the modules.

Step 2: Connect your iPhone to a computer with the help of digital cable and select the “Music” media file type. Then, click on the Ringtones icon.
Step 3: Now, tap on “Add” icon and then, select either “Add File” or “Add Folder” to add ringtones which are already existing in your computer.

Step 4: After a few minutes, the selected ringtones will be added to your iPhone.
Part 3: How to add custom ringtones to iPhone 12/XS (Max)
If you want to make custom ringtones for your iPhone, then the Dr.Fone-PhoneManager helps you to make or add custom ringtones to your iPhone. It is one of the amazing and efficient tools to make custom ringtones without iTunes library.
Follow the below step-by-step guide on how to add a custom ringtone to iPhone 12/XS (Max) with the help of Dr.Fone-PhoneManager software:
Step 1: To commence the process, open the Dr.Fone software on your computer and then, connect your iPhone to your computer using a digital cable.

Step 2: Now, select the “Music” file type from the menu bar and after that, click on the “Ringtone Maker” icon as shown in the figure.
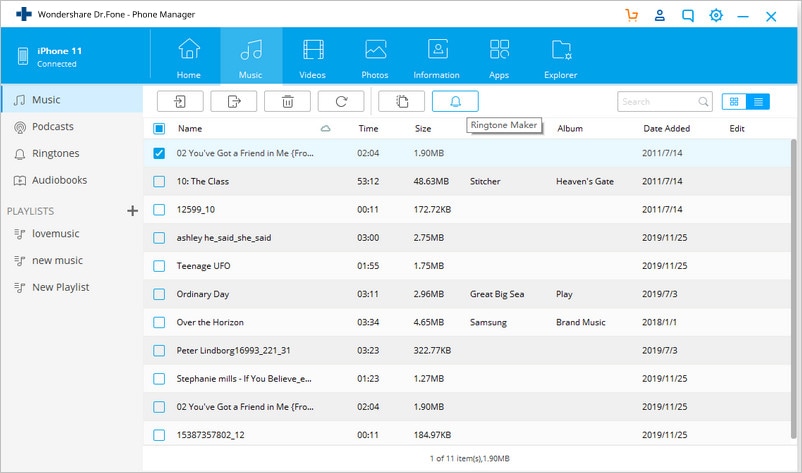
Step 3: You can also select a particular song from the music section, then right-click on it to select the Ringtone Maker as shown in the figure.
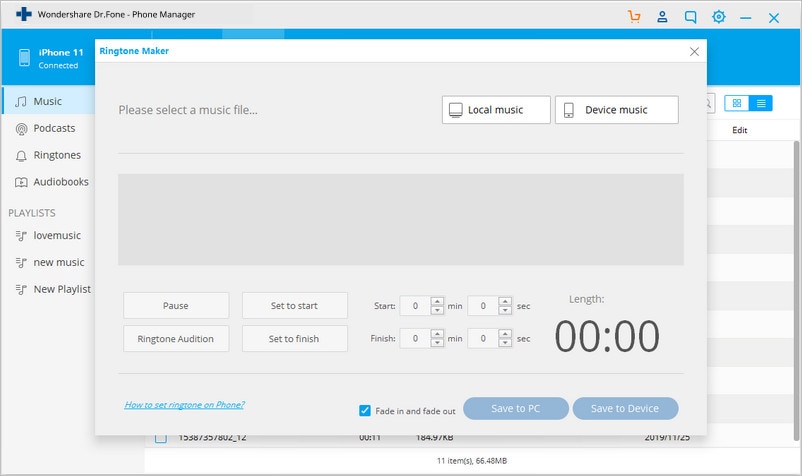
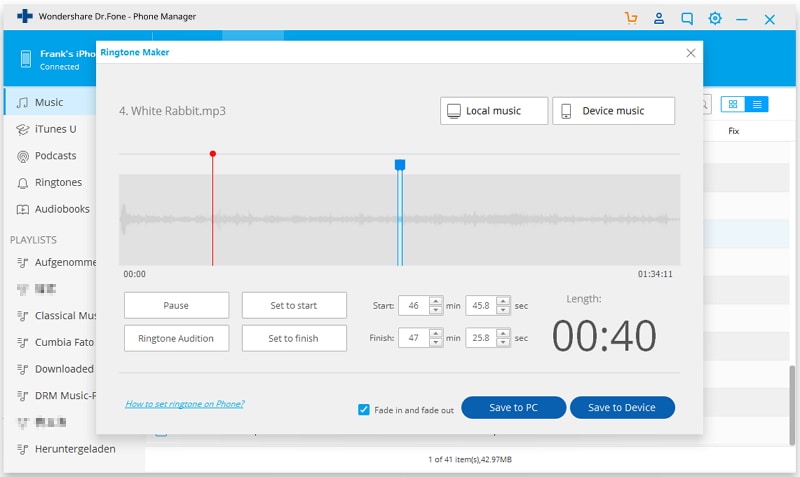
Step 4: Now, you can alter the settings of the ringtone such as its start time, end time and many more. You can also preview your ringtone by tapping on the “Ringtone Audition”. After making all the necessary settings, then save the ringtone to your iPhone by clicking on the “Save to Device” button.
Part 4: How to add purchased ringtones in settings
You can easily add ringtones that you have already purchased to your iPhone. Even, you can purchase new ringtones.
Follow the below step-by-step guide on how to download ringtones to iPhone 12/XS (Max) from settings option:
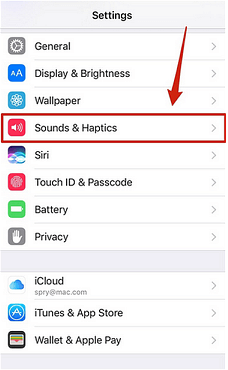
Step 1: To begin the process, on your iPhone, open the “Settings” menu.
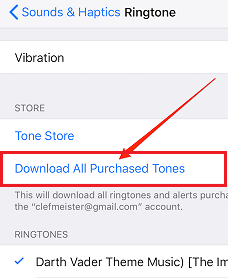
Step 2: Then, navigate to the “Sounds & Haptics”. After that tap on the “Ringtone” option which is placed at the top of "Sounds and Vibration Patterns".
Step 3: Now, click on the “Download All Purchased Songs” and within a few minutes, it will start re-downloading the purchased ringtones. Once the process is completed, purchased ringtones will be available to your iPhone.
Step 4: If you want to purchase more ringtones, then you can purchase by clicking on the “Tone Store”. It will take you the iTunes Store app where you will see the famous ringtones that you can purchase.
Conclusion
In this guide, we have mentioned the best ways on how to add ringtones to iPhone 12/XS (Max) with or without iTunes. Now, you can easily make your iPhone ringtone effective and interactive with the help of an amazing tool like Dr.Fone - Phone Manager.


iPhone X Series
- iPhone X Backup
- iPhone X Problems
- 1. iPhone SE/X/XR Won't Turn On
- 2. iPhone X/XR Stuck on Black Screen
- 3. iPhone 11 Frozen Screen
- 4. iPhone XR/11/12 Won't Turn Off
- 5. iPhone X Screen Not Responding
- 6. iPhone X Siri Not Working
- 7. iPhone XS Screen Not Responding
- 8. IPhone XS Won't Turn On
- 9. iPhone SE/X Keep Restarting
- 10. iPhone SE/X Won't Charge
- iPhone X Transfer
- 1. Put Music to iPhone X/8 (Plus)
- 2. Music from iTunes to iPhone X
- 3. Music from Mac to iPhone XS
- 4. Data from Computer to iPhone
- 5. Transfer from iPhone 6 to iPhone 8
- 6. Message from Android to iPhone XS
- 7. Data from iPhone to iPhone XS
- 8. Messages from iPhone to iPhone XS
- 9. Sync Music from iTunes to iPhone XS
- iPhone X Unlock
- 1. Unlock iPhone X/XR from Carrier
- 2. Unlock iPhone X/XR Lock Screen
- 3. Unlock iPhone XS without Face ID
- 4. Unlock iPhone XS without Passcode
- 5. Bypass iPhone X Activate Lock
- iPhone X Tips
- 1. Factory Reset iPhone X/XR/XS (Max)
- 2. Save Text Messages on iPhone
- 3. Screen Record on iPhone X
- 4. Screen Record on iPhone XR
- 5. Screen Record on iphone XS
- 6. Sell Old iPhone X Series Online
- 7. iPhone XR Screen Mirroring
- 8. Screen Mirror iPhone X
- 9. iPhone Photo Printers
- 10. Enter & Exit DFU Mode on iPhone X
- 11. Add Ringtones to iPhone XS
Daisy Raines
staff Editor