Fix iOS System Issues Without Data Loss
Repair your iOS or iPadOS system like a pro—quick, easy, and right from home.
-
Compatible with the latest iOS 26/iPadOS 26 and iPhone 17 Series.
-
Upgrade or downgrade iOS/iPadOS 26 without jailbreak or iTunes.
-
Repair 150+ iOS system issues like Apple logo, boot loop, white screen, etc.
-
Factory reset your iPhone without passcode/iTunes/Finder.
-
Enter Recovery Mode and Exit DFU Mode for FREE.
-
Fix 200+ iTunes errors like 4013 and 1110 without data loss.
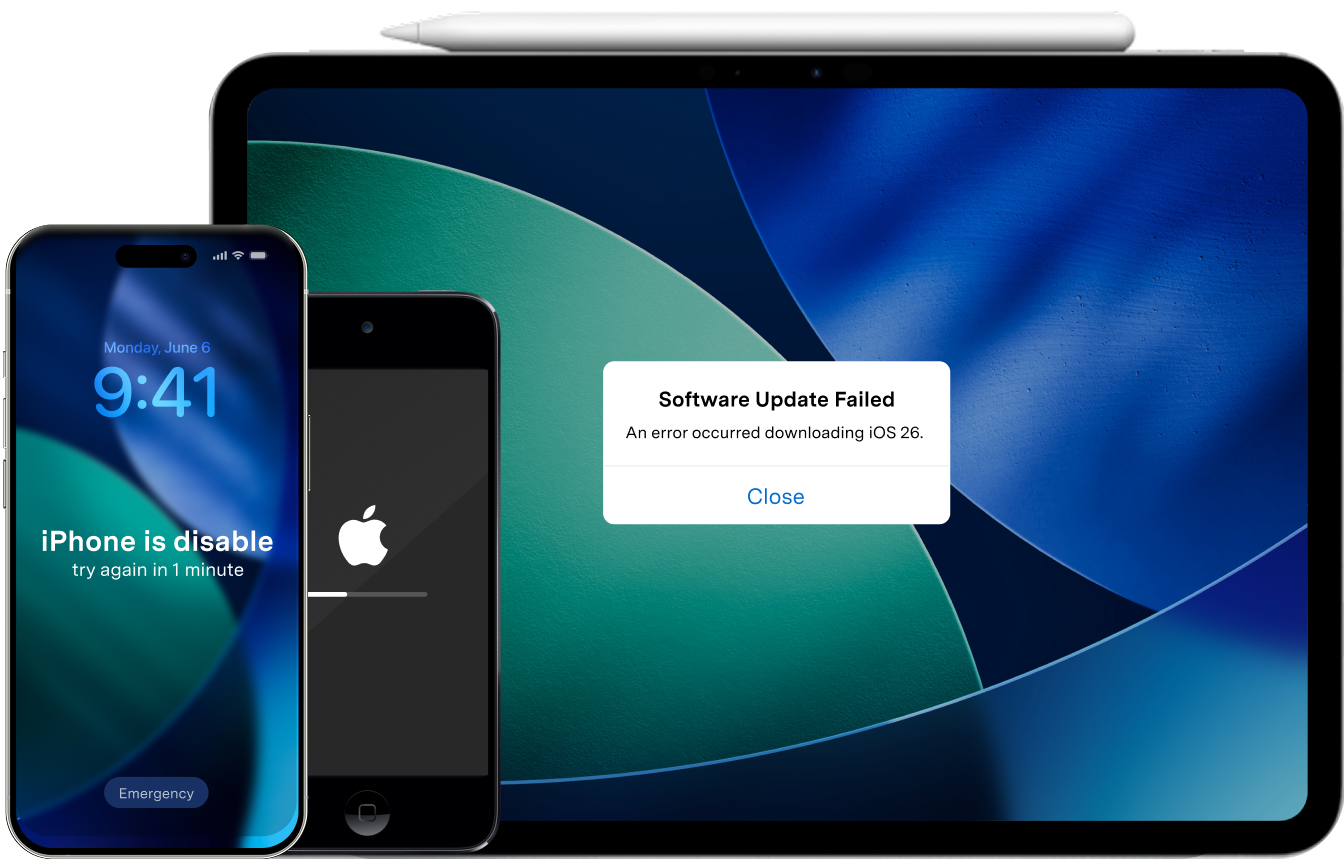

Fix 150+ iOS System Issues Without Data Loss
Dr.Fone - System Repair lets you fix 150+ iOS issues, such as black screen, boot loop, and more at home. Dr.Fone is a superior iOS system repair solution compared to iTunes restore. No tech skills needed; the iOS system recovery will be completed within minutes.
Quickly escape recovery mode without losing your data.
Fix the Apple logo freeze and revive your iPhone.
Stop endless restarts—restore your iPhone’s stability.
Bring your unresponsive iPhone back to life instantly.
Resolve update failures and smoothly upgrade your iPhone.
Unlock your disabled iPhone safely, without iTunes.
Eliminate black or white screens—restore your iPhone display.
Unfreeze your iPhone instantly, keeping your data intact.
Rebooting your iPhone smoothly.
Boost your iPhone’s battery life and performance quickly.
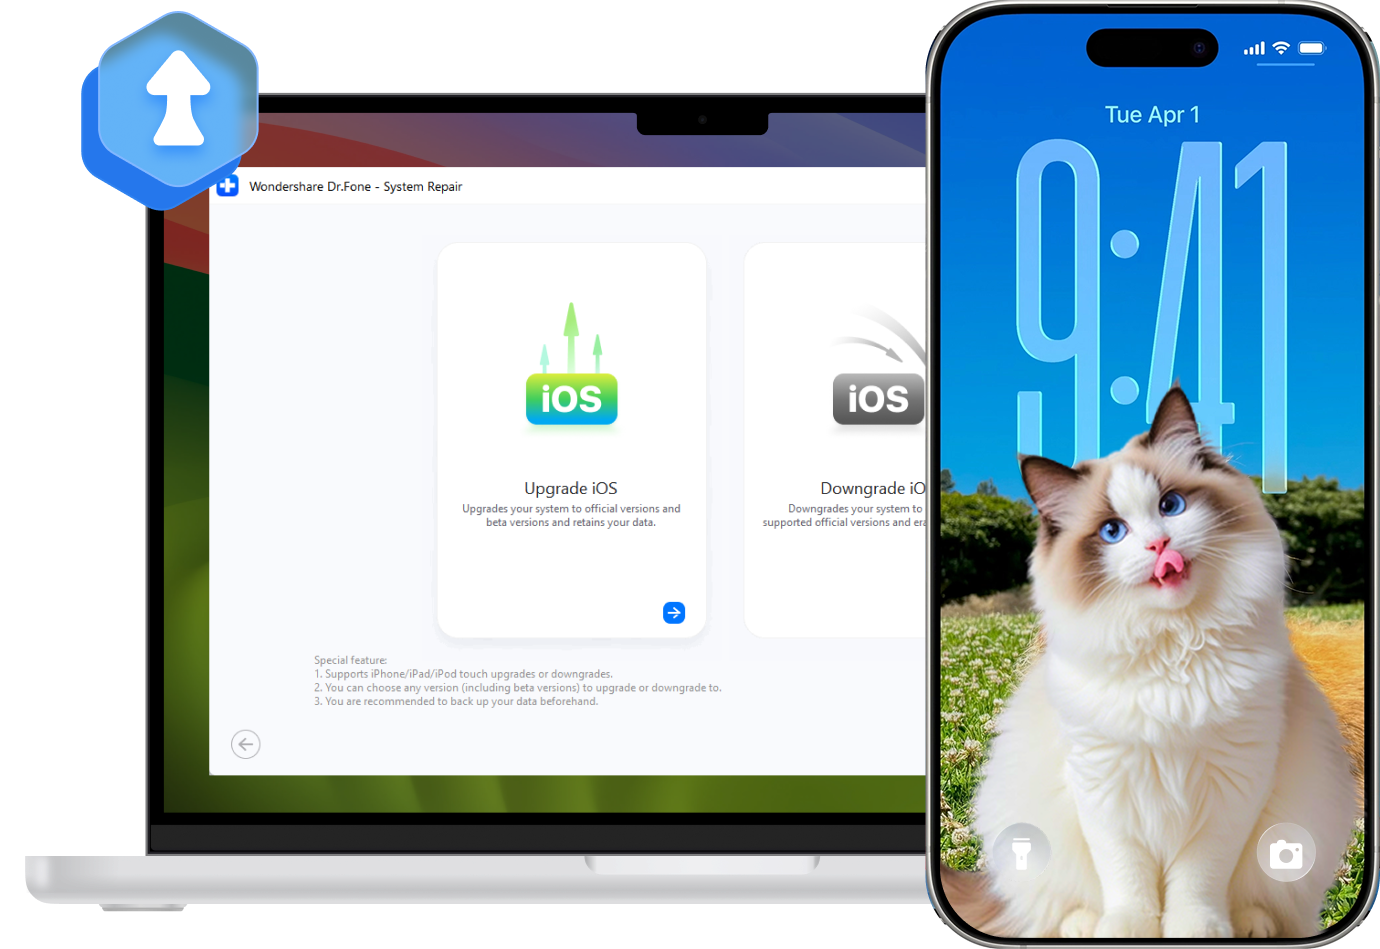
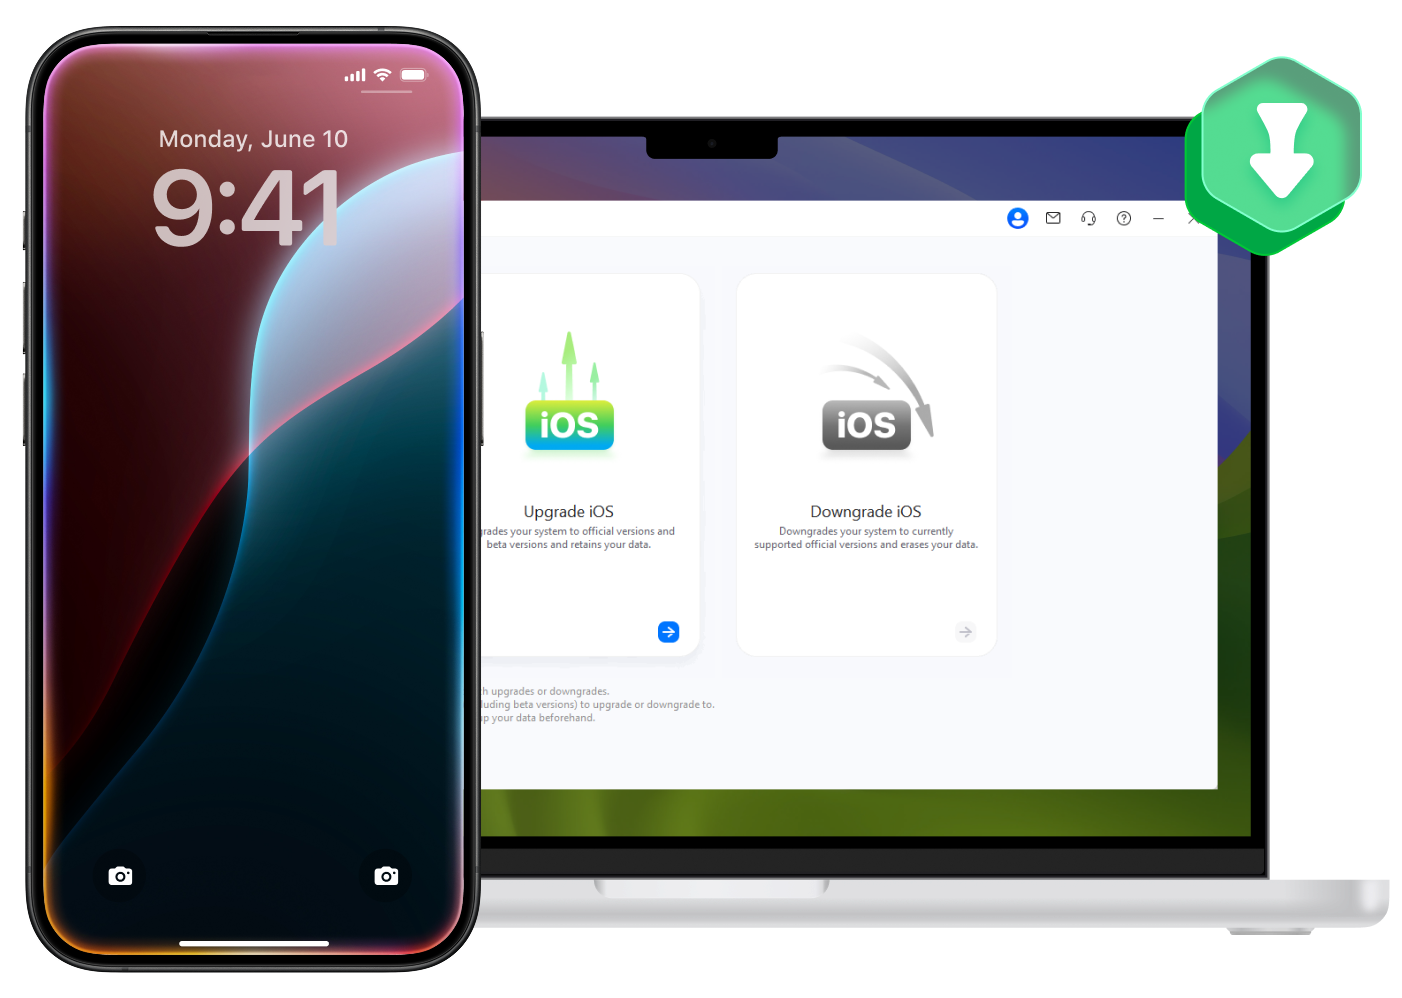
Upgrade and Downgrade iOS Without iTunes or Jailbreak
Seamlessly manage your iOS versions with Dr.Fone – no technical skills required.

iPhone

iPad

iPod touch


Upgrade to the Latest iOS Version
Dr.Fone enables you to effortlessly upgrade your iPhone or iPad to the latest iOS 26 version without the need for iTunes or a developer account.
-

Upgrade to the newest iOS/iPadOS versions, including iOS 26.
-
Preserve your data during the upgrade process.
-
User-friendly interface suitable for all users.
iPhone
iPad
iPod touch
Downgrade to a Previous iOS Version
If you're experiencing issues with the latest iOS update, Dr.Fone allows you to safely downgrade your iPhone to a stable iOS version without losing any data.
-
Downgrade iOS 26 to signed versions without iTunes (e.g., 26.1 → 26.0).
-
Maintain your data integrity throughout the downgrade.
-
Quick and simple process, no technical skills required.
iPhone
iPad
iPod touch

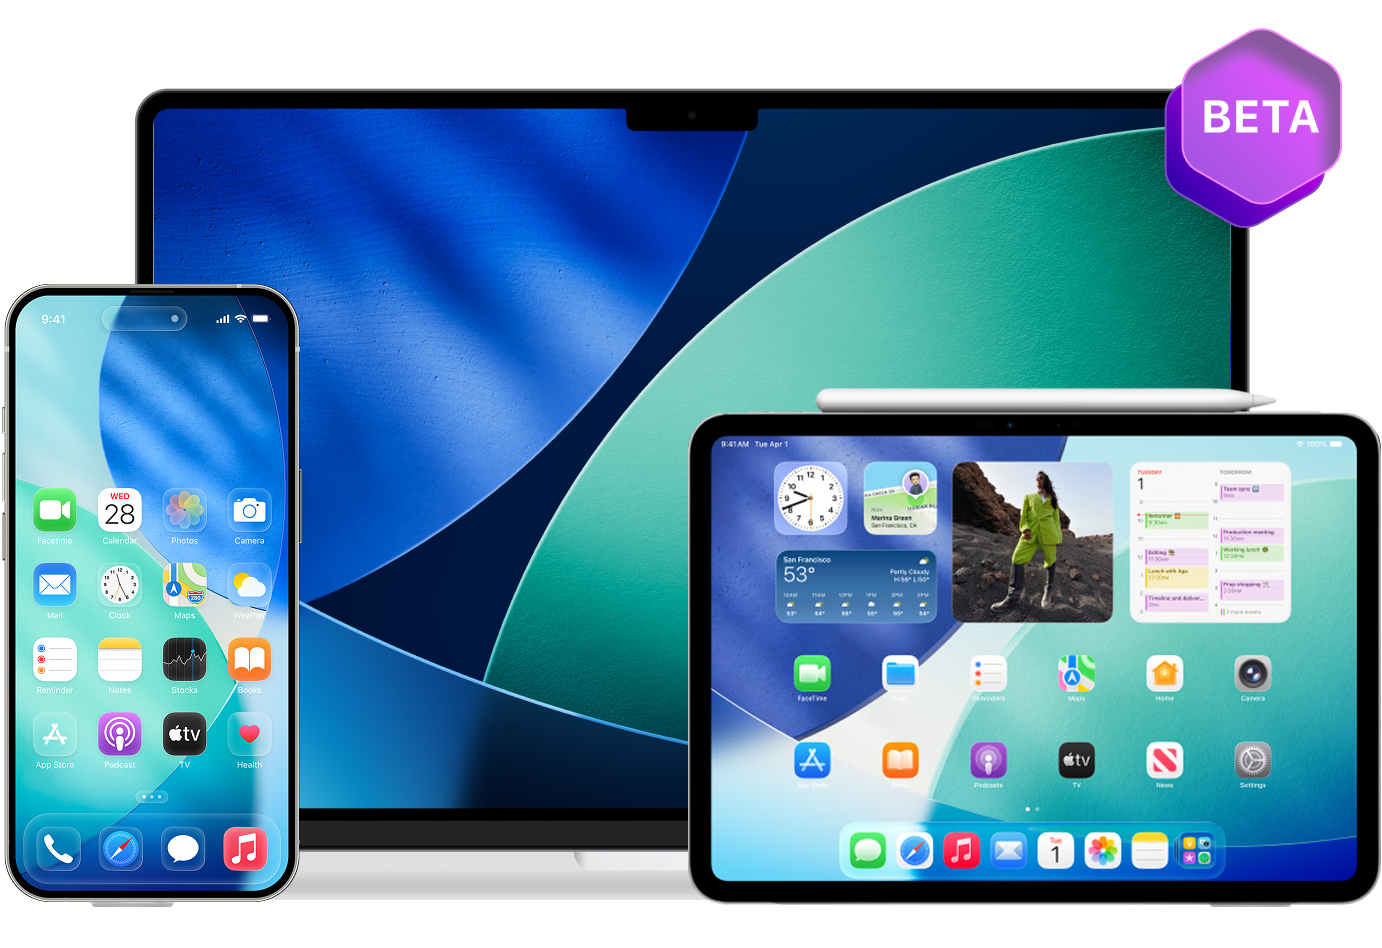
Try the Latest iOS Beta for Free
Try upcoming iOS versions on your iPhone for free. With Dr.Fone, you can download and install the latest iOS Beta in just one click — no Apple developer account or complicated setup required.
-
Try the newest iOS features before the official release.
-
Install iOS Beta for free with your data preserved.
-
One-click upgrade with simple step-by-step guidance.
-
No Apple developer account required.
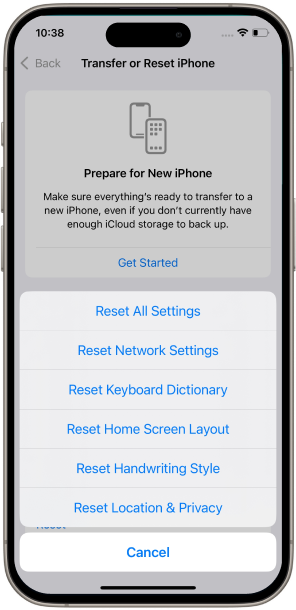
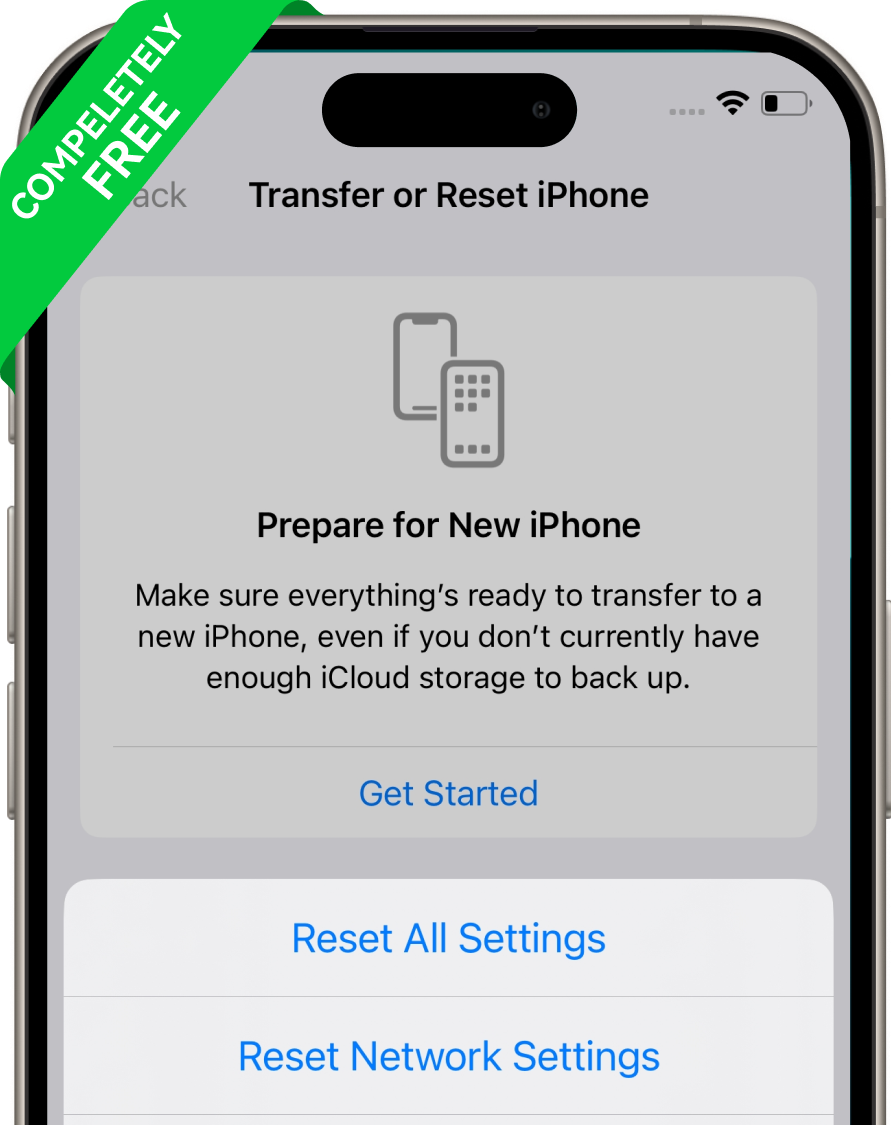
Reset iOS Devices Without Apple ID – Two Ways to
Refresh Your iPhone
General Reset
Quickly refresh your iPhone’s settings without erasing personal data. This restores all settings to default – ideal for fixing minor glitches like network not working, notification alerts missing, or other settings issues.

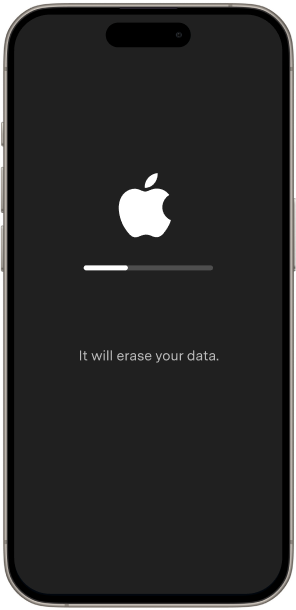
Factory Reset
Quickly reinstall the latest iOS and wipe your device without passcode/iTunes/Finder. Ideal for fixing severe issues like forgotten passcodes, persistent crashes, freezes, or stuck Apple logo, helping you regain full access effortlessly. Please note that it will erase your data.
General Reset
Quickly refresh your iPhone’s settings without erasing personal data. This restores all settings to default – ideal for fixing minor glitches like network not working, notification alerts missing, or other settings issues.
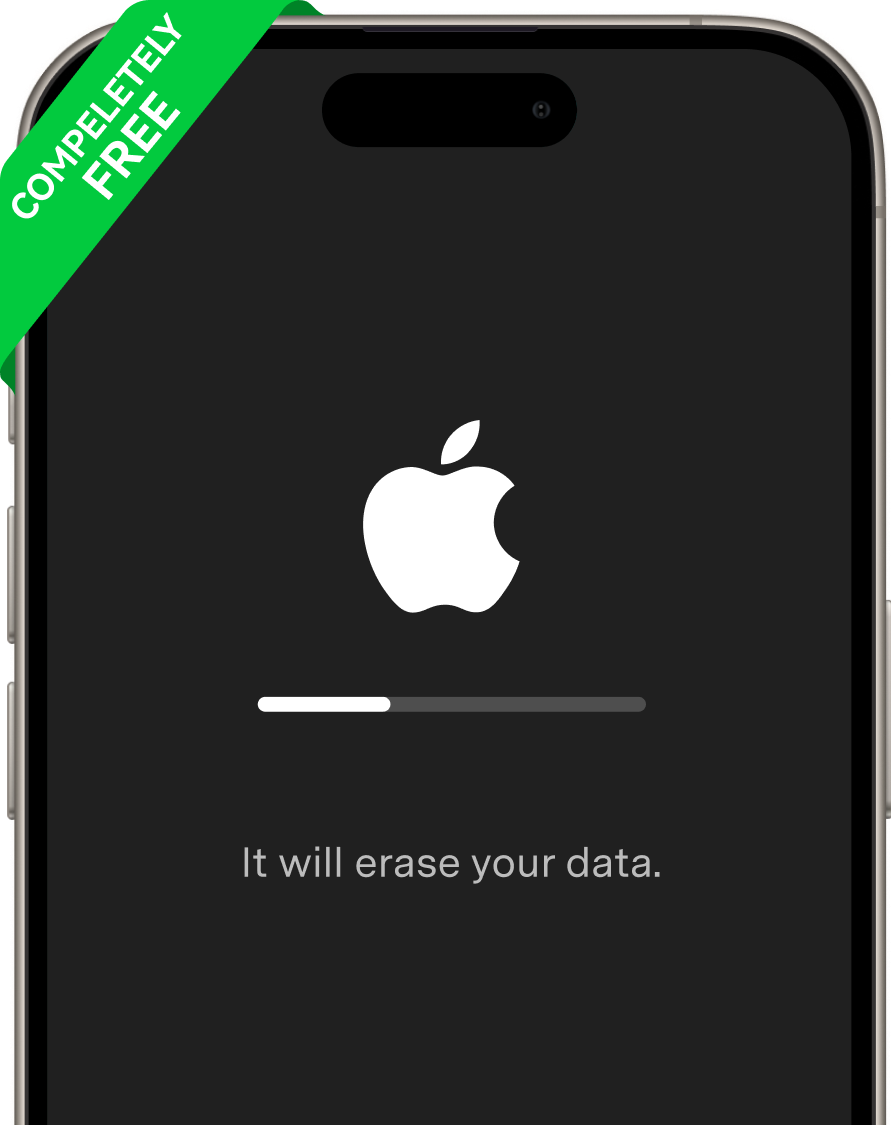
Factory Reset
Quickly reinstall the latest iOS and wipe your device without passcode/iTunes/Finder. Ideal for fixing severe issues like forgotten passcodes, persistent crashes, freezes, or stuck Apple logo, helping you regain full access effortlessly. Please note that it will erase your data.
Repair iPhone/iTunes Errors Effortlessly


Free One‑Click Recovery Mode & DFU Mode Tools
Dr.Fone – System Repair offers one‑click solutions to enter Recovery Mode and exit DFU Mode completely free.

Enter/Exit Recovery Mode
Instantly boot your iPhone into Recovery Mode with a single click for free or quickly exit Recovery Mode if your device is stuck on the “Connect to iTunes” screen, restoring it to normal in seconds without any data loss.
Exit DFU Mode
If your device is stuck in DFU mode, this system repair tool can bring it back to life immediately, at no cost. One click is all it takes to exit DFU mode safely.
Top 3 Modes to Repair iOS System
Dr.Fone offers three tailored iOS system repair modes to address various issues efficiently and maximize the success rate.
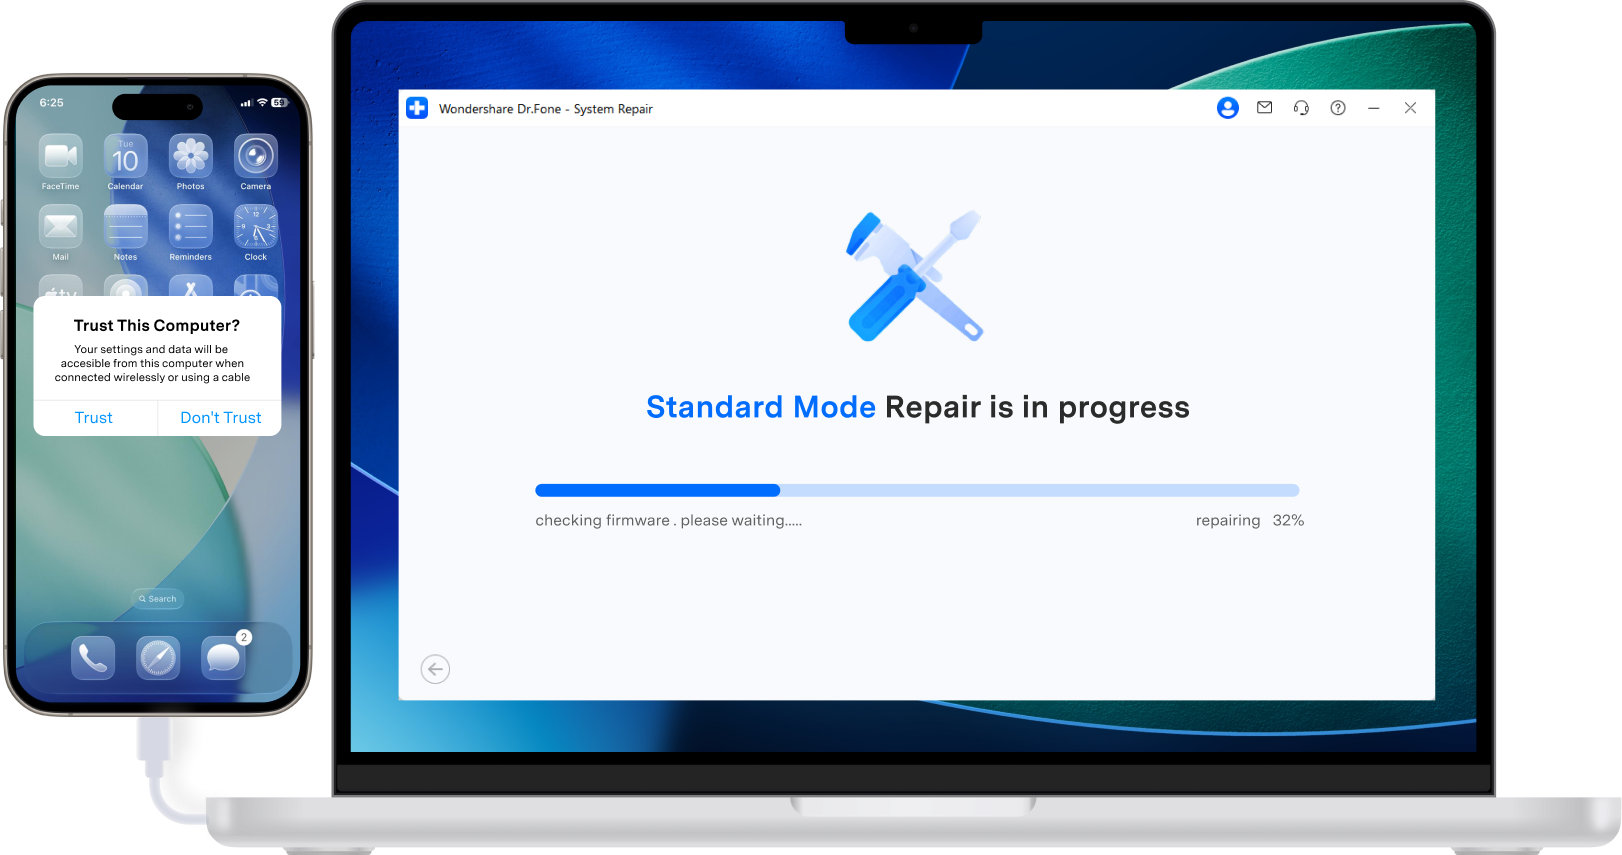
Standard Mode
Safely fix common iOS problems without data loss, including crashes, black screens, or devices stuck on the Apple logo or in Recovery Mode.
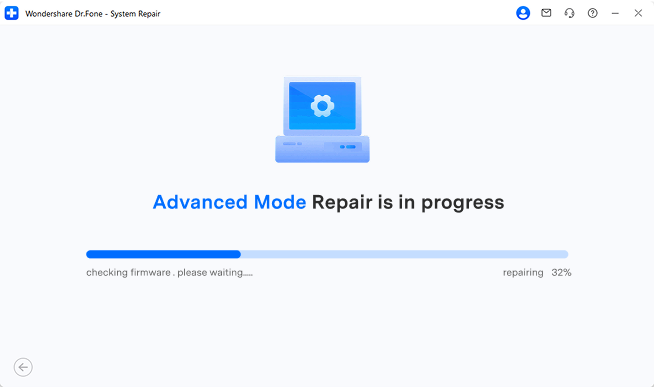
Advanced Mode
When Standard Mode isn't sufficient, Advanced Mode performs a deep scan to repair more complex issues by resetting your iDevice to factory settings. Please note: this will erase all data after recovery. To prevent data loss, we recommend backing up your iPhone/iPad/iPod before using this feature.
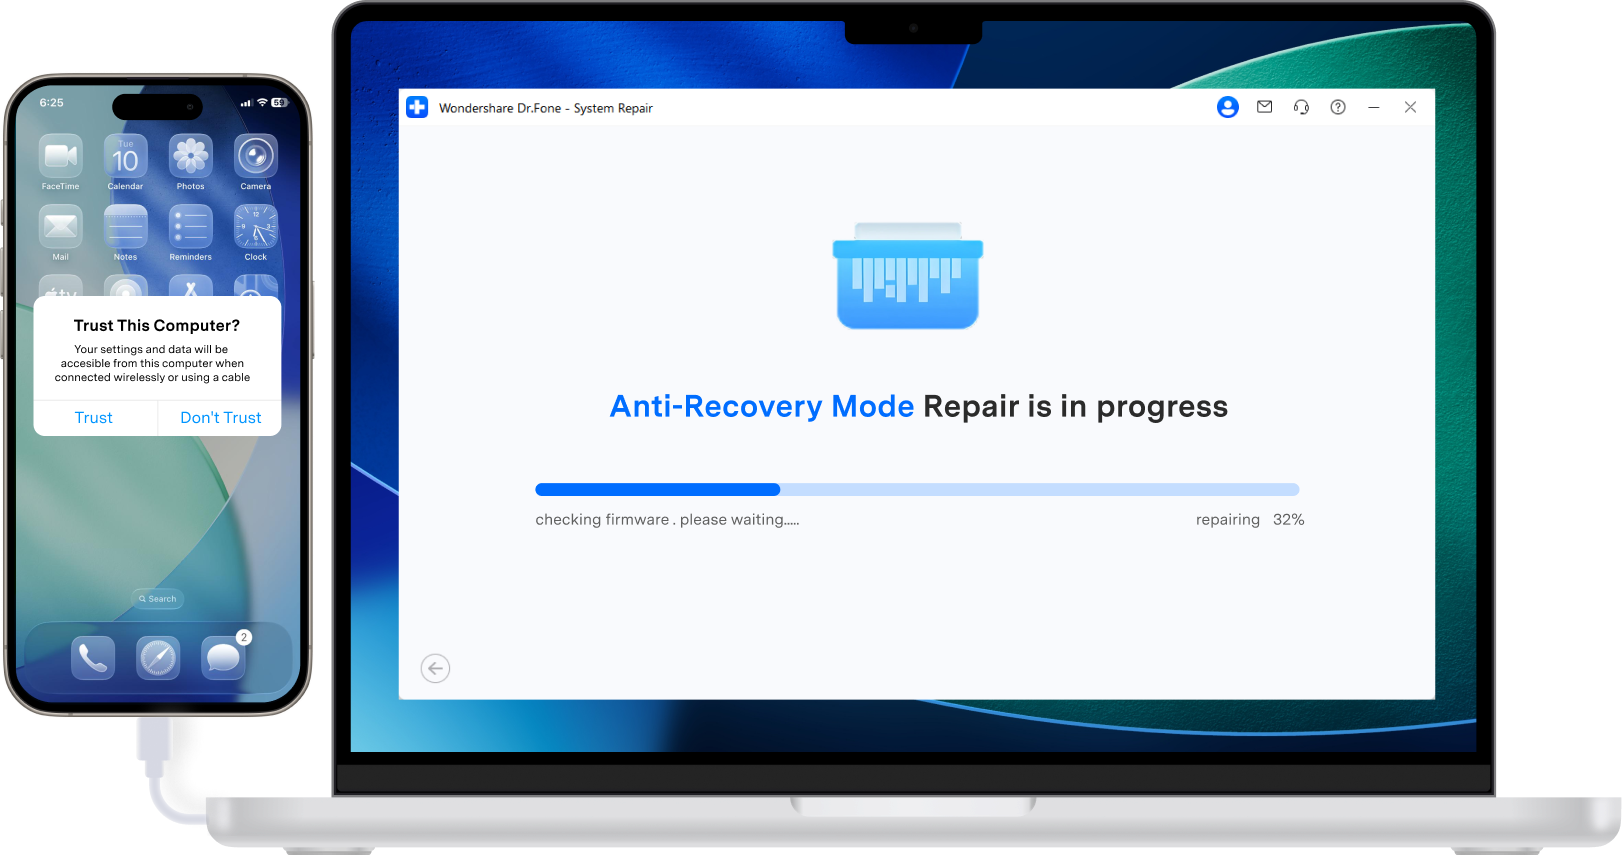
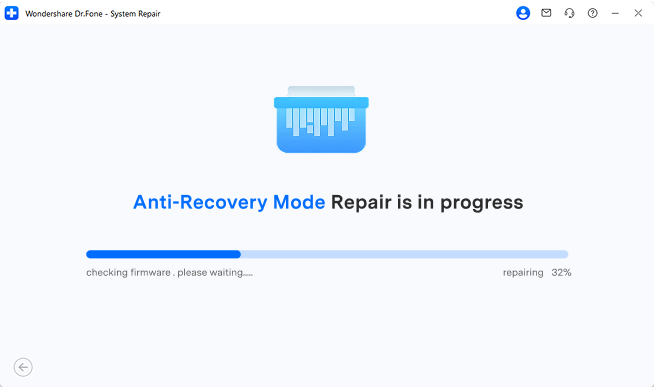
Anti-Recovery Mode
Ideal for those preparing to sell or dispose of their iDevice, this mode fixes complex iOS system issues and performs deep data erasure, including formatting hard drive chips, ensuring your data cannot be recovered.

Top 3 Modes to Repair iOS System.
Dr.Fone offers three tailored iOS system repair modes to address various issues efficiently and maximize the success rate.

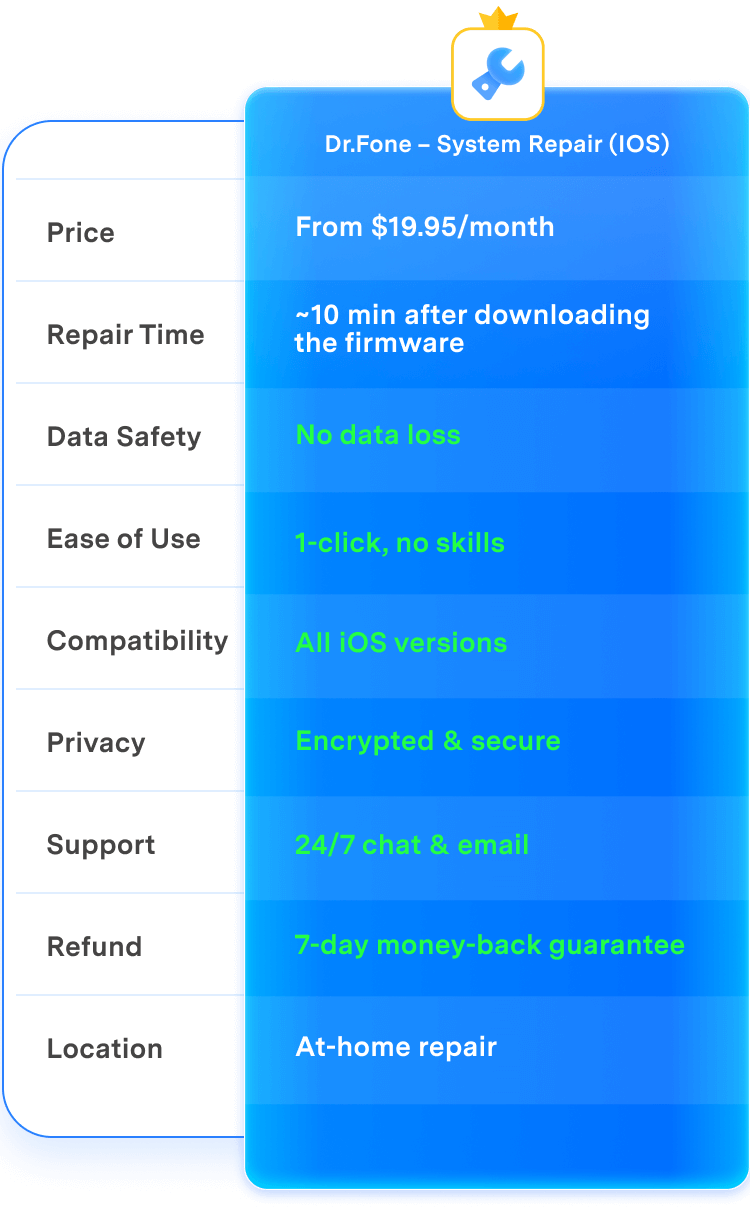
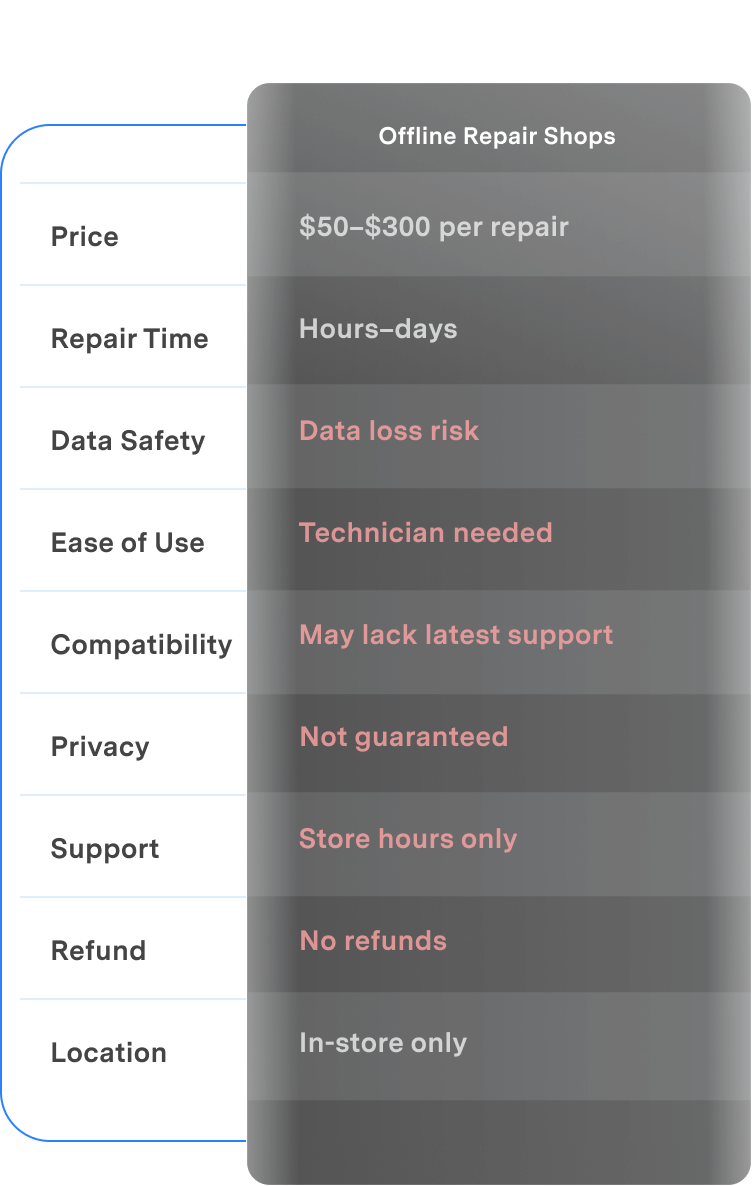
Dr.Fone vs Offline Repair Shops: The Smarter, Safer iOS Repair Solution
Backed by industry-leading success rates and 24/7 access, Dr.Fone ensures a secure, private, and seamless repair experience — all without handing your phone to a stranger.
| Feature | Dr.Fone – System Repair (iOS) | Offline Repair Shops |
|---|---|---|
| Price |
From $19.95/month
|
$50–$300 per repair
|
| Repair Time |
~10 min after downloading the firmware
|
Hours–days
|
| Data Safety |
|
Data loss risk
|
| Ease of Use |
1-click, no skills
|
Technician needed
|
| Compatibility |
All iOS versions
|
May lack latest support
|
| Privacy |
Encrypted & secure
|
Not guaranteed
|
| Support |
24/7 chat & email
|
Store hours only
|
| Refund |
7-day money-back guarantee
|
No refunds
|
| Location |
At-home repair
|
In-store only
|
| Dr.Fone – System Repair (iOS) |
|---|
|
From $19.95/month
|
|
~10 min after downloading the firmware
|
|
No data loss
|
|
1-click, no skills
|
|
All iOS versions
|
|
Encrypted & secure
|
|
24/7 chat & email
|
|
7-day money-back guarantee
|
|
At-home repair
|
Why Choose Dr.Fone?

System Repair by Wondershare Dr.Fone is an excellent alternative to iTunes for fixing iOS issues. It resolves many problems by re-installing the latest package, which doesn't wipe out your iPhone's data.
With its new powerful desktop and online solution, Wondershare Dr. Fone offers a complete mobile device solution for Android and iOS devices, with useful how-to guides and technical fixes for a wide variety of mobile issues.
Dr.Fone offers iPhone and iPad users a full software suite that goes beyond the iOS management that's possible with iTunes/Finder in macOS. Features include data recovery, system repair, getting around your device's lock screen, and more.
If your iPhone is not responding or turning on, then this is probably one of the best tools to fix it. The tool guarantees that during the recovery process, none of your data will be lost.
Dr.Fone can help you with your smartphone in many ways. It can recover deleted data, back up and transfer files, unlock screens, repair your OS, switch between different types of smartphones, transfer WhatsApp chats between iOS and Android, and more.
Dr.Fone is a comprehensive software suite developed by Wondershare that addresses a wide range of needs for smartphone and computer users. When transferring data between Android devices, Dr.Fone offers a mix of ease, efficiency, and security, making it a preferred choice for many.


3 Steps for Using iOS System Repair Easily
Dr.Fone is surely not the only solution to fix iOS system issues, but it surely is the easiest iOS system recovery solution with the highest success rate.


Dr.Fone - System Repair (iOS) Technical Specifications

Processor
1 GHz or faster (Intel or AMD)

Hard Disk Space
7 GB of available hard disk space

RAM
1 GB of free RAM (2 GB or higher recommended)

iOS Compatibility
iOS 5.0 and later

Operating System
- Windows 11, 10, 8.1, 8, 7
- macOS 10.13 or later
Processor
Hard Disk Space
RAM
iOS Compatibility
Operating System
- macOS 10.13 or later
iOS System Repair – FAQs
When your iPhone won't turn on, you can try the steps below to restart it.
1. Charge your iPhone. This can solve a small part of the issues.
2. Hard reset your iPhone. Press and hold the Power button and the Home button for about 10 seconds. Release them when the Apple logo appears.
3. Use Dr.Fone to fix iPhone won't turn on without data loss. Connect your iPhone to computer and follow the instructions to download the firmware using Dr.Fone. It will then fix your iPhone automatically.
4. Restore iPhone using iTunes.
5. Restore iPhone in DFU Mode. This is the ultimate solution to fix iPhone problems. But it will erase all data on iPhone.
Hot Topics
Regain Control of Your iOS System
Fix any iOS system issue and restore your device—fast and easy