Resolve common problems and system crashes on both iPhone and Android devices.

 100% Security Verified | No Subscription Required | No Malware

 :
: 
 ChatGPT
 Perplexity
 Gemini
 Claude
 Grok
Grok
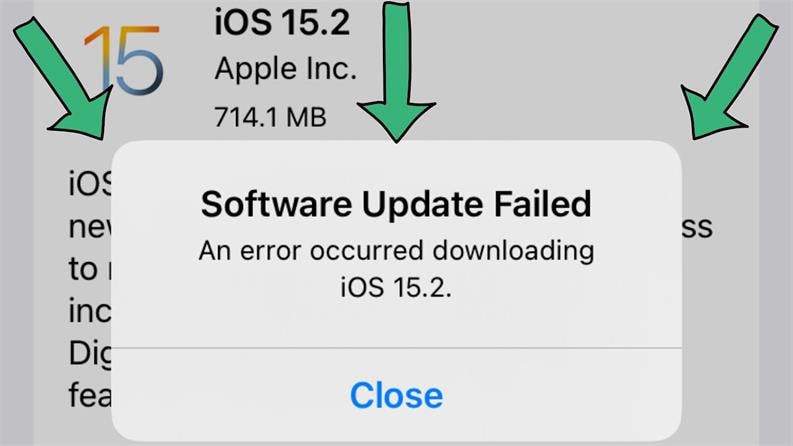
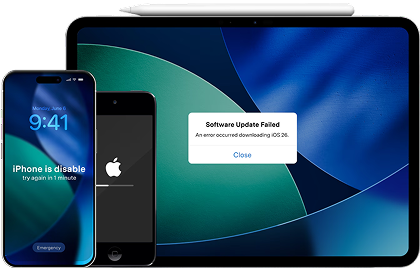
If you see Software Update Failed on an iPhone or iPad, start with the low-risk checks: confirm the device is compatible, connect it to power and reliable internet, make sure there is enough storage, and then delete the downloaded update and download it again if the same package keeps failing. Apple recommends a computer update if the problem continues.
The same sequence also applies when an iPad software update failed, an update will not install, or you see a message that the software for the iPad was corrupted during download. A corrupted or incomplete downloaded update does not automatically mean the device needs a full Restore.
In this article
- Part 1: Check compatibility, storage, power, and internet
- Part 2: Delete the failed update and download it again
- Part 3: Restart iPhone/iPad and retry
- Part 4: Check the network and update service
- Part 5: Update with Finder, Apple Devices, or iTunes
- Part 6: Advanced manual IPSW method and Restore risk
- Part 7: Dr.Fone - System Repair (iOS)

Part 1: Check Compatibility, Storage, Power, and Internet
Before treating an iPhone software update failed message as a system problem, confirm Apple’s basic requirements. An iPhone or iPad needs a compatible model, a power source, an internet connection, and enough available storage to complete the update.
- Compatibility: Check the exact model in Settings > General > About, then confirm that the target iOS or iPadOS version supports it.
- Storage: Go to Settings > General > iPhone Storage or iPad Storage and make room if the device is close to full.
- Power: Connect the device to power while retrying an update that has already failed.
- Internet: Use a stable trusted connection. If the device cannot reach or verify the update service, Apple recommends trying the same network again, then another network or a computer if needed.
Do not assume that every older iPhone or iPad can install the newest software. Apple maintains different supported-version tracks for some older devices, so “latest available” depends on the model.
Part 2: Delete the Failed Update and Download It Again
This is one of the most important fixes when the same update file repeatedly fails or when the software for the iPad was corrupted during download. Apple specifically recommends deleting the downloaded update and fetching a fresh copy.
- Open Settings > General > iPhone Storage or iPad Storage.
- Find the iOS or iPadOS update in the list.
- Tap the update, then tap Delete Update.
- Return to Settings > General > Software Update.
- Download and install the update again.
If you do not see the update file in storage, or the fresh download fails again, continue with the network and computer methods below. This is safer than moving directly to Restore.
Part 3: Restart iPhone/iPad and Retry the Update
A normal restart can clear a temporary process that is blocking the software update request, download, or verification step. It is a low-risk step to try after deleting a bad update file or when the update screen appears unresponsive.
Step 1: If a Software Update Failed alert is still on screen, close the alert.
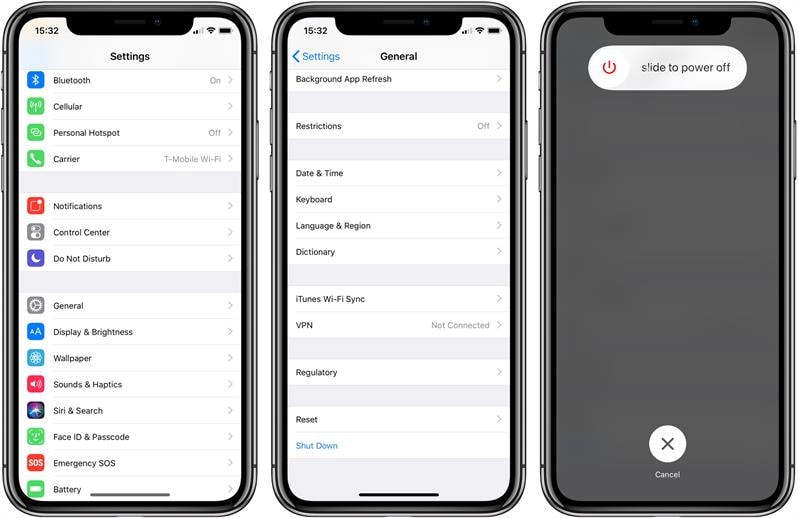
Step 2: On Face ID models, press and hold the side button and either volume button until the power-off slider appears. You can also go to Settings > General > Shut Down.
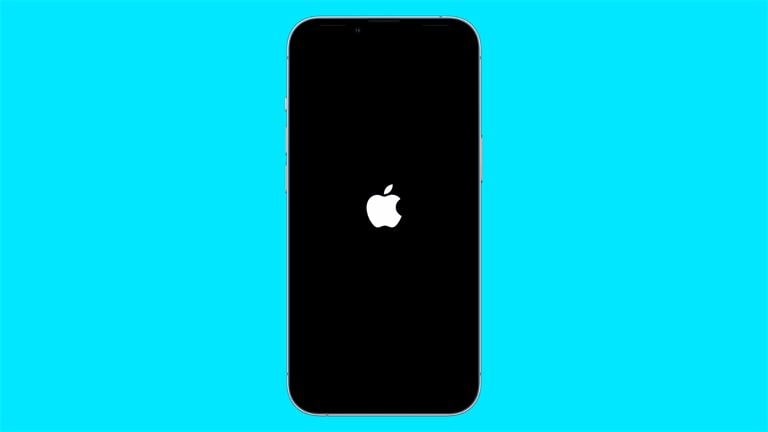
Step 3: After the device shuts down, turn it on again, reconnect to Wi-Fi, and return to Settings > General > Software Update.
If the update now gets stuck on a specific state rather than failing immediately, see the related guides for iPhone stuck on Update Requested or iPhone stuck on Verifying Update.
Part 4: Check the Network and Update Service
If an iPad update failed or iPhone update cannot be downloaded or verified, the current network may be the problem. Apple recommends retrying on the same network first, then trying another network or a computer if the error continues.
- Confirm that the Wi-Fi connection is stable and that normal web access works.
- Avoid other large downloads while the software update is downloading.
- If the current network cannot reach or verify the update, try another trusted Wi-Fi network.
- If a VPN or custom network rule is clearly interfering with the connection, disable it temporarily and retry.
- Check Apple System Status for a relevant service disruption.
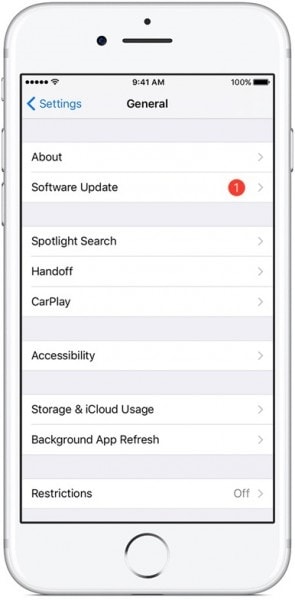
If a fresh download still produces the same error, move to a computer-based update rather than repeating the same over-the-air attempt indefinitely.
Part 5: Update iPhone/iPad with Finder, Apple Devices, or iTunes
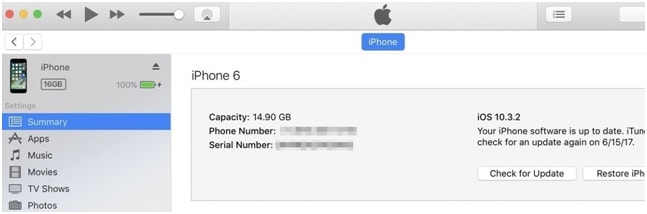
If the over-the-air update keeps failing, use a computer. On macOS Catalina or later, Apple directs users to Finder. On Windows, the Apple Devices app can update an iPhone or iPad; iTunes remains applicable on older Mac/Windows setups where Apple still directs you to it.
Step 1: Back up the device, then connect it to the computer with a reliable cable and select the iPhone or iPad in Finder, Apple Devices, or iTunes.
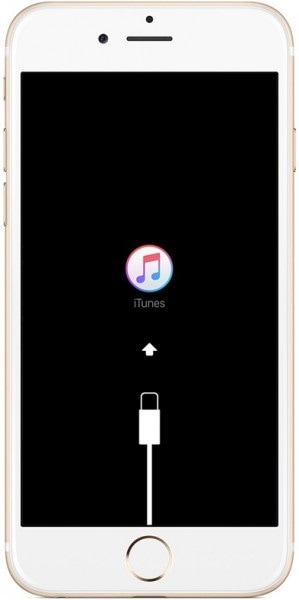
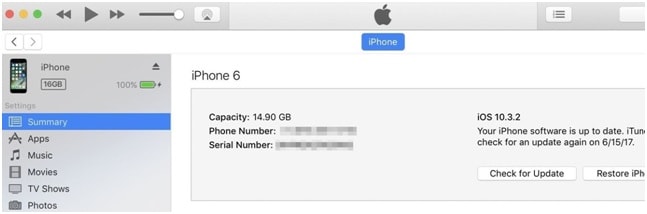
Step 2: Open the device’s General/Summary screen and choose Check for Update.
Step 3: Choose Update or Download and Update when available, then keep the device connected until the process completes.
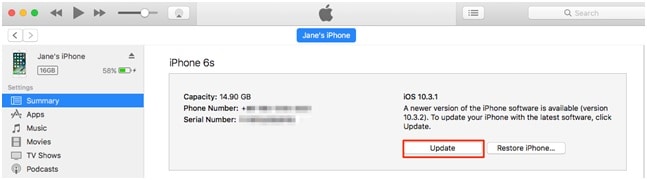
- Use Update before a destructive Restore when that option is available.
- Do not disconnect the device during the software installation.
- If the computer reports a specific update/restore error code, troubleshoot that code rather than repeatedly retrying the same operation.
Part 6: Advanced Manual IPSW Method — Know the Restore Risk First
Manual IPSW selection is an advanced path, not the first fix for a normal software update failed message. If you manually select an IPSW file and use the computer’s Restore option, be aware that Restore reinstalls iOS or iPadOS and erases the device. If Update is available, try Update first because it attempts to reinstall the software without erasing your data.
If you still choose a manual IPSW workflow, make a current backup first, verify that the firmware is intended for the exact device model and is currently accepted/signed for installation, and understand that a Restore path can wipe the device.
Step 1: Obtain the correct IPSW for the exact iPhone/iPad model. If you use ipsw.me, remember that it is a third-party firmware index, so verify the device model and firmware signing status before proceeding.
Step 2: Connect the device to the computer and open the device screen in the appropriate management app.
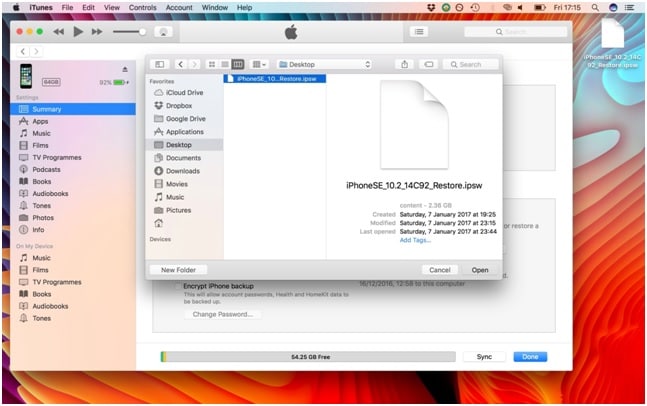
Step 3: If you use a Shift/Option-assisted manual file-selection workflow with Restore, proceed only after confirming the backup and data-loss risk.
The file-selection screen lets you choose the IPSW package you downloaded.
- Back up important data before any Restore-based method.
- Double-check the exact model and firmware choice.
- Do not interrupt installation once the computer has started writing the software.
- If you are not comfortable with a destructive/manual workflow, stop here and use a guided escalation option instead.
You can also review Dr.Fone’s iOS update resources before choosing an advanced restore route.
Part 7: Use Dr.Fone - System Repair (iOS) for Persistent Update Problems
If standard troubleshooting does not solve the iPhone software update failed or iPad software update failed problem, Dr.Fone - System Repair (iOS) can be used as a guided escalation for iOS system repair and iOS Upgrade/Downgrade workflows.
Dr.Fone - System Repair (iOS) supports a dedicated Upgrade iOS flow that downloads and verifies firmware before starting the upgrade. Dr.Fone’s Standard Repair is designed to preserve personal data, but users should still distinguish that from other recovery/downgrade operations that can involve data loss and should back up when possible.
 Fix iOS issues, no data loss.
- One-click repair for all iOS problems.
- Solve recovery mode, Apple logo, black screen, etc.
- Upgrade or downgrade iOS without iTunes
How to Upgrade iOS with Dr.Fone
-
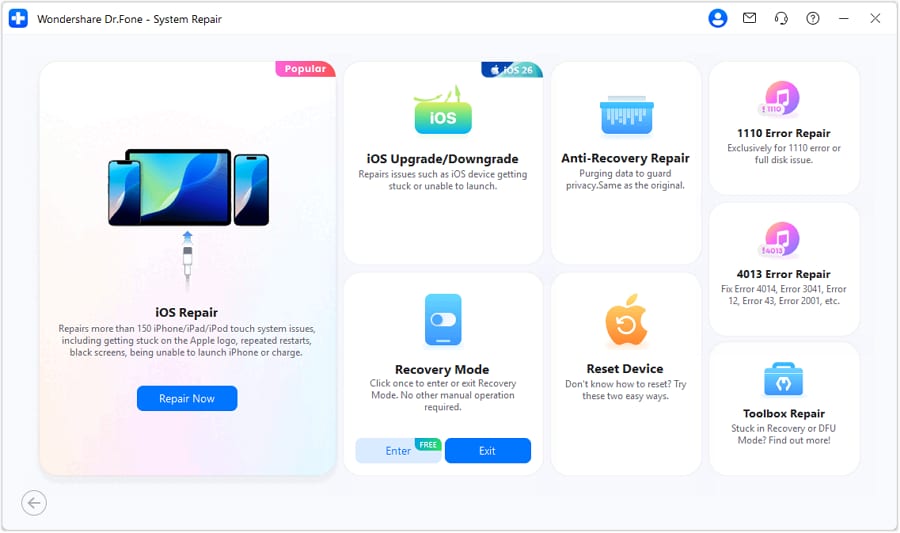
Step 1 Open System Repair
Launch Dr.Fone, open Toolbox, and select System Repair.

-
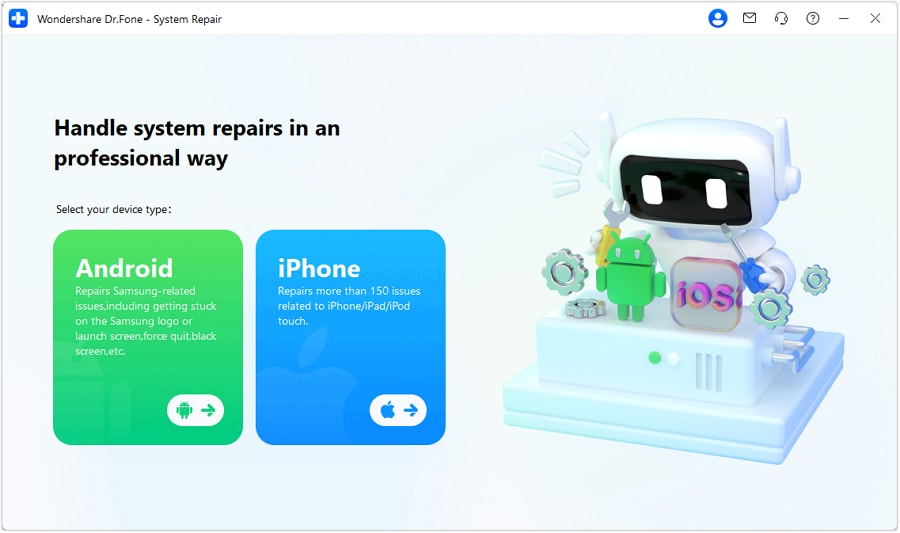
Step 2 Choose iPhone and iOS Upgrade/Downgrade
Select iPhone as the device type, then choose iOS Upgrade/Downgrade and Upgrade iOS.
-
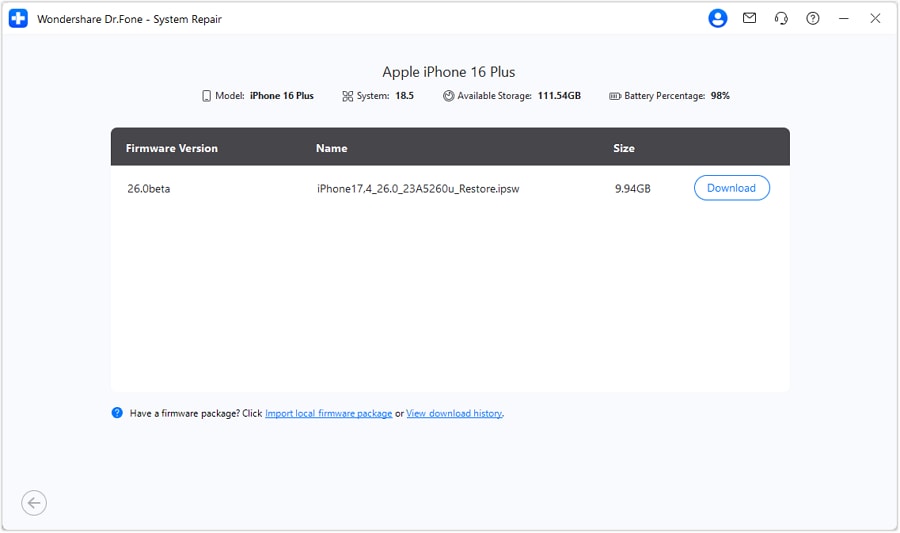
Step 3 Connect the Device and Download Firmware
Connect the iPhone/iPad with USB. When Dr.Fone lists available firmware, choose the version you want and click Download.
-
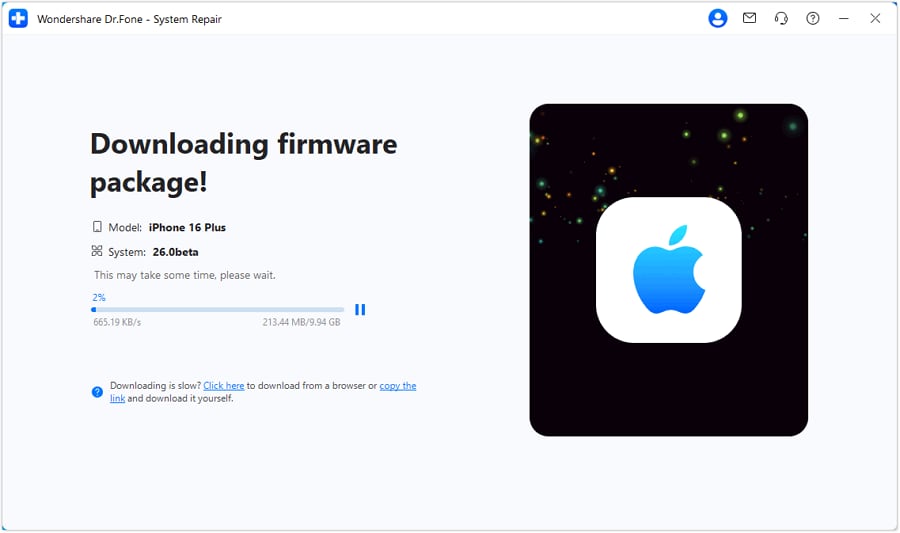
Step 4 Wait for Download and Verification
Keep the device connected while Dr.Fone downloads and verifies the firmware package.
-
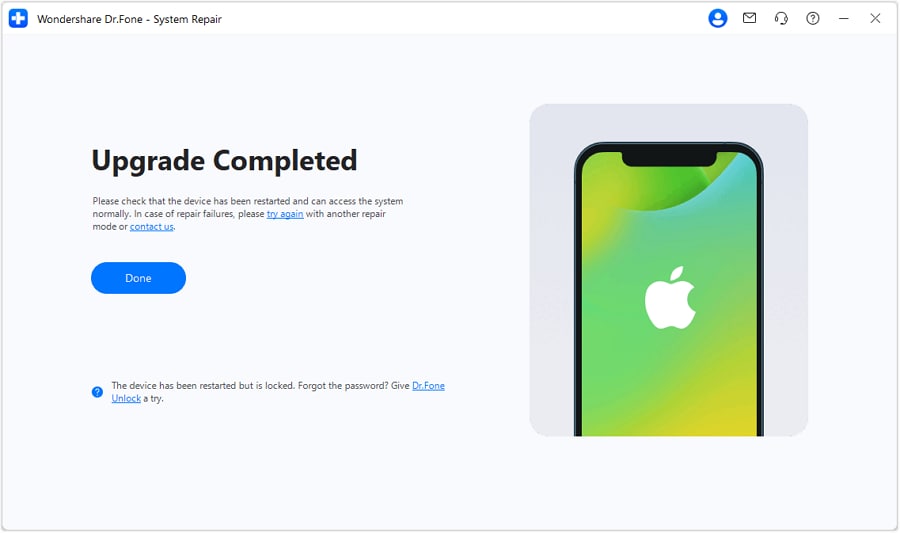
Step 5 Start the Upgrade and Finish
Click Upgrade Now to begin the upgrade, keep the device connected until the progress completes, and click Done at the end.





 safe & secure
Conclusion
When an iPhone software update failed or an iPad update failed, start with the non-destructive path: confirm compatibility/storage/power/internet, delete the downloaded update and download it again, restart, try another network, and then update with a computer. Treat manual IPSW + Restore as an advanced option because Restore can erase the device. If the issue appears to be a persistent iOS system problem after the standard fixes, Dr.Fone - System Repair (iOS) is an optional guided escalation.
safe & secureFAQs
1. Why does my iPad say Software Update Failed?
An iPad can fail to update if the model is not compatible with the software, there is not enough storage, the device cannot reach or verify the update server, or the downloaded update file is incomplete or bad. Start with Apple’s prerequisites, then delete the downloaded update and download it again.2. What should I do if my iPhone update failed?
Check compatibility, power, storage, and internet first. If the same update keeps failing, delete it from iPhone Storage and download it again. If wireless update still fails, use Finder, Apple Devices, or iTunes to choose Update before considering a Restore.3. How do I fix Unable to Install Update on iPad?
Make sure the iPad supports the target iPadOS version and has enough free storage. Delete the downloaded update from iPad Storage, redownload it on reliable Wi-Fi, and use a computer update if it still will not install. A full Restore should be a later recovery step because it erases data.4. What if “the software for the iPad was corrupted during download”?
Delete the downloaded update from Settings > General > iPad Storage, then return to Software Update and download a fresh copy. If the fresh copy also fails, try another trusted network or update the iPad with Finder, Apple Devices, or iTunes. Do not treat Restore as the first response because Restore erases the device.
 Add Wondershare Dr.Fone as a preferred source on Google