3 Solutions to Get iMessages for Windows

Jul 12, 2024 • Filed to: Mobile Repair Solutions • Proven solutions
iMessage is a very popular and vastly used messaging app by Apple. This app allows the user to send and receive a text message as well as MMS. Besides, photos videos and locations can also be shared via Wi-Fi with other iOS and iMessage users around. Using this feature with iOs to the iOS device is completely free. But it's limited to iOS only. Now, if you ever think of using iMessage for Windows we can guide you properly and step by step with this article.
Here we have introduced three vastly used and popular methods to use iMessage for online PC.
- Part 1: How to use iMessages on Windows with Chrome Remote Desktop?
- Part 2: How to use iMessages on Windows with Bluestacks?
- Part 3: How to use iMesages on Windows with iPadian?
These three methods are very easy to use and popular among the non-iOS users as well. Keep reading the article for full information.
Part 1: How to use iMessages on Windows with Chrome Remote Desktop?
If you ever wonder if you can use iMessage for Windows PC remotely, then this part is for you. Using iMessage on a Mac is quite easy and it is like using it on your iPhone or iPad. Thus, if you already using your Mac for iMessage and now want to switch it on your Windows PC as well then you are at the right place. The following step by step guide will allow you to use iMessage on your Windows desktop in Chrome. Follow the whole process.
Step 1 – For the startup, this is necessary to have a Mac with iMessage and Windows PC.
Step 2 – You are now ready to start. Firstly, download Chrome and Chrome Remote desktop on both of your systems. Accept the “Terms and Conditions” when prompted to proceed with the installation. This will be added to your Chrome and let you use other PC remotely.
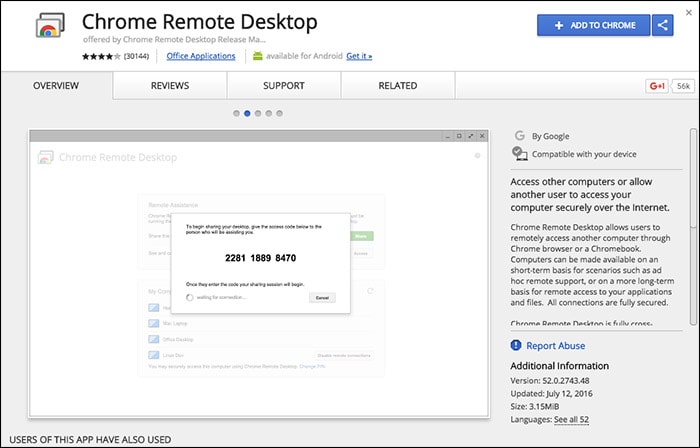
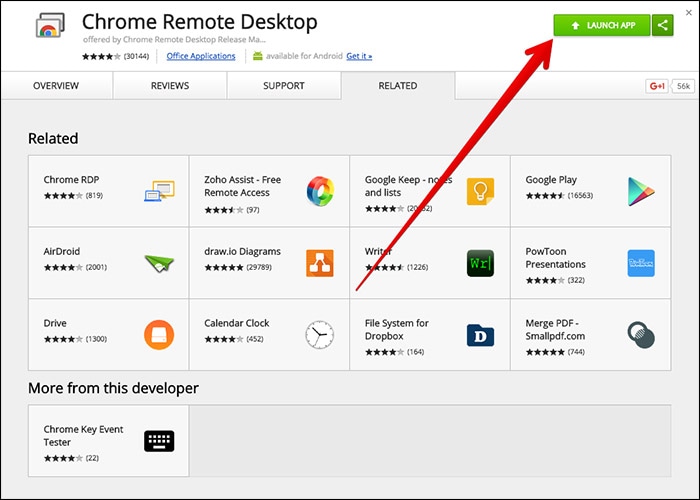
Step 3 – After the installation, you can see a “Launch app” option at the top right of the screen. Tap on that option.
Step 4 – Now, go to your Mac and download “Chrome Remote Desktop Host Installer”

Step 5 – After completion of the download, install the program on your Mac just like you install any application. This software will allow browsing another computer remotely.
Step 6 – There should be code appeared on your screen. Use this code on your both PC and Mac to connect and proceed further.
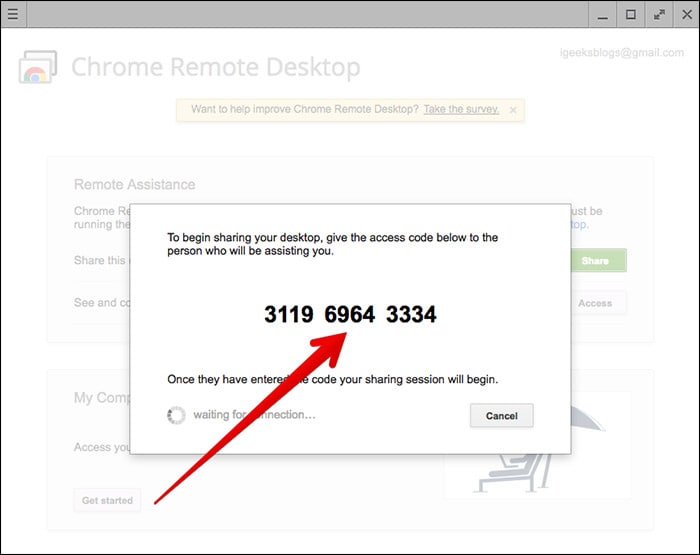
Step 7 – Now, you will be able to see and access your Mac from your Windows PC. This way you also be able to see the iMessages of your Mac remotely.
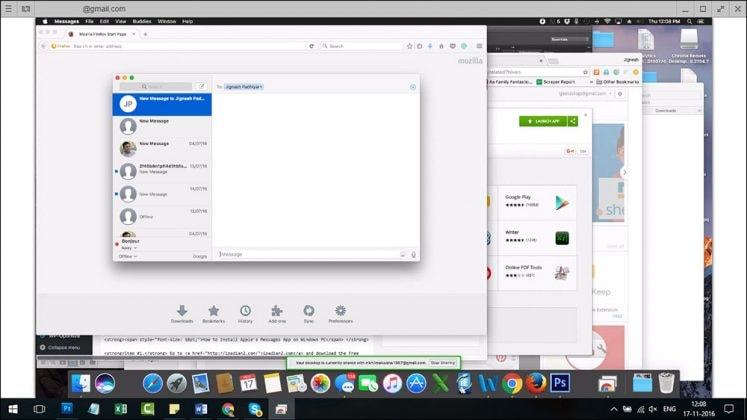
This is the simplest method to use iMessage windows within the Chrome browser. Follow this step by step guide and you must be able to successfully connect your Mac with your Windows PC and access the iMessages as well.
Part 2: How to use iMessages on Windows with Bluestacks?
There are some scenarios when you want to use iMessage for Windows but you don’t have the Mac. To overcome this situation, there is a way to use iMessage on your Mac. “Bluestack” is a program which enables the user to use any iOS or Android application within the Windows PC platform. This not only ensure an easy to use interface, also it helps the user to overcome the situations like mentioned earlier. To use iMessage for Windows via Bluestack, you need to follow the below instructions step by step.
Step 1 – Firstly, you need to download the “Bluestack” for Windows. It’s a free application that can be installed easily on your PC.
Step 2 – Now launch the application on your PC.
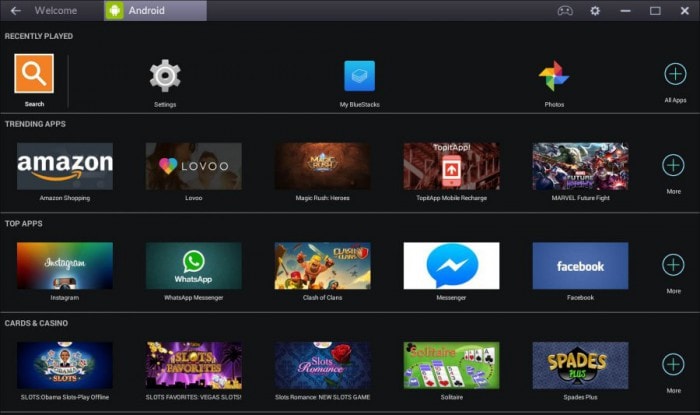
Step 3 – Now you can see a lot of Android and iOS applications are available to install. Go to the search option at the left and type ‘iMessage’ to find the app.
Step 4 – Now, simply install the “iMessage” app on your PC and you are done. Setup the iMessage with your Apple ID and password and enjoy chatting with your iOS buddies with iMessage.
This is the best solution for any non-Mac user to set up iMessage on their PC. So, now if you want to use the iMessage feature, you simply require to run the virtual program on your PC and then use iMessage for Windows. You can chat with iMessage within this program and it allows you to do whatever you do on iMessage on iOS devices.
Part 3: How to use iMesages on Windows with iPadian?
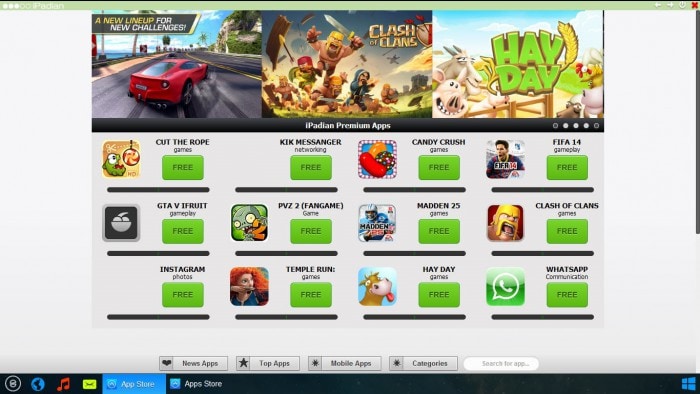
The third method, following which you can use iMessage for Windows is iPadian. This is very popular app within the iOS and Windows users all over the world. Just like the Bluestack, it also provides a great and easy to use user experience. But unlike the Bluestack, iPadian gives you access to the iOS files only. To use this software on your Windows PC and run iMessage, you need to follow the below-mentioned step by instructions. This ensures you a hassle free process of installation and gets through the iMessage online PC.
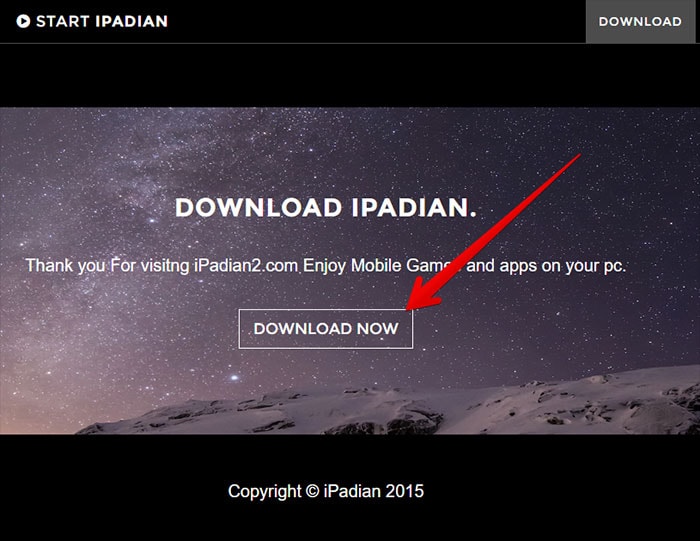
Step 1 – First and foremost step is to download the program on your PC. Go to your browser and download the software called “iPadian”. Install it on your PC. This might take a while to complete the installation.
Step 2 – After installing the .exe file on your PC, launch the application.
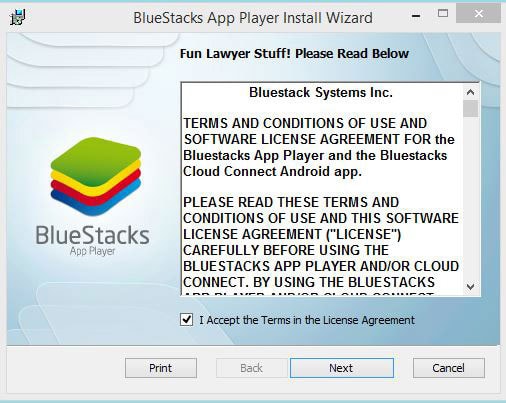
Step 3 – The first time you will be asked to accept the terms and conditions of the software. Accept all those and click on “next” to proceed further.
Step 4 – Now, the installation process completed successfully. You need to open this software now on your Windows PC.
Step 5 – Here you can see a lot of iOS applications available for installation.
Step 6 – Find the Search bar at the bottom of the app screen. Search for iMessage there.
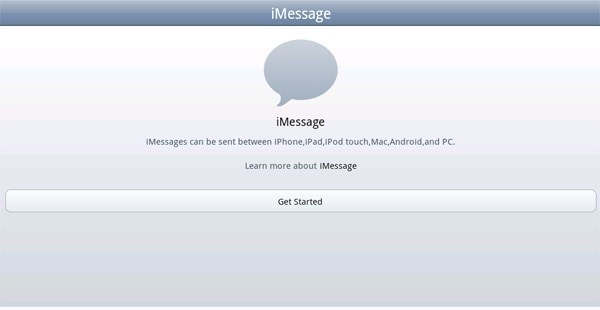
Step 7 – Now, you can see the ‘iMessage” app is available for download. Download the app on your iPadian and you are done.
Set up the iMessage with your Apple ID and password which eventually allows using the iMessage for Windows within the emulator. This handy and easy to use tool can emulate the total iOS experience and thus provide you the facility of iMessage for Windows in an ease. For using the iMessage, you need to open this emulator up and chat with your iOS buddies.
Now, you have learned the most popular and easy to use three methods to use iMessage for Windows. You can choose either whichever suits you most. If you have Mac and PC both, the first method is perfect for you as you don’t have to install any emulator. But if you have only Windows PC, you can choose either the second or the third method. At the end of the successful installation and setup, you’ll be able to use this feature-rich application by Apple on your Windows PC for free.


Messages
- 1 Message Management
- Free SMS Websites
- Send Anonymous Messages
- Mass Text Service
- Forward Text Message
- Track Messages
- Encrypt Messages
- Read Messages
- Get Message Records
- Hide Messages
- Schedule Messages
- Send Group Message
- Receive Messages Online
- Read Message Online
- Sync Message across Multiple Devices
- View iMessage History
- Send Free Message from Computer
- Love Messages
- 2 iPhone Message
- Fix iPhone Message Issues
- Save iPhone Messages
- Print iPhone Messages
- Recover iPhone Messages
- Recover iPhone Facebook Message
- Backup iMessages
- Freeze iPhone Message
- Backup iPhone Message
- Extract iPhone Message
- Save Video from iMessage
- View iPhone Message on PC
- Backup iMessages to PC
- Send Message from iPad
- Restore Deleted Message on iPhone
- Undeleted iPhone Message
- Backup Message with iTunes
- Restore iCloud Message
- Save iPhone Picture from Messages
- Text Messages Disappeared
- Export iMessages to PDF
- 3 Anroid Messages
- Message Apps for Android
- Recover Android Messages
- Recover Android Facebook Message
- Recover Messages from Broken Adnroid
- Recover Messages from SIM Card on Adnroid
- 4 Samsung Messages
James Davis
staff Editor