Permanently erase all iOS & Android data—completely unrecoverable.

 100% Security Verified | No Subscription Required | No Malware

 :
: 
 ChatGPT
 Perplexity
 Gemini
 Claude
 Grok
Grok

Imagine you have just upgraded to a brand-new iOS device and are eager to set it up. However, there is a minor hurdle stopping you—your active cellular line is still trapped inside your old device. You might be staring at the sleek edges of your smartphone, wondering exactly where the tray is located and how to remove SIM card from iPhone without causing any physical damage. If you feel a bit hesitant, you are certainly not alone in this experience.
Figuring out how remove SIM card safely is a mandatory skill for any smartphone user. Whether you are transferring your number to a new device, troubleshooting a frustrating network connectivity issue, traveling abroad and swapping to a local carrier, or preparing to sell your device to a stranger, dealing with the physical card is unavoidable. Initially, the flush, seamless design of Apple devices makes this look like a complicated task for those unfamiliar with the hardware.
Fortunately, once you understand the mechanism, learning how to remove SIM from iPhone is incredibly quick and simple. In this comprehensive guide, we will walk you through the exact physical steps to eject the tray. Furthermore, we will delve into the critical digital aspect—showing you how to delete a SIM data profile and permanently erase sensitive network information from your system.
In this article
Part 1: How to Remove SIM Card From iPhone Securely
If you are wondering how to remove a SIM effortlessly, the procedure is quite straightforward. However, it requires a gentle touch and the correct approach. Forcing the tray or using inappropriate sharp objects can permanently damage the internal contact pins or scratch the exterior finish of your smartphone. Following the standardized procedure ensures both your card and hardware remain fully intact.
Here is a detailed, step-by-step method demonstrating how to remove SIM from iPhone safely:
-
Step 1 Locate the SIM card tray
The precise location of the slot heavily depends on your specific model. For newer generations (iPhone 12, 13, 14, 15, and later), the tray is predominantly located on the left-hand edge of the device. For older generations, it usually sits flush against the right-hand edge. Inspect the sides for a small, pill-shaped cutout with a pinpoint hole.
-
Step 2 Gather the necessary extraction tools
Apple includes a dedicated metal SIM eject tool in the original retail packaging. If this tool has been misplaced over the years, a standard small metal paperclip (straightened out) or a dull sewing needle makes an excellent substitute.
-
Step 3 Power off your iPhone
While modern smartphones theoretically support "hot-swapping" (removing the card while the device is fully active), it is strongly recommended to turn off your phone. This prevents sudden signal drops, cellular errors, or file corruption.
-
Step 4 Insert the eject tool
Carefully insert the tip of your ejector tool or the straightened paperclip directly into the tiny circular hole located on the edge of the tray.
-
Step 5 Apply gentle, firm pressure
Push the tool straight inward (towards the center of the phone) until you feel a mechanical click and a slight resistance. Apply just a bit more pressure until the tray physically pops out by a few millimeters.
-
Step 6 Remove the SIM tray
Pinch the protruding edges of the tray with your fingers and pull it straight out of the chassis. Do this slowly to avoid bending the fragile plastic or metal frame.
-
Step 7 Remove the physical SIM card
The tiny chip will be resting loosely inside the tray frame. Carefully lift it out. Pay close attention to the orientation—specifically, note the position of the angled corner, which helps guide reinsertion later.
-
Step 8 Replace the empty SIM tray
If you do not plan on inserting a new cellular chip immediately, gently slide the empty holder back into the slot. Push it inward until it sits completely flush with the outer casing to prevent dust or water from entering the internal components.
Patience is key during this entire process. Never force the tool in at an angle, as this can break the ejection mechanism. By utilizing the correct tools and applying steady pressure, you can extract the chip without a single scratch.

Part 2: How to Delete a SIM and All of Its Data (Using Dr.Fone)
Taking out the physical chip is merely the first half of the equation. If you are preparing to trade in, sell, or donate your device to a new owner, you must address the digital footprint left behind. Over time, your phone caches network configurations, call logs, message histories, and potentially synced contacts. Learning how to delete a SIM virtually—meaning wiping all associated system files and cellular data—is critical for your privacy.
 Permanently erase all data on iOS & Android — completely unrecoverable.
- Military-grade wiping to fully protect your privacy.
- Generate verified erasure reports to boost device resale value.
- Selectively erase private data and remove junk & large files.
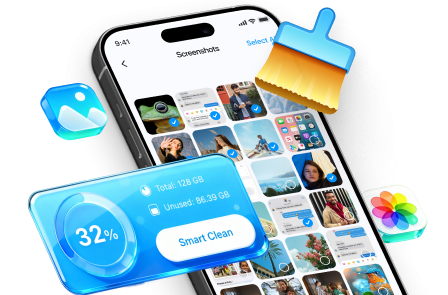
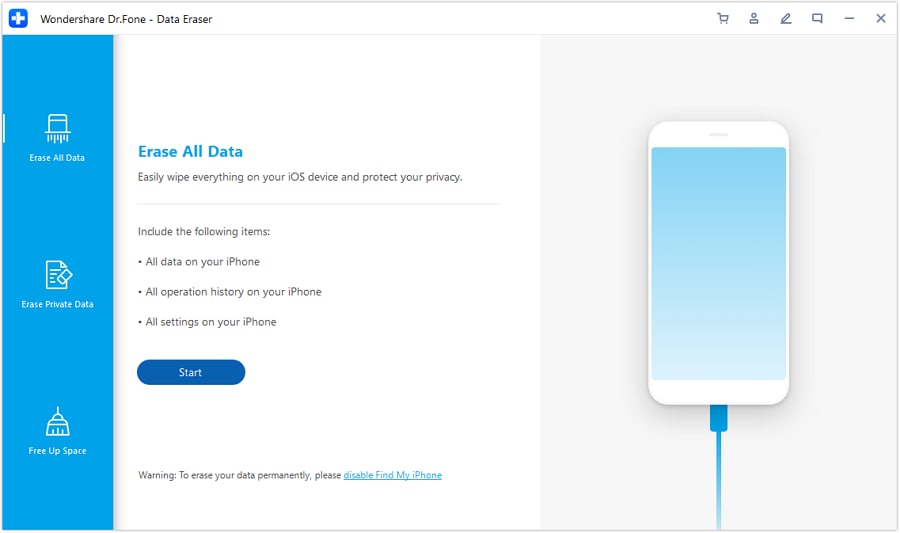
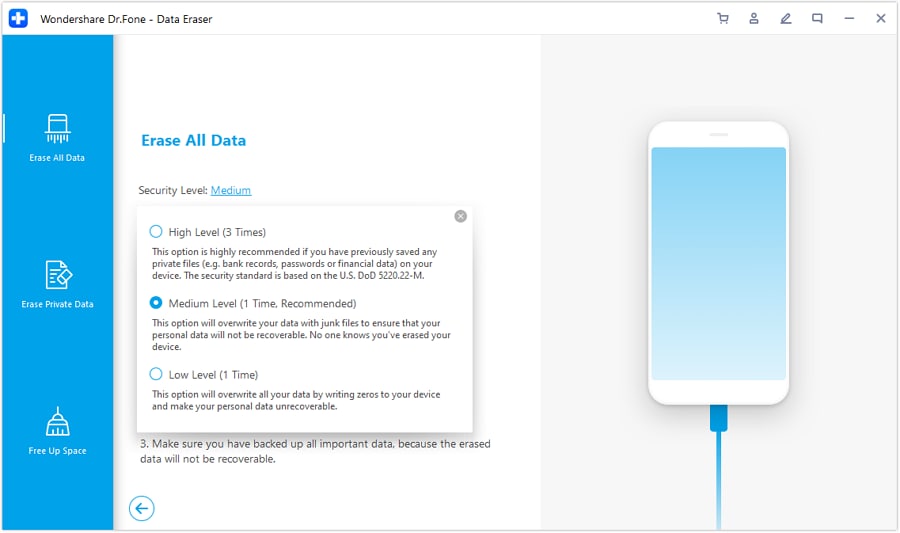
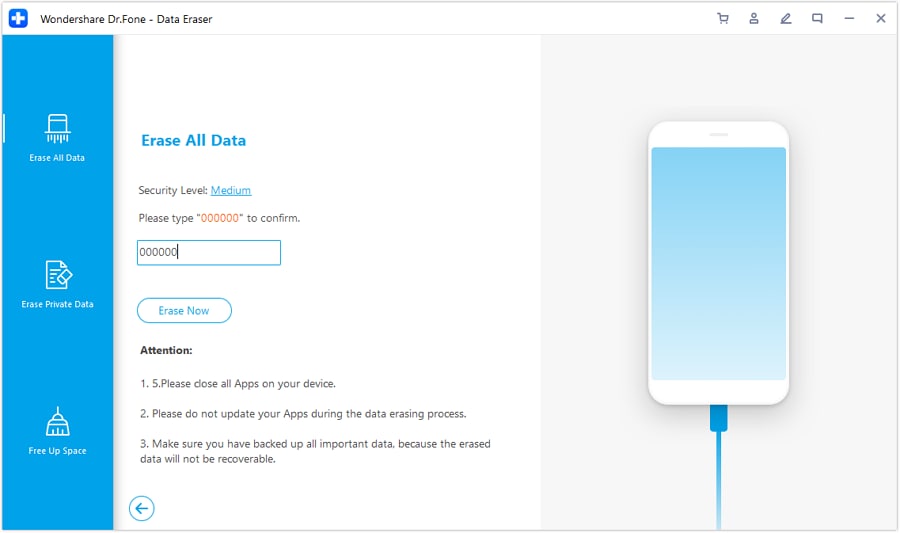
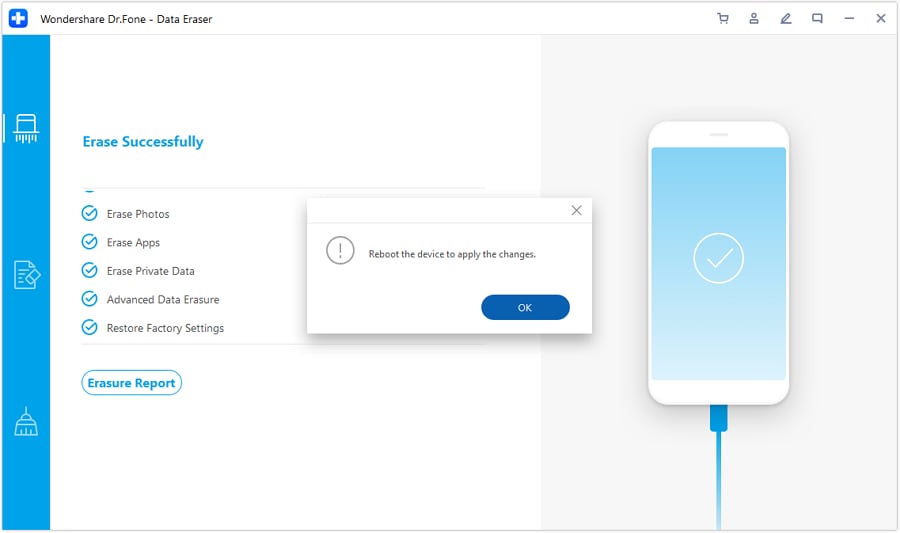
To guarantee that absolutely no residual trace of your identity remains accessible, professional data destruction is necessary. Dr.Fone - Data Eraser serves as the ultimate desktop utility designed specifically for this purpose. Unlike a standard factory reset—which merely unlinks the file directories but leaves the underlying data theoretically recoverable—this tool actively overwrites the storage sectors.
By executing military-grade algorithms, it permanently obliterates system settings, cellular configurations, junk files, and third-party app caches. The result is a device restored to a true "out-of-the-box" state, providing absolute peace of mind against identity theft and unauthorized data retrieval.





 Add Wondershare Dr.Fone as a preferred source on Google