How to Stay Safe When You Sell A Used Phone?
Aug 27, 2025 • Filed to: One-Stop Complete Mobile Solution • Proven solutions
Our phones contain so much private data - photos, messages, passwords, and more. While getting cash for your used device sounds great, you don't want that sensitive information falling into the wrong hands.
In this guide, I'll walk through the key steps to securely sell your old phone. With some simple preparation, you can permanently erase your data, avoid scams, and get the maximum resale value for your device.
Follow these recommendations, and you can sell your used phone while keeping your info safe and secure.
Selling an old phone makes people understandably anxious. But don't stress - a few preventative measures will protect your data and identity. Read on to learn how to securely sell your used phone.
Part 1. Hidden Dangers Of Selling Old Phone

Selling an old phone may seem like a quick way to earn extra cash, but it does come with risks including:
- Identity Theft: Personal info stored on your old device could let thieves steal your identity through contacts, emails, passwords, and photos.
- Financial Loss: Banking and payment apps left on your phone give access to your finances. Securely deleting this data prevents monetary loss.
- Privacy Breach: Buyers could access your browsing history, messages, location data and other private information if it's not wiped.
- Unauthorized Access: With your account info and passwords, buyers could take over your social media, shopping sites, and other apps.
Part 2. Essential Steps To Securely Sell Old Mobiles
1. Transfer/Backup Data (for iphone users, for android users)
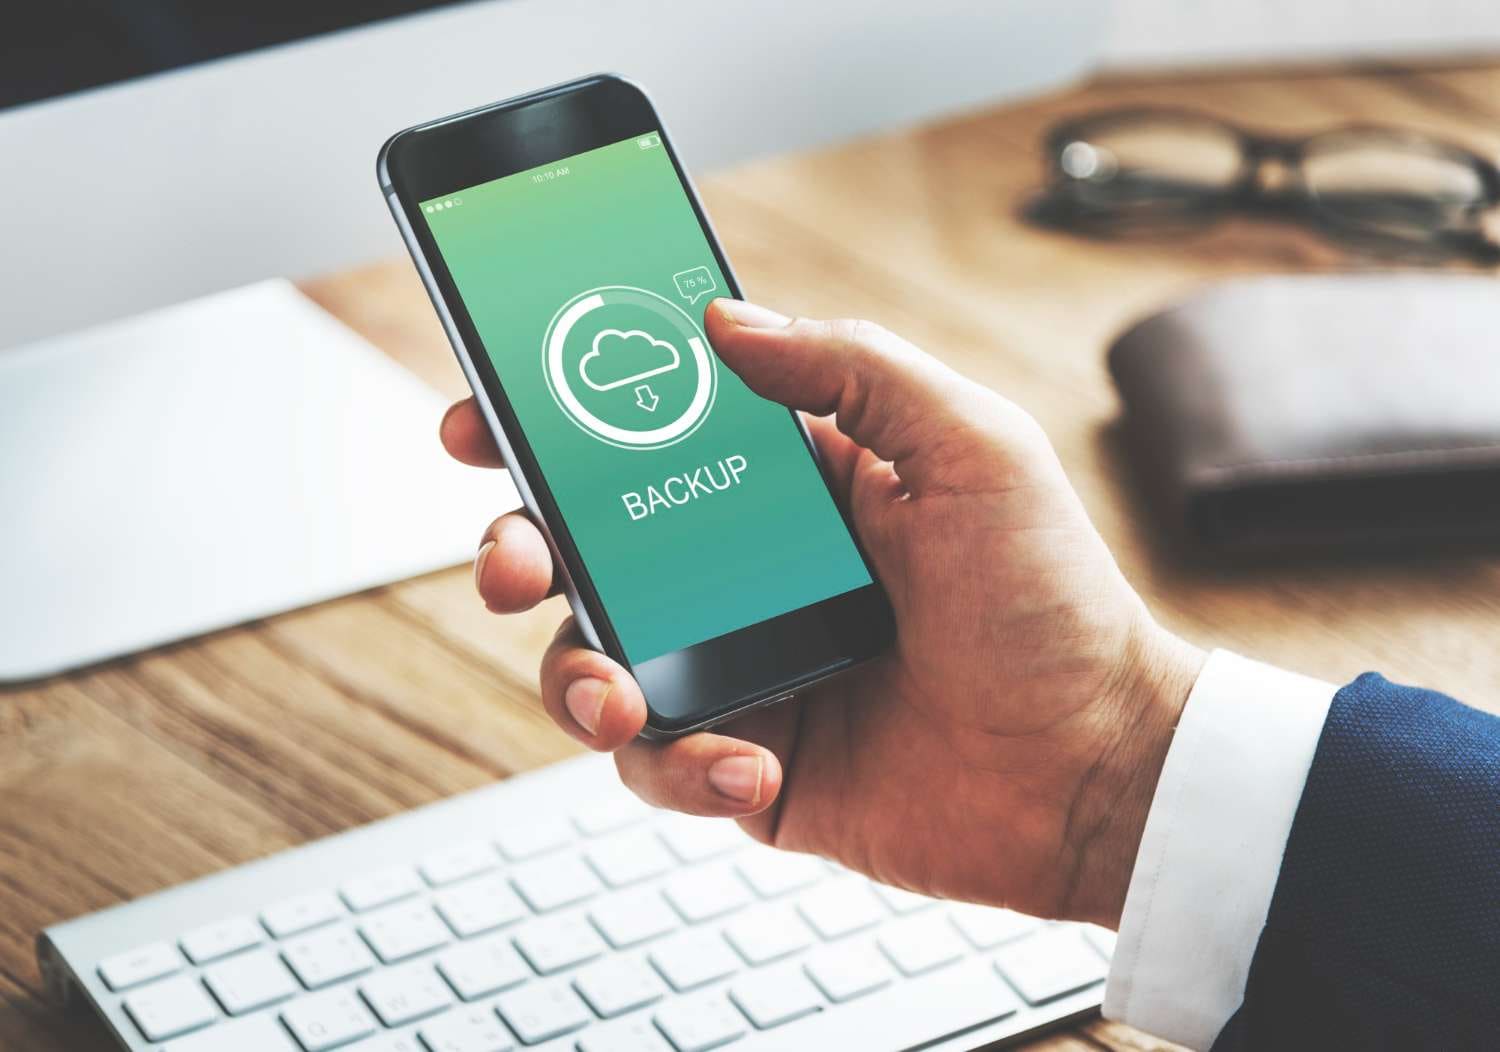
Before wiping your phone, be sure to save all your important stuff! Backup contacts, photos, videos, and anything else you want to keep.
- For Android users, turn on Google Sync to automatically store things like emails and docs. You can double check it saves everything by poking around in your settings.
- iPhone users can back up to iCloud. Just switch on iCloud Backup before erasing your phone.
You can also manually move your data to a computer, hard drive, or the cloud. Use a cable or memory card to copy it over. The key is stashing your information somewhere secure outside your phone before resetting it.
Once your data is backed up, it's time to delete everything on your phone. Performing a factory reset will permanently wipe all data from your device.
Have you ever felt nervous about your personal information lingering on your phone before selling it? I've been there too. This step assures you that your private data will be wiped clean from your old phone.
Resetting your phone to factory settings permanently erases everything on it—photos, messages, downloads, you name it. Poof, gone. While it may feel daunting to wipe your phone, the process only takes a few minutes and is so worth it for privacy.
Here are the simple steps to do this step on both iPhones and Androids:
- For iPhones, head to Settings > General > Reset. Tap "Erase All Content and Settings" to wipe your device.
- Android users can go to Settings > Backup and Reset (or System). Look for "Factory Data Reset" and tap to initialize.
Before resetting, be sure to remove any SD cards you have inserted so they don't get erased too. Those puppies contain a treasure trove of data you probably want to keep!
Doing this step means you get a fresh start with your phone while keeping your private information safe from prying eyes. No more worrying about all those awkward selfies lingering in the cloud! Resetting brings you calmness when handing your device over to its next owner.
2. Unlink System and Third-Party Accounts (for iphone users, for android users)
Control your privacy by unlinking third-party accounts and systems to restrict app access and protect your personal data.
For Android users, you can control which third-party apps and services access your Google account. Check your Google Security page to see connected apps and delete any links you don't want.
You can also unlink in Google apps like Home, Assistant or YouTube. If an app won't let you disconnect through Google, go to the app's settings itself to remove Google's access. Managing these connections helps protect your privacy.
For iPhone users, you can view and remove devices associated with your Apple ID purchases. This helps if you've reached your limit, can't download items, or want to sell a device.
Check and remove associations on a Mac or PC in Apple Music or iTunes. On an iPhone or iPad, go to Settings > [Your Name] > Media & Purchases. Scroll down and tap Remove This Device. Note you can have up to 10 associated devices and may need to wait 90 days to link a removed device to a new Apple ID. Managing associations ensures your purchases are secure.
3. Wipe Out All Data (for iphone users, for android users)
To feel safe about selling your used phone, experts recommend encrypting your device too. This locks down any leftover data missed by resetting alone.
Encryption works by scrambling all the information on your phone into a coded format no one can crack. It's the Fort Knox of mobile security!
Activating encryption ensures that your private details like contacts, messages, and photos are unintelligible to anyone trying to access them. Even if remnants linger after resetting, encryption has your back.
The process takes a while, but trust us—it's worth it:
- Androidusers can enable encryption in Settings under Security. Tap "Encrypt Phone" and let it work its magic.
- For iPhones, go to Settings > Touch ID & Passcode. Set a passcode, which automatically turns on encryption.
Encryption takes patience. It can take over an hour to fully lock down your device. Maybe pop on a movie while you wait!
The bottom line is encryption gives you ironclad assurance your data will remain secure after selling your old mobile phone. Why not go the extra mile to lock it down? Encryption helps you rest easy knowing your information stays private for good.
Another thing you need to keep in mind if you want to wipe out all your data as you sell your old phone is to remove the SIM card and SD card.
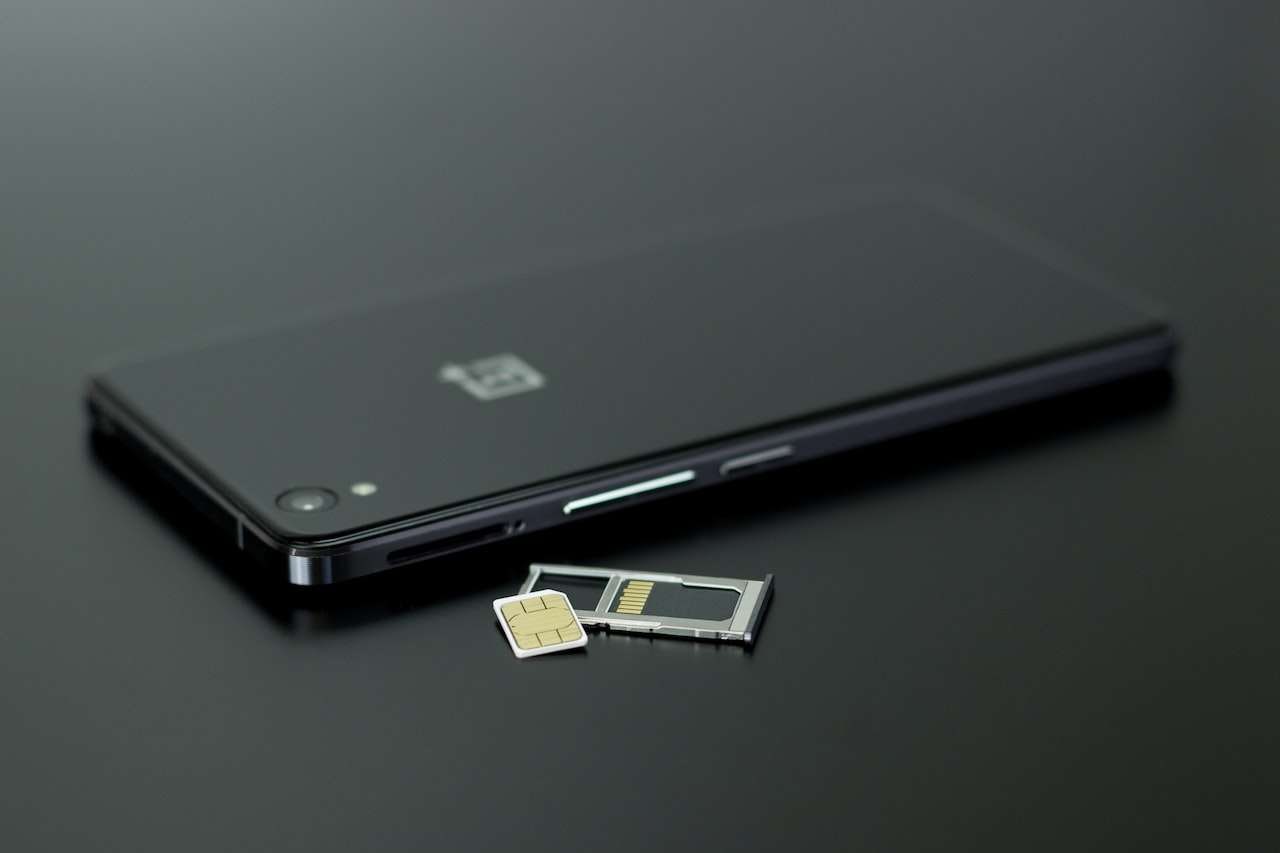
SIM cards, SD cards, and external drives all contain details you'll want to keep private after the sale.
These types of removable storage stash everything from contacts to photos, music, documents - you name it. So taking them out protects your data from getting into the wrong hands.
How to remove them varies by phone model. Your safest bet is to consult the manual or call your provider for guidance.
- On an iPhone, you can eject the SIM card with a simple paperclip or SIM eject tool. Just locate the tiny hole on the side and gently pop it out.
- Android SIM removal depends on the make and model.
SD cards and mini drives usually have an obvious eject button or slider. Press and out it comes!
Removing all forms of storage sounds tedious, but it guarantees your stuff stays with you when your phone moves on. Take the time for peace of mind. Your data will thank you!
Part 3. Advanced Tool For Secure Used Phone Sell - Wondershare Dr.Fone
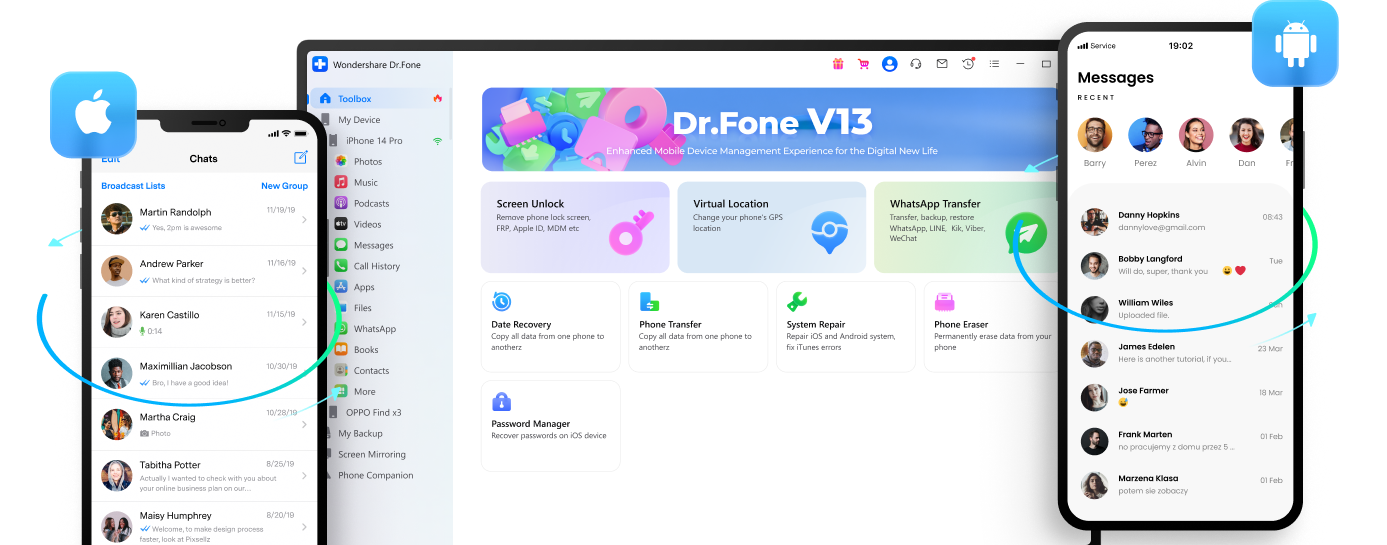
Selling your old phone? Ensure your personal data stays secure with Wondershare Dr.Fone. This all-in-one mobile solution lets you fully erase your device before handing it over.
Dr.Fone makes it easy for:
- Data Transfer: Seamlessly Transfer Data to your new phone - Move your contacts, chats, media files, and more in just one click.
- Data Backup: Back Up Irreplaceable Information - Save important data like text messages and photos to retrieve anything deleted.
- Data Eraser: Permanently Erase Private Details - Wipe your old phone 100% clean so no personal or financial info can be recovered.
Identity theft, financial fraud, privacy invasions - selling an unsecured device puts you at risk. Dr.Fone's advanced features ensure total security, giving you peace of mind. No need to worry about your info falling into the wrong hands!
Selling your used phone? Do it the safe way with Dr.Fone. Maximize your sales value without compromising critical data. Download now and take control of your mobile security.
Conclusion
Selling your used phone can feel risky, but doesn't have to be! Taking time to secure your data, reset and clean your device, and carefully choose a buyer gives you control. Selling locally for cash is the safest way to avoid scams. But what matters most is your peace of mind.
You put so much of your life on these little devices - they deserve a thoughtful, secure goodbye when the time comes to upgrade. Companies like Wondershare Dr.Fone even help extract and transfer your data seamlessly to new phones. Do what lets you sleep well at night, and your data will stay safe.
iPhone Erase
- Clear iPhone
- Delete iPhone
- 1. Delete Albums on iPhone
- 2. Delete Apps from iPhone
- 3. Delete Calendar Event on iPhone
- 4. Delete Documents on iPhone
- 5. Delete Email Account on iPhone
- 6. Delete Visited Sites on iPhone
- 7. Delete Music from iPhone
- 8. Delete Snapchat Messages on iPhone
- 9. Delete Songs from iCloud
- 10. Delete Voicemail on iPhone
- 11. Delete WhatsApp Message for Everyone
- 12. Delete WhatsApp Message Permanently
- 13. Delete Downloads on iPhone
- 14. Delete Calendars from iPhone
- 15. Delete History on iPhone
- 16. Delete Snapchat Story/History
- 17. Delete Call History on iPhone
- 18. Delete Kik on iPhone
- 19. WhatsApp Delete Message Tips
- 20. Anti Spyware for iPhone
- 21. Get Rid of Virus on iPhone
- 22. Delete Other Data on iPhone/iPad
- 23. Remove Subscribed Calendar iPhone
- Erase iPhone
- 1. Erase an iPhone without Apple ID
- 2. iPhone Data Erase Softwares
- 3. Remove Cydia from iPhone/iPad
- 4. Erase All Content and Settings
- 5. Erase Old iPhone
- 6. Erase iPhone 13 Data
- 7. Erase Data Old Device
- 8. Erase iPhone without Apple ID
- 9. Empty Trash on iPhone
- 10. Sell My Old iPhone
- 11. Sell A Used Phone
- 12. Safely Sell Used Phones
- 13. Apple Trade in Program
- iPhone Storage Full
- 1. iPhone Cleaners to Clean iPhone
- 2. Clean Master for iPhone
- 3. Clean Up iPhone
- 4. Free Up Storage on iPhone
- 5. Make iPhone Faster
- 6. Speed Up iPhone/iPad
- Wipe iPhone
- Sell Old iPhone


Selena Lee
chief Editor