Permanently erase all iOS & Android data—completely unrecoverable.

 100% Security Verified | No Subscription Required | No Malware

 :
: 
 ChatGPT
 Perplexity
 Gemini
 Claude
 Grok
Grok
Voicemail is an indispensable feature for any mobile user. It acts as a digital answering system that records incoming calls when you are unavailable, busy, or out of network coverage. By capturing voice messages, this system significantly enhances communication efficiency, ensuring that you never miss critical information even when you cannot attend to calls in real time.
Using a voicemail service comes with several noticeable advantages for both personal and professional communications:
- Vital voice messages can be saved securely for future reference.
- Callers can leave detailed, long-form explanations rather than short texts.
- Messages are securely protected, ensuring only you can access them with a passcode.
- You can retrieve and listen to your voicemails at any time and from anywhere.
- The service operates independently of your network availability or device status.
Apple, recognized globally for its advanced iOS ecosystem, integrates this robust voicemail service directly under the native "Phone" app. Users can easily configure personalized greetings and password protection. However, just like your device's internal storage, your voicemail inbox has a strict capacity limit. Once it is full, callers will no longer be able to leave new messages, which might cause you to miss important updates.
When this happens, it becomes essential to understand how to delete voicemail messages from iPhone effectively. In this comprehensive 2026 guide, we will walk you through various methods to manage your inbox, showing you precisely how to delete voicemail on iPhone and ensure unwanted data is permanently cleared from your device.
In this article
Part 1: How to delete a voicemail on iPhone?
If you only need to remove a handful of specific recordings, the manual deletion process built into iOS is extremely straightforward. In this section, we will provide a step-by-step guide explaining exactly how to delete voicemail messages from iPhone on an individual basis.
Follow the simple steps outlined below to declutter your inbox quickly:
-
Step 1 Access the Voicemail Tab
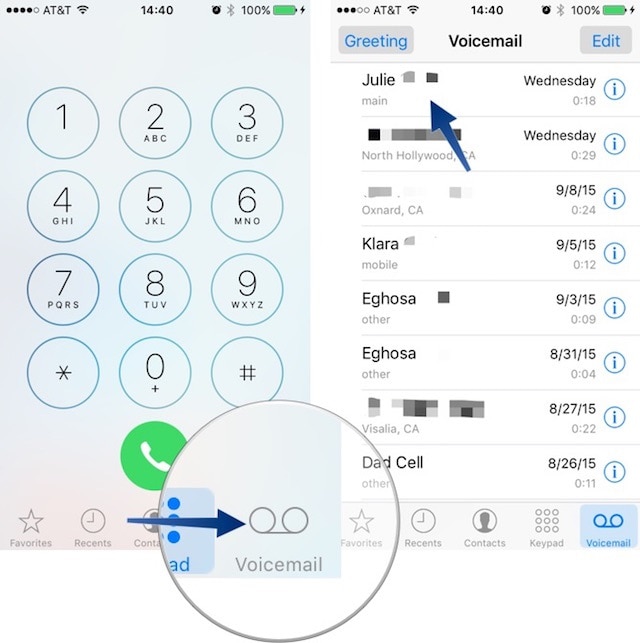
Unlock your device and tap the native "Phone" app icon on your home screen. From the bottom navigation menu, tap on the "Voicemail" icon located at the bottom right corner to enter your mailbox.
-
Step 2 Locate and Delete the Message
Scroll through your list to find the specific voicemail you wish to remove. You can tap on the message to reveal the playback controls and the "Delete" button. Alternatively, for a quicker approach, simply swipe the message from right to left to reveal the red "Delete" option.

-
Step 3 Confirm the Deletion
Tap on the "Delete" button (or the trash can icon). The selected voicemail will be immediately removed from your primary inbox list.
This method provides a quick fix for users wondering how to delete voicemail on iPhone for individual entries. However, it is crucial to note that this standard deletion is not permanent. The messages are simply moved to a temporary holding folder. To completely erase them from your device's memory, please refer to the subsequent parts of this guide.
Part 2: How to delete multiple voicemail on iPhone?
When you have neglected your inbox for a while, you might accumulate dozens of promotional messages, automated calls, or outdated recordings. Deleting them one by one can be tedious and time-consuming. Fortunately, iOS allows you to select and delete multiple voicemails in just a few taps to clear your list efficiently.
Here is a detailed guide on how to delete voicemail in bulk in a single go:
-
Step 1 Open the Voicemail Inbox
Navigate to your voicemail list by tapping the "Phone" app icon and selecting the "Voicemail" tab at the bottom right.
-
Step 2 Activate Edit Mode
Look at the top right corner of the screen and tap on the "Edit" button. This will change the interface to allow multiple selections.

-
Step 3 Select Target Messages
Tap on the circular checkboxes next to the voicemails you want to remove. Upon selection, the items will be marked with a blue checkmark and highlighted, giving you a clear view of the messages queued for deletion.

-
Step 4 Delete the Selected Bulk
Once you have selected all the irrelevant messages, tap on "Delete" situated at the bottom right corner. All highlighted voicemails will be cleared instantly.

Utilizing the bulk selection method drastically cuts down the time required to manage a cluttered inbox. Multiple selection empowers users to avoid the repetitive swiping motion and streamlines device maintenance. Now that the messages are removed from the main inbox, let's explore how to clear these items completely from the iPhone's hidden temporary folder.
Part 3: How to clear deleted voicemail on iPhone.
As mentioned in the previous sections, when you press "Delete" on a voicemail, iOS doesn't instantly wipe the file from the storage drive. Instead, these files are hidden from the main inbox and relocated to a separate backend directory. They will continue taking up valuable storage space until they are thoroughly purged.
These deleted items reside in the "Deleted Messages" section, which functions similarly to the "Recycle Bin" on a Windows PC or the "Trash" bin on a Mac. You must empty this folder manually to fully recover the storage space.
Follow the steps below to clear deleted voicemail from your iPhone:
-
Step 1 Navigate to the Phone App
First, return to your home screen and open the "Phone" app.
-
Step 2 Access the Voicemail Menu
Tap the "Voicemail" icon at the bottom right of the screen.
-
Step 3 Open the Deleted Messages Folder
If you have recently deleted any voicemails, scroll to the very bottom of the inbox list. You will see an option labeled "Deleted Messages". Tap on it to view all your temporarily removed items.
-
Step 4 Empty the Trash
In the top right corner of the Deleted Messages screen, click on the "Clear All" option. Confirm the action when prompted to permanently empty the folder.

Performing this simple operation successfully clears all previously deleted audio files in a single motion. Once completed, no superficial traces of these voicemails will remain in your iOS interface. However, for users looking to sell their phone or ensure maximum privacy, standard deletion is not enough. We will cover military-grade erasure in the next segment.
Part 4: How to clear deleted voicemail on iPhone permanently?
Even after clearing the "Deleted Messages" folder, standard data recovery software can often retrieve those hidden audio files from your iPhone's flash memory. To delete all files irrevocably, we strongly recommend using a professional desktop utility.
 Permanently erase all data on iOS & Android — completely unrecoverable.
- Military-grade wiping to fully protect your privacy.
- Generate verified erasure reports to boost device resale value.
- Selectively erase private data and remove junk & large files.
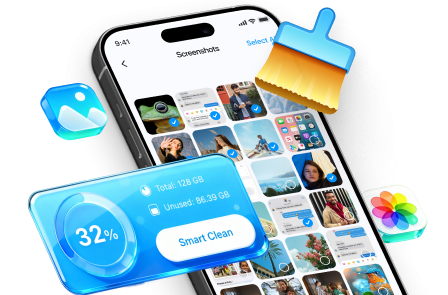
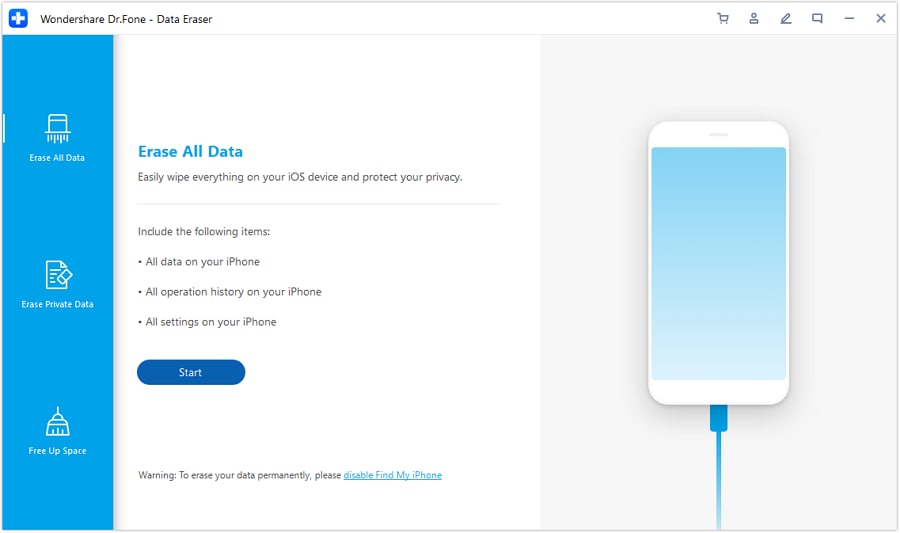
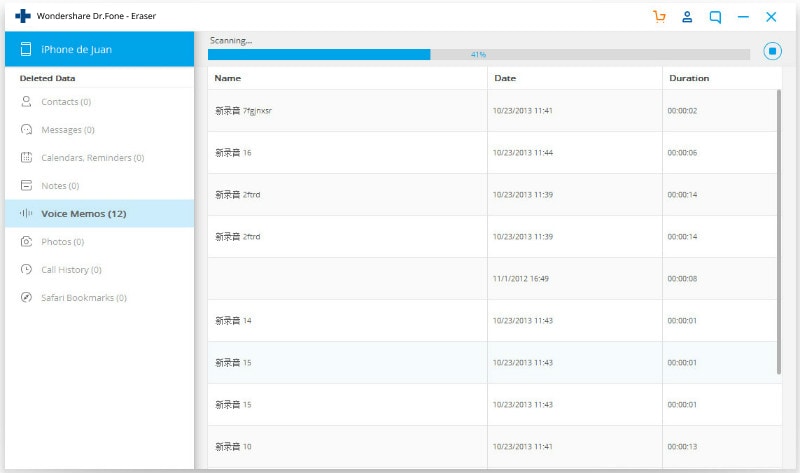
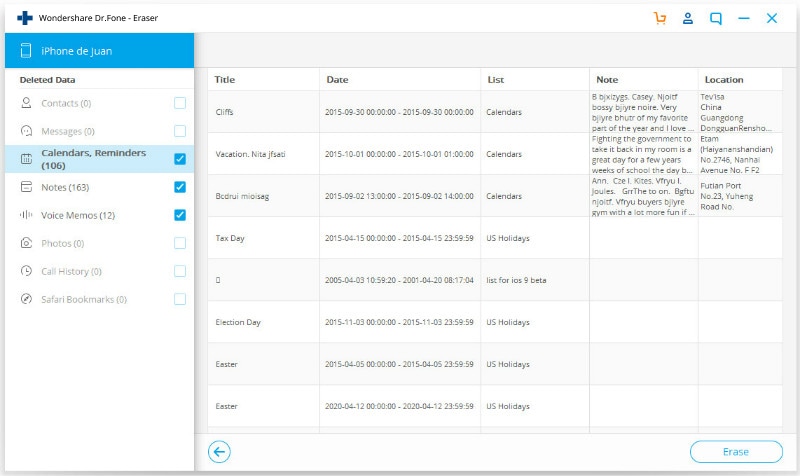
The Dr.Fone - Data Eraser is a powerful desktop toolkit explicitly designed to wipe your privacy data completely. Known for its high success rate and user-friendly interface, it overwrites the storage sectors, ensuring that deleted voicemails, messages, and call logs are completely unrecoverable. This utility allows you to clear all iOS data, clean up residual junk files for faster device performance, and erase selected private files permanently.







 Add Wondershare Dr.Fone as a preferred source on Google