How to Restore Viber Messages from iPhone/iPad
iPhone Messages
- Back Up iPhone Messages
- 1. Back up Messages on iPhone
- 2. Save Text Messages on iPhone
- 3. Back up Viber messages
- 4. Back up WhatsApp Data to Computer
- 5. Export WhatsApp Message from iOS
- Delete iPhone Messages
- 1. Delete iMessages on iPhone and iPad
- 2. Delete Snapchat Messages on iPhone
- 3. Delete WA for Everyone
- 4. Delete WA Message Permanently
- 5. Delete Text Messages from iPhone
- 6. Tips about WhatsApp Delete Message
- 7. Undelete Messages on iPhone
- 8. View Deleted iMessage History on PC
- Recover iPhone Messages
- 1. Recover iPhone Deleted Text Messages
- 2. Recover Deleted Viber Messages
- 3. Recover Messages on iPhone 13
- 4. Recover Deleted Message on iPhone 8
- 5. Recover Deleted Message iPhone 6
- 6. Transfer from iPhone to iPhone
- 7. Recover WhatsApp Messages Online
- 8. Restore 1-Year-Old WhatsApp Chats
- Restore iPhone Messages
- 1. Restore Kik Messages from iPhone
- 2. Restore Text Messages on iPhone
- 3. Restore Viber Messages Selectively
- 4. Restore Kik Messages to iPhone
- Transfer iPhone Messages
- 1. Transfer from Android to iPhone
- 2. Transfer from iPhone to iPhone
- 3. Transfer from iPhone to Computer
- 4. Transfer from Android to iPhone XS
- 5. WhatsApp from Android to iOS
- 6. Transfer from Android to iPhone 13
- 7. WhatsApp from iPhone to PC
- 8. Download Text Messages from iPhone
- 9. Sync iMessage between iPhone and Mac
- iPhone Messages Problems
- 1. iMessage Not Working
- 2. iMessage Keeps Crashing
- 3. iMessage Not Syncing on a Mac
- 4.iPhone won't send or receive texts
- 5. Message Blocking Is Active
- 6. Why Are My iPhone Messages Green
- iPhone Message Tricks
- 1. Export Messages from iPhone to PDF
- 2. Read Others WA Messages
- 3. iPhone Message Tips and Tricks
- 4. Access iMessage Online
- 5. Extract Text Messages from iPhone
- 6. Forward Text on iPhone and Android
- 7. Print Text Messages from iPhone
- 8. View iPhone Messages on PC/Mac
- 9. Tell If You Are Blocked on iMessage
Dec 11, 2025 • Filed to: Social App Management • Proven solutions
Sometimes one can accidentally delete important Viber messages, videos or photos. Sometimes the iOS can crash and lead to loss of important data. Or maybe you could have pressed "Reset to Factory Settings" and lost everything in the process. Sometimes, you may not even know why your Viber messages, call history, photos, videos are no longer available. Maybe you can try to recover deleted Viber messages. But this is not always the best solution for it. The best solution is to avoid such situation happened. Therefore, it is very important to backup and restore Viber messages. Well, in this article, we will share you a easy and fast way to selectively restore Viber messages.
Restore Viber messages from iPhone/iPad
To avoid Viber messages lost, you can use Dr.Fone - WhatsApp Transfer to backup and restore your Viber messages from iPhone/iPad. This program is designed to backup and restore Viber messages, photos and videos on iOS devices such as iPhone and iPad. With Dr.Fone you can protect your Viber chat history with one click. If you also want to restore your data, you click the chats you want to restore it without any risk to your existing data.

Dr.Fone - WhatsApp Transfer
Selectively restore Viber messages from iPhone/iPad.
- Backup your entire Viber chat history with one click.
- Restore the Viber chats you want.
- Export any item from the backup for printing.
- Easy to use and no risk to your data.
- Supports iPhone, iPad, iPod touch and the latest iOS version.

- Fully compatible with the latest Windows or Mac version.
Steps to restore Viber messages from iPhone/iPad
Step 1: Launch the tool on your computer
The first thing is to launch Dr.Fone on your PC and click "WhatsApp Transfer".

Step 2: Connect your iPhone/iPad to the computer
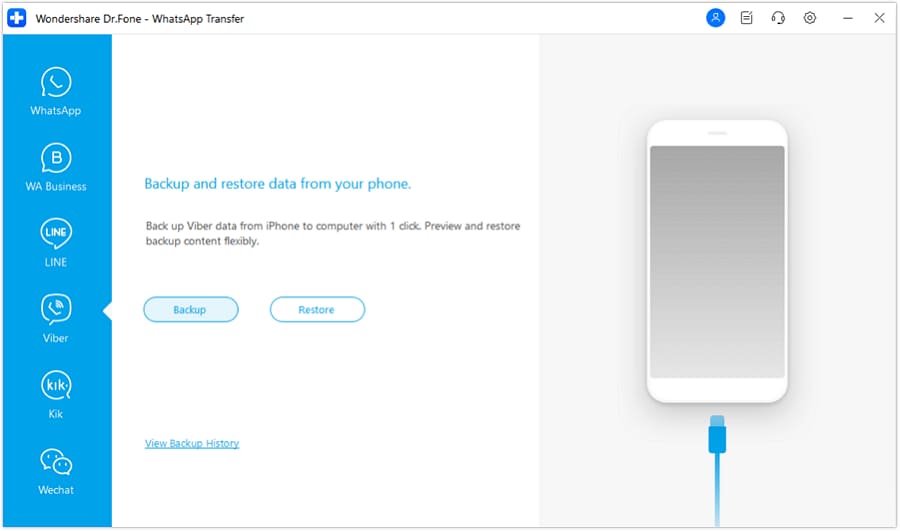
The process of backing up your Viber messages, videos and photos in your iPhone/iPad is very simple. All you need to do is to select "Viber" option. After that, you have to connect your iPhone/iPad to the computer via a USB cable. Once the devices are connected, you will see the screen below.
Step 3: Start to backup Viber messages
The next thing is to simply click the "Backup" button and Dr.Fone will start backing up your data automatically. Do not disconnect the device while the process is going on. Wait until the device is complete before you do anything. If you disconnect the device before the process is complete, the backup process will abort.
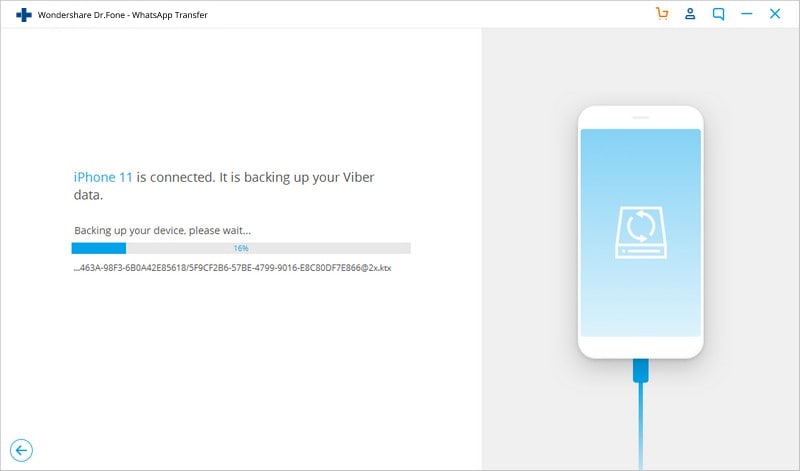
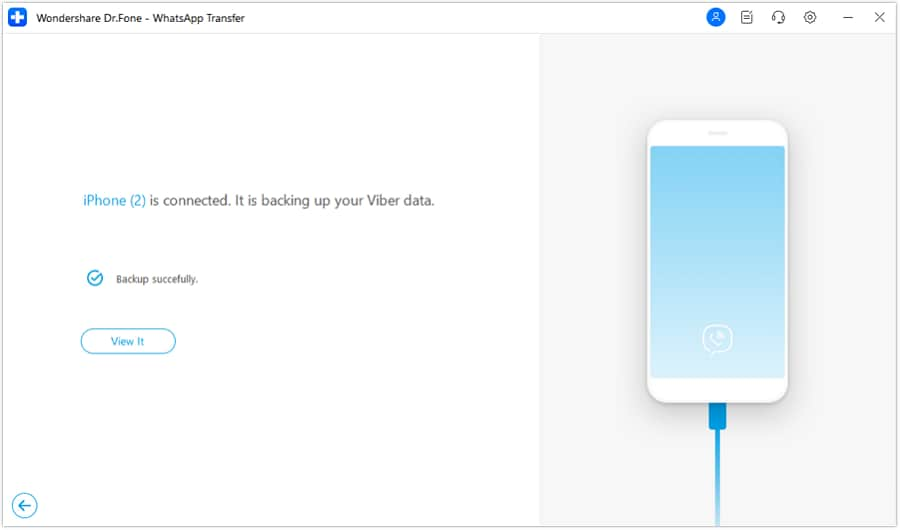
Then the Viber backup process will complete.
Step 4:. Select Viber messages to restore
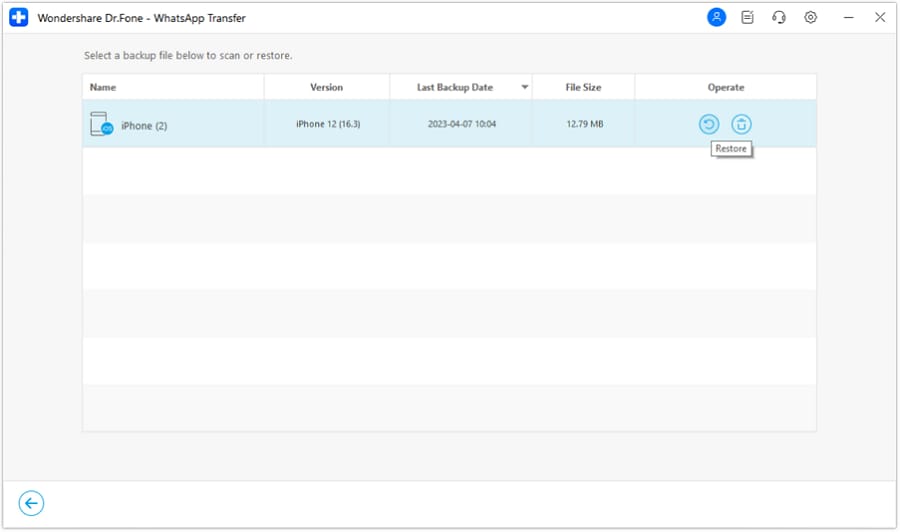
Next, you will see all the Viber backup messages. You can click "View" to check them.
Step 5: Restore Viber messages
When you finish scanning, you can preview all the Viber messages in the backup file. You can check any one you want and click "Restore to Device".
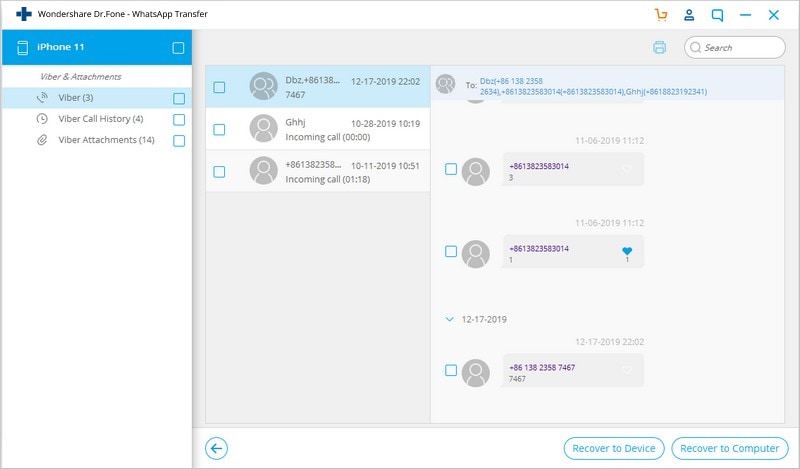
Note: You can preview and selectively restore your Viber messages. And it is compatible for both Windows and Mac.




Bhavya Kaushik
contributor Editor