How to Backup Android Phone Safely: Complete Step-by-Step Guide
Android Backup
- Backp Android
- 1. Backup Android to PC
- 2. Backup Android Photos
- 3. Android Wifi Backup
- 4. Backup Phone with Broken Screen
- 5. Backup Android Rom/Firmware
- 6. Backup SD Card on Android
- 7. Backup Android SMS
- 8. Backup Android Phone With Root
- 9. Backup Android to Mac
- 10. Backup Viber Messages
- Android Restore
- 1. Guide to Restore Android Phone
- 2. Backup and Restore Android Phone
- 3. 2 Ways to Restore Contacts on Android: Step-by-Step Guide
- 4. Restore WhatsApp from iCloud
- Backup Apps
- 1. Android Backup Apps to Backup Files
- 2. 6 Apps to Backup Bookmarks
- 3. Top 10 Contacts Backup App
- 4. Backup Android App and App Data
- 5. The Best Android Backup Extractor
- 6. Top 5 Android Backup Softwares
- 7. 6 Best Android Backup Softwares
- 7. 7 Android Fastboot Reset Tools
- Samsung Backup
- 1. Back Up Samsung to Google Drive
- 2. Backup Contacts on Samsung
- 3. Backup Text Messages on Samsung
- 4. Backup and Restore Samsung Galaxy
- 5. Backup Everything on Samsung
- 6. Backup Samsung Galaxy to PC
- 7. 10 Samsung Cloud Backup Services
- 8. Solution For Samsung Message Backup
- 9. 5 Samsung Photo Backup Solutions
- 10. Backup Samsung S10 to PC
- ● Manage/transfer/recover data
- ● Unlock screen/activate/FRP lock
- ● Fix most iOS and Android issues
- Free Download Free Download Free Download

Jun 11, 2026 • Filed to: Backup & Restore Solutions • Proven solutions
 TL;DR:
To safely back up an Android phone and mitigate permanent data loss, employ the 3-2-1 rule by combining automated cloud syncs like Google Backup for daily essentials with local computer tools like Dr.Fone for comprehensive, cross-platform archiving.
● Google Backup and manufacturer-specific tools like Samsung Smart Switch are ideal for users staying within a specific brand ecosystem, offering automated but partial backups of contacts, photos, and system settings directly to the cloud.
● Dr.Fone requires initial PC or Mac setup but provides a complete, incremental backup solution covering WhatsApp chats, apps, and system data for over 8,000 models up to Android 16, while allowing selective cross-platform restoration to iOS devices.
● Security protocols prevent all standard backup methods from saving DRM-protected media, banking applications, and the Android OS; if native cloud backups stall, clear the Google Play Services cache, ensure stable Wi-Fi, and keep the device continuously charging.
Ask AI for a summary
 ChatGPT
 Perplexity
 Gemini
 Claude
 Grok
Grok
Dr.Fone Basic:
Better Control for Your Phone
Manage, transfer, back up, restore, and mirror your device
Besides a lost device, even a single tap gone wrong can wipe out years of photos, important documents, messages, and contacts in a matter of seconds. Theft is, of course, one reason, but other common causes of permanent data loss include sudden system crashes, water damage, and accidental deletion. Without a backup, the chances of data recovery are very low, and thus, what once were cherished memories and critical information may be lost forever.
This guide describes different guaranteed methods of backing up an entire Android phone, whether through Google's native features, manufacturer-specific options, trusted third-party tools like Dr.Fone, or by using manual/local backup techniques, thus ensuring that important data is always available and never lost beyond recovery. Let's find out how to backup Android phone:
Part 1: What "Backing Up an Android Phone" Really Means (Quick Clarification)
1.1 What Gets Backed Up? (The Scope of a "Full" Backup)
Backing up your Android device is essentially creating a safe copy of all the important data that can be restored if the device is misplaced, broken, or upgraded. Normally, a backup includes your personal data like contacts, call logs, SMS messages, photos, videos, audio files, and saved documents.
However, not all items are covered in a standard backup. For example, media protected with DRM, highly secure app data like banking or payment apps, and the Android operating system, are typically excluded for security reasons.
1.2 The 3-2-1 Backup Rule (Briefly Explained)
The safest backup method is the one which primarily follows the simple 3-2-1 rule very closely: you should have three copies of your crucial data, store them on two different types of media or storage, and keep one copy offsite—most probably, in the cloud. This method is very efficient in risk mitigation of hardware failure, accidental deletion, or physical damage.
Part 2: How to Backup Your Android Phone - 4 Effective Methods
Here's how do you backup an Android phone:
Method 1: Back Up Your Entire Android Phone (Full or Selective Backup) with Dr.Fone
Dr.Fone – Phone Backup is a one-click solution to back up your Android phone, combining the simplicity and power of a feature-packed tool. It enables you to backup fully or selectively more than 10 types of data such as photos, videos, music, messages, contacts, files, apps, and WhatsApp in its entirety (both chats and media). You can perform backups either wirelessly or through USB with incremental backups that only save new data, thus, no repeated full backups will be made. This software is compatible with over 8,000 Android models, supports Android 16, and keeps the data safely on a PC or Mac, equipped with a reliable 100% success rate.
Aside from backup, Dr.Fone also provides accurate and adaptable restoration. You can preview your data and decide which one to restore without the need to erase the rest of the device, which is a great time and space saver. It even supports cross-platform restore, so you can restore your Android backup to another Android phone, an iPhone, or get it from iCloud and iTunes backups. Targeted recovery, social app archiving, cross-format exports, and 1-click backup to PC are some of the features that make Dr.Fone a backup solution that is secure, fast, and all-in-one.
Wondershare Dr.Fone
Flexibly Backup and Restore Android Data
- Selectively backup Android data to the computer with one click.
- Preview and restore the backup to any Android device.
- Supports 8000+ Android devices.
- There is no data lost during backup, export, or restoration.


Step-by-step guide: Backup your Android devices using Dr.Fone (3 easy steps)
- Step 1: Connect and prepare your Android device for backup
- Step 2: Grant necessary permissions for SMS backup
- Step 3: Change back to the original SMS app and finish the backup
Launch Dr.Fone for Windows or Mac and connect the phone via USB or Wi-Fi. Access "My Backup" click "Back Up Now" to initiate the backup of the Android device. The program will identify the device and set it up for the backup operation automatically.

Launch the Dr.Fone Link app on the device and follow the on-screen instructions to switch it to the default SMS application when prompted. With this, you are allowing your text messages to be backed up. After that, hit "OK" on the computer to proceed.

The prompt at the end of the process asks you to reset your default SMS app. Go to the messaging app and make it your default once again, after which click "OK" to complete. You can see the backup that has just been finished in the Dr.Fone window. You can choose "Open in Folder" or "View Backups" for data management purposes.

Method 2: Back Up Android Data Automatically with Google Backup (Partial Backup)
Google Backup is an in-built, free feature which is linked to your Google account and it helps you to save important data of your Android device. Normally, it will keep your contacts, calendar events, Drive files, photos (through Google Photos), some system settings, and app data automatically synced without your being required to take any action. Here's how to take backup of Android phone:
- Step 1: Open the backup settings
- Step 2: Enable Google Backup
- Step 3: Verify and select data types
- Step 4: Monitor backup status
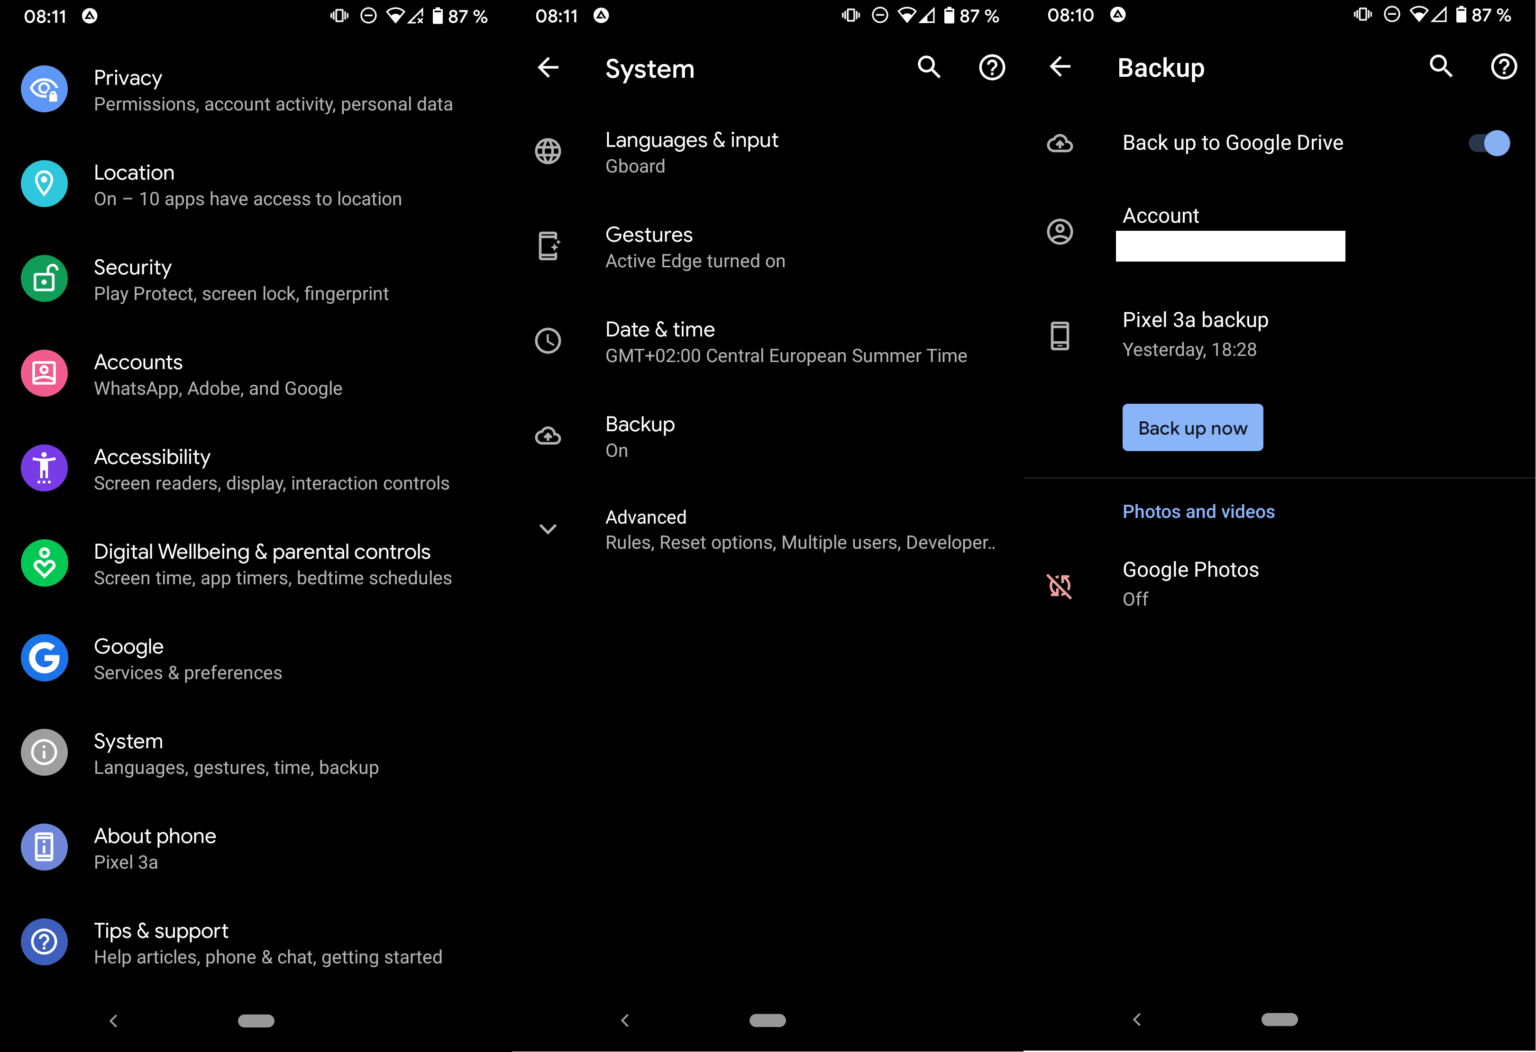
Find "Settings" > "System" > "Backup" on your Android device. This area covers all the options related to backups and indicates if your Google account is linked for backup purposes.
Switch on "Back up to Google Drive" or "Backup by Google One". Thanks to this, your chosen data — e.g., contacts, app data, system settings, and photos — will be automatically uploaded to the cloud without your manual handling.
Make sure you know what kinds of data categories are included. Most devices support the backup of Contacts, App Data, Calendar, Photos & Videos (through Google Photos), and Wi-Fi networks & passwords. Some brands may disallow more system settings options.
In the same Backup section, you can find the time of the last backup. If you want to, you can click "Back up now" to create a manual backup immediately.
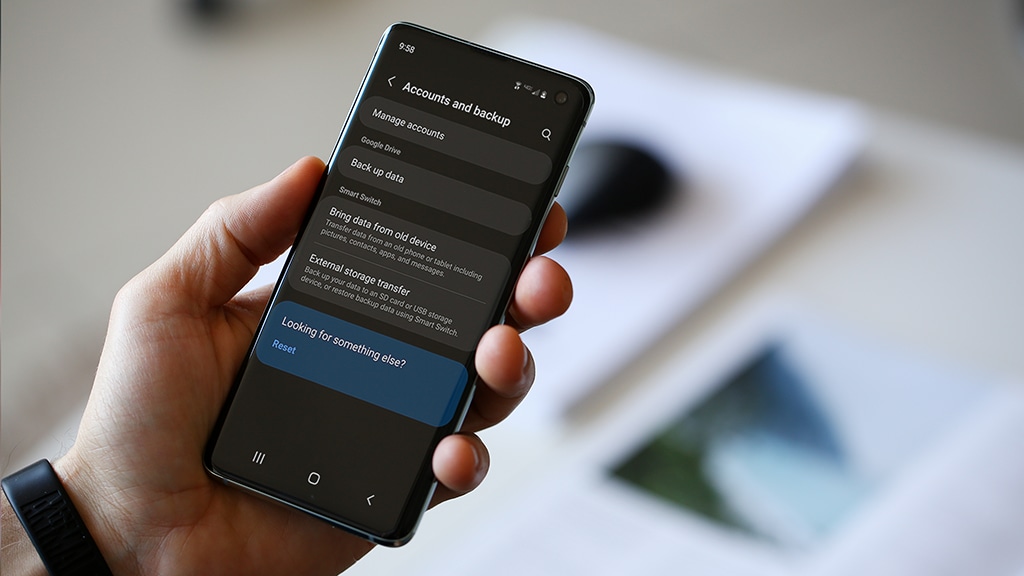
Method 3: Back up your Android phone using manufacturer backup tools (partial & brand-limited)
Sometimes, manufacturer backup tools can cover and fix the areas that Google Backup has missed by saving device-specific settings and brand-exclusive features. Among the most widely used are Samsung Cloud/Smart Switch, Xiaomi Cloud/Backup, and Huawei Backup. Such utilities are a perfect choice for those who want to reside in the same brand ecosystem as these tools' backup settings, home screen layouts, and app configurations that may not be included in Google Backup. Keep in mind that storage limitations and availability depend on the brand and the device model.
Step-by-step guide: Backup Samsung Android to PC via Smart Switch
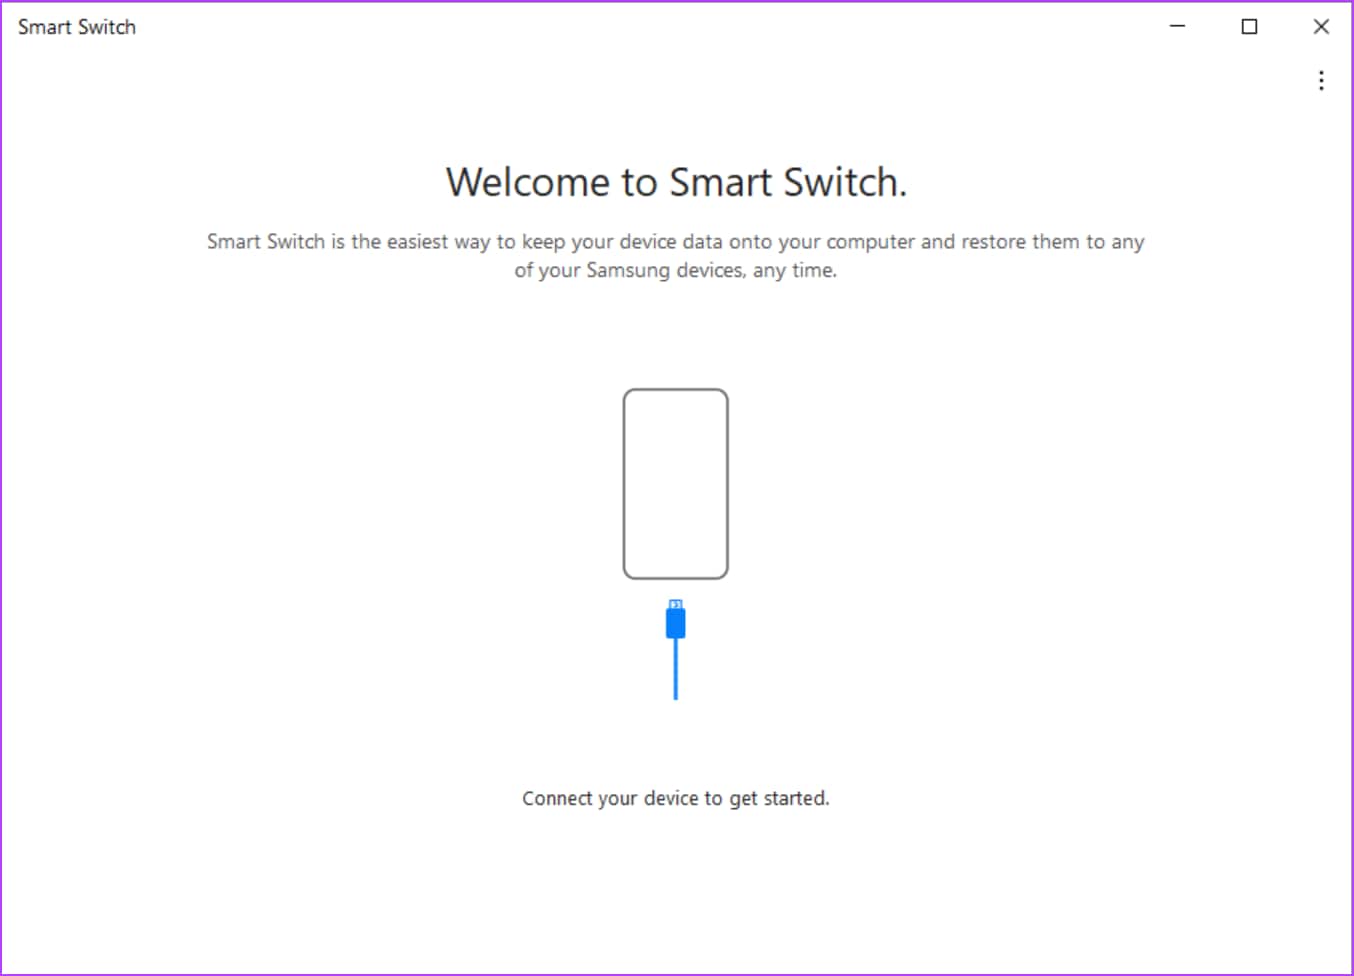
- Step 1: Install and open Smart Switch
- Step 2: Select backup option
- Step 3: Start the backup process
- Step 4: Complete the backup and view data
Start by downloading and installing the Samsung Smart Switch app on your Windows PC or Mac, then open the program. Next, use a USB cable to connect your Samsung phone to the computer.
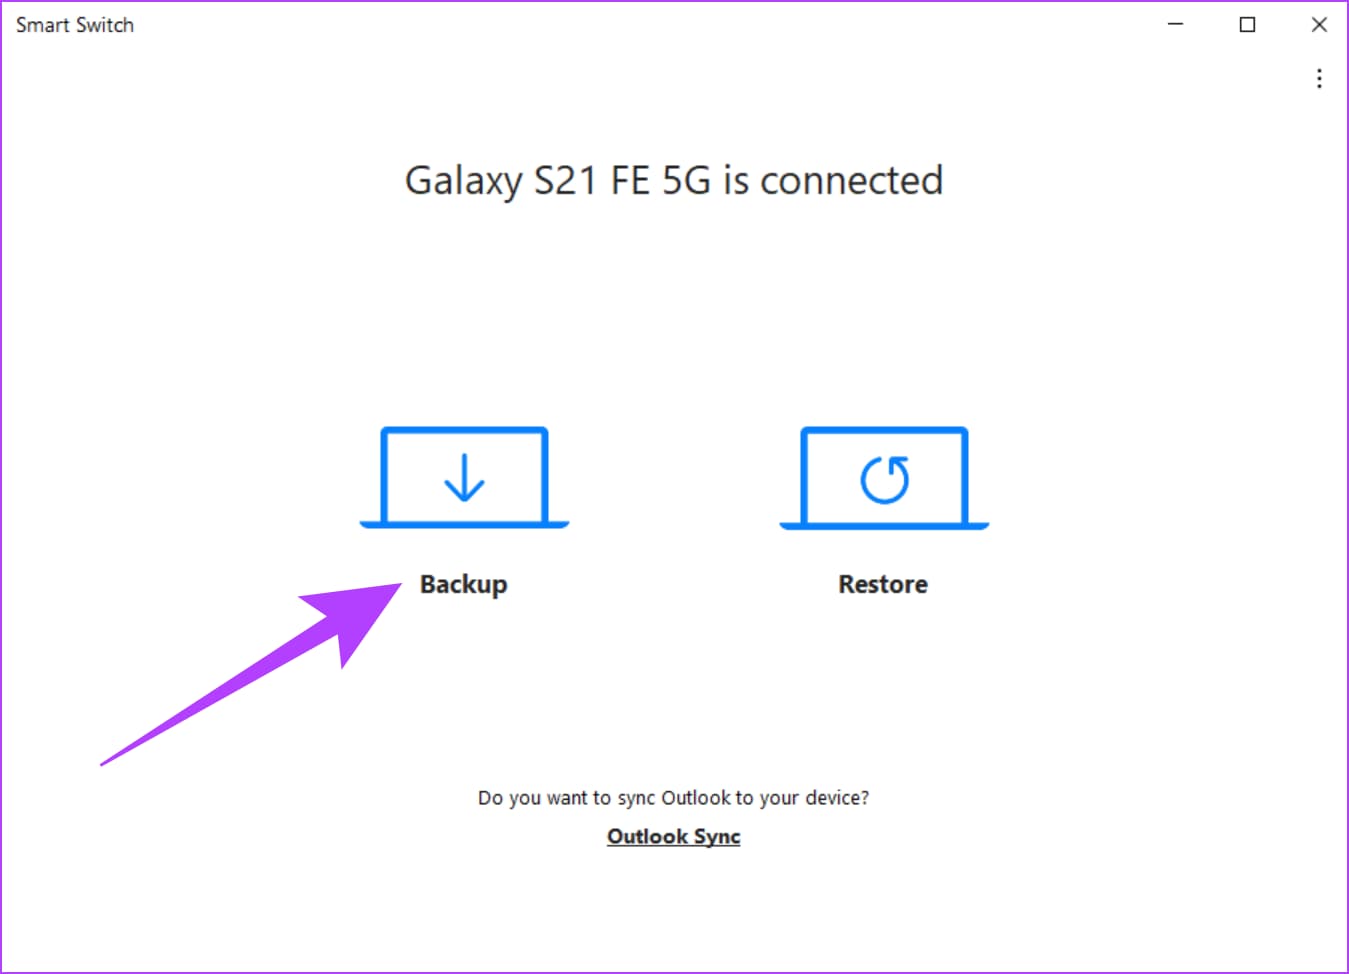
Next, locate the "Backup" option on the interface of Smart Switch and click it. The app will then scan the device, and you will see the various types of data that can be backed up, such as contacts, SMS, photos, applications, and device settings.
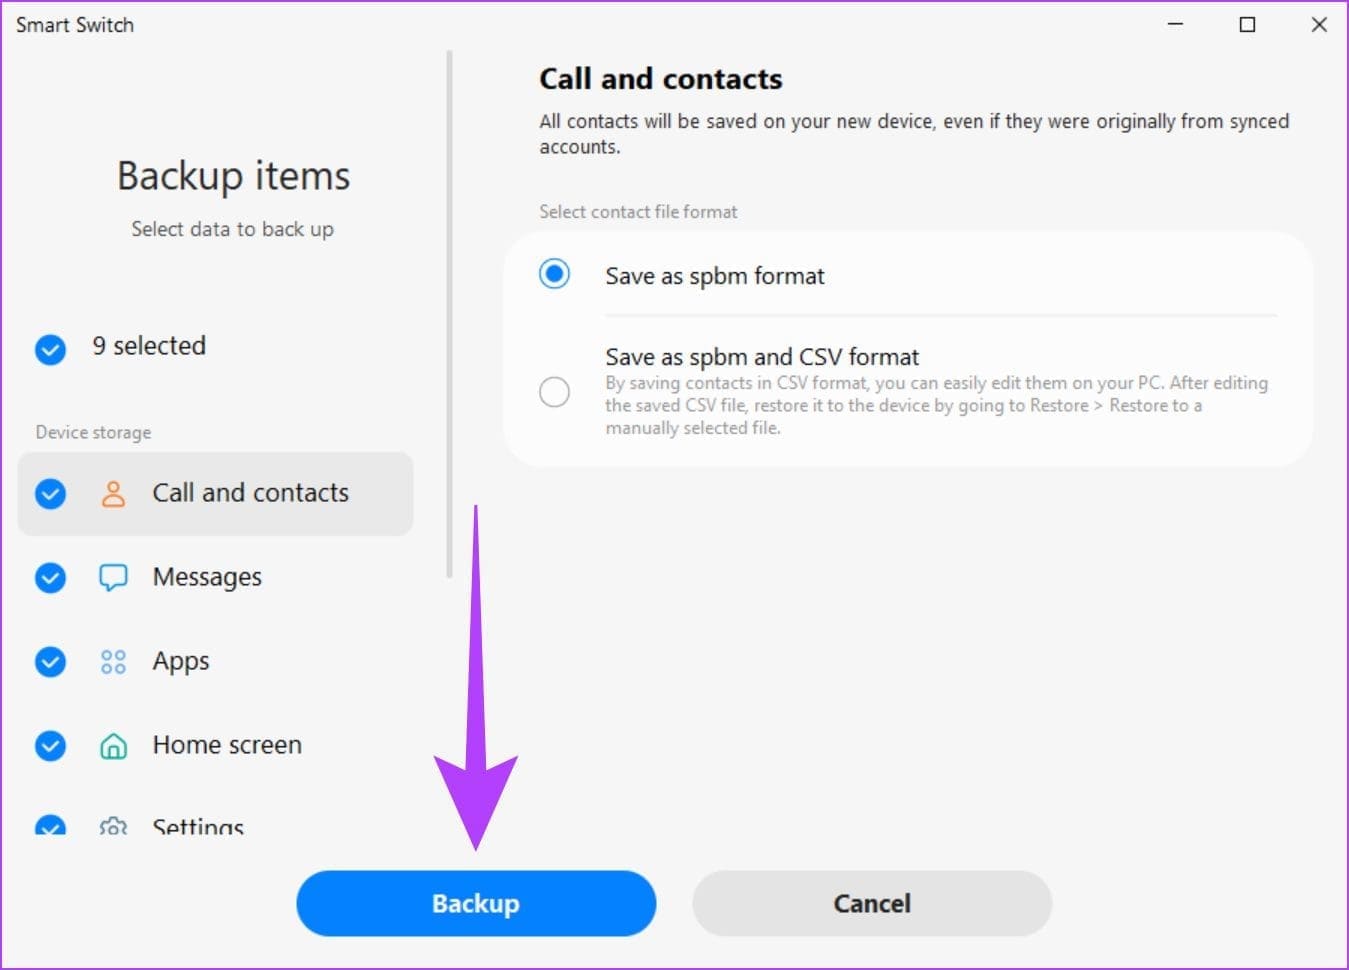
Press "Backup" to proceed with the backup. Make sure the device stays connected and don't unplug it until the operation is done. You will see a progress bar indicating the status of backup running.
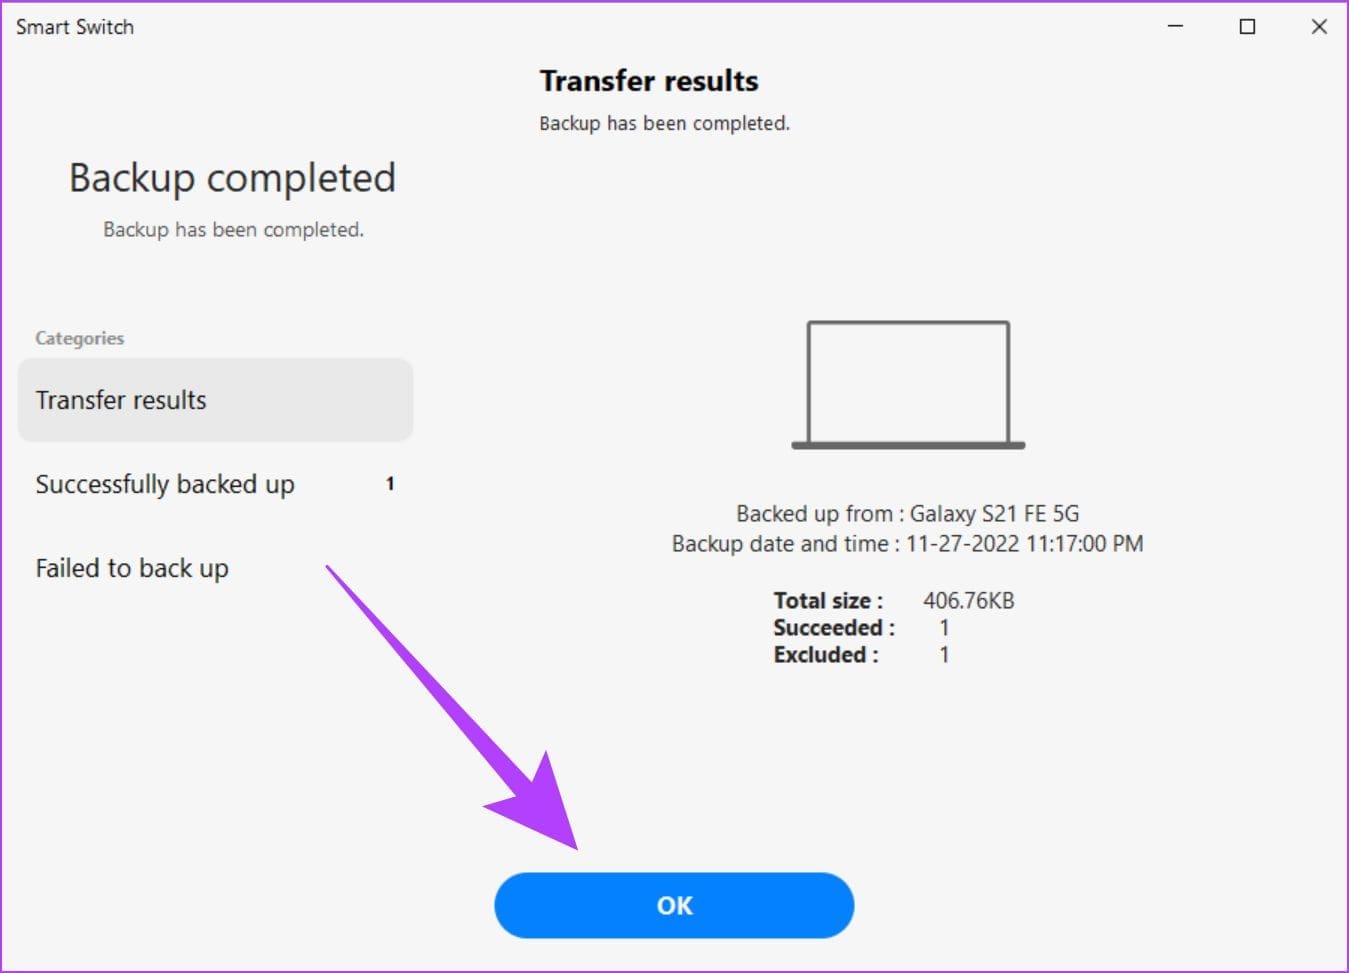
A completion message will be displayed when the task is done. Press "OK" to get rid of the backup screen. The backup has been saved on your computer and can be viewed or restored any time through Smart Switch.
Method 4: Manual File Backup via USB or SD Card (Partial Backup)
Manual backup comes down to a simple approach suitable for users who mostly want to save their photos, videos, music, and downloaded documents. It is almost plug-and-play and has no reliance on cloud services, so it is perfect for quick offline backups. You can do it with a USB cable attached to a computer or by copying files straight to an SD card.
Manual backup via USB: Step-by-step basis
- Step 1: Connect Android phone with computer
- Step 2: Choose files for creating a backup
- Step 3: Paste your files to the chosen backup place
- Step 4: Checking and removing without harming
Take a USB wire for connecting the phone to your PC with a Windows or Mac Operating System. On your phone's display, tap on "USB for file transfer" in the notification panel so the computer will be allowed to read the internal memory of your phone or the SD card.
Via the PC, you browse all the contents of your smartphone or SD card. After that, go to DCIM (camera photos), Downloads, Music, and other important folders.
Choose files and folders you need and drop them in your PC, an external hard disk, or SD card at a spot where they are safe.
Once copying is over check whether all the files have been transferred correctly. Approach your phone or SD card appropriately even if you want to remove them.

Part 3: Head-to-Head Comparison & Recommendations
| Method | Best For | Ease of Use | Completeness | Storage Requirement |
| Google Backup | Everyday users who want automatic cloud backup | Very Easy | Partial – contacts, photos, app data, system settings | Cloud (Google Drive) |
| Manufacturer Tool | Users staying within the same brand ecosystem | Easy | Partial – device-specific settings, app layouts, photos, messages | Cloud (brand-specific) or PC |
| Dr.Fone | Users needing full control and complete backup | Moderate – one-click but requires PC setup | Full – photos, videos, messages, apps, WhatsApp, system data | PC or Mac, local storage |
| Manual Transfer | Users focused on media and documents only | Moderate – manual drag-and-drop | Partial – photos, videos, documents; no app or system data | PC, external drive, SD card |
Part 4: Common Android Backup Problems (And Fixes)
Google Backup is not working
Problem: When you try turning on the backup in Settings > System > Backup, nothing happens, or Google Backup won't launch.
Fix: Go to the app settings, find Google Play Services, and clear both cache and data. Reboot the phone and give it another shot.
Backup stuck or incomplete
Problem: Backups abruptly stop without finishing, or only a portion of the data gets saved.
Fix: Make sure the device is connected to a powerful and stable Wi-Fi signal and is continuously being charged. Stop any big downloads or app updates in progress that might be causing conflicts. If you are using Dr.Fone or a manufacturer's solution, unplug the device, then plug it back in and restart the backup.
Storage full
Problem: You don't have enough space on Google Drive, manufacturer cloud, or PC to save a backup.
Fix: Clear up your storage by deleting files that are no longer needed, emptying the trash in Google Drive, or moving old backups to an external hard drive.
Backup not restoring properly
Problem: You don't see the data you expected to get after a backup restoration, be it Google, manufacturer, or Dr.Fone backup.
Fix: Be sure that the backup you are trying to restore is from the same device model and the same OS version. For Google Backup, the account should be the same. When using Dr.Fone, check that the backup comprises the data you want and, if necessary, resort to the selective restore feature.
Conclusion
It is a must to back up an Android phone now. There is always a risk of data loss, and it may be due to accidental deletion or device failure; the list is endless. Each of these methods has advantages: Google Backup allows you to sync your data effortlessly through the cloud, manufacturer tools help keep the brand-specific settings, Dr.Fone – Phone Backup is a full and selective backup with cross-platform flexibility, and you can decide over media and documents via manual transfer.
It is best to mix these different ways for thorough protection - cloud backups for ease, PC backups for total control, and manual backups for the necessary files. Periodic backup updates and storage checking are the keys to safe, recoverable data that is always available when required. By doing this, you can keep the memories, contacts, and important files secured, that will give you complete peace of mind.
Dr.Fone Basic:
Better Control for Your Phone
Manage, transfer, back up, restore, and mirror your device


Ahmed Absal
contributor Editor