Permanently erase all iOS & Android data—completely unrecoverable.

 100% Security Verified | No Subscription Required | No Malware

 :
: 
 ChatGPT
 Perplexity
 Gemini
 Claude
 Grok
Grok

Ever thought about the special string of digits that makes your smartphone entirely unique? In the telecommunications industry, this identifier is widely known as an ESN or IMEI, and it carries massive significance. As of 2026, smartphones are central to our daily routines, and understanding how to perform an ESN check can protect you from falling victim to scams or facing unexpected carrier lockouts.
Imagine purchasing a premium used iPhone, only to discover the carrier has blocked it due to a reported theft or unpaid balance. Or picture yourself trying to switch mobile network providers, only to find your device refuses to connect. Knowing how can I check if my IMEI is clean provides peace of mind and complete control over your hardware. In this comprehensive guide, we will break down exactly what these numbers mean, how to run an ESN number check, and the steps involved in IMEI cleaning to safeguard your device's digital identity.
Whether you are a budget-conscious buyer exploring the refurbished market or an everyday user looking to maintain a clean IMEI for optimal resale value, this detailed guide will give you the knowledge required to keep your phone running flawlessly.
In this article
Part 1. What is an ESN?
Have you ever wondered how mobile networks distinguish your phone from millions of other devices simultaneously transmitting data? That is the exact purpose of the ESN, which stands for Electronic Serial Number. You can think of it as your phone's unalterable digital fingerprint—a unique sequence hard-coded into your device that differentiates it from every other handset globally. This number isn't a random assortment of digits; it plays a highly structural role in authorizing your device on a carrier network.
The ESN basically functions as an active handshake between your smartphone and your chosen mobile provider. Whenever you place a phone call, transmit a text message, or consume cellular data, this identifier confirms to the network that your specific device is authorized to use those services. Furthermore, the ESN helps the network instantly verify whether your phone is in good standing, whether it has been reported missing, or if it is currently blacklisted.
For these reasons, conducting a proactive ESN number check is incredibly important. It acts as a safety net when purchasing second-hand hardware or transitioning to a new wireless carrier, ensuring that the phone has a clean slate and is fully eligible for activation.
Part 2. How to Check the ESN on iPhone? Delete a Bad ESN with Simple Steps
Now that the importance of this identifier is clear, let's explore exactly how you can check the ESN on an iPhone. Running an ESN check takes just a few moments but can save you from potential headaches, financial loss, and severe network troubleshooting down the line.
-
Step 1 Locate Your ESN/IMEI on the iPhone
On modern Apple devices, the traditional ESN is largely replaced by the standard IMEI (International Mobile Equipment Identity). To find this specific identifier, simply unlock your device and navigate to Settings > General > About.

-
Step 2 Retrieve the Number
Scroll down the About page until you spot the "IMEI" field. Alternatively, you can open your iPhone's Phone app and dial #06# on the keypad. The IMEI will immediately pop up on your screen.
-
Step 3 Verify the Status Using Trusted Databases
Once you have the code, several platforms provide a free service to evaluate the network standing of your device. Here are a few reliable options for verifying the hardware:

-
Step 4 Generate the Report
Simply enter your extracted IMEI number into the search fields on these websites to receive a comprehensive status report. For the absolute most accurate reading regarding any financial blocks, you should also contact your specific mobile carrier directly.
What if You Find a Bad ESN?
If you run a check and discover your iPhone has a "bad ESN" (frequently referred to as a blacklisted IMEI), you should act swiftly but carefully. While a bad ESN blocks cellular activation, there are several corrective measures you can explore:
- Contact the Previous Owner: If you purchased the phone second-hand, reach out to the original seller. Often, the ESN might be flagged simply due to lingering unpaid carrier bills or an accidental theft report that hasn't been lifted.
- File a Police Report: If your own device was stolen and later returned, you'll need to submit a formal police report to your carrier to prove ownership and successfully get the ESN cleared.
- Contact Your Carrier: Explain the circumstances transparently to the carrier's fraud or support department. If the restriction is tied to unpaid account balances, settling the bill will usually clear the IMEI clean.
- Avoid Shady Repair Services: While some online portals claim to offer an IMEI clean iphone solution, approach third-party unblocking services with extreme caution. Many are ineffective, and tampering with an IMEI is illegal in numerous regions.
- Use the Phone on Wi-Fi Only: If all official avenues fail, the device will still function identically to an iPod Touch on Wi-Fi networks, though its cellular capabilities will remain permanently disabled.

Part 3. How to Check and Clean IMEI on iPhone?
When technicians talk about "IMEI cleaning," they aren't referring to physically scrubbing the device. Rather, they are talking about removing the device from national and international carrier blacklists, transitioning its status back to "clean." Here is a detailed breakdown of how to monitor your device and address potential blacklist issues.
Effective Ways to Check Your IMEI:
- Use Official Carrier Websites: Major network carriers heavily promote their own IMEI check tools on their web portals (e.g., T-Mobile, AT&T, or Verizon's BYOD pages). This provides the most definitive confirmation of whether your phone is welcome on their specific network.
- Third-Party IMEI Check Services: Databases like IMEI24.com pull records from multiple carriers and global lists, offering a broader view of your device's international standing.
- Global IMEI Database Check: The GSMA maintains a centralized worldwide IMEI registry. While consumer access is limited, official carrier representatives routinely query this database to detect cross-border theft.
Strategies for IMEI Cleaning:
If your diagnostics show a red flag, resolving the block hinges on identifying the root cause:
- Resolve Financial Obligations: The most common reason for a bad ESN is an unpaid contract or financed phone bill. Paying off the remaining balance on the account is the quickest, most legitimate method for IMEI cleaning.
- Remove iCloud Activation Lock: If you purchased a used iOS device, verify that the former owner has completely disabled "Find My iPhone" and untethered the hardware from their Apple ID. A locked iCloud account acts as a secondary block that mimics blacklist behaviors.
- Perform a Factory Reset: While a reset does not magically erase a network blacklist, it clears out erratic software settings and leftover carrier profiles that sometimes interfere with successful network registration.
- Work with Law Enforcement: If you are the victim of identity theft or device fraud, you must work alongside the police and your carrier to officially prove the block was an error.
Ultimately, true IMEI cleaning guarantees your device operates without restrictions on standard cellular frequencies. Never attempt to digitally alter the IMEI code itself, as doing so violates international telecommunications laws.
Part 4. Clear All iPhone Data with Dr.Fone Data Eraser Feature
 Permanently erase all data on iOS & Android — completely unrecoverable.
- Military-grade wiping to fully protect your privacy.
- Generate verified erasure reports to boost device resale value.
- Selectively erase private data and remove junk & large files.
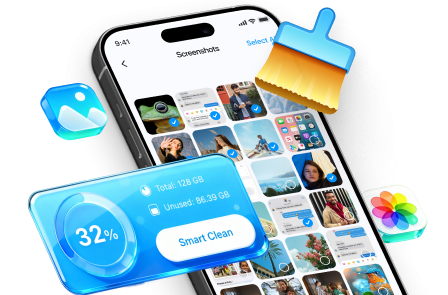
While dealing with ESN check protocols and carrier blacklists handles the network side of device ownership, addressing the physical data stored on your phone is equally critical. If you've just settled an unpaid bill to clean IMEI on your iPhone and plan to sell it, you must ensure your personal information is entirely irrecoverable. Standard factory resets often leave digital traces that advanced software can recover, putting your privacy at immense risk.
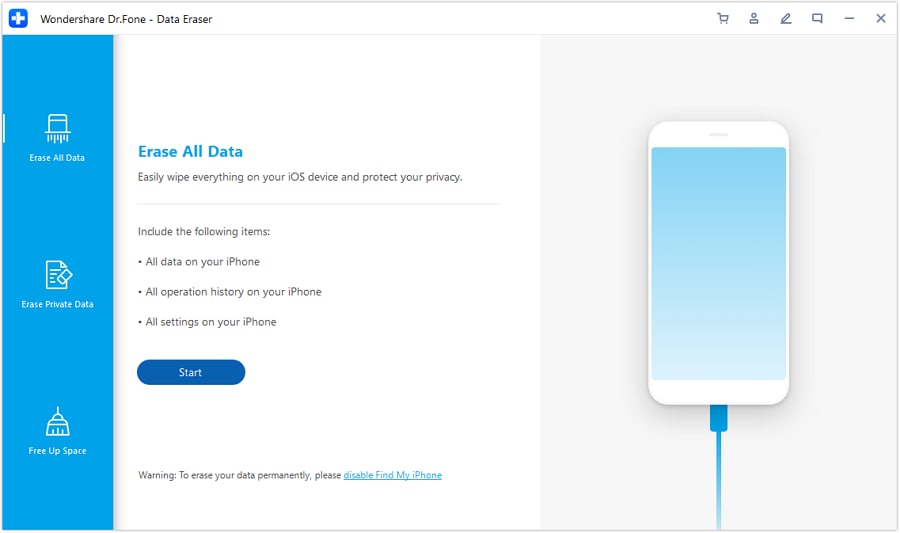
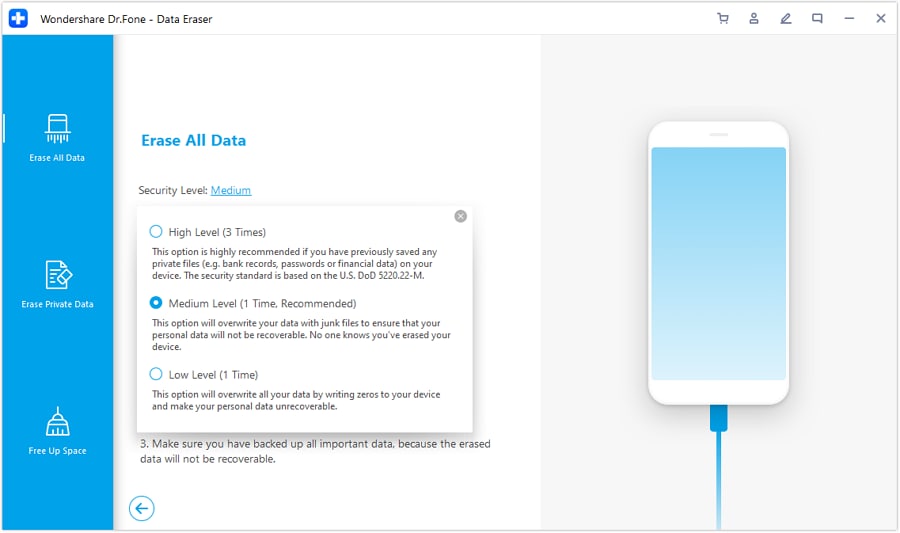
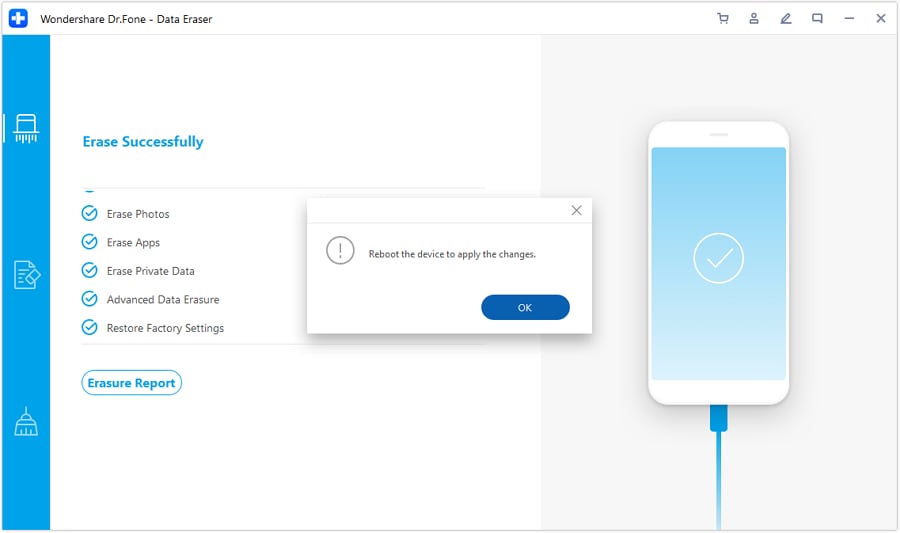
This is precisely where Dr.Fone - Data Eraser excels. It acts as an aggressive privacy shield, leveraging military-grade algorithms to overwrite every sector of your storage drive. Whether you're wiping financial documents, intimate photos, or cached application data, Dr.Fone guarantees a permanent wipe, leaving the device entirely clean for its next owner while naturally complementing a clear ESN status.





 Add Wondershare Dr.Fone as a preferred source on Google