iPhone Ear Speaker Not Working? The Best Fixes for You
Oct 24, 2025 • Filed to: Device Data Management • Proven solutions
Dr.Fone Basic:
Better Control for Your Phone
Manage, transfer, back up, restore, and mirror your device
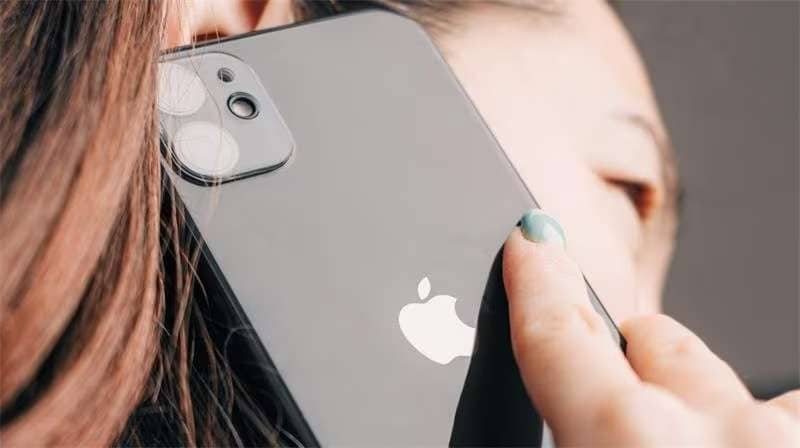
Are you having trouble hearing your friend or loved one at the other end of your iPhone? If so, you should know how to perform an iPhone ear speaker test. Testing your iPhone’s ear speaker makes sure your smartphone is functioning properly.

In this article, you’ll learn the different iPhone ear speaker tests experts use to fix this particular issue. Follow the troubleshooting tips below to fix your iPhone without hurting your wallet. However, if all the methods don’t work for you, this page will also recommend an alternative solution below. Explore the guide to learn more.
- Part 1: How To Perform iPhone Ear Speaker Test
- Part 2: How To Fix an iPhone Ear Speaker?
- Part 3: Repair Your iPhone Ear Speaker Using an Alternative
- Part 4: Check the Overall Condition of Your Phone Using Dr.Fone

Part 1: How To Perform iPhone Ear Speaker Test
It’s important to remember that you should know how to test an ear speaker on an iPhone to ensure your device is always in tip-top shape. Here are the different methods to perform a phone ear speaker test to diagnose your iPhone.
Method 1: Detach the Initial Cover Over the iPhone Ear Speaker
There’s a piece of plastic that covers the entirety of your device when you purchase a new iPhone. While long-time iOS owners know this is simply for cover, new owners tend to use this as a screen protector and don’t remove it intentionally. Authorized sellers usually perform an iPhone earpiece test to confirm if the hardware of your iPhone works.
As such, removing it should improve the audio quality of your iPhone, as the plastic cover prevents dust from entering the grill.
Method 2: Increase the Ear Speaker Volume
Increasing the volume of your iPhone when performing a phone ear speaker test is ideal once you have removed the initial cover. Adjust it during a phone call by pressing the Volume Up button to increase your speaker volume.

Method 3: Turn Off Silent Mode
All iPhones have a ring / silent switch on the left side of the device. To perform an iPhone ear speaker test, move the switch towards you to remove the orange silent mode indicator. Refer to the image below.

Method 4: Remove Headphone Mode
If headphone mode is turned on without connecting headphones, it can interfere when performing an iPhone earpiece test. Restart your iPhone or turn On/Off Airplane Mode to quickly turn off cellular, voice, WiFi, and Bluetooth connections.

Method 5: Make a Phone Call
One tried and tested method of testing an ear speaker on an iPhone is by making a call to someone. Comparing the quality of sound that’s coming out of your iPhone and another device is an easy way to perform an iPhone ear speaker test. If you find a large difference, your iPhone ear speakers may be faulty and need fixing.
📱 iPhone Frozen? Fix It in 3 Steps – No Data Loss!
Struggling with a frozen iPhone screen? 🤔 Our guide covers 6 common causes, step-by-step fixes for all models (iPhone 6s to iPhone 17), and safe data recovery. 98.6% success rate! ✨
Part 2: How To Fix an iPhone Ear Speaker?
Once you have done the initial iPhone ear speaker test to diagnose your smartphone, here are several solutions to fix the problem.
Method 1: Clean the iPhone Ear Speaker Grill
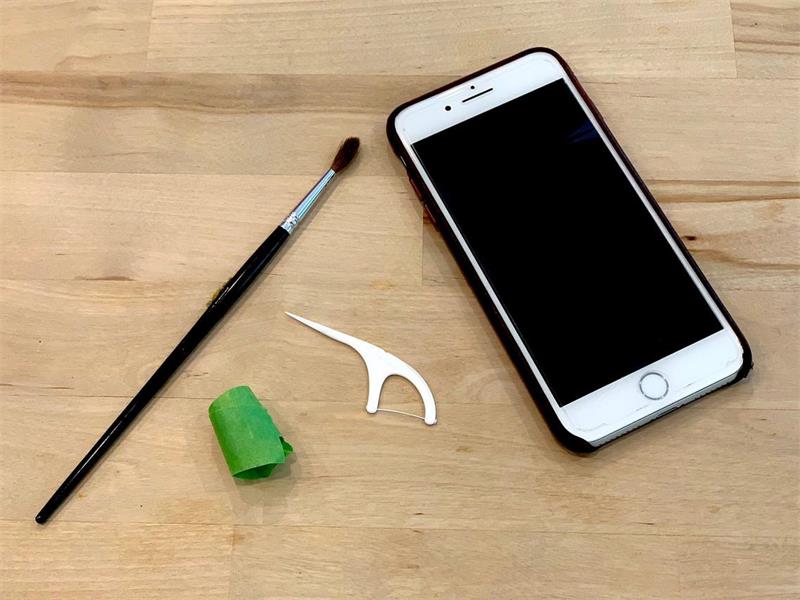
Cleaning the iPhone ear speaker grill is recommended if your device is a few months old. Clean it using an anti-static brush, a soft-bristled toothbrush, or a Q-tip. Avoid using rubbing alcohol since it can permanently damage the ear speaker.

Method 2: Deactivate Phone Noise Cancellation
Apple’s Phone Noise Cancellation feature allows you to reduce ambient noise levels and make phone calls sound clearer. However, sometimes it does more harm than good and can make your calls sound a little wonky, especially when doing an iPhone ear speaker test.

To turn off Phone Noise Cancellation, go to Settings > Accessibility > Audio/Visual and Turn off the Phone Noise Cancellation.
Method 3: Restart Your iPhone
Restarting your iPhone can sometimes fix issues when performing an iPhone ear speaker test. Hold the Side button with the Volume Down button (or hold the Side button for earlier iPhone models) and slide to power off when prompted. You can force restart your iPhone if this is not possible. Here’s how.
For iPhone 8 Models and Up
- Step 1: Press and immediately release the Volume Up button.
- Step 2: Press and immediately release the Volume Down button.
- Step 3: Press and hold the Sleep/Wake button until you see the Apple logo.

For Earlier iPhone Models
Step 1: Press and hold the Home and Sleep/Wake buttons together until you see the Apple logo.

Method 4: Inspect Your iPhone for Possible Water Damage
If you can’t find any debris in the ports when performing an iPhone ear speaker test, this could indicate water damage inside your device. Use the liquid indicators on your iPhone to know whether it has suffered water damage.
Open the SIM card tray and look for a small white tab inside. The tab turns red, pink, or orange when it comes into contact with liquid. Don’t use rice to dry your iPhone if it’s liquid-damaged; it risks making matters worse by leaving harmful residue behind.
Method 5: Update Your iOS
If you’re running an older iOS software version, it may be the main reason your iPhone is experiencing issues. To update your iPhone’s iOS, go to Settings > General > Software Update and tap Download and Install when prompted.

Method 6: Reset All Settings
You should reset all the settings on your iPhone if none of the methods above fixed the issue when performing an iPhone ear speaker test. To do this, go to Settings > Reset > Reset All Settings and enter your passcode if prompted. Doing this method will erase all the existing settings on your phone and will likely fix your device if the ear speaker isn’t working.
Part 3: Repair Your iPhone Ear Speaker Using an Alternative
If you don’t know how to test an ear speaker on an iPhone, using an alternative such as Dr.Fone – System Repair (iOS) can be the perfect solution for you. The app has a nifty Phone Verification feature that can check for any issues on your iPhone’s hardware.

Key Features
You should know about the key features of Dr.Fone – System Repair (iOS).
- Fix all Kinds of iOS System Issues – Dr.Fone can fix most iPhone issues without data loss, including being stuck in recovery mode, black screen, boot loop, white screen of death, and more.
- Upgrade/Downgrade your iOS Without iTunes – The software can upgrade or downgrade your iPhone without jailbreaking it if you’re having problems with your device.
- Fast Processing Time – Performing a system repair on your iPhone is fast and easy. It doesn’t require advanced skills and finishes within less than 10 minutes.
How To Fix an iPhone Ear Speaker With Dr.Fone – System Repair
If the ear speaker is still unresponsive after performing various phone ear speaker tests, here are the steps to solve it using Dr.Fone – System Repair (iOS).
- Step 1: Download and install Dr.Fone – System Repair (iOS) on your computer. Launch the program and link your iPhone with a connector.

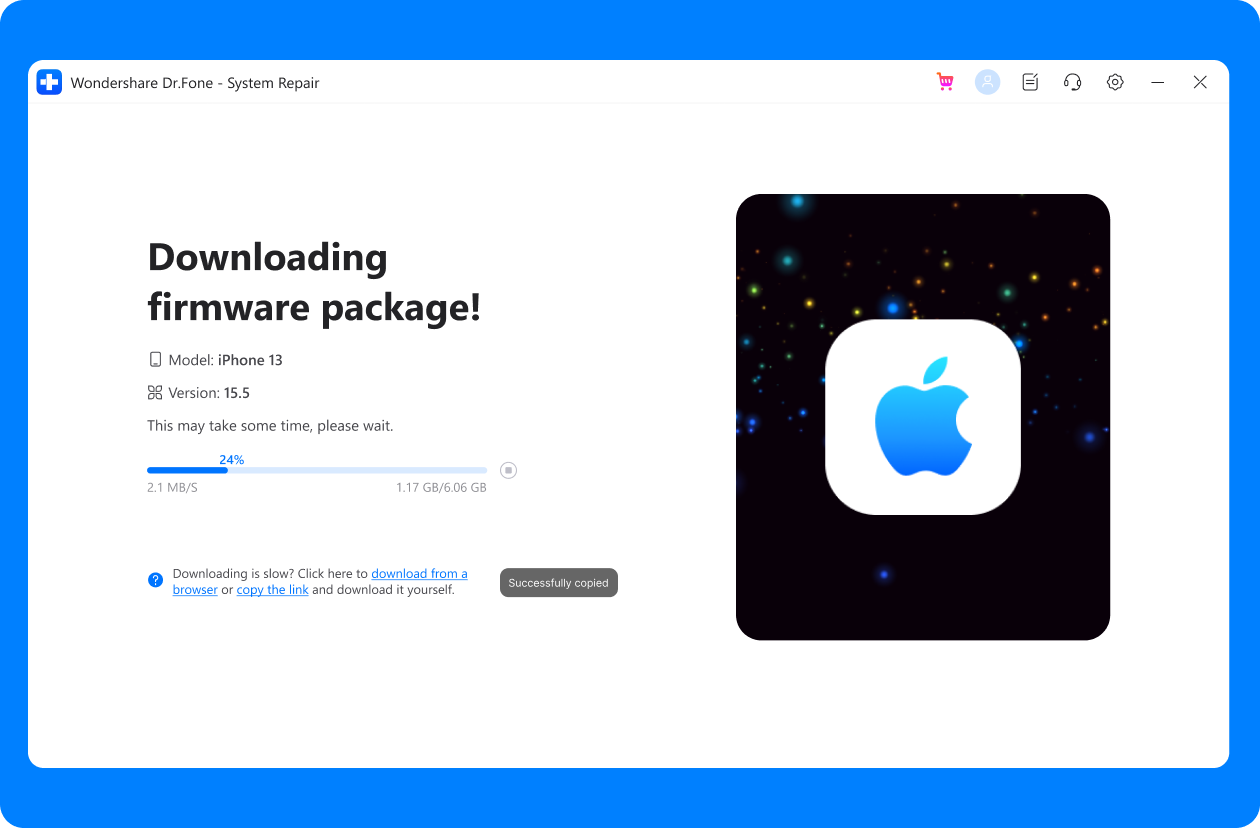
- Step 2: Select your iPhone model to download the appropriate firmware package.

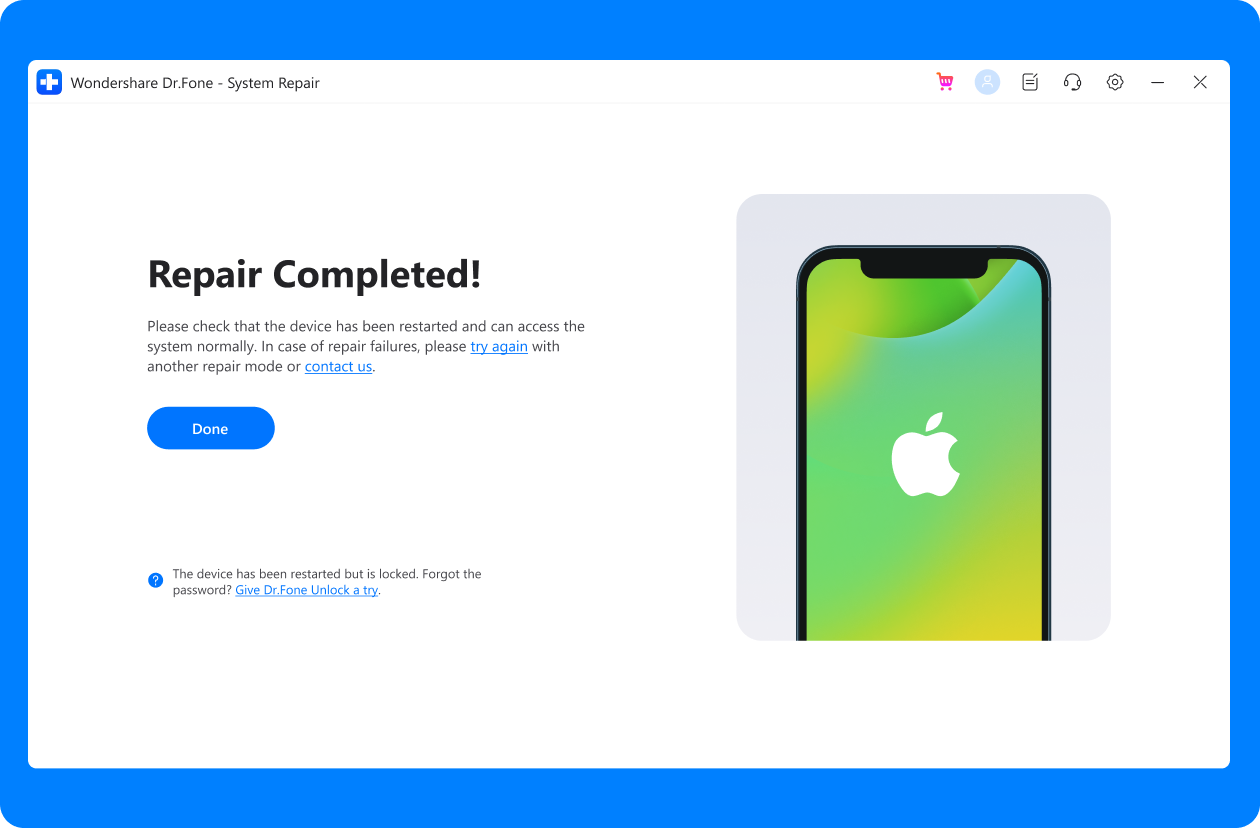
- Step 3: Follow the on-screen instructions provided in the main program window. Click Fix Now to start the process and wait for your iPhone to return to normal.

Pricing
Dr.Fone – System Repair (iOS) has different price plans depending on your budget.
- Quarterly License (1-5 Mobile Devices) - $6.65/Month – With Auto Renew
- 1 Quarter License (1-5 Mobile Devices) - $7.32/Month – No Auto Renew
- 1-Year License (1-5 Mobile Devices) - $4.99/Month – No Auto Renew
- Perpetual License (1-5 Mobile Devices) - $79.95
Part 4: Check the Overall Condition of Your Phone Using Dr.Fone – Phone Verification
Now that you know how to check and resolve the ear speaker issue with the traditional methods and Dr.Fone – System Repair, you might also be eager to learn the overall condition of your iPhone. Wondershare Dr.Fone is the right tool to check the condition of your iPhone’s hardware, thanks to its handy Verification Report.

Once your iOS device is linked to the program, click on the Verification Report button to see the condition of your hardware. While it cannot check the status of your ear speaker, it can inspect the overall health of your iPhone. It can be a great indicator of problems when performing an iPhone earpiece test.

You might also interest:
Microphone Not Working? How to test mic on Android phone
How to test iPhone microphone and fix its not working issue
Unlocking the Secrets of Realme Touch Screen Test Codes
Is Your iPhone Hacked? Here's How To Test and Fix It
Dr.Fone App (iOS) & Dr.Fone App (Android)
Your One-Stop Expert for Screen Unlock, Smart Clean, Data Recovery, Change Location, and Phone Management of Mobile Devices!
- Effortlessly unlock various locks on your device.
- Instantly free up storage space by smart clean.
- Rapidly recover different kinds of lost phone data and information.
- Easily changes GPS location on Android devices.
- Easily manage cluttered and private device content.
Conclusion
When your device is malfunctioning when performing an iPhone ear speaker test, you should find out if it’s fixable under warranty. However, expect it to be an expensive repair if your iPhone isn’t covered anymore. Fortunately, there are plenty of methods you can do to fix it, many of which require only some basic troubleshooting.
Lastly, you can verify the status of your iPhone using Dr.Fone’s Phone Verification feature to make a report on the hardware. After that, you can use the System Repair function to fix your iPhone to normal if needed.
Dr.Fone Basic:
Better Control for Your Phone
Manage, transfer, back up, restore, and mirror your device
iPhone Problems
- iPhone Hardware Problems
- 1. iPhone Keyboard Problems
- 2. iPhone Flashing Not Working
- 3. iPhone Not Detecting Sim Card
- 4. iPhone Sim Not Supported
- 5. Touch ID Not Working
- 6. iPhone Unable to Activate Touch ID
- 7. Fix iPhone Flashlight Greyed Out
- 8. iPhone Ear Speaker Test
- 9. iPhone Ear Speaker Not Working
- 10. iPhone Backlight
- 11. iPhone Proximity Sensor by Yourself
- 12. Replace iPhone Digitizer
- 13. Accessory May Not Be Supported
- iPhone Battery Problems
- 1. iPhone Battery Percentage Not Show
- 2. Replace iPhone Battery
- 3. iPhone Battery Problems
- 4. iPhone's Battery Drains Fast
- 5. iPhone Shuts Off with Battery Left
- 6. iPhone Overheating
- iPhone Button Problems
- 1. iPhone Home Button Not Working
- 2. iPhone Volume Buttons Not Working
- 3. iPhone Silent Switch Not Working
- 4. iPhone Power Button Stuck
- 5. iPhone Volume Button Stuck
- 6. iPhone Back Tap Not Working
- iPhone Charging Problems
- 1. iPhone Charging Port Not Working
- 2. iPhone Charging Slowly
- 3. iPhone Stops Charging
- 4. Wireless Charging Not Working
- 5. iPhone Not Charging
- 6. iPhone Stuck on Charging Screen
- iPhone Headphone Problems
- Apple Pencil and Watch Issues
- 1. Apple Pencil Double Tap Not Working
- 2. Apple Pencil Keeps Disconnecting
- 3. Apple Pencil Not Charging
- 4. Apple Pencil Not Connecting/Pairing
- 5. Apple Pencil Not Working
- 6. Apple Watch Not Pairing with iPhone
- 7. Apple Watch Stuck on Apple Logo
- Other iPhone Problems
- ● Manage/transfer/recover data
- ● Unlock screen/activate/FRP lock
- ● Fix most iOS and Android issues
- Repair Now Repair Now Repair Now


Daisy Raines
staff Editor