Microphone Not Working? How to Test Mic on Android Phone
Nov 13, 2025 • Filed to: Device Data Management • Proven solutions
Dr.Fone Basic:
Better Control for Your Phone
Manage, transfer, back up, restore, and mirror your device
Have you ever experienced making a phone call to your friend, but they cannot hear you even though you can hear them loud and clear? Then, you might have some issues with your phone's microphone. It can be frustrating, especially when you need to make a call or record a video.
But fear not! We're here to help you troubleshoot and fix this problem. Whether you're using an older Android device or a newer model, you will learn how to run an Android microphone test and get your microphone working again.
So, by the end of this article, you'll be able to confidently troubleshoot and fix microphone issues on your Android phone. Let's get started and make sure your microphone is in top working condition!
Part 1: How to perform an Android microphone test?
Troubleshooting microphone issues on an Android phone can be a tricky task, but it doesn't have to be. If you're experiencing problems with your microphone, there are a few easy methods you can take to diagnose the issue.
The easiest way would be to make a test call to a friend or family member. You can speak clearly and ask if they can hear you properly. If they can't, then it means there could be some issues with your microphone.
However, there are also alternative ways to test the phone microphone on Android without the need to call anyone:
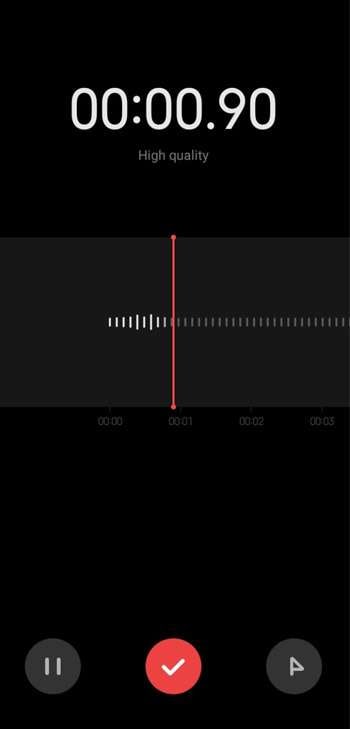
Method 1: Open the Voice Recorder app and start recording.
Speak clearly into the microphone for a few seconds, then stop the recording. Play back the recording and listen for any issues. If you hear any problems, move on to the next step.
Method 2: Use a voice command.
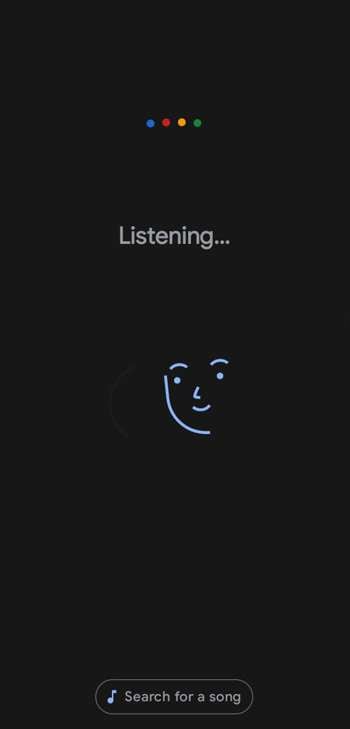
You can try to say, "OK, Google" or "Hey, Google", then ask a question or make a statement. If you hear Google Assistant responding, your microphone is working. You can also use the voice typing feature on your keyboard to see if they respond to your voice.
Method 3: Download and install a microphone testing app.
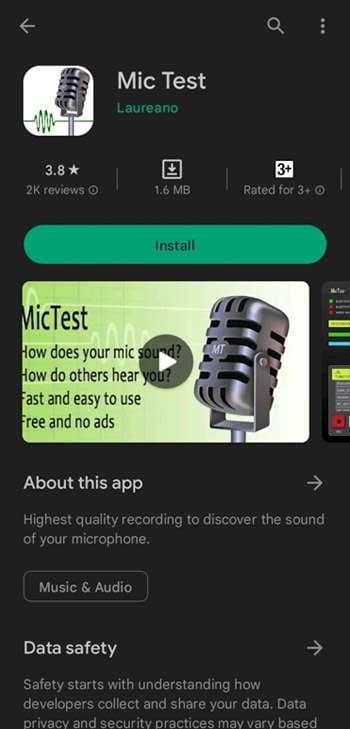
Go to Google Play Store for a microphone testing app like Mic Test. Open the app and follow the instructions to perform a test on your microphone. The app will give you a report of your microphone and any issues that need to be addressed.
If your microphone tests indicate that there is a issue with your phone's microphone, you may need to take it to a professional for repairs. Besides, you may also need to troubleshoot further other issues, such as software glitches or network issues.
Part 2. Common reasons for microphone not working
After you test the mic on your Android phone and find a problem, you can narrow down the cause and take the necessary steps to fix it. Let's take a greater detail at some common reasons for microphone issues on an Android phone:
- Hardware problems: As mentioned earlier, a damaged microphone, loose connection, or physical damage to the phone can all cause microphone issues. If you suspect a hardware issue, it's best to take your phone to a professional for repairs.
- App-related problems: Bugs or glitches in the operating system or a specific app can cause microphone problems. Try updating or resetting your phone's app to see if it resolves the issue.
- Network issues: Poor network connectivity or a weak signal can cause audio to be lost or distorted, affecting the microphone's ability to transmit audio properly. Try using the microphone in a different location or resetting your network settings to see if it helps.
- Obstructions: Sometimes, the microphone may not be working because it's blocked by something, such as your fingers or a phone case. Double-checking that nothing is obstructing the microphone can often solve the problem.
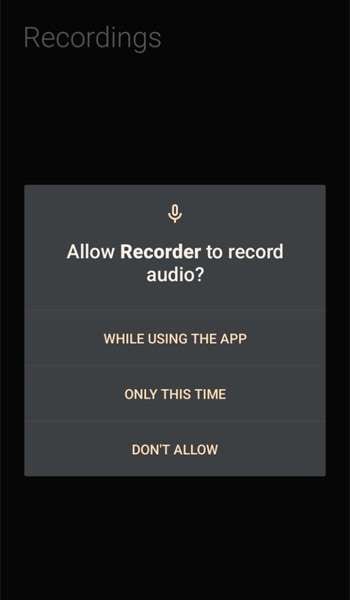
- Permissions: Sometimes, microphone issues can be caused by a lack of permissions. Ensure that you have allowed the app to access the microphone.
- Microphone settings: Check your phone's microphone settings to ensure that the microphone is turned on and not muted. Sometimes, the microphone settings can be accidentally turned off or muted, causing audio issues.
By understanding the common reasons for microphone issues on an Android phone, you can troubleshoot and fix the problem quickly and effectively. Since there are different things that can cause microphone issues on an Android phone, it's important to troubleshoot and identify the exact problem before trying to fix it.
Part 3: How to fix the microphone not working problem?
If you're experiencing microphone issues on your Android phone, there are several steps you can take to try to fix the issue. Here are some solutions you can try to fix the problem:
- Restart your phone
Restarting your phone can help clear any software or app glitches that might be affecting the microphone. It's an easy and quick fix that can often solve many problems.
- Check app permissions
Make sure that the app you're using has permission to access the microphone. You can check this by going to your phone's settings, selecting the app in question, and ensuring that microphone permissions are enabled.
- Check for updates to the app
Your phone's app should be up-to-date. Sometimes, outdated apps can cause microphone issues. Go to your phone's settings > “Apps” > “Manage Apps” > “Updates” to check for any available updates.
- Reset the app
If the microphone problem is only happening in one app, try resetting it. This way, you will clear any temporary data that may cause the issue.
To do this, you can go to your phone's settings and select “Apps”, find the app you want to reset, and select it. Then, tap “Storage” > “Clear data” and confirm that you want to reset the app. Launch the app again and check if the issue has been resolved.
- Ensure that nothing is blocking the microphone
Things such as your fingers or a phone case can block your phone’s microphone. Therefore, it's essential to ensure that nothing is in the way of your microphone to use it properly.
By trying these solutions, you can often fix microphone issues on your Android phone. If none of these solutions work, it's best to take your phone to a professional for further diagnosis and repair.
Bonus Part: How to check the condition of your Android phone?
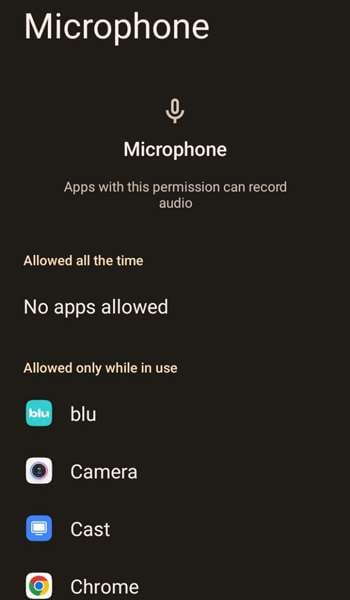
In addition to testing your microphone and checking the overall condition of your Android phone, there is another way to ensure that your phone is functioning properly. You can use a tool like Dr.Fone to verify your phone's health status and diagnose any potential issues.
Dr.Fone is a comprehensive phone management tool that can help you optimize your Android phone's performance. It can deliver a phone verification report as soon as you connect your phone to your PC, allowing you to identify any problems and take the necessary steps to fix them.
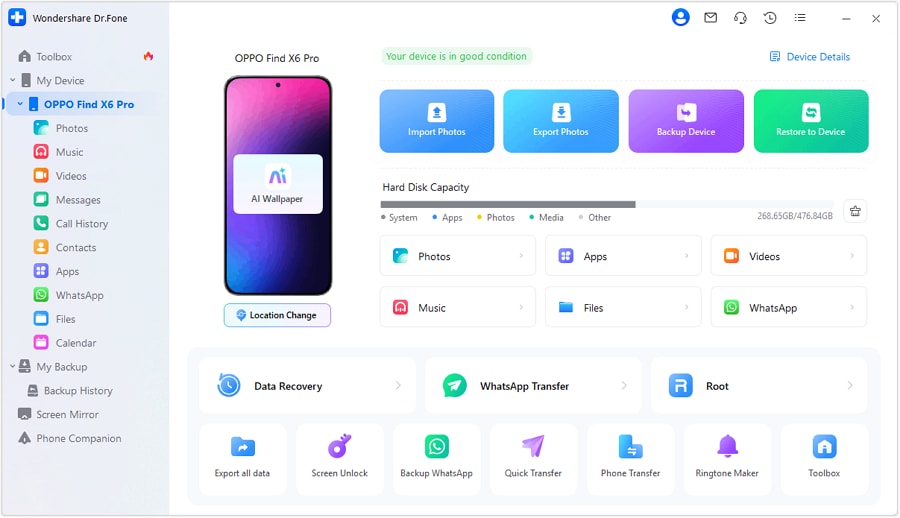
Here are some highlights of Dr.Fone's Android phone verification features:
- Basic device information (Model, versions, storage, etc.)
- Root status (Check whether your Android device is rooted.)
- Hardware and parameters (Battery Status, CPU, etc.)
- Screen information (Display size, brightness, resolution, etc)
By using Dr.Fone's Android phone verification features, you can get a comprehensive overview of your phone's health and hardware info.
Thus, this information can help you identify potential issues and take the necessary steps to fix them. It ensures that your phone is functioning at its best.

Dr.Fone App (iOS) & Dr.Fone App (Android)
Your One-Stop Expert for Screen Unlock, Smart Clean, Data Recovery, Change Location, and Phone Management of Mobile Devices!
- Effortlessly unlock various locks on your device.
- Instantly free up storage space by smart clean.
- Rapidly recover different kinds of lost phone data and information.
- Easily changes GPS location on Android devices.
- Easily manage cluttered and private device content.
Conclusion
In conclusion, testing the microphone on your phone and checking the overall condition of your phone can help you ensure that your device is functioning properly. It tells you whether your microphone is working as it should. By taking these guides, you can enjoy a seamless experience using your phone for all your audio recording and communication needs.
Dr.Fone Basic:
Better Control for Your Phone
Manage, transfer, back up, restore, and mirror your device
Xiaomi Topics Series
- Xiaomi Screen & FRP Unlock
- 1. Unlock Xiaomi Bootloader
- 2. Mi Account Unlock Tools
- 3. Redmi Note 8 FRP Unlock Tool
- 4. Redmi Note 9 FRP Bypass Tool
- 5. Redmi 9A FRP Bypass
- 6. Remove FRP on Xiaomi/Redmi
- Xiaomi Repair
- Xiaomi Recover
- Xiaomi Reset
- Xiaomi Tips & News
- 1. Xiaomi HyperOS 3.0
- 2. Screen Mirror Xiaomi to PC
- 3. Run Hardware Tests on Xiaomi
- 4. Conduct battery test on Xiaomi
- 5. How Do I Obtain the Security Code Xiaomi
- 6. DND Mode Xiaomi
- Xiaomi Transfer & Backup
- ● Manage/transfer/recover data
- ● Unlock screen/activate/FRP lock
- ● Fix most iOS and Android issues
- Try for Free Try for Free Try for Free


James Davis
staff Editor