

 TL;DR:
To capture animated moments with audio during video calls, you must manually enable the FaceTime Live Photos feature in your device settings because Apple disables it by default for privacy.
● Both participants must have the feature toggled on and be using devices running iOS 11 or later, or macOS High Sierra or later, for the capture button to appear during a call.
● Taking a Live Photo automatically sends a notification prompt to the other party, but you can avoid triggering this alert by pressing the Side and Volume Up buttons to capture a standard still screenshot instead.
● The resulting media saves directly to the native Photos app, which can rapidly consume local storage space and require manual deletion or smart clearing using a third-party utility like the Photo Cleaner app.
Ask AI for a summary
 ChatGPT
 Perplexity
 Gemini
 Claude
 Grok
Grok
Sometimes, precious moments can occur when FaceTiming loved ones. These can be a friend's unexpected laugh, a child's first word, or a loved one's smile from far away. Luckily, a native feature on Apple devices lets you save those memories in a heartbeat. That function removes the need to take screenshots or record the whole call.
With just a quick adjustment of settings, you can make sure those moments are never lost. Taking Live Photos during FaceTime video calls is a fun way to relive the feeling of the conversation later. This comprehensive guide will walk you through how to turn on FaceTime Live Photos step-by-step, making it easy. Follow along to figure out the way to start preserving those precious call moments.
In this article
Part 1. Overview of the FaceTime Live Photos Feature
Capturing special moments during a video call at a moment's notice can be challenging. That is the case when you really want to store the spontaneity and emotion of the interaction. Apple addressed this by introducing a feature that lets users take Live Photos during FaceTime calls.
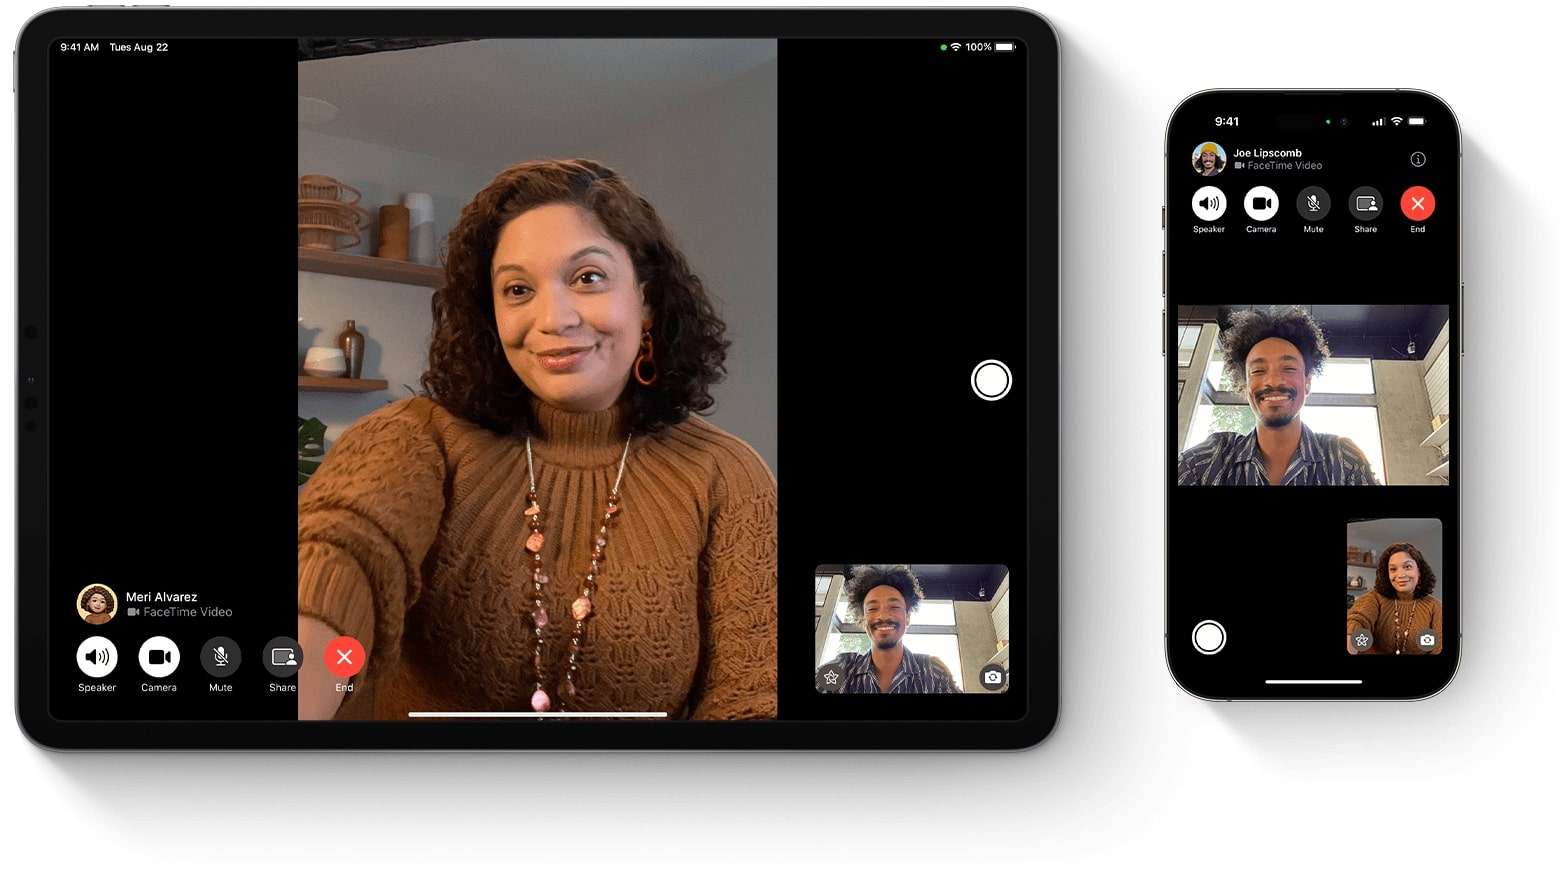
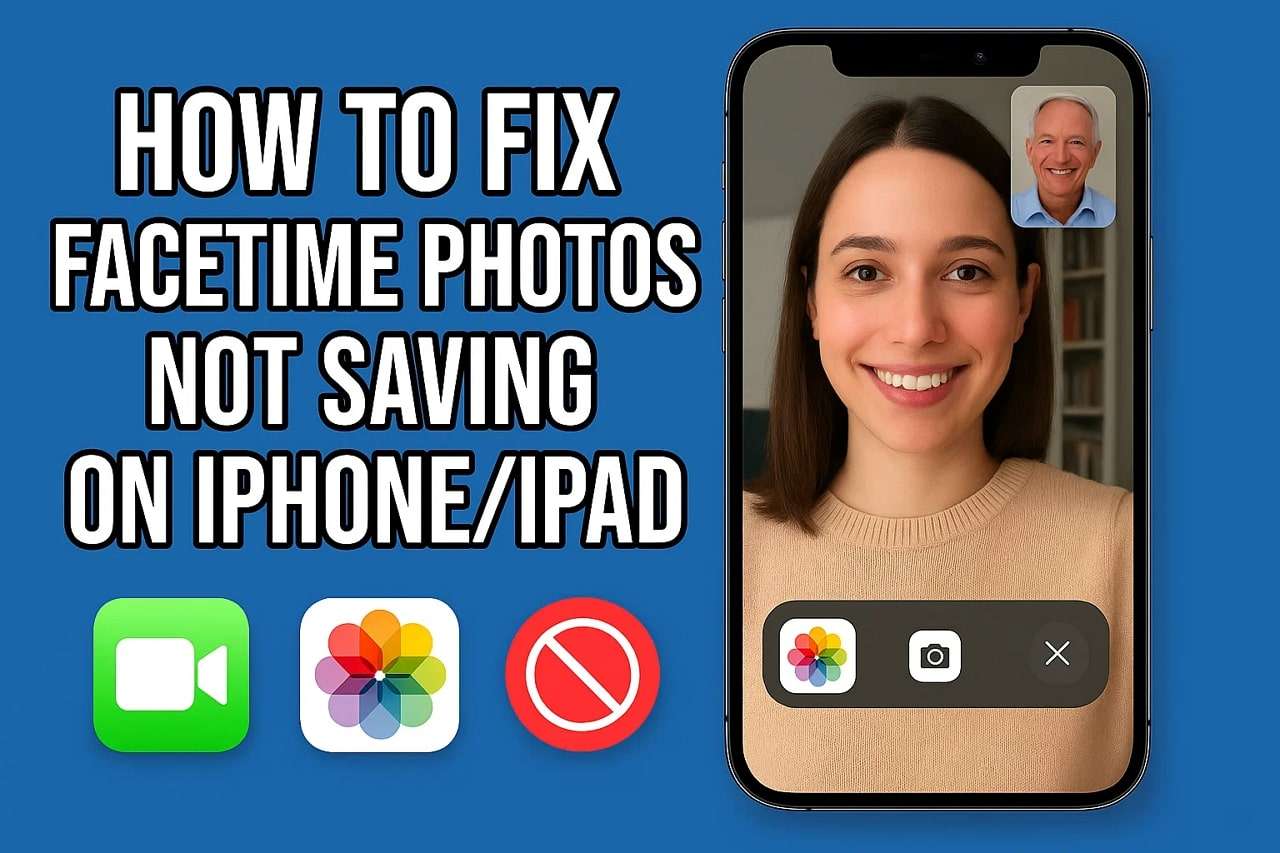
This function enables you to capture a brief moment of your FaceTime conversation. Employing it lets you record 1.5 seconds before and after the photo is taken, complete with sound. The result is a dynamic pic that brings your memories to life, allowing you to relive all the emotions shared during the call. Once captured, these Live Photos are saved directly to the "Photos" app for easier access.
The FaceTime Live Photos function was introduced with the release of iOS 11. Yet an important thing to note is that this feature is not enabled by default. As for utilizing it, facetime photos must be enabled on both devices. Along with that, running compatible operating systems is also a must: iOS 11 or later for iPhones, and macOS High Sierra or later for Macs.
Part 2. How To Enable FaceTime Photos on iPhone and iPad
With a better understanding of what this function is, it is time to check out how to activate it on your smartphone. As mentioned before, it is not enabled by default for privacy reasons. Turning it on only takes a moment, and once it's done, you'll be able to capture those memorable call moments effortlessly. Anyhow, mimic the following steps and learn how to enable FaceTime photos on iPhone:
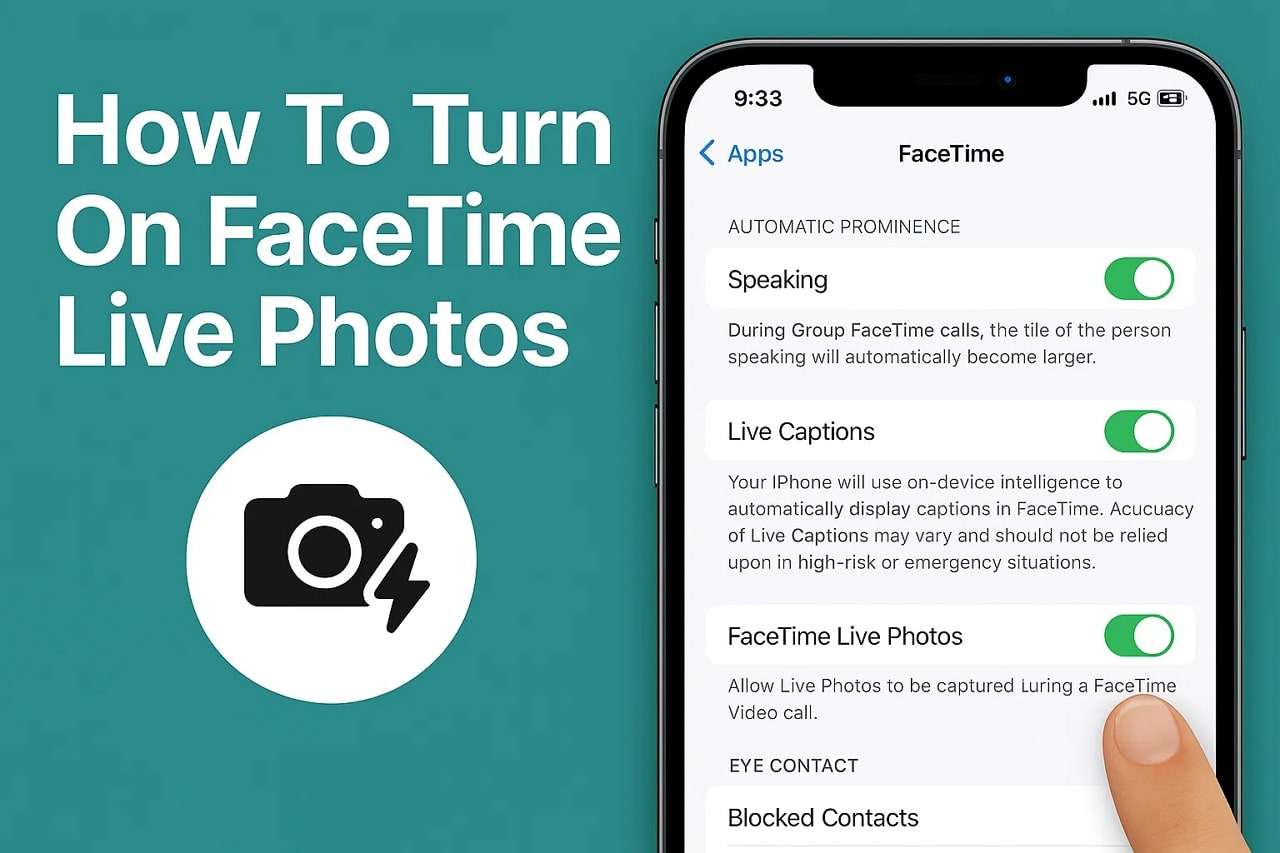
Instructions: Make your way to the Settings app on your phone and open it to scroll down to the end to tap "Apps." On the following screen, tap the "FaceTime" option and proceed to toggle on "FaceTime Live Photos."

Part 3. How To Enable FaceTime Live Photos on Mac
Your phone is not the only device where you can employ this feature; it also works on macOS devices. While the steps are slightly different from those of an iDevice, the process is just as simple. Once set up, your Mac will let you capture lively moments from your video calls with just one click. The following instructions will let you know how to turn on facetime photos on macOS:
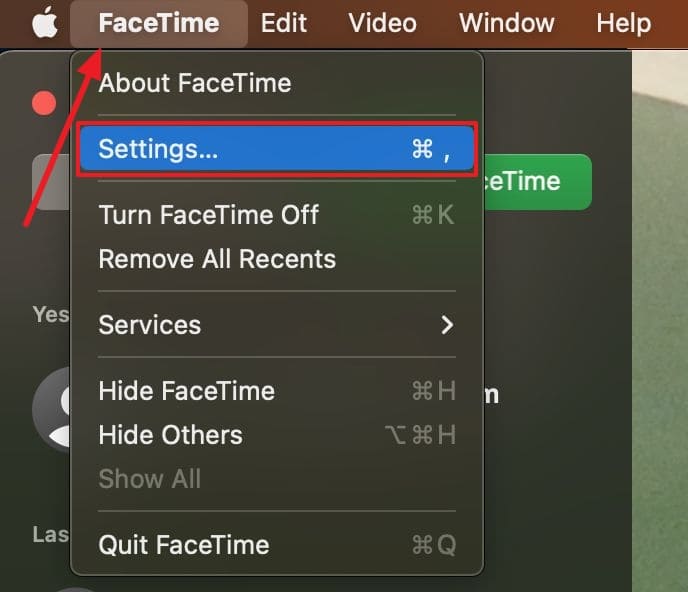
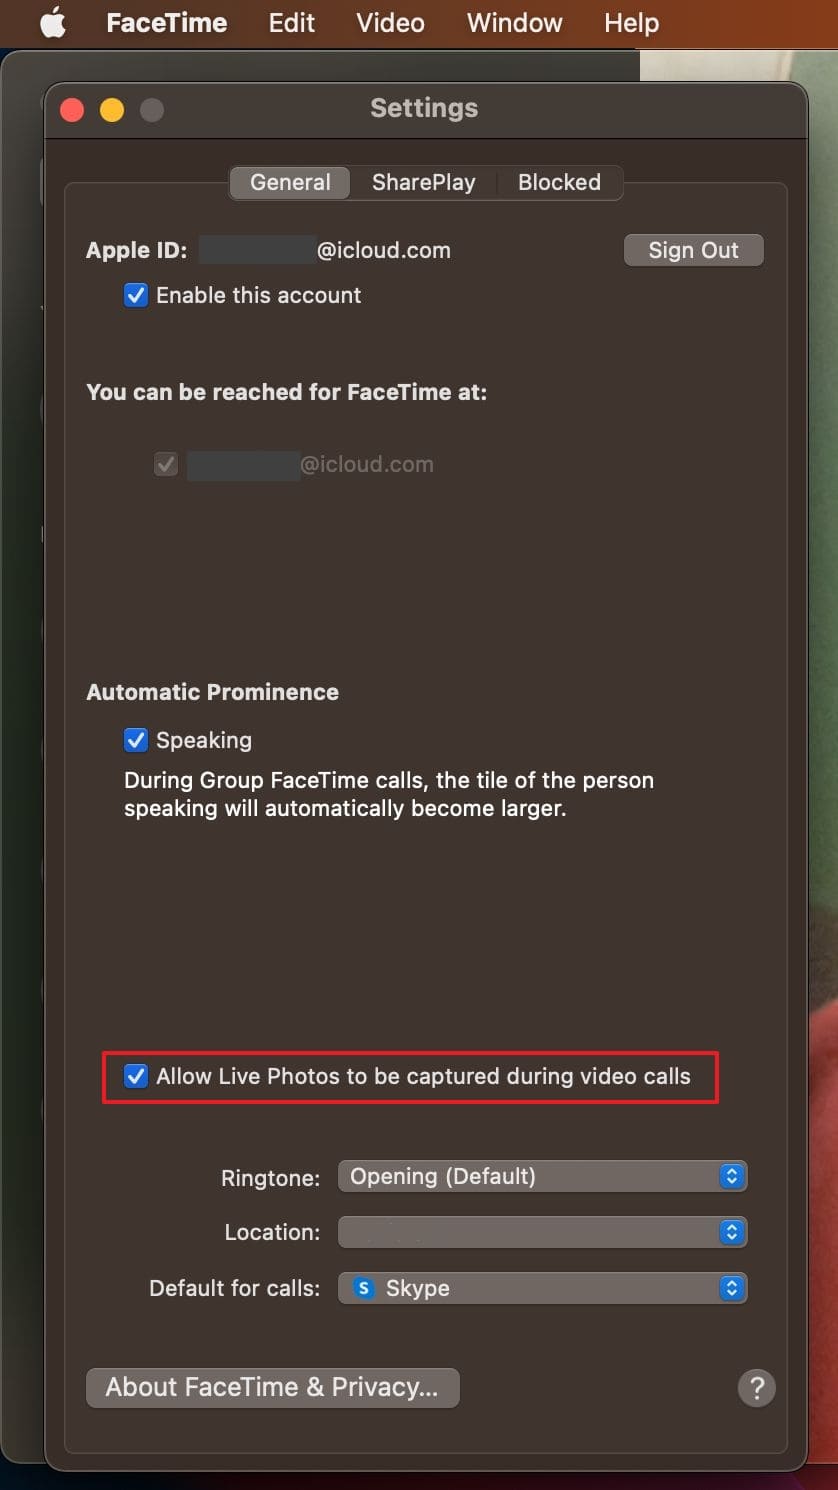
Step 1. On your Mac, approach the "Applications" folder or utilize Spotlight to access the FaceTime app. Following that, make your way to its "Settings" by clicking "FaceTime" and move to the "General" tab.
Step 2. Now, locate the "FaceTime Live Photos" option, tick the box next to it, and activate this feature to capture moments during calls.
Pro Tip: Clean Up Unwanted FaceTime Live Photos and Recorded Videos With Photo Cleaner
There is no doubt that you want to capture as many pictures as you can, but your mobile storage is limited. Sometimes, your phone can get a little cluttered after capturing several FaceTime Live Photos or recording calls. While these snapshots are meaningful memories, your mobile storage can get filled up faster than expected. That's why it's smart to regularly tidy up your gallery with an app like Photo Cleaner.
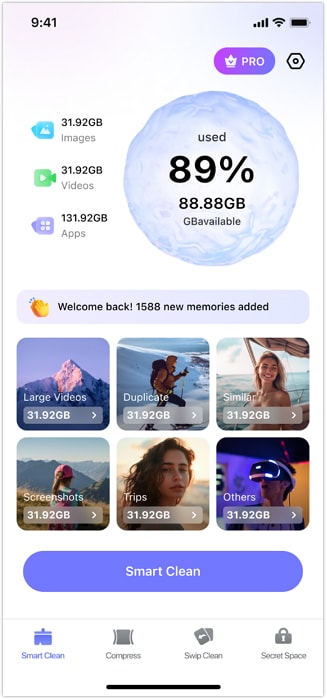
This powerful tool goes beyond just removing a few files. With AI-powered smart cleaning, it helps you identify and delete duplicate photos, merge repeated contacts, and clear out expired calendar events with just a single tap. You can even compress large photos and videos to save space without compromising on quality. It also offers category-based cleanup, letting you easily manage and delete things.
MobileClean - Photo Cleaner (iOS)
Deep Space Cleaning: Smartly Remove Media Clutter with One Tap
- Smart Clean: Auto-detect large videos, duplicate/similar photos, screenshots, Live Photos, and expired contacts.
- Compress: Reduce photo/video size without quality loss.
- Swipe Clean: Quickly review and batch delete unwanted photos.
- Secret Space: PIN-protected vault that hides private photos/contacts on your iPhone.


How To Clean Up Unwanted FaceTime Live Photos and Recorded Videos
The process of decluttering your mobile device from unimportant media files is straightforward, with no skills involved. When it comes to dealing with unwanted Live FaceTime Photos, opt for the following steps to remove them:
01of 03Access the Application on Your iPhone and Select Smart Clean
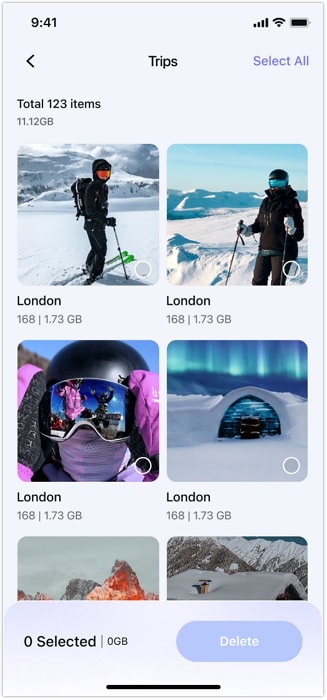
Get the Photo Cleaner app installed from the App Store and run it to access the "Smart Clean" feature. Here, proceed to tap "Others" and select "Live Photos" on the following screen to let the app load all such images.
02of 03Continue to Select Images You Intend to Delete
When loaded, select the ones you want to remove and hit the "Delete" button to erase them. Before pressing "Delete," you can tap the center of any live photo to get a larger preview for confirmation.
03of 03Look for Captured FaceTime Video Calls and Delete Them
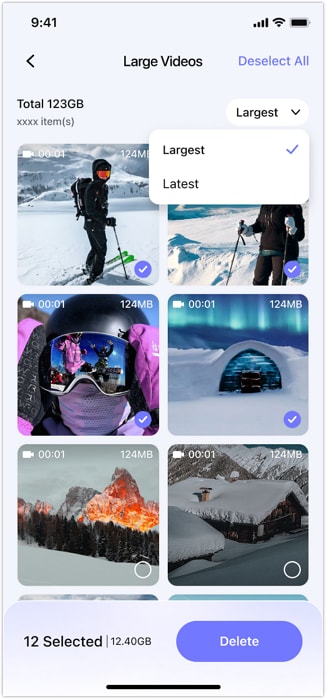
As for your recorded call videos, opt for the "Large Videos" option in the "Smart Clean" section to get them in descending order. After previewing any if needed, select all unwanted ones and "Delete" them from the phone.
Part 4. How To Take a FaceTime Photo During a Call
After turning on the feature, you're all set to start capturing memories during your calls. Taking a Live Photo is easy and doesn't interrupt the conversation. It quietly snaps a moment and saves it straight to your Photos app. However, remember that the other person will get notified when you take a picture. Yet, adhere to the following instructions if you wish to learn how to take a FaceTime photo:
Step 1. Commence the task by accessing the FaceTime app and video calling your targeted contact. During the call, you will see a white circular camera button if the requirements needed are met.
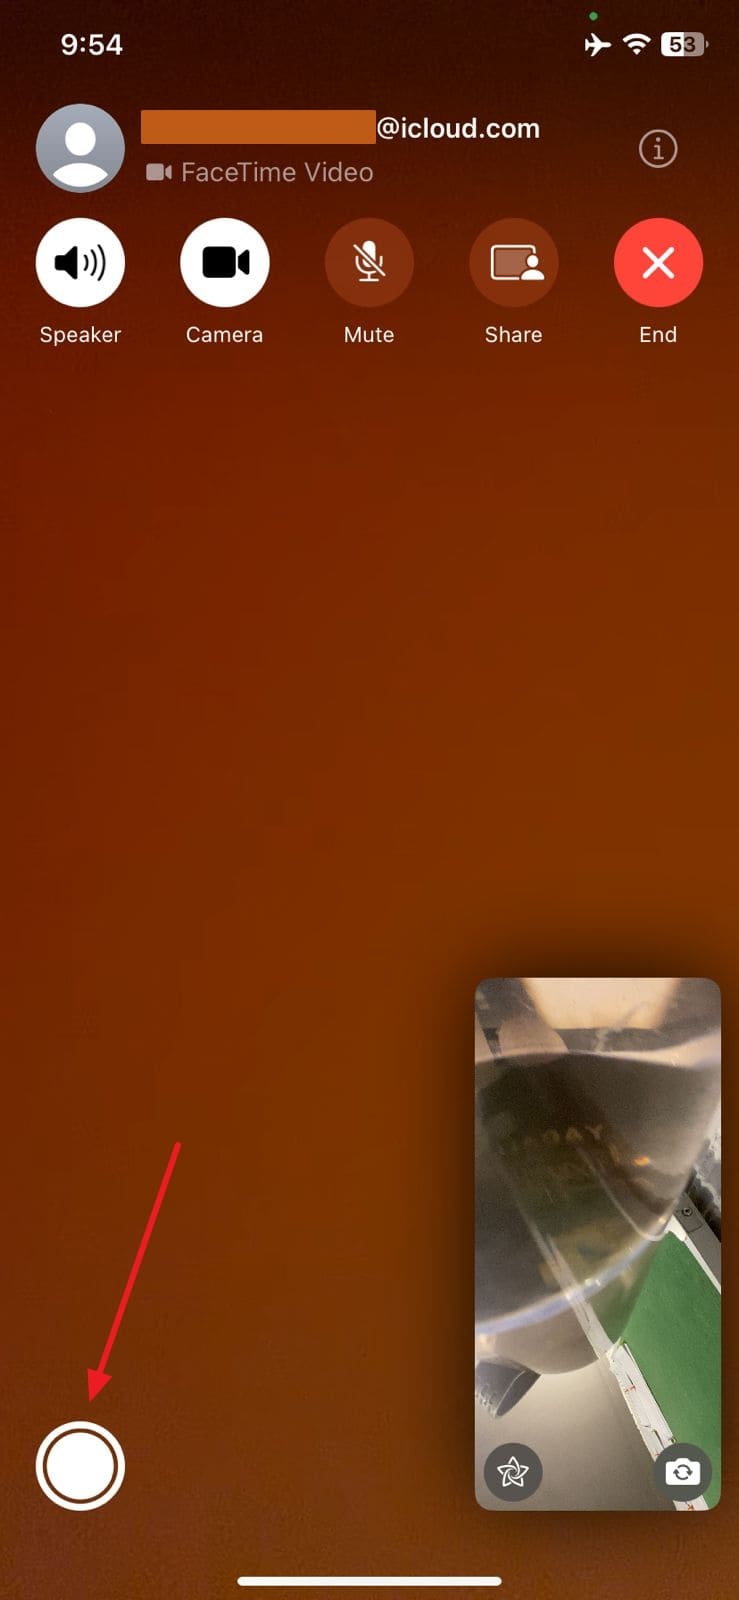
Step 2. Following that, tap the shutter icon when you see a moment you want to capture. The screen will briefly flash to confirm the photo has been taken and saved to the "Photos" app.

Part 5. How To Take a FaceTime Photo Without Notifying the Other Party
While it is a great function and lets you capture a lot of precious moments, it does have one drawback. As soon as you activate this feature, the other person receives a prompt telling them that you took a FaceTime photo. That means if you wish to take a candid or funny pic without letting them know, you need a different approach.
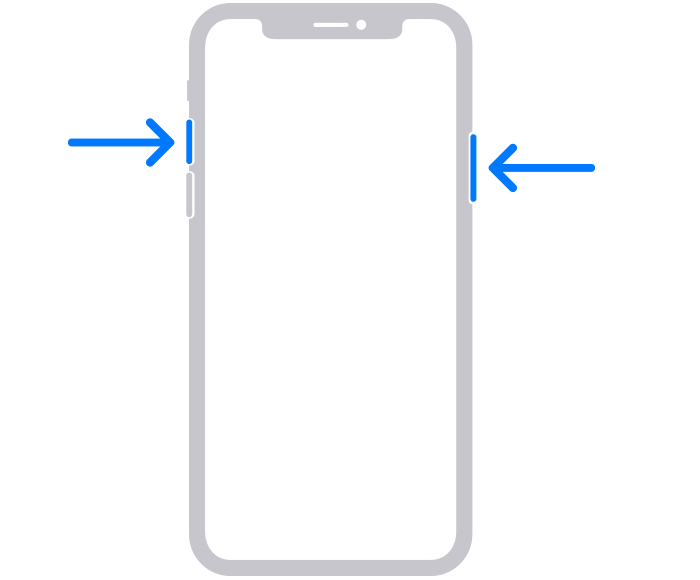
Luckily, a simple approach does exist, which is to take the screenshot instead. Though it does not in any way compare to the actual live photo, the benefit is that the other person will not receive a notification. As for taking the screenshot during the call, all you need to do is press the "Side" and "Volume Up" buttons at the same time.
Conclusion
In summary, FaceTime Live Photos offer a wonderful way to save those spontaneous moments from your video calls. This feature helps you hold on to memories in a more lively and personal way. You can start capturing these snapshots with just one tap by simply enabling the option on your device. That makes it easier than ever to relive those moments later.
Yet as you continue to take more Live Photos and record calls, your device can quickly fill up with media. That's where a tool like Photo Cleaner shines in removing unwanted photos and other items in one click. It erases similar pictures and large videos, without digging through your gallery individually.
FAQ
-
Q: Where are FaceTime Live Photos saved?
A: When you capture live images during your FaceTime video calls, they get saved in the "Photos" app. You can get them through your system's library or the album called "Live Photos" with ease.
-
Q: How to disable FaceTime Live Photos?
A: On your iPhone, access "Settings," move to "FaceTime" via the "Apps" section, and deactivate the "FaceTime Live Photos" option. For macOS, launch the FaceTime app to access its "Settings" by clicking "FaceTime." Lastly, uncheck the box next to "FaceTime Live Photos" in the "General" tab to disable this feature.
-
Q: Does FaceTime notify the other person when I take a screenshot?
A: Capturing a screenshot during a FaceTime video call does not result in the other person being notified of this action. While it is good to take a pic during the call, the result is a still image that lacks the wholeness of a Live Photo.


James Davis
staff Editor
Generally rated4.5(105participated)