How To Recover Data From iCloud Backup With Dr.Fone?
Losing important data can be stressful, especially when the files you need are no longer stored on your current iPhone or iPad. In many cases, users are not just trying to recover a few deleted photos. They may need to retrieve videos, messages, app attachments, notes, or social chat data that only exists in an iCloud backup.
Wondershare Dr.Fone - Data Recovery (iOS) offers a more flexible way to access that backup data. Instead of restoring the iCloud backup to your device, it allows you to sign in to your iCloud account, view available backup files, download the one you need, preview supported data types, and selectively recover them to your computer.
Follow the guide below to recover data from iCloud backup successfully. Before you begin, make sure you are using the latest version of Dr.Fone and can access the iCloud account linked to the backup you want to recover.
Manage Your Phone Wherever You Go
Supported Data Types for iCloud Backup Recovery:
While the process supports all types of iOS devices, you can recover Photos, Videos, Messages & Attachments, Contacts, Voicemail, Notes & Attachments, Call Recordings, Calendar, Alarms, Reminders, Safari Bookmarks, Voice Memos, LINE & Attachments, Kik & Attachments, Viber & Attachments, Viber Call History, WhatsApp & Attachments, WhatsApp Business & Attachments, App Photos, App Videos and App Documents.
Step-by-Step Guide to Recover Data From iCloud Backup
Download and install the latest version of Wondershare Dr.Fone on your computer. Once the installation is complete, open the program and go to Toolbox > Data Recovery to enter the recovery feature.

* Dr.Fone Mac version still has the old interface, but it does not affect the use of Dr.Fone function. We will update it as soon as possible.
When Dr.Fone asks you to choose the target device type, select iOS. This ensures you enter the correct recovery workflow for iPhone and iPad data.
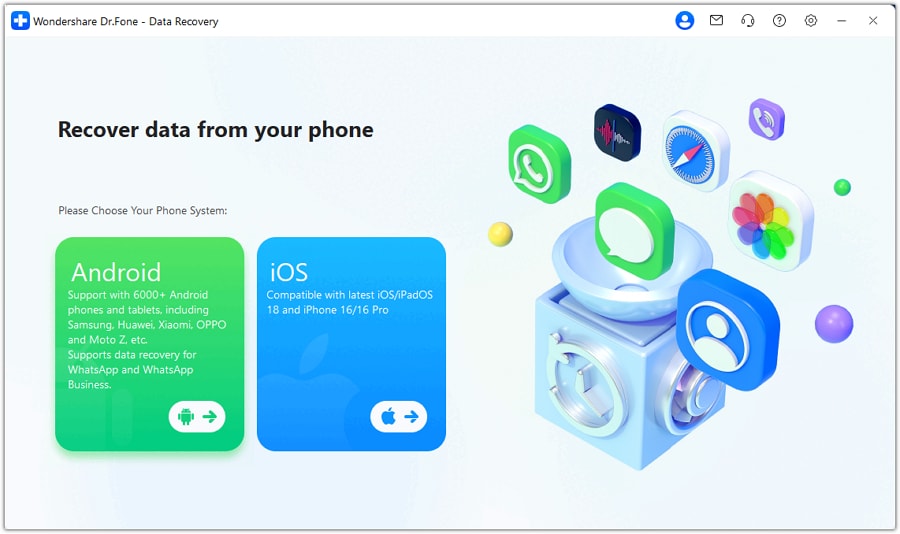
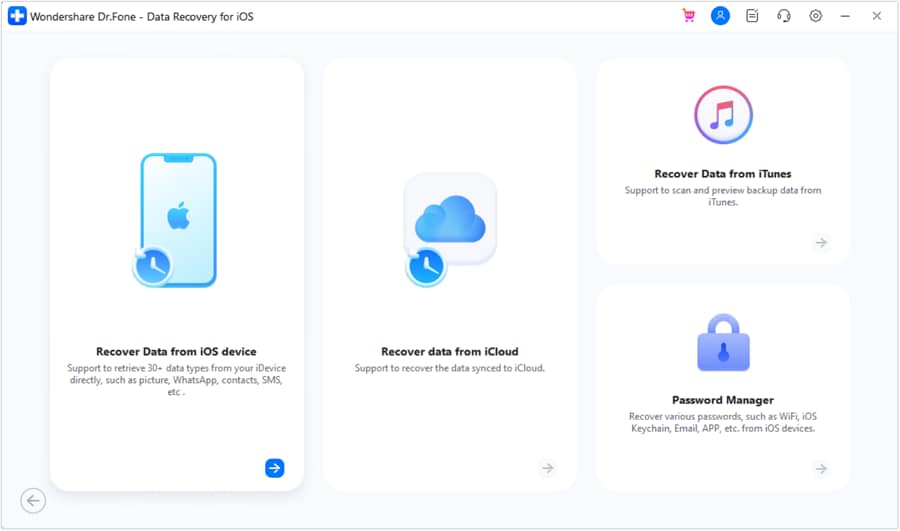
From the available recovery options, click Recover Data from iCloud Backup. This mode is designed for situations where the data you want is stored in an iCloud backup rather than on the current device.
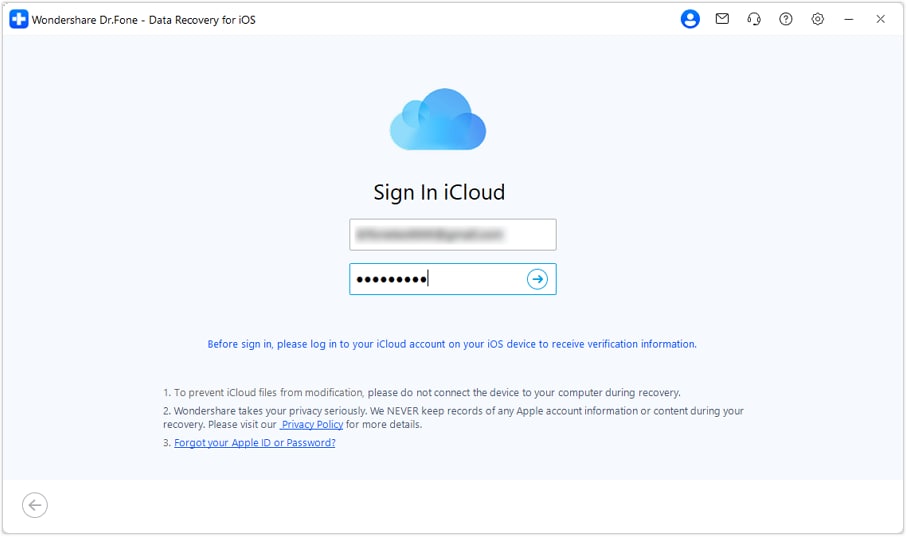
Now enter the Apple ID credentials for the iCloud account associated with the backup you want to access. Be sure to sign in with the correct account so Dr.Fone can retrieve the available backup records.
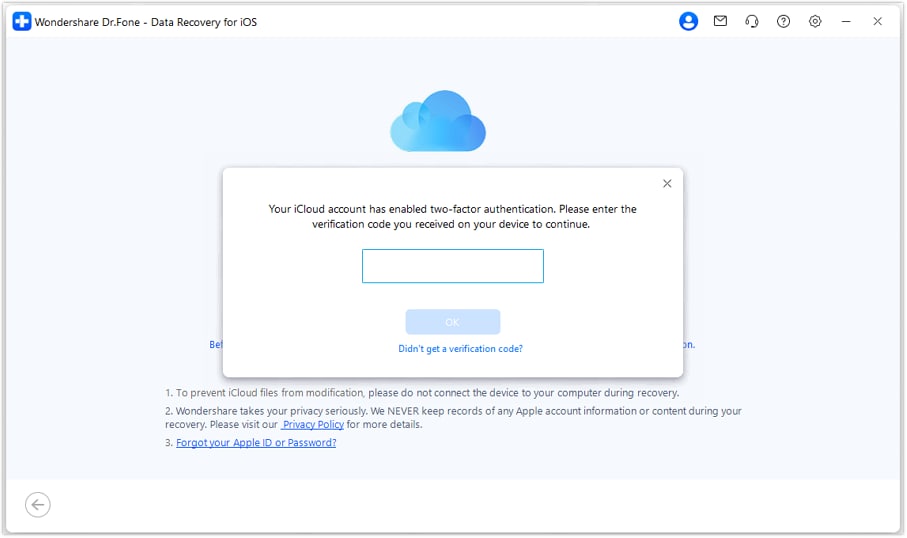
If your iCloud account is protected by two-factor authentication, Apple will send a verification code to your trusted device or phone number. Enter that code when prompted to complete the sign-in process.
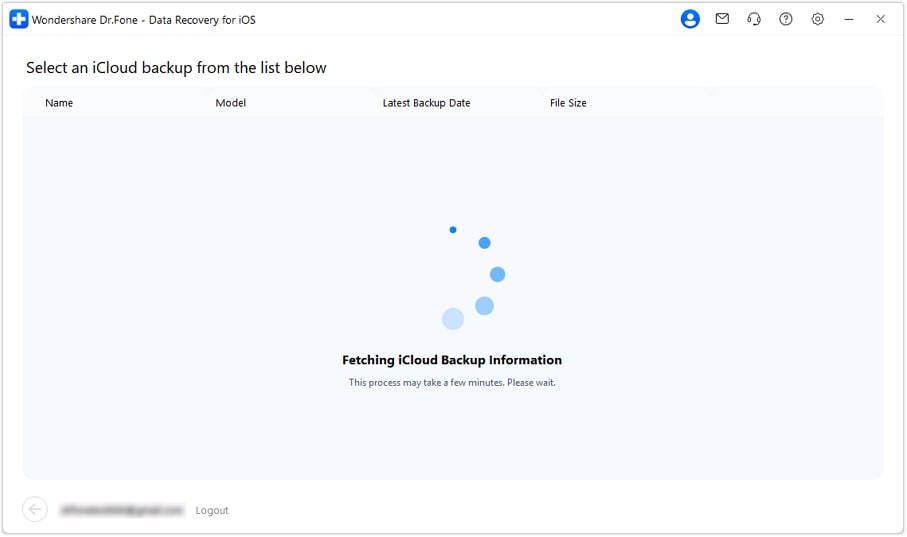
After the sign-in is verified, Dr.Fone will begin retrieving the backup information linked to your iCloud account. This may take a little time. Once the scan is finished, the available backup files will appear on the screen.
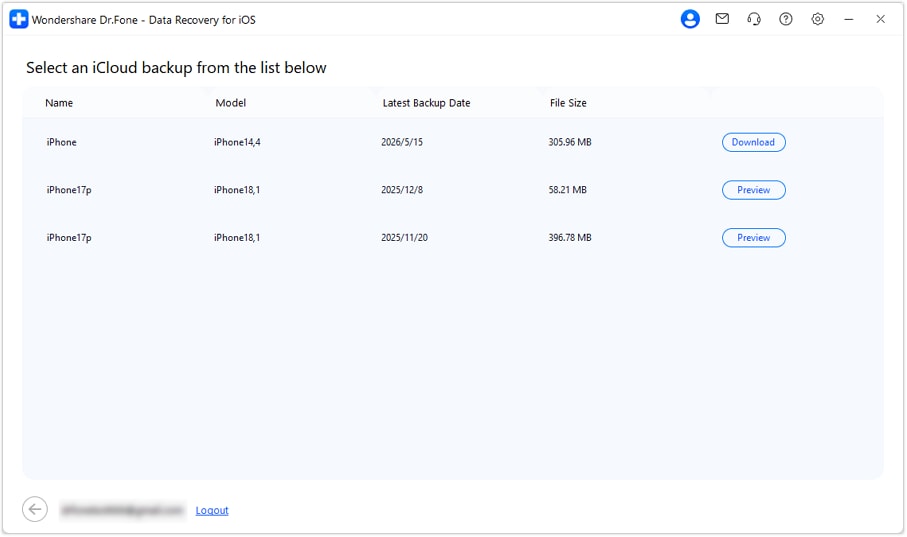
Review the listed backup files and choose the one you want to recover from. If multiple backups are available, select the file that best matches the device and date range you need, then click Download.
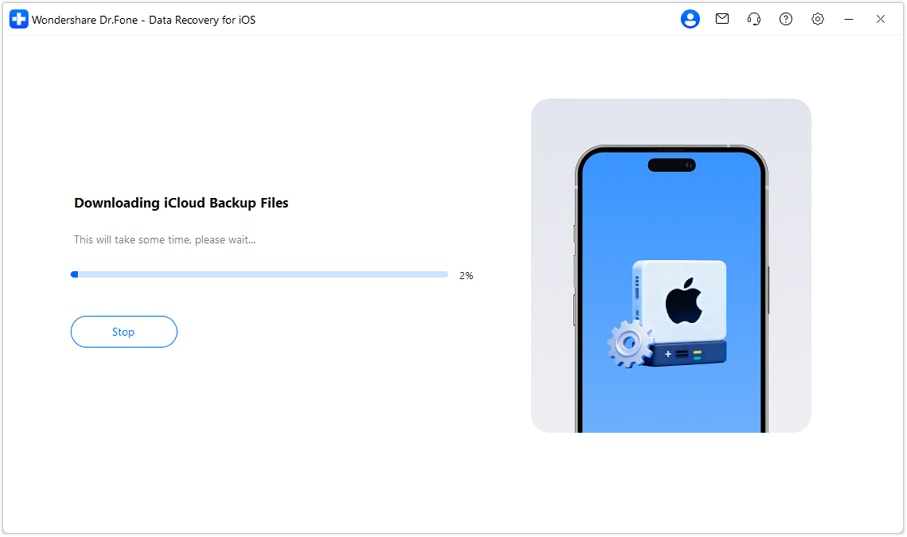
Dr.Fone will now download the selected iCloud backup file. After the download is complete, you will be taken to the next screen where the backup data is displayed in detail.
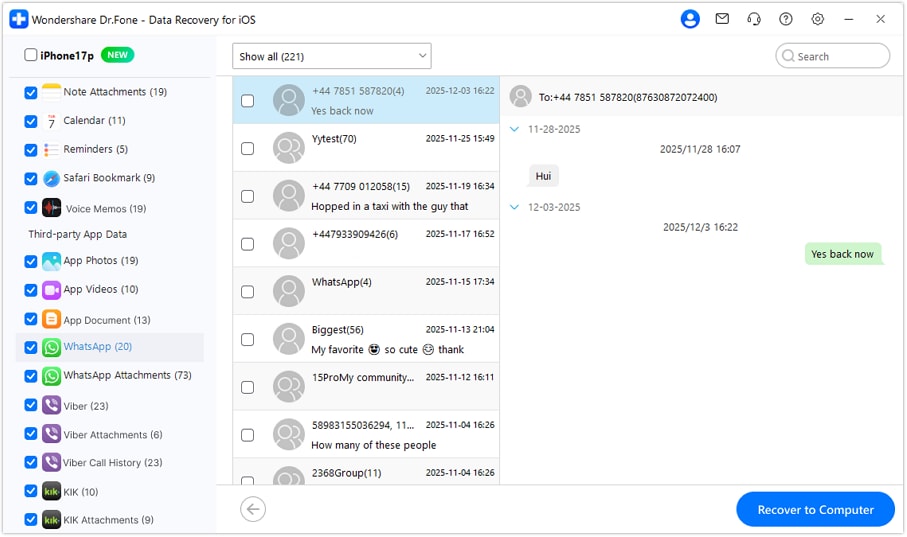
Once the backup file has been processed, you can browse all supported data categories from the left-hand panel. Click any category to view the corresponding items on the right, then select the content you want and click Recover to Computer to save it locally.
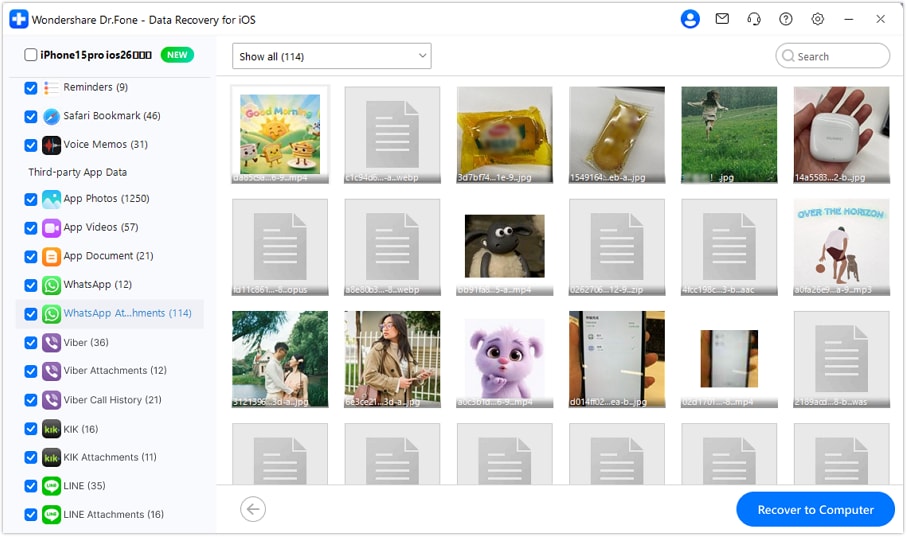
If you open WhatsApp Attachments, you can preview thumbnails of files and media, then select the content you want and click Recover to Computer to save it.
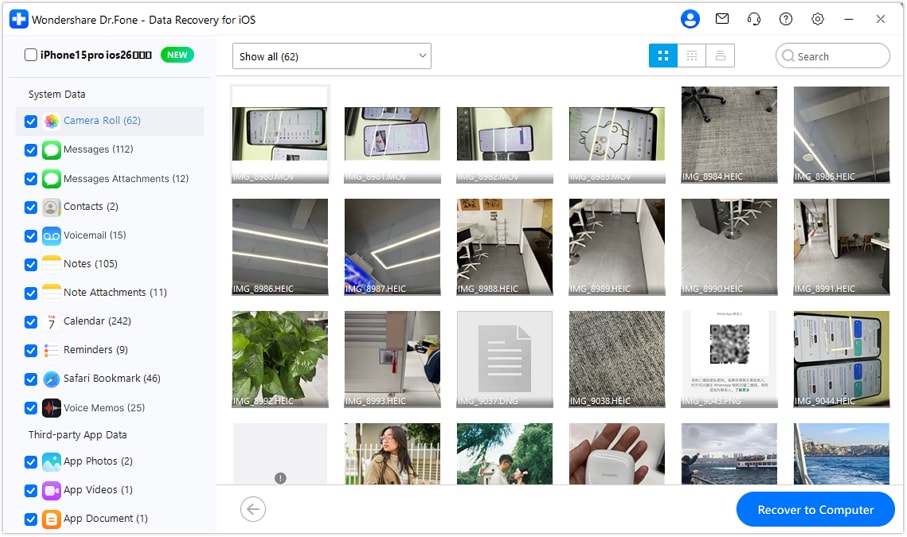
If you choose Camera Roll, you can also preview image thumbnails before recovery, then select the content you want and click Recover to Computer to save it.
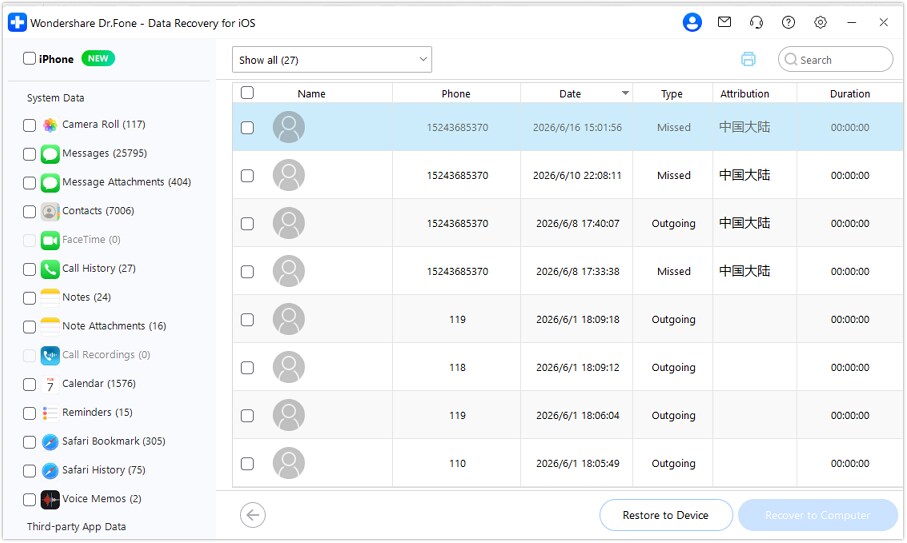
If you select Call Recordings, you can view all recorded calls with their dates, phone numbers, call types, and durations. Select the recordings you want and click Recover to Computer to save them.
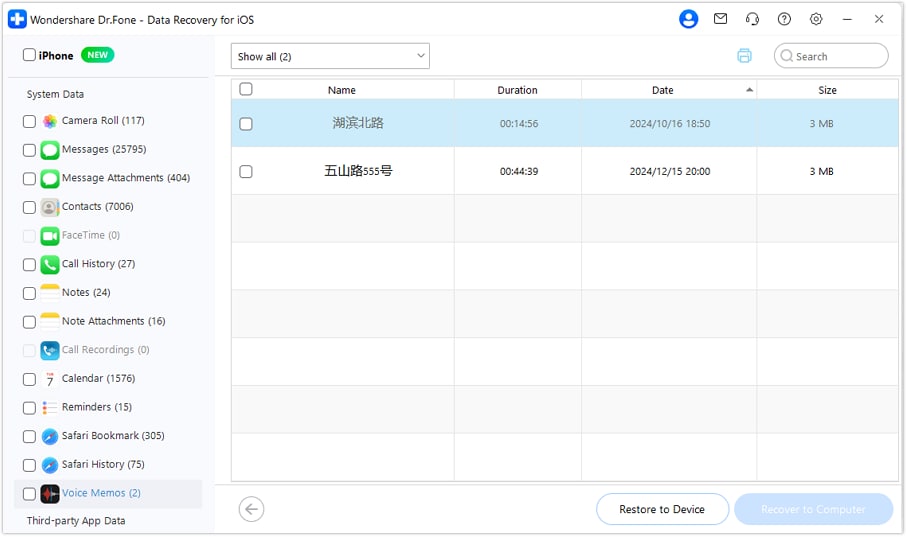
If you select Voicemail, you can preview all voicemail messages with their details. Choose the voicemails you want and click Recover to Computer to save them.
WHAT YOU'LL NEED
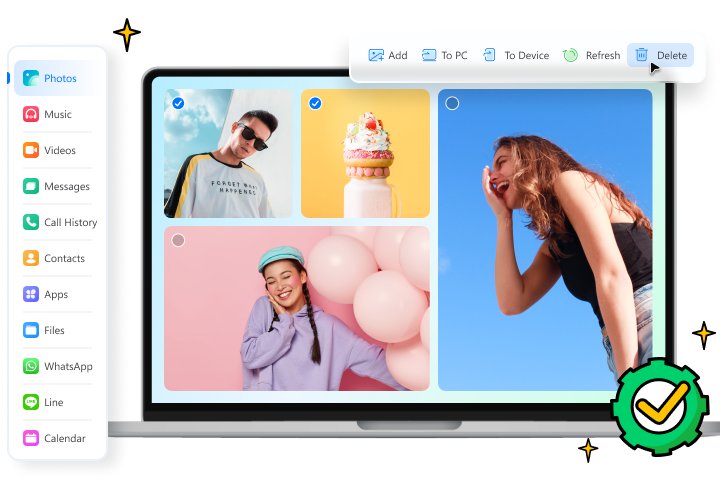
Dr.Fone provides a complete set of tools for solving all iOS/Android phone problems.
Need help?
You might find the answer to your question in the FAQ or additional information below:
Frequently Asked Quesitons about Recovering Data From iCloud Backup
 Can I selectively recover data from an iCloud backup instead of restoring the whole backup?Do I need to sign in to iCloud before recovery?Can I preview photos, messages, or WhatsApp data before recovery?What types of data can be recovered from iCloud backup?Where does the recovered data go after the process is complete?