[Fixed] How to Enter/Exit DFU Mode on iPod Touch?
Dec 16, 2025 • Filed to: Phone Repair Solutions • Proven solutions
In terms of issues with recovering an iOS or iPadOS device, for example, both Recovery mode and DFU mode are important to know.
The latter stands for Device Firmware Update, and the feature works differently from the Recovery mode, mainly in connection to iTunes. Here, users must put iPod on DFU mode with iTunes and the bootloader or mobile OS not loading unnecessarily.
The process is also useful for iPod Touch users for purposes like troubleshooting, updating firmware, and more. But how to carry out the process? Let's learn the steps here.
Part 1. What Can DFU Mode Fix?
Indeed, the iPod DFU mode is instrumental in managing many issues that can come up in this device, much like with iPad or iPhone devices. The following are some of the main scenarios where this technology is needed.
- Unresponsive iPod Touch- When your device is not responding to any touch command, the cause can occur due to configuration issues with the firmware.
- Failed Software Updates- In case of low battery or power, the device can stop updating midway, causing functional issues. In DFU mode, new codes cover the incomplete updating software.
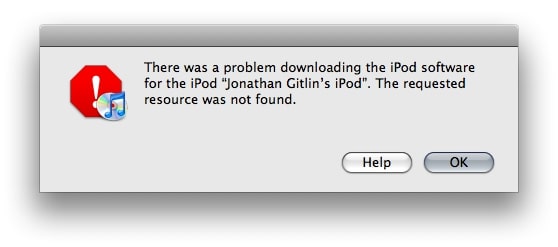
- Firmware Corruptions- If the iPod Touch's firmware is corrupted or defective, Recovery Mode steps won't work. DFU mode is the best alternative.
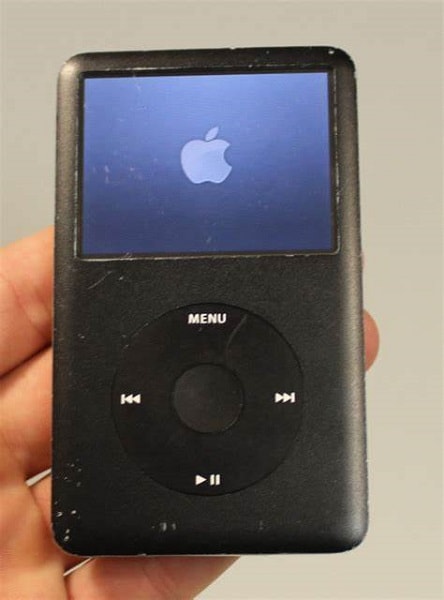
- Boot Loops/Failed Startups- Upon turning on the iPod Touch, some users notice the device getting stuck at the startup phase and not surpassing the initial Apple logo loading view. In this case, standard troubleshooting steps will not work; putting the device in iPod Classic DFU mode
- Hardware-Related Issues- Hardware defects like unresponsive buttons, inconsistent touchscreen functions, or faulty battery condition also need DFU mode.
Part 2. How to Put an iPod Touch into DFU Mode? [Data Loss]
Now that you know the situations where DFU mode is needed, let's learn how to handle the process. However, data loss is possible with these methods.
1. Before You Put Your iPod in DFU Mode
Prior to putting the iPod Touch 5 DFU mode on, you should take the time to back up all of the available data. For this, the best software to trust the Dr.Fone - Phone Backup (iOS) software. The data backup and restoration process with this software takes some steps only after connecting the iPod Touch to your system via WiFi or lightning cable.
You can preview the files you want to back up and select the ones to restore specifically. The software is simple for most user types and works on various devices, with compatibility up to iOS 16.
Stand-out Features:
- More backup capacity for free compared to other solutions like iCloud backup or iTunes b
- Option to choose automatic or incremental backup/restore.
- See the preview of files and then backup/restore items.
- Selective backup/restoration of photos, videos, messages, documents, etc.
- No data overwriting occurs here.
How to use Dr.Fone - Phone Backup to backup iPod Touch?
Step 1: Download and launch the application.
Step 2: Choose the Phone Backup tab under Home.

Step 3: Connect the iPod Touch to your device with the compatible Lighting cable.
Step 4: Next, tap on Backup. After all files are detected, choose the ones to back up and press Backup again. You can also choose between Auto Backup/Incremental Backup from the drop-down menu at the top.

Step 5: The backup process will take some time.

Later, to check all backups, you can tap on View Backup History > View.
2. How to Enter DFU Mode on iPod Touch 6 and Earlier?
The following are the main steps for activating the iPod Touch 6 DFU mode.
Step 1: Utilize a USB cable to connect your iPod Touch device to the PC you are using.
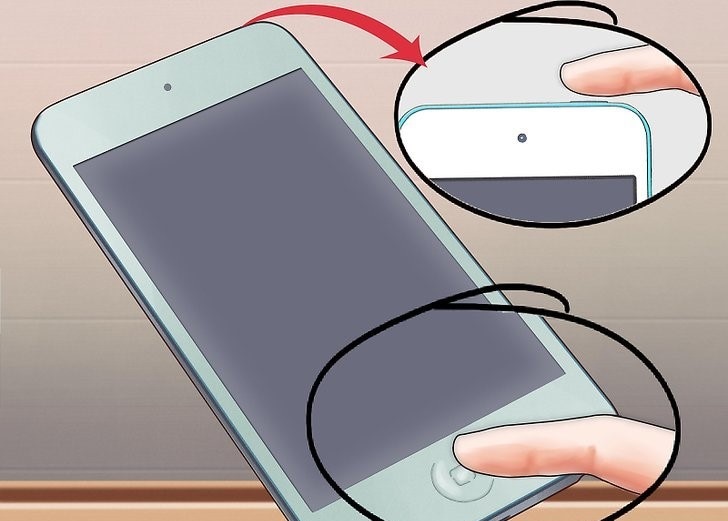
Step 2: Next, on the iPod device, hold the Lock and Home buttons down together. Continue for 8 seconds.
Step 3: Keep holding down on the Home button but let your finger off the Lock Button. Visually, you will know you held down on the Lock button for over 8 seconds when the Apple logo comes up.

Step 4: If nothing appears on the screen, it indicates that the iPod DFU mode is active. Start fresh if you see a prompt asking you to reconnect with iTunes.
3. How to Enter DFU Mode on iPod touch 7?
The process of entering iPod Touch 7 DFU mode is different in the case of iPod Touch 7 models. The following are the steps to follow in this case.
Step 1: Link the iPod Touch device with a suitable USB cable to the computer.
Step 2: Press your fingers down on the Side and Volume Down buttons together.
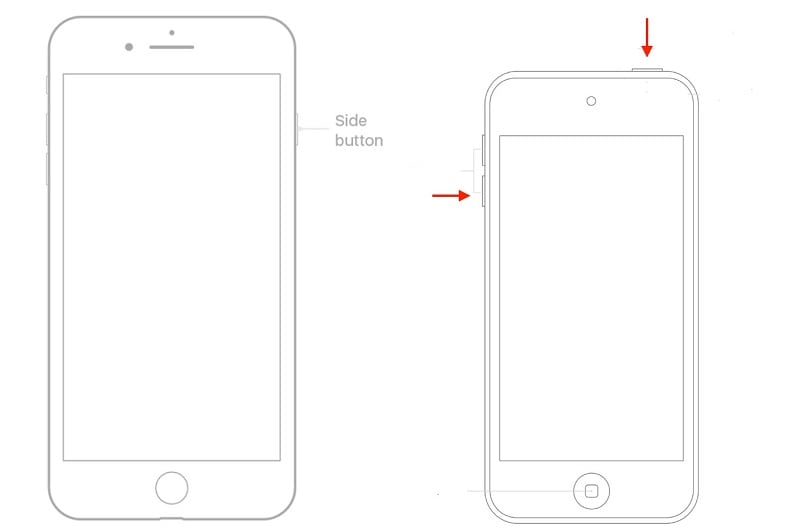
Step 3: Release your hold on the Side button but keep pressing down on the Volume Down button. Do this around 8 seconds later to avoid the Apple logo from appearing.
Step 4: If you see nothing on the screen, the device is in DFU mode successfully.
Part 3. How to Get out of DFU Mode on iPod Touch?
Putting the iPod Touch on DFU Mode is useful for carrying out different device programming functions in case of firmware errors, etc. When you have the iPod DFU mode active, you can continue jailbreaking the device, upgrade or downgrade the iOS version, etc.
However, since the device will fully go black at this point, you cannot carry out other operations on your device.
How to Exit out of DFU Mode on iPod Touch?
Step 1: Press down on the same device button that you used to enter DFU Mode:
- Lock + Home (if it is iPod Touch 6th Generation or older)
- Side + Volume (if it is iPod Touch 7th Generation)
Step 2: Keep the hold down until you see the device restart. This will take some seconds to complete.
Part 4. Bonus Tips: How to Restore an iPod without iTunes [Without Data Loss]
With the DFU mode active, you can restore the iPod Touch device data properly in a thorough manner. However, if you want to use this SecureTOM port without accessing the iTunes account, Dr.Fone - System Repair (iOS) is a suitable software to try out.
The app is useful for downgrading or upgrading the iOS version with no complex jailbreaking process or iTunes account. If you do not have iTunes backup available, all data will get lost with iTunes Restore. That is not an issue you will notice with Dr.Fone - System Repair, which can bypass issues like stuck DFU Mode.
Key Features to Note:
- Effectively repairs 150+ issues in iOS devices, such as an iPod Touch stuck in DFU Mode.
- Expect zero data loss during the process.
- The three-step process of exiting DFU mode with quick speed.
- Compatible with various iOS models up to iOS 16, including old iPod Classic and newer iPod Touch models.
How to Use It?
Step 1: Launch the Dr.Fone software and go to System Repair > iOS > Toolbox Repair.

Step 2: Next, pick the iOS Repair tab.
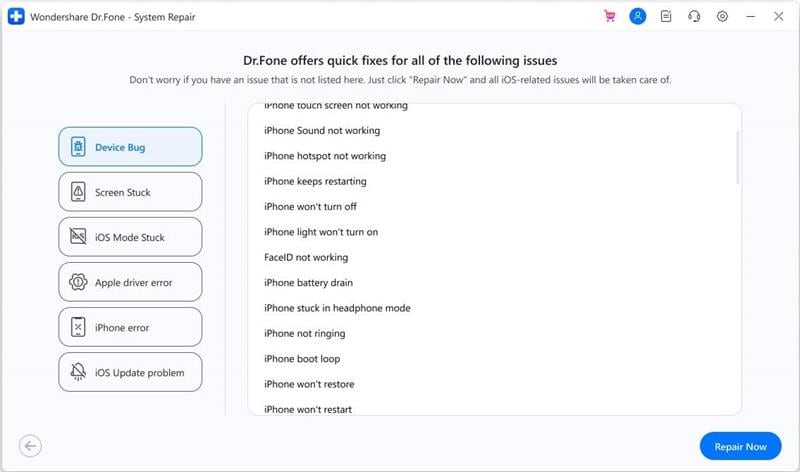
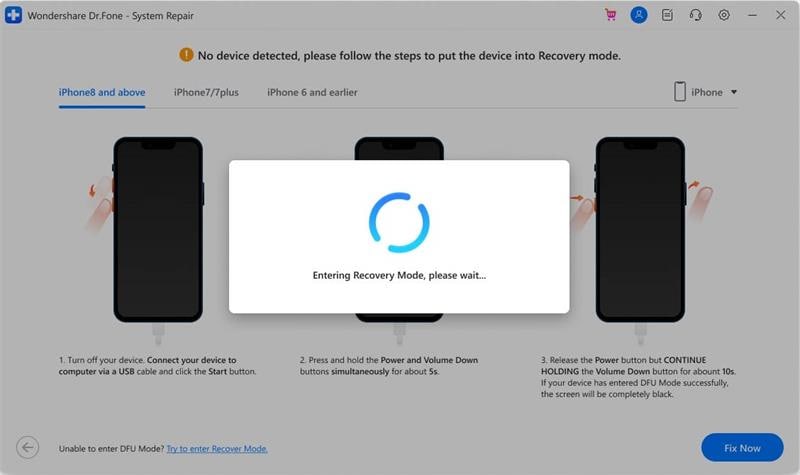
Step 3: Follow the available on-screen instructions for your selected iOS device (e.g., Other Devices section for iPod devices) to enter Recovery mode safety.
Step 4: Then download the iOS firmware. As the iOS firmware is verified, click on the "Repair Now" button to initiate the iOS system recovery process.
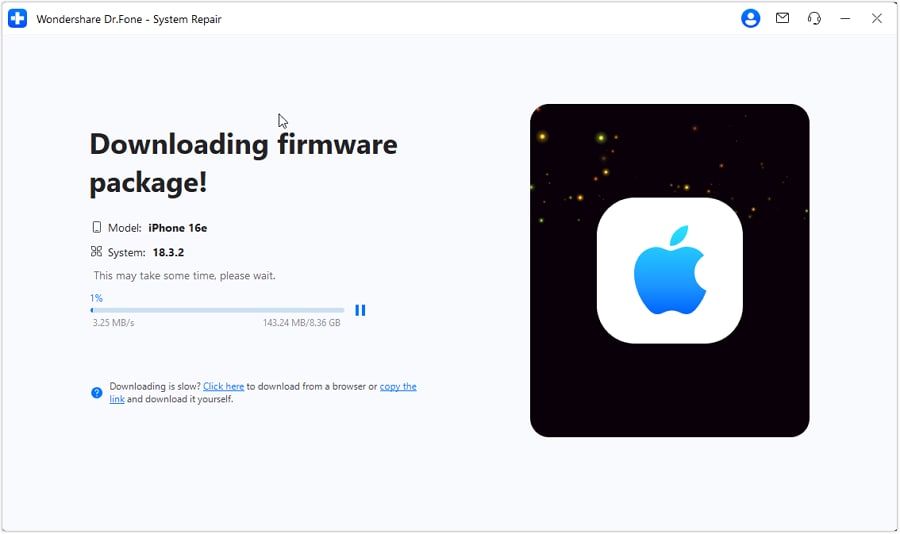
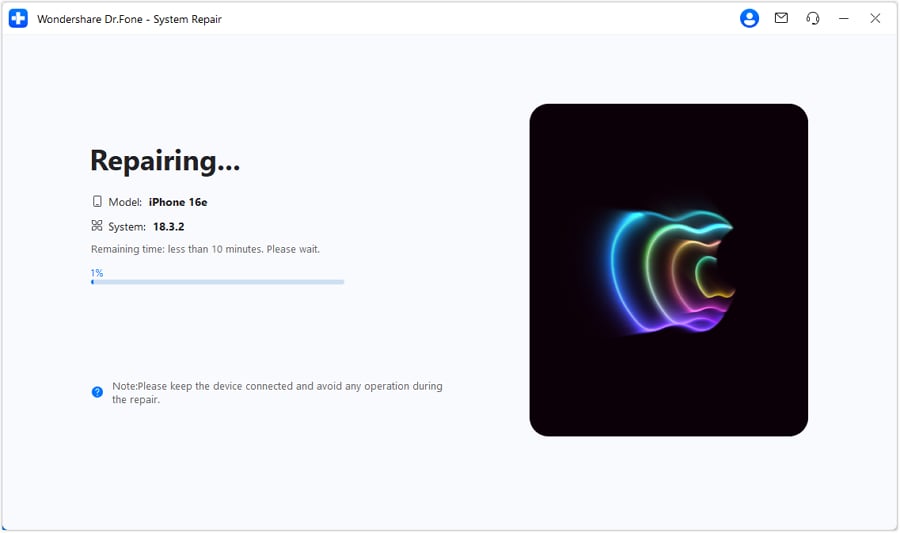
Step 5: The repairing process is displayed across the progress bar on the next screen. Once you are done with it, your iPhone is back to normal.
Conclusion
To summarize, multiple processes are available to activate the DFU mode on your iPod Touch device. Make sure to follow the steps to open and exit this feature with the right steps. Also, focus on how long you carefully press the buttons down. Of course, backup all data before doing these steps.
However, there is the risk of DFU mode not working as intended and no iTunes backup. In this case, use the steps mentioned for operating Dr.Fone - System Repair (iOS) to get your iPod device out of DFU mode Stuck.
iPhone Reset
- iPhone Recovery Mode
- 1. Exit iPhone Recovery Mode Loop
- 2. iPhone in Recovery Mode
- 3. iPhone Recovery Mode
- 5. Get Data from iPhone in Recover Mode
- 6. Put iPhone in Recovery Mode
- 7. Recuva Data Recovery Review
- 8. DFU Mode vs Recovery Mode
- iPhone DFU Mode
- 1. Put iPhone in DFU Mode
- 2. Enter and Exit DFU Mode
- 3. Get Data from iPhone in DFU Mode
- 4. Tools for iPhone to Enter DFU mode
- 5. Enter/Exit DFU Mode on iPhone X
- 6. Enter/Exit DFU Mode on iPhone SE
- 7. DFU Mode Works on iPhones
- 8. Enter DFU Mode on iPod Touch
- iPhone Factory Reset
- 1. Factory Reset iPhone
- 2. Factory Reset iPhone without iTunes
- 3. Reset iPhone without Passcode
- 4. Reset iPhone Without Apple ID
- iPhone Hard Reset
- 1. Hard Reset VS Soft Reset iPhone
- 2. Hard Reset Without Computer
- 3. Force Restart iPhone
- 4. Restart or Force Restart iPhone
- 5. Hard/Soft/Factory Reset iPhone 8
- iPhone Reset Tips
- 1. Soft Reset iPhone
- 2. Restart or Reboot iPhone
- 3. iPhone Reset All Settings
- 4. Reset iPhone Battery
- 5. Reset iPhone without Apple ID
- 6. Reset Jaibroken iPhone
- 7. Reset Network Settings On iPhone
- 8. Reset Restriction Passcode iPhone
- 9. Restart iPhone Without Power Button
- 10. Turn Off iPhone Without Home Button
- 9. Turn off iPhone without Screen
- 10. Reset Disabled iPhone


James Davis
staff Editor
Generally rated4.5(105participated)