Permanently erase all iOS & Android data—completely unrecoverable.

 100% Security Verified | No Subscription Required | No Malware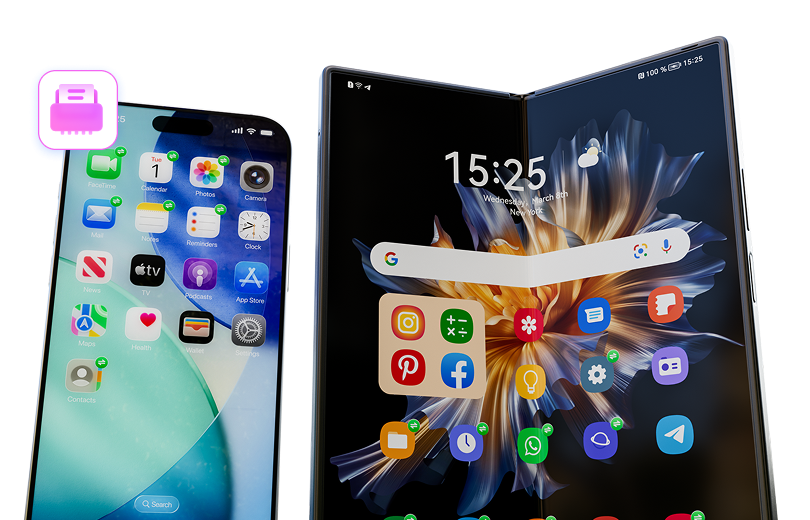

 :
: 
 ChatGPT
 Perplexity
 Gemini
 Claude
 Grok
Grok
The iPhone is easily one of the best smartphones of this era, and a lot of people choose it for the top-tier security, intuitive ecosystem, allied services, and fluid performance that it consistently offers. Apple's devices are often flaunted for their sleek look, premium feel, and minimalist design. But there is a catch when it comes to basic data management. Users who are new to iOS and iPhones may find it incredibly frustrating to figure out the right method for operations that can be executed effortlessly on Android devices. One such common operation is deleting contacts from iPhone, an action that requires just a simple long-press and 'select all' on the Android OS.
Since the need to declutter address books and delete contacts iPhone users face arises frequently, one might expect that wiping an old entry or a batch of numbers is a straightforward process. However, you only see the 'delete contacts iPhone' option after tapping through multiple screens. Weirdly, the native iOS environment does not originally allow the selection of multiple contacts for bulk deletion in a single go. Users would traditionally have to tap each unnecessary contact and remove them one by one, making the entire decluttering process quite lengthy, repetitive, and cumbersome. Hence, knowing exactly how to delete contacts on iPhone using both native tools and advanced software will go a long way in helping you save time and secure your privacy.
Let us dive deep into the best practical solutions to permanently delete contacts from your iPhone quickly and efficiently.
In this article
Part 1: How to delete contacts from iPhone individually?
If you only need to remove a handful of outdated phone numbers or duplicate entries, the native iOS Contacts app provides a direct way to do so. In this section, we will learn how to delete contacts from iPhone one by one using the built-in system.
-
Step 1 Open the Contacts app
First, unlock your device and tap on the Contacts icon (the address book-style icon) at the bottom of the iPhone home screen or inside your app library to open the Contacts app. Alternatively, you can open the Phone app and tap the 'Contacts' tab at the bottom.

-
Step 2 Select the contact
Now, search for the exact contact to be deleted using the search bar at the top of your address book. Once the name appears in the search result, tap on the contact to open their detailed information card.
-
Step 3 Tap on the Edit option
Once the contact profile is actively selected, look at the top right corner of the screen (or top left depending on the iOS version layout in older models) and tap on “Edit”. This action allows you to perform structural alterations on the contact card, including adding emails, ringtones, or initiating a deletion.

-
Step 4 Delete the contact
Now, you must scroll all the way down to the bottom of the editing screen. Here, you will see a red button. Tap on the “Delete Contact” option located in the lower section of the screen.

After it is selected, your iPhone will trigger a pop-up and again prompt you for final confirmation. When prompted, tap on the “Delete Contact” option again to securely finish the iPhone delete contacts action.
If you wish to delete some more contacts, you will unfortunately need to follow this identical procedure manually for each and every contact to delete them completely from your iPhone as well as your synced iCloud database.
Part 2: How to delete all contacts from iPhone via iCloud?
Sometimes, you want to erase all the contacts in your address book simultaneously across all your connected devices—perhaps you are giving the phone to a family member or switching iCloud accounts. In such a situation, you can use the iCloud method to seamlessly delete the contacts. Although the iPhone delete contacts process can be performed remotely using a Mac or a Windows PC via iCloud.com, doing it by using the iPhone settings alone is a lot easier and requires no computer access.
To know how to delete contacts on iPhone directly from your iPhone itself, follow the precise steps given below.
-
Step 1 Open the Settings app
Locate and tap on the app having gear-like icons in a grey background to open your primary Settings app.

-
Step 2 Select your Apple ID
To continue with the bulk deletion process, tap on your Apple ID banner (which displays your name and profile picture) right at the top of the main menu screen. However, if you have not signed in, you may need to Sign in to your Apple device first by entering your Apple ID and the secure password.
-
Step 3 Tap the iCloud option
Scroll down gently until you can see the “iCloud” option within the second section of the Apple ID menu and tap on it to view your synchronized apps.

-
Step 4 Slide the “Contacts” toggle to the off position
Now, locate "Contacts" in the list of apps using iCloud. Turn off the “Contact” sync by sliding the green bar to the Off position. Once deactivated, the toggle for “Contacts” will turn white/grey.

-
Step 5 Tap on “Delete from My iPhone”
To finish the process, iOS will ask what you want to do with the previously synced iCloud contacts on your device. Select the “Delete from My iPhone” option when prompted. Once it is done, all contacts synced with your iCloud services account and locally stored contacts associated with that sync will be deleted from your smartphone instantly.


Part 3: How to delete one/multiple contacts permanently from iPhone?
 Permanently erase all data on iOS & Android — completely unrecoverable.
- Military-grade wiping to fully protect your privacy.
- Generate verified erasure reports to boost device resale value.
- Selectively erase private data and remove junk & large files.
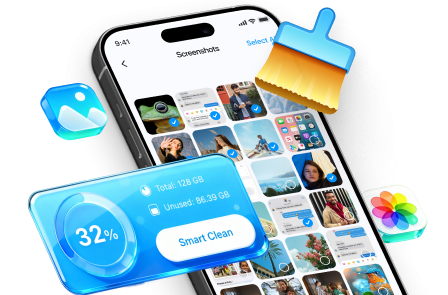
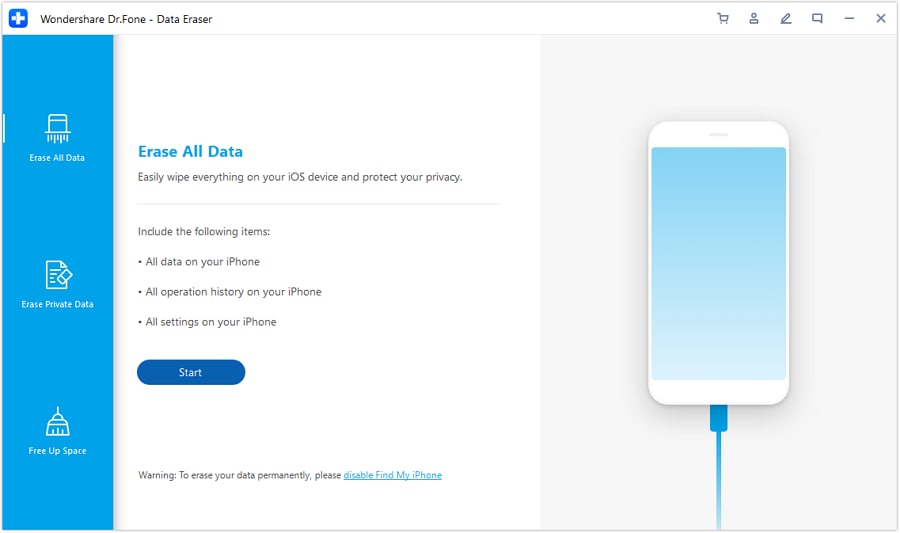
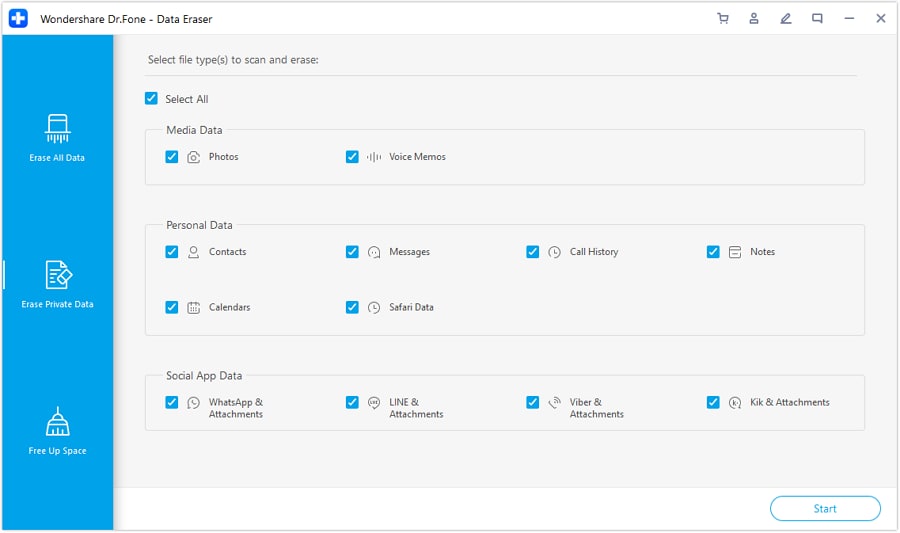
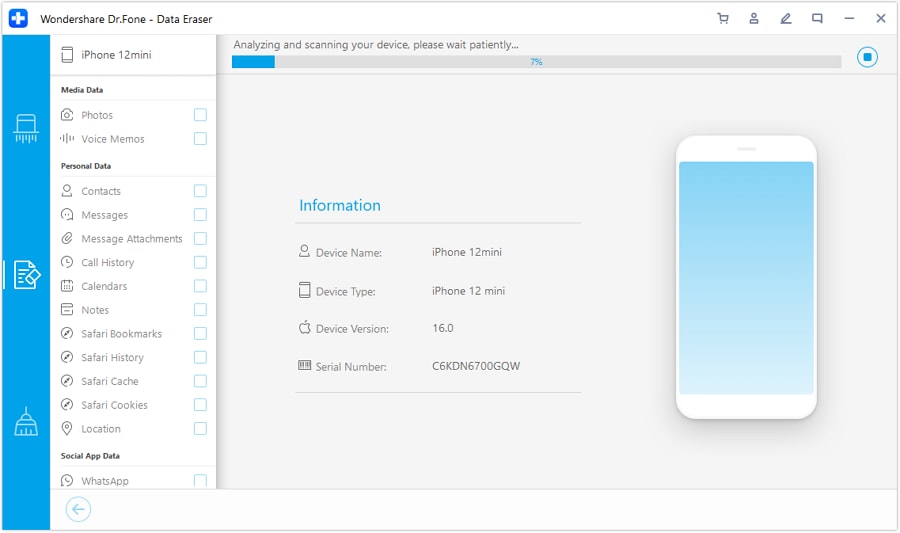
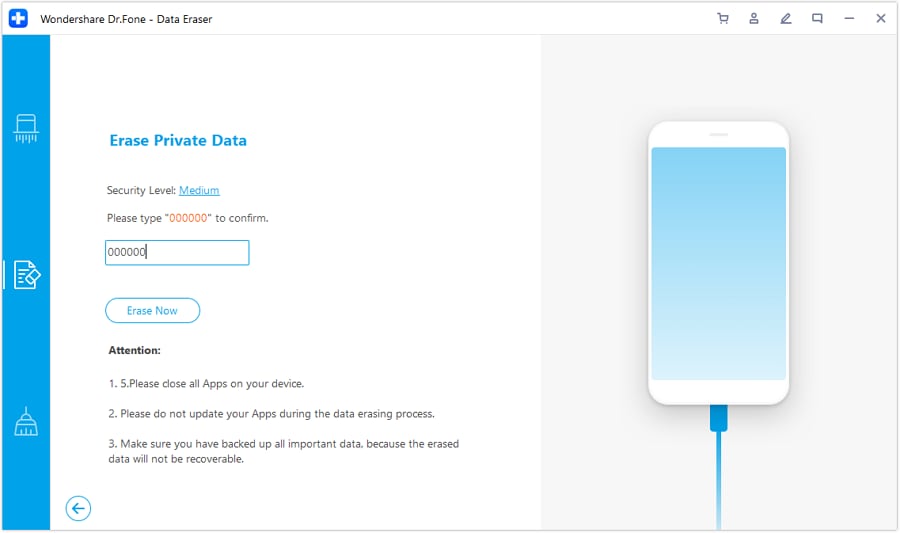
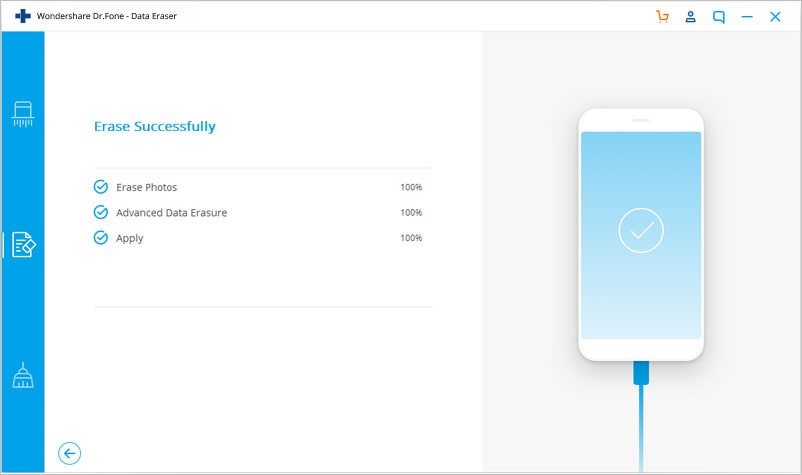
If you are wary of deleting each contact individually because it is highly time-consuming, or if you wish to delete all your contacts permanently from your iPhone to prevent data theft before selling your device, you may take the help of Dr.Fone - Data Eraser(iOS).
The Dr.Fone toolkit is a wonderful and incredibly easy-to-use desktop toolkit that allows you to view all your contacts at once and selectively check multiple contacts to be deleted simultaneously. This makes it an essential one-stop Dr.Fone - Data Eraser solution for permanently wiping all your private data. Standard deletions often leave behind hidden cache data that data recovery tools can easily fetch. However, Dr.Fone utilizes military-grade algorithms to overwrite this information, ensuring nobody can ever recover and view your private contacts.






 Add Wondershare Dr.Fone as a preferred source on Google