How to Recover Deleted Contacts from Gmail/Outlook/Android/iPhone
Aug 27, 2025 • Filed to: Data Recovery Solutions • Proven solutions
It’s true to say that our smartphones serve as our personal repositories for important data. They are designed to store valuable files and keep them safe from being compromised. Security is always the main priority of the manufacturers. It is regularly updated to ensure that all the information stored on mobile phones is private and secure. So if you are saving your contact list and other files on your mobile phones, there’s nothing to worry about.
However, we can’t predict what’s waiting ahead. Things may unexpectedly veer off course and get us into trouble. Let’s say you accidentally erase your phone book and lose all the contact numbers. That’s a real bummer. But don’t sweat it. There are many ways you can try to retrieve deleted phone numbers on iPhone and Android.
In this article, we will discuss how to restore contacts from Google and other third-party backup. The methods below work for both Android and iOS mobile phones. Thus, read on to learn more.
Part 1. Importance of Backing Up Your Contacts Regularly
Sending text messages and making a call have become so convenient nowadays. All you have to do is bring out your smartphone and tap a few buttons. But of course, this hassle-free routine will certainly turn into a chore if you lose your contact list. You never know when or how it’s going to happen. It can be caused by an inadvertent mistake or a deliberate action. So while your phonebook is still intact, do your best to protect it. Among the preventive measures you can put in place is to back them up regularly.
Creating backups for your contact numbers involve a lot of process. But in return, doing so will certainly save you from the unimaginable. So don’t hesitate to sync your phonebook and files to secure storage. Google and other third-party backup tools like Wondershare Dr.Fone have made it much easier for you. Refer to the short guide below.
Back up contacts to Google (For Android)
Most Android devices today are using Google services. It’s integrated into certain mobile functions like messaging. So if you’re an Android user, backing up your files to Google will be as easy as pie. Here’s how to do it in simple steps.
- Step 1: Go to Settings.
- Step 2: Find Google among the list. Click on it.

- Step 3: Click Backup.

- Step 4: Click Google Account Data.

- Step 5: Check if the radio button next to Contacts is currently enabled. If not, toggle it on.

Back up contacts to Google (For iOS)
Although iPhone and other Apple devices have their own cloud-based storage, users can also use Google if they wish so. You can sync your iPhone contacts to your Gmail account as long as it’s accessible on the device. Here’s how to do it in easy steps.
- Step 1: Go to Settings.
- Step 2: Click Password & Accounts.

- Step 3: Click Gmail if your account is already signed in. Otherwise, click Add Account to log in to your Gmail account.
- Step 4: Check the radio button beside Contact. Ensure it’s enabled. If not, hit the toggle to activate it.

Back up contacts on Android and iOS Using Wondershare Dr.Fone
Apart from syncing contacts directly from your device, you can also use Wondershare Dr.Fone to back them up to secure storage. This mobile solution has a robust data backup feature that can help you store your phonebook safely. Here’s how to use it.
- Step 1: Download Wondershare Dr.Fone from its official website. Install it on your computer.
- Step 2: Launch the newly installed Wondershare Dr.Fone program on your desktop. After it fully loads, connect your device to your computer using a data cable.
- Step 3: Head over to the left panel and then click My Backup. After that, access the main dashboard and then click Back Up Now.

- Step 4: Wait while Wondershare Dr.Fone is completing the process. Don’t use your device or your computer to avoid interruptions. For Android device users, follow the on-screen instructions to proceed.
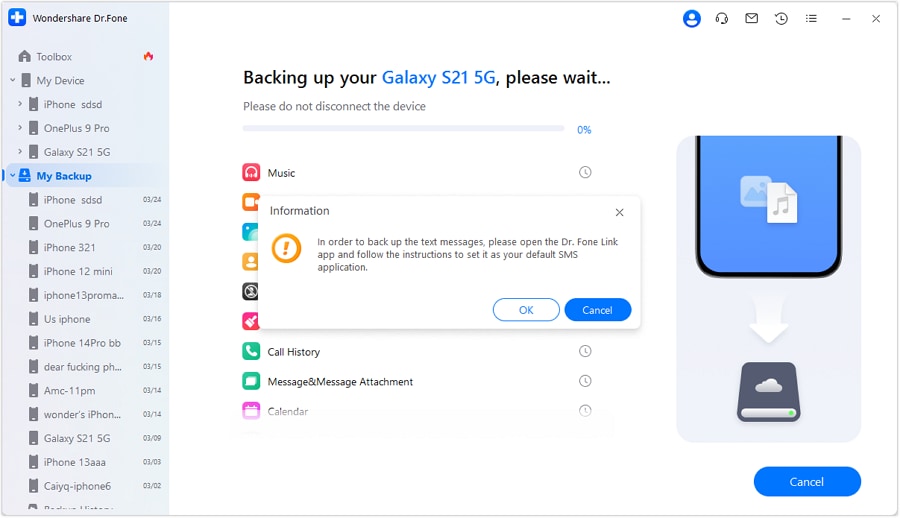
- Step 5: Once completed, click Open in Folder or View Backups to review your files.

Part 2. Effective Ways How to Recover Deleted Phone Numbers From Smartphones
Being able to save and access contacts anytime is a very handy feature among smartphones. Imagine you can message or call someone with just the snap of a finger. So it’s understandable why people get extremely frustrated when the phonebook is endangered. But don’t worry. It’s now very convenient to recover contacts from Gmail or other third-party backup tools. But what if your device has no backup files? Is it still possible to retrieve deleted phone numbers on iPhone and Android? The short answer is yes. You can still restore your contact list easily. So sit back and relax. Here’s the ultimate guide on how to restore deleted contacts on Android and iOS.
Method 1: Restore Deleted Contacts From Gmail
Do you sync your iPhone contacts to Gmail? If so, restoring them to your device is a very easy procedure. No need to move heaven and earth just to bring back your lost files. Refer to the short guide below.
- Step 1: Open the browser on your computer. Go to the Gmail website.
- Step 2: Log in to the Gmail account where you have previously synced your iPhone contacts.
- Step 3: Find and click the nine-dotted button next to your profile photo. And then select Contacts.

- Step 4: Click the Gear icon on the top menu. And then click Undo Changes.

- Step 5: Select the exact time frame when the deleted contacts are still available. Right after, click Undo.
- Step 6: A confirmation window will appear afterwards. It normally takes a few minutes or hours before the restored contact numbers appear on your Android and iOS devices. Until then, wait patiently and check your smartphone from time to time.
Method 2: Restore Deleted Contacts Using Wondershare Dr.Fone
The process to retrieve deleted phone numbers on iPhone and Android is indeed simple if you have backup files. You can easily restore them from Google or other cloud storage with little to no effort. However, it’s a completely different story if your smartphone has no backup files. You need a third-party data recovery application to bring back your lost contact. Don’t worry. Wondershare Dr.Fone can help you retrieve deleted phone numbers on iPhone or Android. Here’s how to use it in easy steps.
- Step 1: Launch Wondershare Dr.Fone on your desktop. Wait until it fully loads.
- Step 2: Head over to the left panel and then click Toolbox. Right after, click Data Recovery on the main dashboard.

- Step 3: Confirm your device. Click iOS if you’re using Apple devices. Otherwise, click Android.
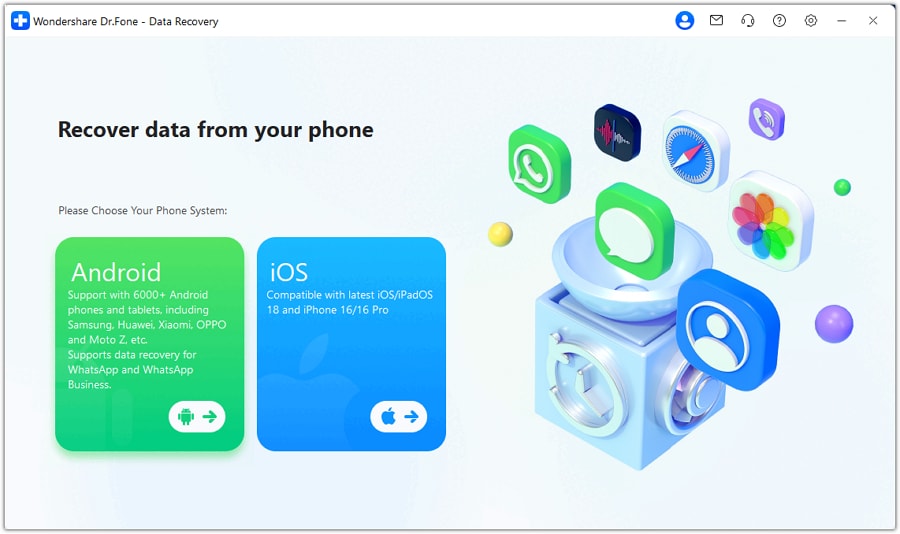
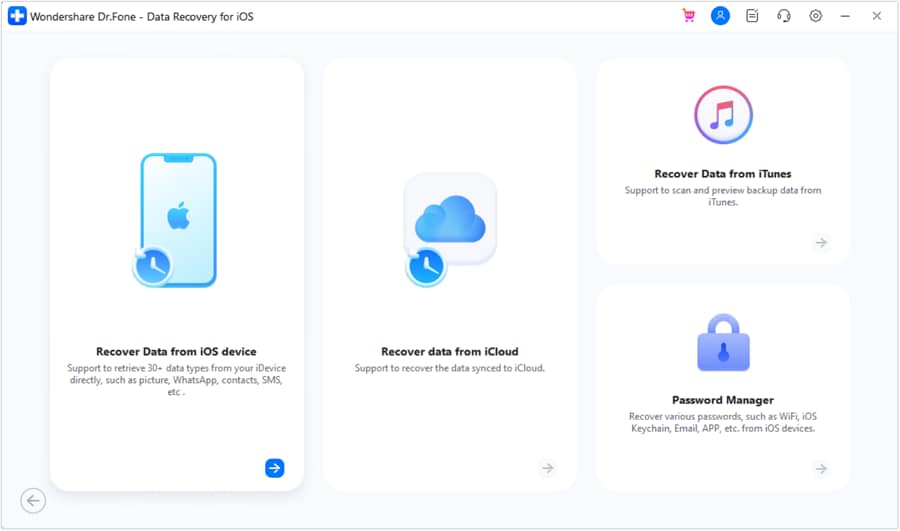
- Step 4: For iOS users, click Recover Data From iOS. Otherwise, click Recover Android Data.
- Step 5: Connect your smartphone to your computer using a data cable.
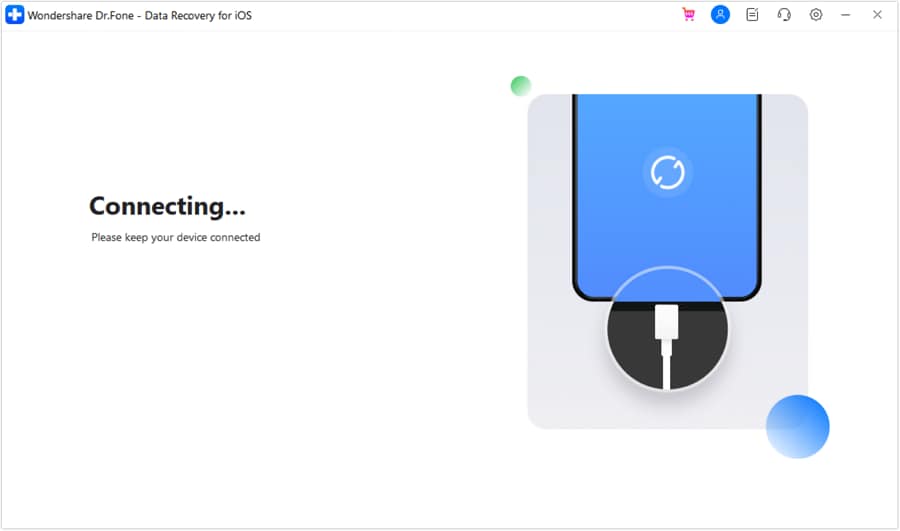
- Step 6: Once Wondershare Dr.Fone has detected and recognized your smartphone, the file types available for data recovery will appear on the computer screen. Check the tickbox next to Contacts. And then click Start Scan.
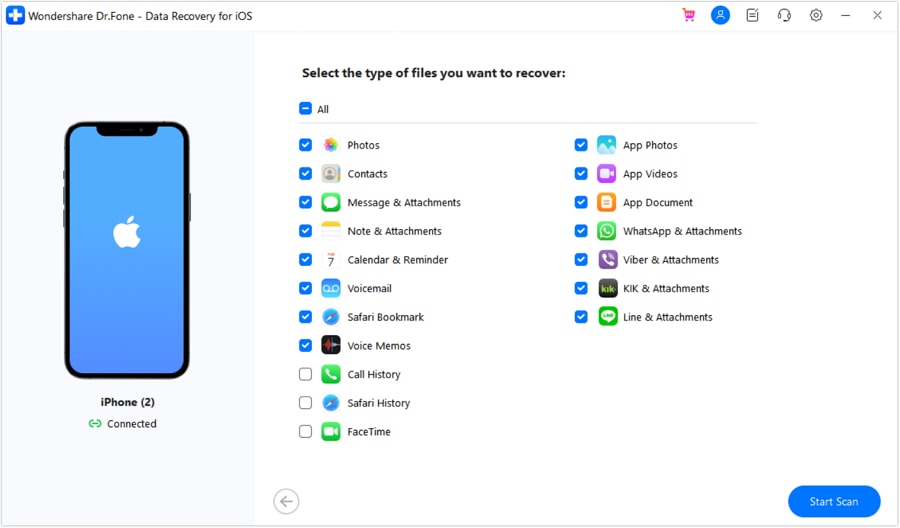
- Step 7: Let Wondershare Dr.Fone scan the files on your device. Don’t use your smartphone or your computer while the process is ongoing to avoid interruption.
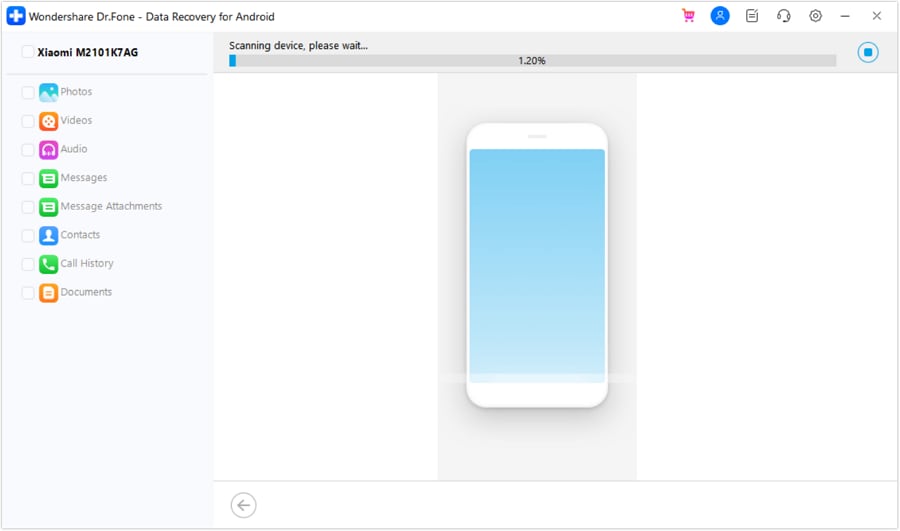
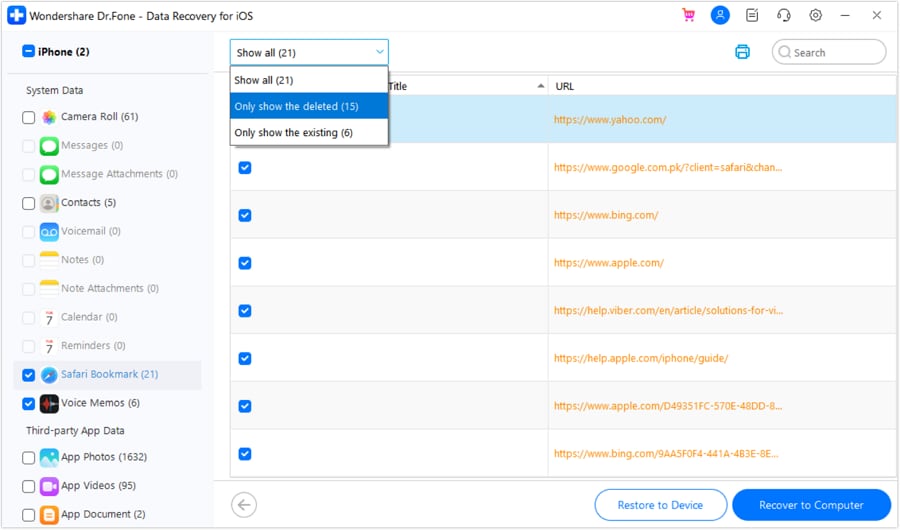
- Step 8: Wondershare Dr.Fone will then display the files that have been fetched from your device. On the left panel, check the tickbox beside Contacts to select all available contact numbers. Alternatively, choose them individually on the main dashboard. For Android, click Recover. Otherwise, click Recover to Device.
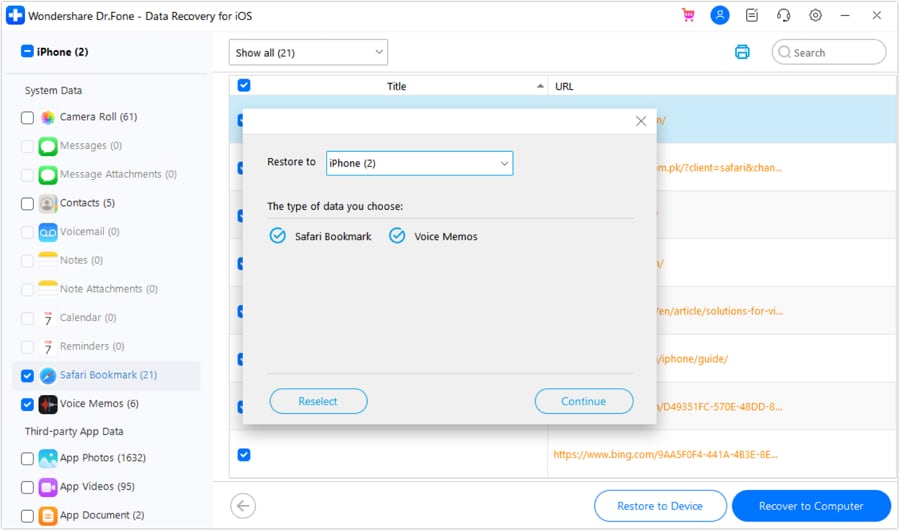
- Step 9: For iOS, confirm your device and the list of files you want to recover. After that, click Continue. Ensure that your Find My iPhone is currently deactivated during the process to avoid unnecessary disruptions. For Android, confirm the specific computer folder where you want to restore your contacts. And then click Recover.
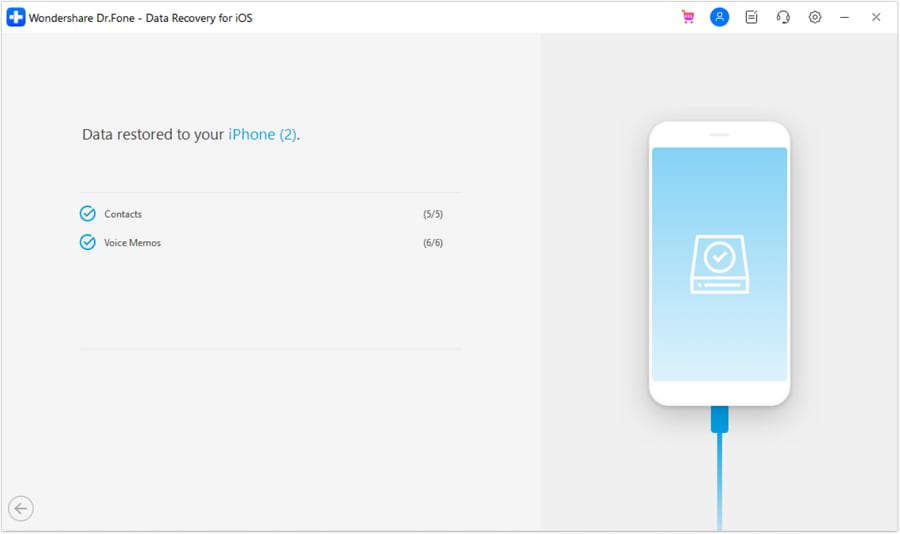
- Step 10: Wondershare Dr.Fone will then let you know once the process has been completed. For Android, your contact list will be restored to your computer. Just copy the recovered directories back to your device.
Conclusion
How to restore deleted contacts on Android and iOS? Questions like this now have so many answers. You can either restore the lost files from your backup or use a data recovery tool like Wondershare Dr.Fone. See? It’s not rocket science. Data recovery is now much easier and more accessible to everyone. Download Wondershare Dr.Fone on your computer. It’s a complete-package mobile solution that can assist you with data backup and recovery.
iPhone Contacts
- Back up iPhone Contacts
- Manage iPhone Contacts
- 1. Export Contacts from iPhone
- 2. Manage iPhone Contacts
- 3. Find and Merge Contacts on iPhone
- 4. Share Contacts on iPhone
- 5. Get iPhone Contacts from iTunes
- 6. Export iPhone Contacts to CSV
- 7. How to Export iPhone Contacts to a VCF|vCards
- 8. Delete Contacts from iPhone
- 9. Full Guide on Managing iPhone Contacts
- 10. Print Contacts from iPhone
- 11. View iPhone Contacts on Computer
- 12. Edit/Delete/Merge Contact on PC
- Recover iPhone Contacts
- 1. Recover Deleted Contacts on iPhone
- 2. Recover iPhone Deleted Text Message
- 3. Recover iPhone Deleted iMessages
- 4. Recover iPhone Deleted Photos
- 5. Recover Permanently Deleted Data
- 6. FonePaw VS Dr.Fone
- 7. See Blocked Messages on iPhone
- 8. Recover Data from Dead iPhone
- 10. Recover iPhone Deleted Text Message
- 11. Recover Contacts Without Backup
- Transfer Contacts from iPhone
- 1. Sync iPhone Contacts to Outlook
- 2. Transfer Contact without iCloud
- 3. Transfer from iPhone to iPhone
- 4. Transfer Contact With/Without iTunes
- 5. Transfer Contact from iPhone to Android
- 6. Sync Contacts from iPhone to iPad
- 7. Export from iPhone to Excel
- 8. Transfer Contact from iPhone to PC
- 9. Copy Contacts from iPhone to SIM
- Transfer Contacts to iPhone
- 1. Android to iPhone Transfer Apps
- 2. Transfer from Android to iPhone
- 3. Transfer from Android to iPhone XS
- 4. Transfer from Huawei to iPhone
- 5. Transfer from Sony Xperia to iPhone
- 6. Transfer from Samsung to iPhone
- 7. Import Contact from Excel to iPhone
- 8. Import Contact from Gmail to iPhone
- 9. Import Contacts to iPhone
- 10. Sync Outlook Contacts to iPhone
- 11. Transfer Contact from PC to iPhone
- iPhone Contacts TiPs



Daisy Raines
staff Editor