How to Bypass FRP on Motorola Phones?
If your Motorola phone is stuck on the Google verification screen after a reset, you may not be able to finish setup and access the device normally. This usually happens when Factory Reset Protection (FRP) is triggered and the previously synced Google account cannot be verified.
In this situation, a guided desktop tool can help you remove the FRP lock on Motorola models. Wondershare Dr.Fone – Screen Unlock (Android) provides a dedicated Android FRP removal workflow for Motorola phones.
Follow the guide below to use Dr.Fone - Screen Unlock (Android) to unlock a Moto phone. Before you begin, make sure you are using the latest version of Dr.Fone and keep your device ready for a stable USB connection during the full process.
Supported Motorola Models with MTK Chips:
- Moto E Series: Moto E6 Plus / Moto E6s (2020) / Moto E7 / Moto E7 Power / Moto E15 / Moto E20 / Moto E22 / Moto E22i / Moto E22s / Moto E32s / Moto E5
- Moto G Series: Moto G8 Power Lite / Moto G13 / Moto G15 / Moto G15 Power / Moto G22 / Moto G23 / Moto G24 / Moto G24 Power / Moto G31 / Moto G41 / Moto G72 (Beta Test) / Moto G86 5G / Moto G86 Power / Moto G100 Pro / Moto G05 / Moto G Power (2022) / Moto G Play (2023) / Moto G Stylus (2023)
- Moto Edge / Razr / Think / S Series: Edge 50 Neo / Edge 60 / Edge 60 Fusion / Razr 50 / Razr 2024 / ThinkPhone 25 / Moto S50
- Moto Razr / Foldables: Razr 50 / Razr 2024
- Moto Tab: Tab G20
These cover multiple generations and MediaTek-based models. See the full list >>
Manage Your Phone Wherever You Go
🔔 Disclaimer:
Dr.Fone is purposefully designed to remove the lock, restoring your device to its full potential. This software is intended exclusively for personal use. Any form of misuse, including but not limited to using Dr.Fone for commercial or illegal purposes, is strictly prohibited.
Step-by-Step Guide to Bypass FRP on Motorola Phones with MTK Chips
Launch Wondershare Dr.Fone on your computer and connect your Motorola phone. From the main interface, go to Toolbox > Screen Unlock to open the dedicated unlocking toolkit in a new window.

On the next screen, choose Android to continue.

Then select Remove Google FRP Lock from the available options to begin the Google account verification removal process.

When the supported Android brand list appears, choose Motorola and click Start. This lets Dr.Fone load the correct removal workflow for your device brand.

From the on-screen hardware options in the product interface, choose MediaTek GPU and click Start to move to the next step.

Note: Make sure you choose the option shown in the Dr.Fone interface for your supported Motorola device. You can check the supported models and chipsets by clicking the ❔ icon.
Dr.Fone will detect the connected phone model and begin downloading the matching USB driver required for the process. Wait until the download is complete. After that, the program will continue automatically.

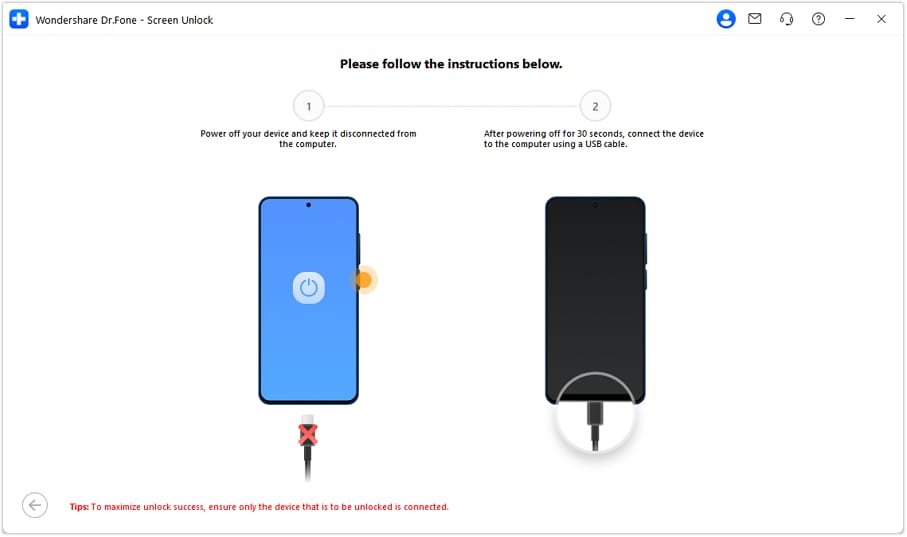
Disconnect the phone from the computer, power it off completely, and wait about 30 seconds. Then reconnect it to the computer with a USB cable.
Note: Keep only the Motorola phone that needs unlocking connected to the computer during the whole process. This helps improve device recognition and overall success stability.
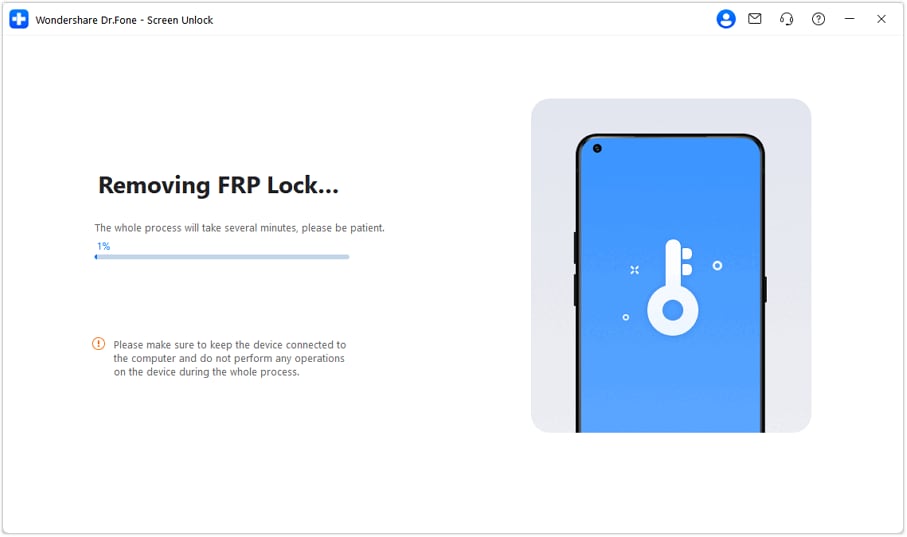
After the device is connected again, Dr.Fone will detect it and start removing the FRP lock. Keep the phone connected and do not interrupt the process while the software is working.
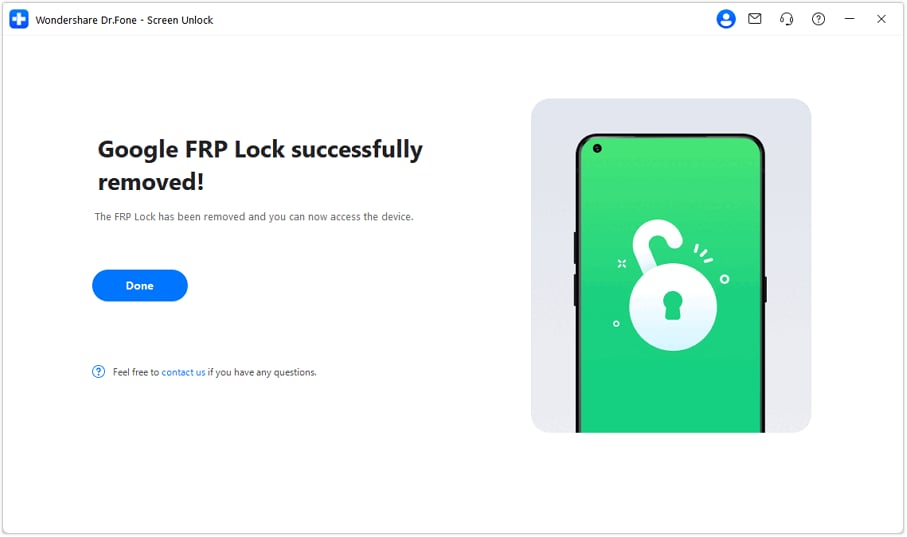
When the process is finished, a confirmation message will appear in Dr.Fone. You can then turn on your Motorola phone and continue using the device without being blocked by the Google verification screen.
Congratulations! The FRP lock has been successfully removed from your device.
WHAT YOU'LL NEED

Dr.Fone provides a complete set of tools for solving all iOS/Android phone problems.
Need help?
You might find the answer to your question in the FAQ or additional information below: