
iPhone Not Charging After Water? 9 Tested Ways to Fix It Fast [2026]

Jun 11, 2026 • Filed to: Phone Repair Solutions • Proven solutions
 TL;DR:
To safely restore charging capabilities to a water-exposed iPhone, immediately power off the device and let it air dry in a well-ventilated area for 24 to 48 hours to prevent short circuits.
● Strictly avoid using rice or external heat sources to dry the device, as these methods can bend connectors, trap dirt, and permanently damage the battery or internal circuits.
● If the liquid detected warning persists after the port is completely dry, clearing system glitches using Dr.Fone - System Repair (iOS) can resolve false software alerts without data loss for devices up to the iPhone 17 Series running iOS 26.
● Bypassing the moisture sensor to force a charge risks destroying the main board, which requires paid accidental repair through an Authorized Apple Repair Center since liquid damage falls outside standard warranty coverage.
Ask AI for a summary
 ChatGPT
 Perplexity
 Gemini
 Claude
 Grok
Grok
Any liquid can temporarily disrupt your iPhone's charging system or trigger built-in safety measures that block power flow. So, if you have encountered the iPhone not charging after water issue, this guide has got you covered.
This guide reveals 9 tested ways to fix your iPhone won't charge after getting wet with detailed steps. It will safely restore power and get your phone working again without risking further damage.
- Part 1. Why Your iPhone Won't Charge After Getting Wet
- Part 2. How to Fix iPhone Not Charging After Water: 5 Stages & 9 Proven Ways
- Stage 1. Immediate Safety Actions (Stop Further Damage)
- Stage 2. Drying and Waiting Methods (Restore Safety Before Charging)
- Stage 3. Testing and Workarounds (Identify the Problem Source)
- Stage 4. System-Level Fixes (Address Software Triggers)

- Stage 5. When to Seek Professional Help (Hardware Repair)
- Part 3. Prevent Future Water-Related Charging Issues
Part 1. Why Your iPhone Won't Charge After Getting Wet
Now that you are on a quest to resolve the iPhone won't charge after getting wet issue, review this part. Here, you'll get to know why this issue happens, its causes, and consequences.
What Happens Inside Your iPhone When It Gets Wet?
When water enters your iPhone, it can get into small components and cause immediate damage or damage later. Any moisture that gets behind the seals or gets trapped in the ports can lead to shorts, rust, and power issues. It can damage the battery, motherboard, screen, or camera, causing the phone to function poorly and sensor damage.
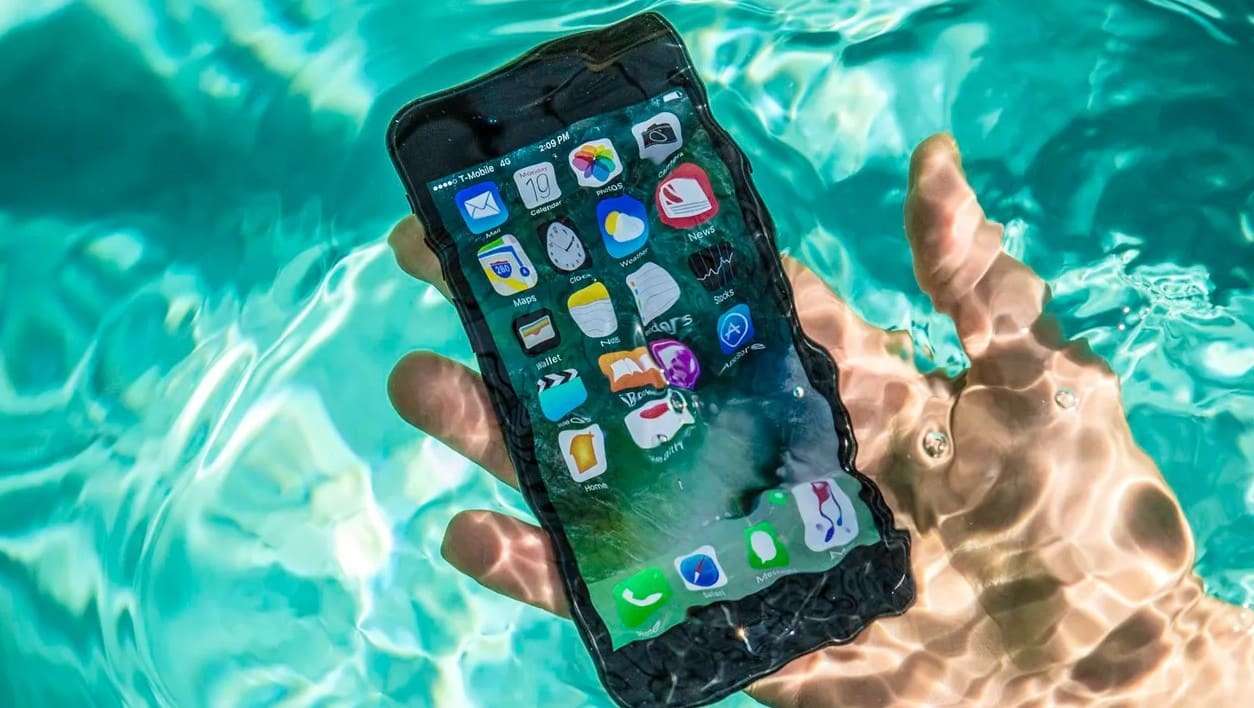
Even after the phone has dried, rust can continue to grow and cause the phone to randomly shut off or have permanent damage. Most of the time, it takes a professional repair or deep cleaning to correct it and prevent other problems from occurring.
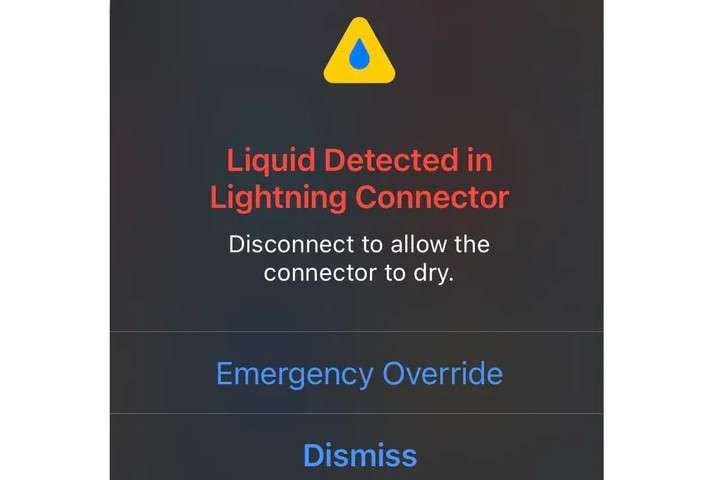
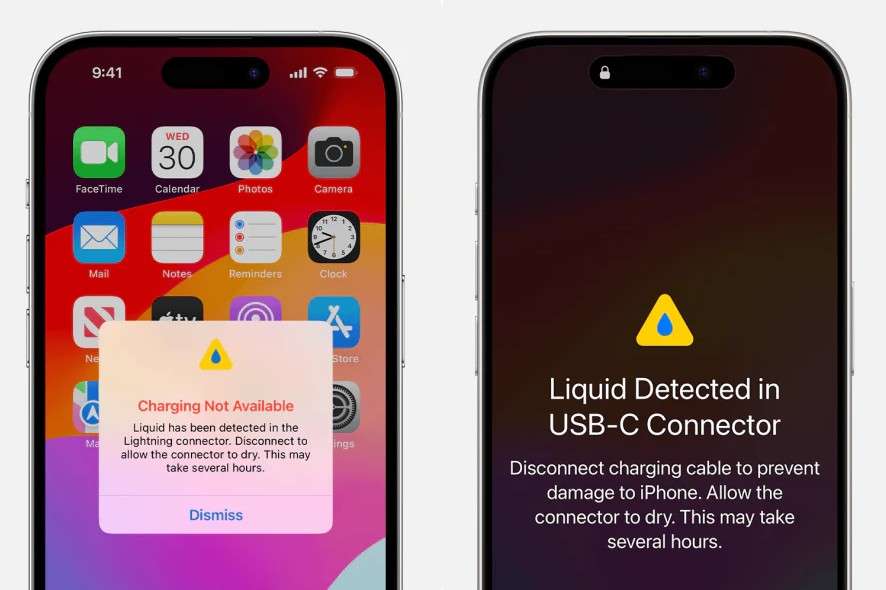
Why You See Liquid Detected in the Lightning Connector
While dealing with the iPhone water damage, users get "liquid detected in the lightning connector" for numerous reasons, given below:
- Rain or spills cause wet ports and trigger moisture sensors.
- Liquid on cables or plugs makes the iPhone detect moisture.
- Alert stops the charge to avoid short circuits or damage.
- The charge block protects port pins and device hardware.
- Temperature shifts cause moisture and trigger warning alerts.
Common Causes of Water Damage or Charging Issues
Before you fix water damaged iPhone, review the major causes behind this issue:
| Cause/Source | How It Happens | Common Entry Points | Potential Outcomes |
|---|---|---|---|
| Submersion in Water | Dropping a phone in the sink, pool, toilet, etc. | Speaker, mic, port, seams | Internal short-circuit, corrosion, no power |
| Heavy Rain or Splashes | Use in the rain, the kitchen, the bathroom, or during sports | Charging port, SIM tray | Failed charging, display damage |
| Spilled Drinks (Juice, Soda, Coffee) | Sticky/sugary liquids entering the device | Screen, charging port | Accelerated corrosion, residue, battery issues |
| Sweat or High Humidity | Prolonged exposure to sweat or damp areas | SIM tray, rear glass, buttons | Foggy camera, face ID issues |
| Physical Damage (Cracks/Gaps) | Cracked screen, back glass, or loose/old port seals | Screen, back, cameras | Compromised water resistance, moisture entry |
Part 2. How to Fix iPhone Not Charging After Water: 5 Stages & 9 Proven Ways
If liquid has been detected in the lightning connector and you want to fix it, adhere to the simple solutions given below:
📍 Stage 1. Immediate Safety Actions (Stop Further Damage)
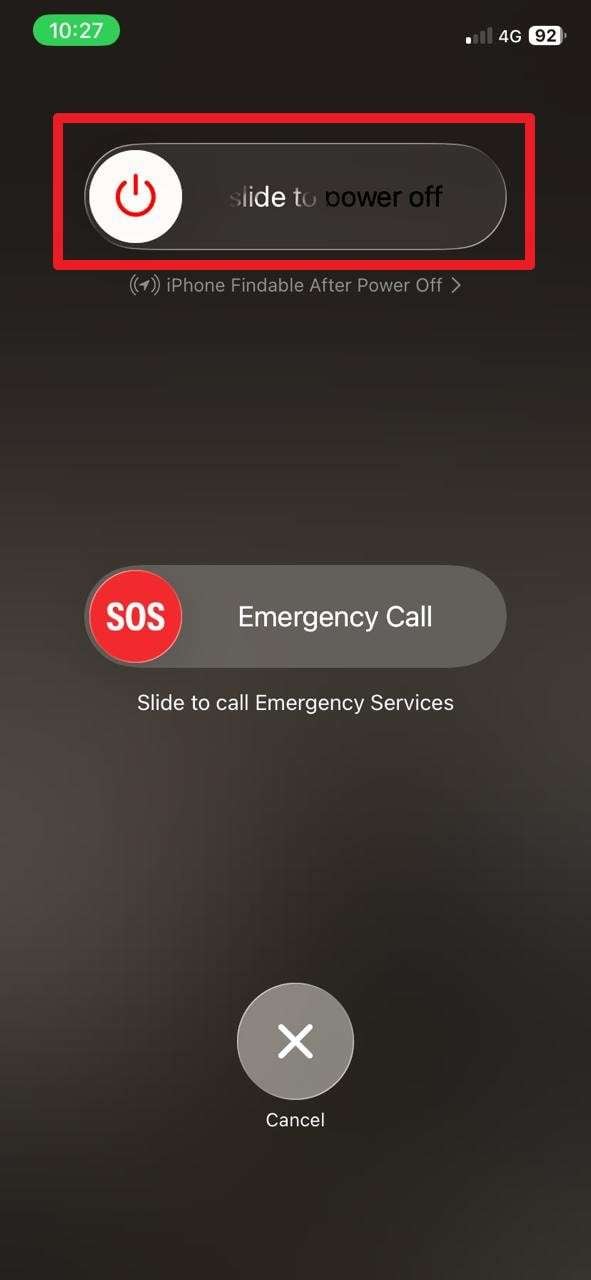
Fix 1. Power Off Your iPhone Immediately
Power off your iPhone right after water exposure, especially if it does not charge. This is also effective in preventing short circuits and any further damage to the device. This also reduces corrosion and errors, protects hardware, and protects your data. So, if you power off the device via the given steps, it will increase the chance of repair success:
Instructions: Press the "Power" and "Volume Up" buttons at once and slide the "Slide to Power Off" slider as it appears.
Fix 2. Remove All Accessories and Components
You are also advised to remove all the accessories connected to the device to prevent internal damage. Doing so will make water evaporation and airflow better from ports and SIM trays. This will also prevent the water from spreading to other parts and reduce the risk of a short circuit.
📍 Stage 2. Drying and Waiting Methods (Restore Safety Before Charging)
Fix 3. Dry the iPhone Safely — No Heat or Rice!
Don't use heat or rice to dry the phone if the iPhone saying liquid detected alert appears in the lightning connector. These methods can damage the circuits and ports, and heat from dryers or sunshine can bend the connectors and hurt the battery.
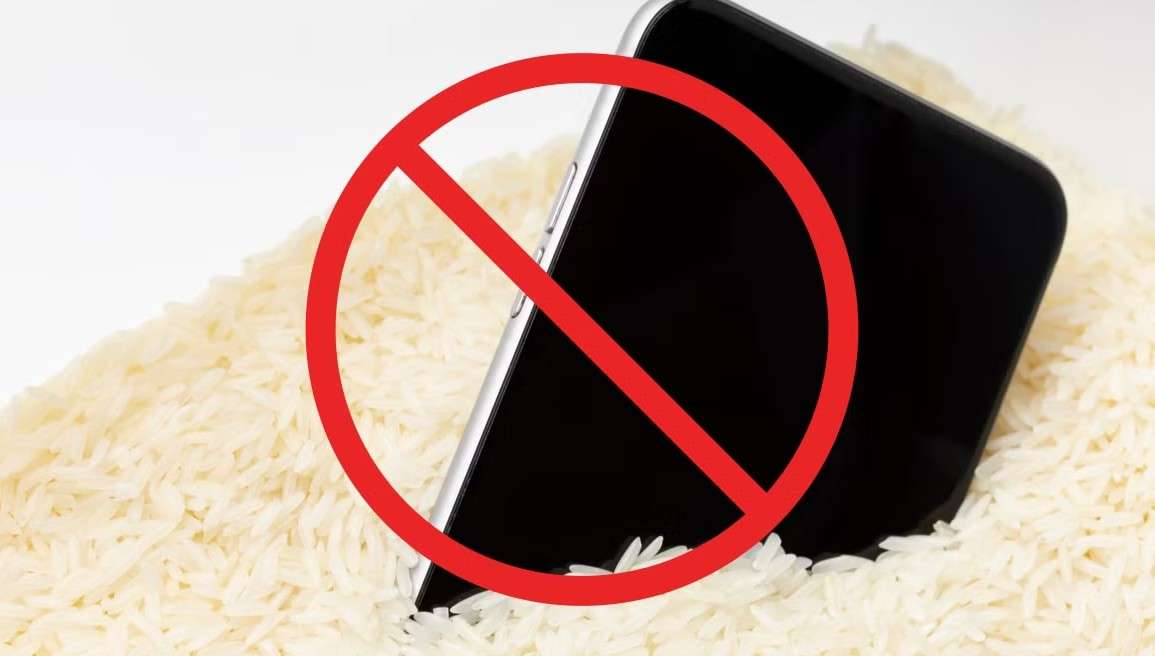
So the safest way is to let the phone dry in a cool and well-ventilated place for one or two days. This will ensure that it doesn't get hot, the parts won't be damaged, and dirt won't accumulate.
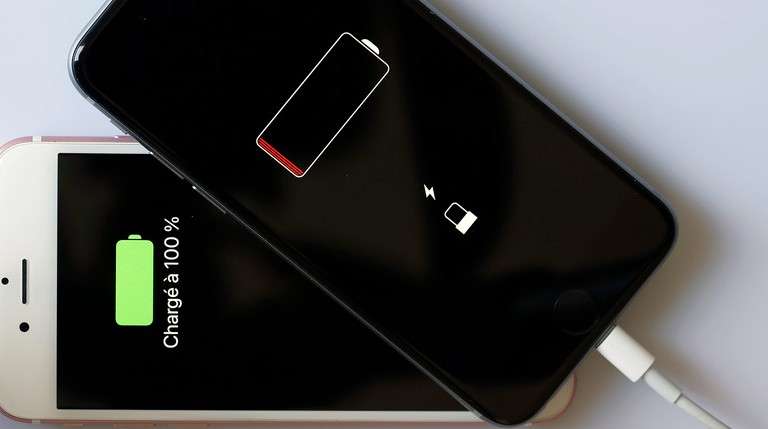
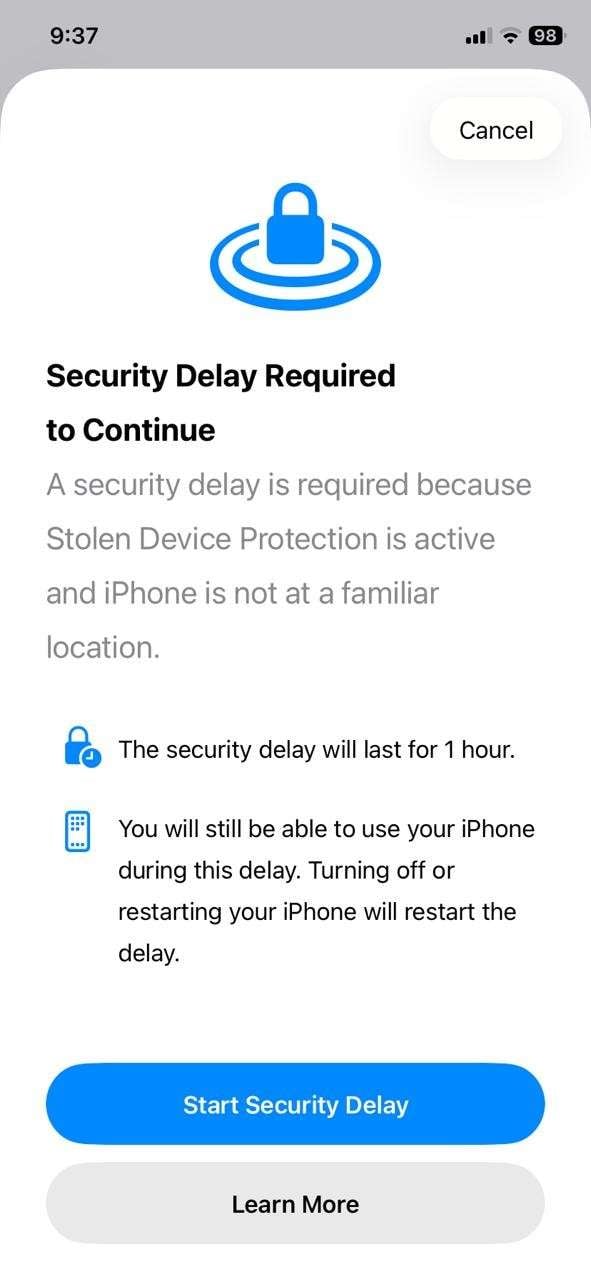
Fix 4. Wait for the "Liquid Detected" Warning to Disappear
It's better if you wait for the alert to disappear before charging the phone to prevent the hardware damage from moisture or a short circuit. This is a necessary step because the device's sensor detects wetness in the connector and blocks charging until it is safe. If you charge too soon, it will corrode the pins or damage the logic board.
📍 Stage 3. Testing and Workarounds (Identify the Problem Source)
Fix 5. Inspect and Test Charging Equipment
If iPhone says water in charging port, why not check the charging equipment and see what's causing the issue? Water may affect not only the phone's port but also cables, adapters, and power sources. Hence, if you check the cables and port for debris, you can determine if the issue lies in the phone or the equipment.
📍 Stage 4. System-Level Fixes (Address Software Triggers)
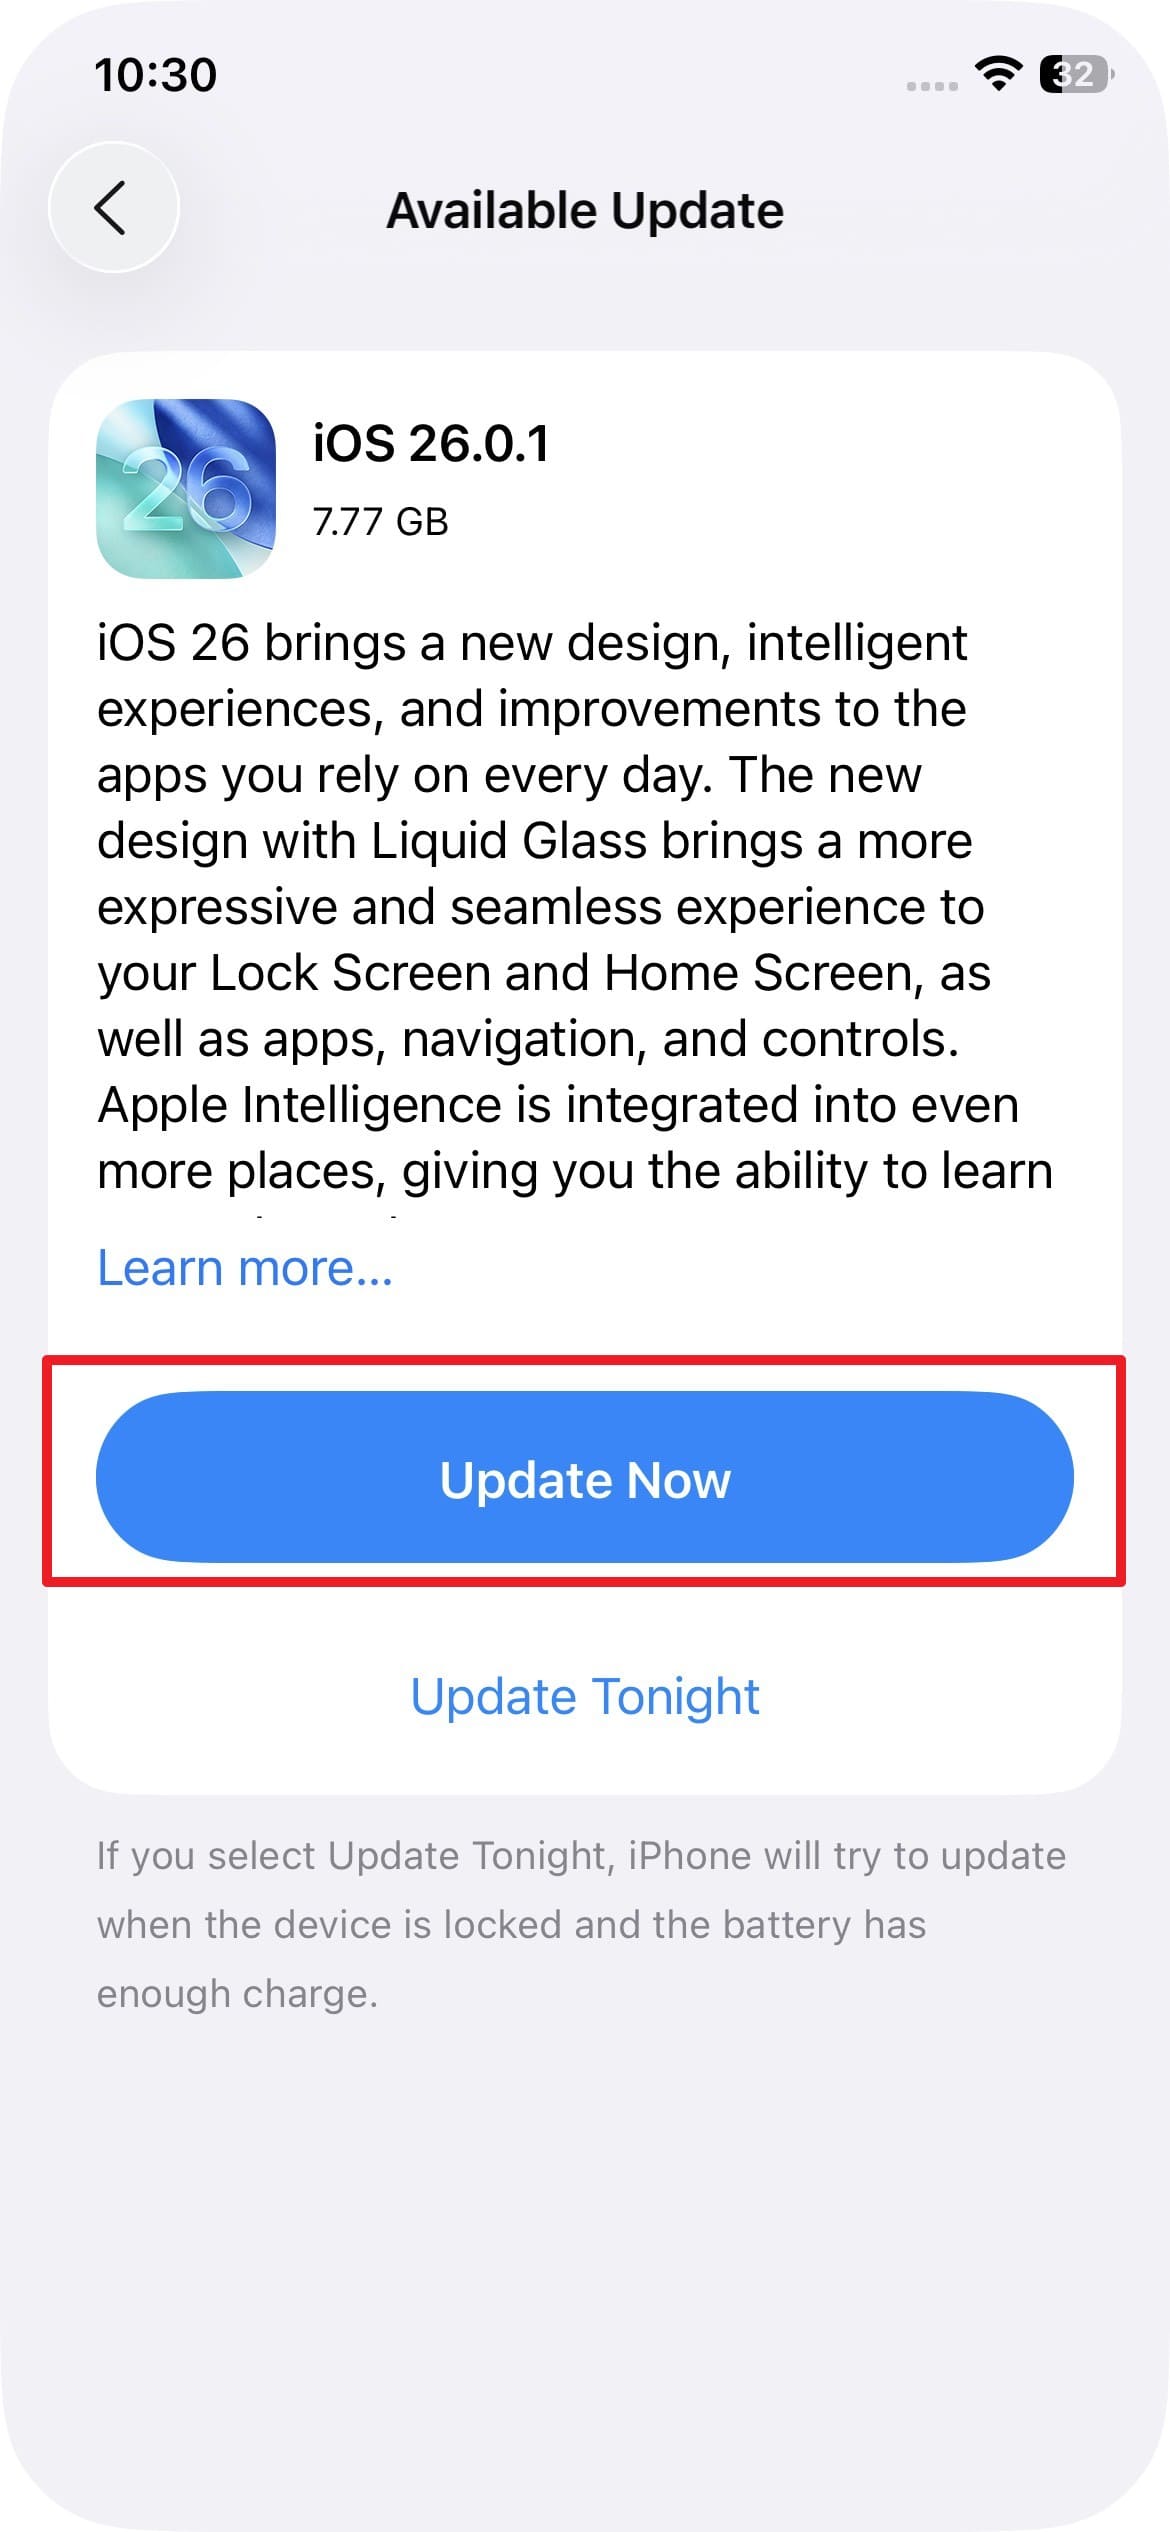
Fix 6. Update to the Latest iOS Version
Experts recommend updating the iOS to the latest version since it will fix charging problems after water exposure. Apple updates often include patches that improve charging behavior, moisture detection, and power management. Water exposure can cause software faults even after the phone dries, so updating helps correct false alerts. It also improves battery control, device safety, and compatibility with cables or chargers, as shown:
- Step 1. Choose the "General" settings and pick the "Software Update" option from the given list.
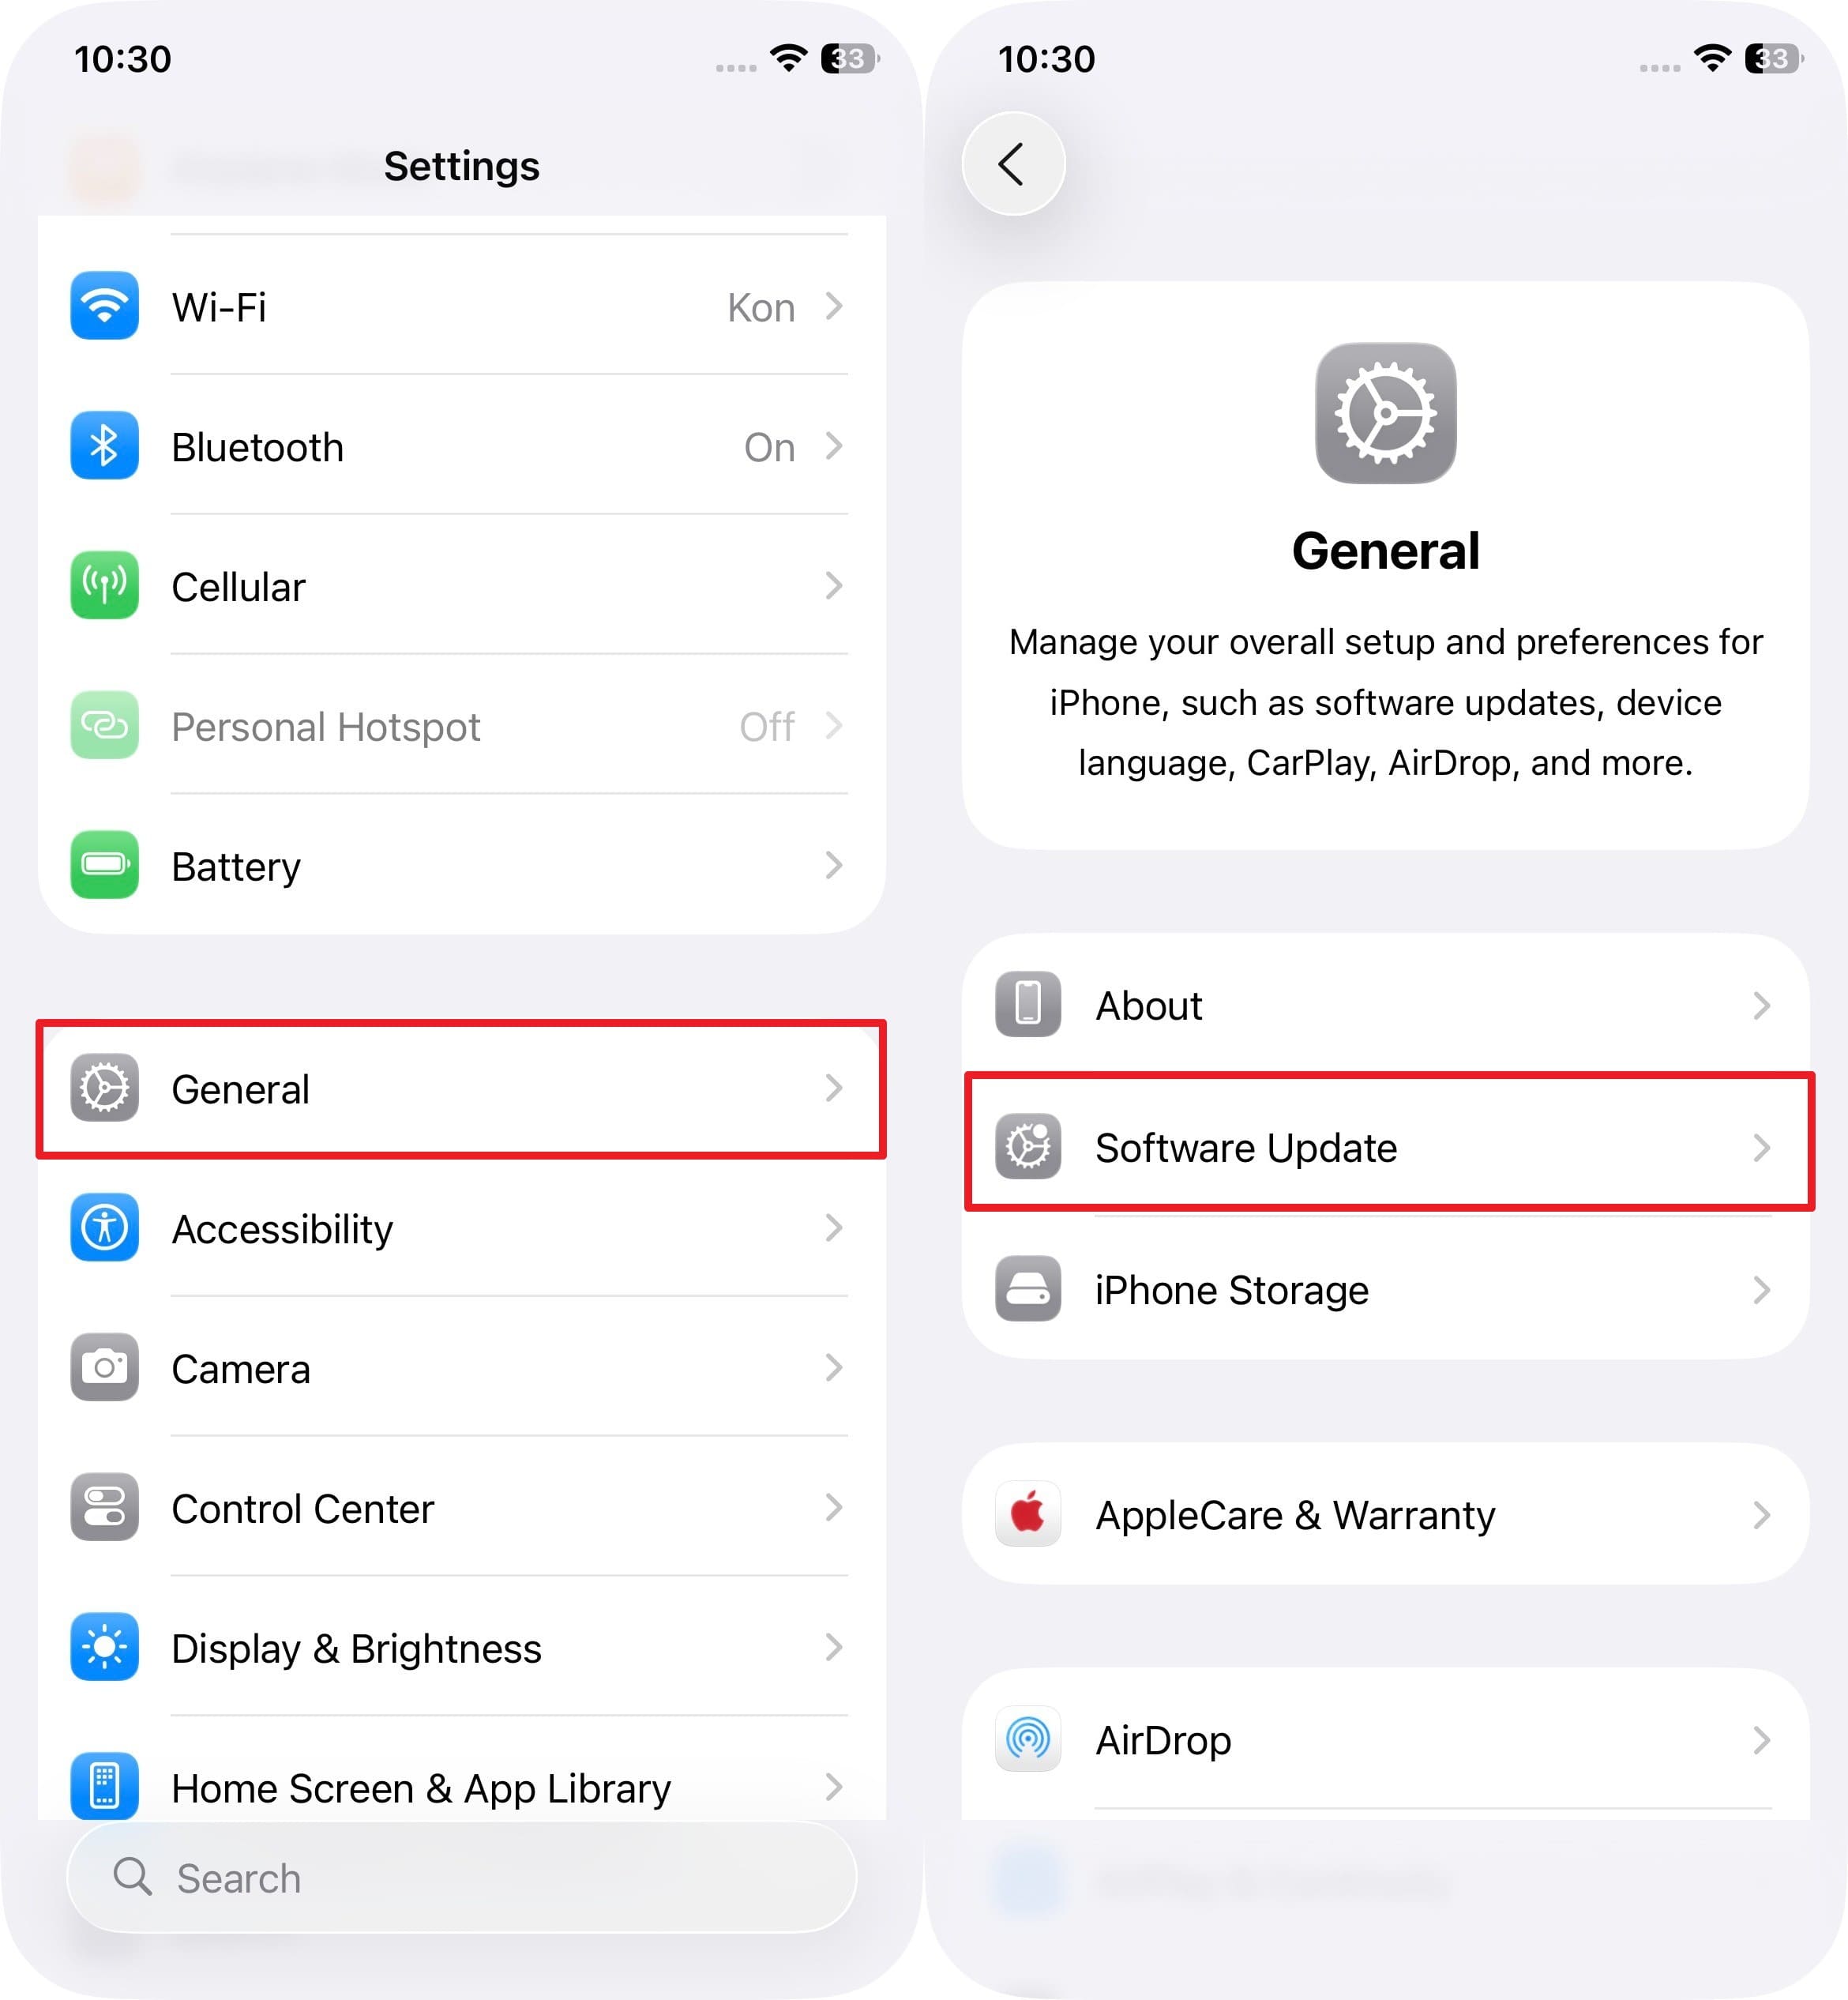
- Step 2. If you haven't updated your phone recently and you have an update available, press the "Update Now" button.
Fix 7. Reset All Settings on Your iPhone
For those asking, can a waterlogged iPhone be fixed? Try to reset all the network settings and see if this works. Software conflicts or incorrect system settings can block normal charging even after the phone dries. So, if you reset the settings, it will restore power, port, and accessory configurations without deleting personal data. This solution also clears system errors and re-enables stable charger communication, as illustrated below:
- Step 1. Select "Transfer or Reset iPhone" from the General settings, then choose "Reset" and select the "Reset All Settings" option.

- Step 2. Enter the device passcode or Face ID and follow the given instructions.
Fix 8. Repair iOS System Glitches Using Dr.Fone — System Repair (iOS)
Use a system repair solution like Dr.Fone - System Repair to fix the problem if it is related to system-level issues. The tool is designed to handle 150+ iOS system issues, and the usage is simple for beginners and professionals. If your phone also comes under the category of the latest iOS 26/iPadOS 26 and iPhone 17 Series, the tool will just enter the phone in recovery mode to fix the iPhone keeps saying liquid detected alert.
Additionally, users can easily enter Recovery Mode and Exit DFU Mode without paying charges, and the process is fully guided. Above all, you can upgrade or downgrade iOS/iPadOS 26 without jailbreak or iTunes, which makes Dr.Fone a versatile option. It also allows you to reset your iPhone without a password or iTunes and repair iOS or iPadOS issues like a pro.
Dr.Fone - System Repair (iOS)
Repair iOS System Errors Without data loss.
- Only fix your iOS to normal, no data loss at all.
- Fix various iOS system issues stuck in recovery mode, white Apple logo, black screen, looping on start, etc.
- Upgrade and Downgrade iOS without iTunes at all.
- Work for all iPhone/iPad/iPod Touch, running on all iOS versions


- Step 1. Choose Dr.Fone - System Repair Tool & iOS. Opt for the "System Repair" tool from the Toolbox and, within the "iOS Repair" section, choose the "Repair Now" button as you pick the "iOS" option.

- Step 2. Pick the Standard Mode to Enter the Recovery Mode. Go for the "Standard Repair" mode to avoid data loss and enter the Recovery Mode by picking the "Enter Recovery Mode" button or choose the "Guide" button for instructions. As the tool detects iOS firmware, hit the "Download" button beside it and wait for the installation/verification.

- Step 3. Start the Repair After Firmware Installation. When it ends, choose the "Repair Now" button, wait for the process to end, and pick "Done" to finish.

4,624,541 people have downloaded it
📍 Stage 5. When to Seek Professional Help (Hardware Repair)
Fix 9. Visit an Authorized Apple Repair Center
When nothing resolves and the iPhone says water in charging port alert, it's better if you visit the Apple Repair Center. Apple technicians use certified tools and genuine parts to diagnose whether the issue is hardware or software related. Authorized centers also protect your data, offer warranty coverage, and provide fast, reliable service. Their recalibration tools restore proper charging behavior and ensure lasting performance.
Part 3. Prevent Future Water-Related Charging Issues
If you want to save yourself from a liquid detected iPhone but not wet alert in the future, follow these tips:
- Keep iPhone Dry: Don't leave your iPhone near sinks, pools, or in damp spots, as a little moisture can damage the charging port or inside parts. Always use your device in dry, shady areas and keep it away from liquids.
- Use a Waterproof Case: A sturdy waterproof case provides an extra layer of protection against spills, rain, and humidity. It helps to prevent corrosion and warns of moisture by protecting sensitive components.
- Dry Hands and Cables: Make sure that your hands and charger are completely dry before you plug in. Any moisture can cause the liquid detection alert to go off or cause short circuits in the charging port.
- Avoid Damp Areas: Do not charge your iPhone in a bathroom, kitchen, or other humid areas. Steam or condensation can enter the port and cause corrosion and charging issues.
- Back Up Your iPhone Regularly: Use Dr.Fone - Phone Backup to create a full copy of your data before any risk of water exposure. It saves photos, messages, app data, and settings safely, allowing easy recovery if water damage occurs.
Conclusion
Summing up, if you want to get rid of the iPhone not charging after water alert, this guide has resolved the query. From basic checks to innovative repairs, this guide has introduced all the fixes with a detailed guide. However, to prevent the issue in the future and have a complete solution, Dr.Fone - System Repair is suggested as a better option.
4,624,541 people have downloaded it
FAQs


iPhone Issues
- iPhone Storage Full
- 1. Stuck on Apple Logo Storage Full
- 2. Erase Content Settings not Working
- 3. iPhone Lagging
- 4. iPhone Running Slow
- iPhone Update Problems
- 1. Stuck on Updating iCloud Settings
- 2. iPhone Frozen During iOS Update
- 3. iPhone Checking for Update Stuck
- 4. iPhone Cellular Update Failed
- 5. iPhone Software Update Failed
- 6. iPhone Stuck on Update Requested
- 7. iPhone Update Error 1110
- 8. iPhone is Findable and Won’t Turn On
- 9. iPhone Won't Update
- 10. Update Server Couldn't Be Contacted
- 8. iPhone & iPad Security Updates
- 9. Update iPhone with/without iTunes
- 10. Can't Download or Update Apps
- iPhone Media Problems
- 1. Apple Music Song Not Available
- 2. iPhone Not Ringing
- 3. iPhone Echo Problem
- 4. iPhone Ringer Problems
- 5. iPhone Plays Music by Itself
- 6. Ringer Volume Changes by Itself
- 7. Music Won't Play on iPhone
- 8. Blurry Photos & Videos on iPhone
- 9. iPhone Volume Problems
- iPhone Sound Problems
- 1. YouTube no Sound
- 2. iPhone Microphone Problem
- 3. Test iPhone Microphone
- 4. Headphones No Sound from iPhone
- 5. No Sound on iPhone Game
- 6. iPhone Sound Not Working
- 7. iPhone Screen Recording no Sound
- iPhone Calling Problems
- 1. iPhone No Sound on Calls
- 2. Screen Goes Black During Call
- 3. iPhone Recent Calls Not Showing
- 4. iPhone Dropping Calls Issue
- 5. iPhone Calling Problem
- iPhone Camera Problems
- 1. iPhone Camera Black
- 2. iPhone Camera Blurry
- 3. iPhone Camera Not Working
- 4. iPhone Front Camera Not Working
- 5. TrueDepth Camera Not Working
- 6.Out-of-Focus Photos on iPhone 15
- iPhone Network Problems
- 1. Airpods Won't Connect to iPhone
- 2. iPhone Disabled Connect to iTunes
- 3. iPhone Not Syncing Problems
- 4. iPhone Internet Not Working
- 5. iPhone Keep Disconnecting from Wifi
- 6. iPhone WIFI Not Working
- 7. PC Not Recognizing iPhone
- 8. iPhone Stuck on Connect to iTunes
- 9. iPhone Not Showing up in iTunes
- 10. iTunes Not Detecting Your iPhone
- 11. iPhone Bluetooth Disconnect
- 12.Apple CarPlay Keeps Disconnecting
- iPhone Screen Problems
- 1. White Spots in iPhone Screen
- 2. iPhone Bleeding Screen
- 3. Turn Off iPhone When Frozen
- 4. Fix Orange Dot on iPhone
- 5. iPhone Green Screen Flickering
- 6. Green Lines in iPhone Screen
- Other iPhone Problems
- ● Manage/transfer/recover data
- ● Unlock screen/activate/FRP lock
- ● Fix most iOS and Android issues
- Free Download Free Download Free Download


Daisy Raines
staff Editor
Generally rated4.5(105participated)