How to Delete Photos from Gallery on Android

Jul 12, 2024 • Filed to: Manage Device Data • Proven solutions
With the increasing use of smartphones for capturing photos, it's common to accumulate many pictures on your Android phone. While it's great to access your memories anytime, anywhere, keeping too many photos on your device can cause clutter and slow down your phone's performance. This is why it's important to regularly delete unwanted pictures from your Android phone.
Deleting photos on Android is important because it can help you free up storage space, making your phone run smoother and faster. Additionally, deleting unwanted photos can help you stay organized, allowing you to easily find the photos that matter most to you.
In this article, we'll provide step-by-step instructions on deleting photos on Android. We'll cover different methods of deleting photos, including removing Google Photos from your phone and deleting photos from your phone's gallery. You'll learn how to delete photos individually or in bulk and how to permanently remove photos from your device. By the end of this article, you'll be equipped with the knowledge and tools to keep your Android phone's photo collection organized and clutter-free.
Part 1. Understanding Photo Management on Android

When managing photos on Android devices, it's important to understand how they can take up storage space and slow down your phone's performance. This is especially true when the average smartphone user takes over 1500 photos annually.
Photos can take up storage space on your phone in several ways. For example, taking photos is stored on your device's internal storage or SD card. Additionally, apps like Google Photos can automatically back up your photos to the cloud, taking up even more storage space.
Regularly deleting photos is important because it can help your free up space on your phone and keep it running smoothly. Over time, unused photos can accumulate and take up valuable storage space. By deleting unwanted photos, you can free up space for new photos and apps and ensure your device runs efficiently.
Keeping your photo library organized is also important. By creating folders and albums, you can easily find the photos you want to keep and delete the ones you don't. This can help you save time and keep your phone clutter-free.
Part 2. How to Delete Photos from Gallery on Android
When deleting photos on Android, the gallery is often the first place to start. The gallery stores all the photos you take or download on your phone. This section will show you how to delete photos from your Android gallery.
Method 1. Selecting Photos to Delete
Before deleting photos from your gallery, selecting the photos you want to delete is important. You can do this by going through your gallery and tapping on each photo you want to delete. Alternatively, you can tap and hold on a photo to enter the selection mode and then tap on the other photos you want to delete.
Step 1: Open the Gallery app on your Android device.
Step 2: Select the photos you want to delete by tapping on them. You can also tap and hold on a photo to enter selection mode and then tap on other photos you want to delete.
Method 2. Deleting Albums Individually
You can do so individually if you only want to delete a few photos.
Step 1: Open the Gallery app on your Android device.
Step 2: Select the photo you want to delete.
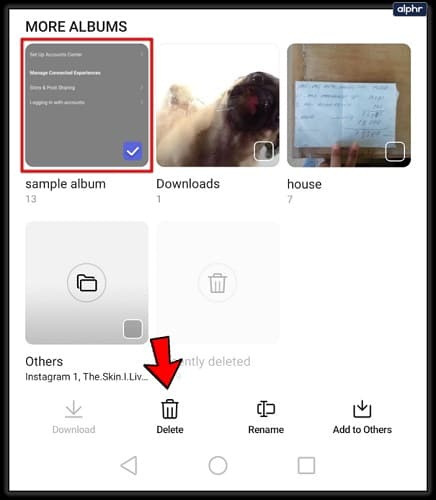
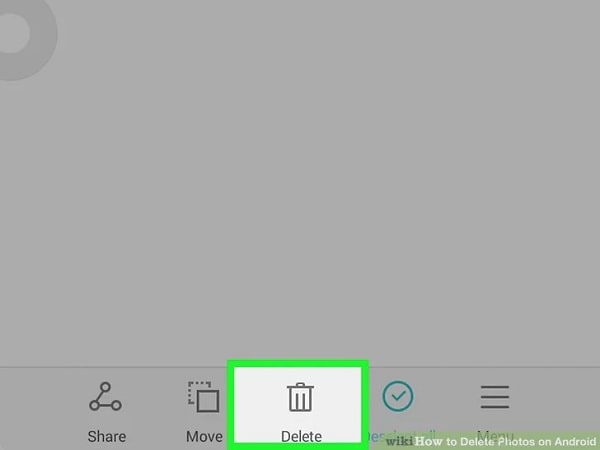
Step 3: Tap on the trash can icon in the upper right-hand corner of the screen.
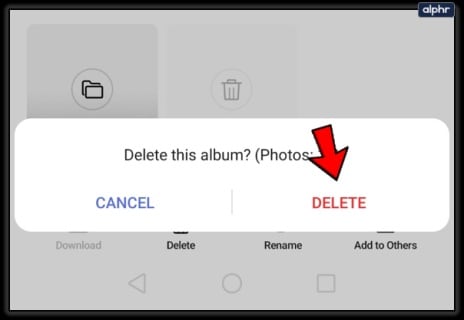
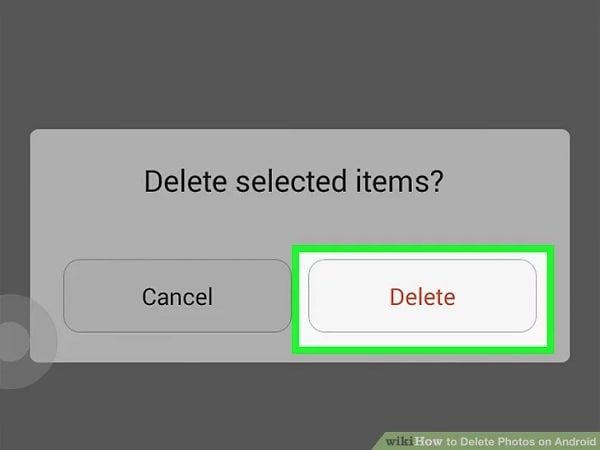
Step 4: Tap Delete to confirm.
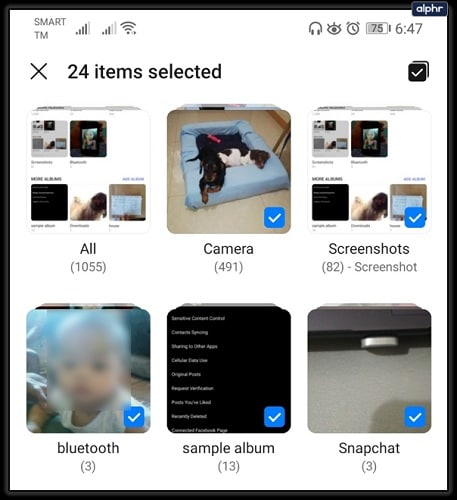
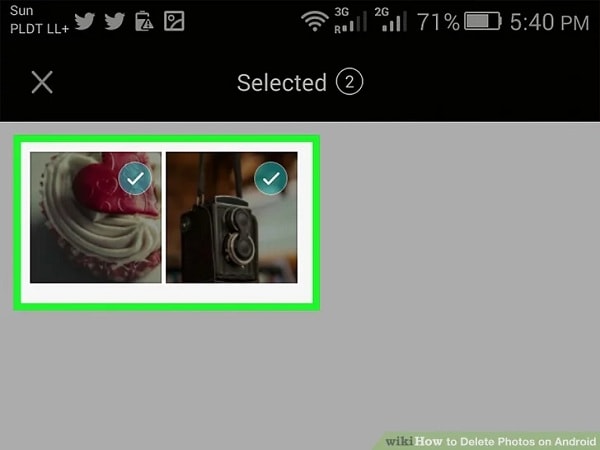
Method 3. Deleting Multiple Photos at Once
If you want to delete multiple photos simultaneously, you can do so using the selection mode.
Step 1: Open the Gallery app on your Android device.
Step 2: Enter selection mode by tapping and holding on a photo or tapping the selection icon in the upper right-hand corner of the screen.
Step 3: Select the photos you want to delete.

Step 4: Tap on the trash can icon in the upper right-hand corner of the screen.
Step 5: Tap Delete to confirm.
Method 4. Permanently Deleting Photos
When you delete photos from your gallery, they are moved to the Trash folder. To permanently delete these photos, you will need to empty the trash.
Step 1: Open the Gallery app on your Android device.

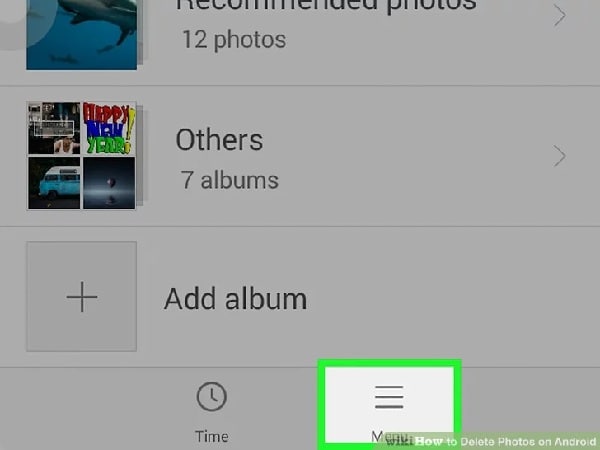
Step 2: Tap on the three-dot menu in the upper right-hand corner of the screen.
Step 3: Select the photos you want to delete.
Step 4: Tap on the trash can icon in the screen's lower right-hand corner.
Step 5: Tap Delete to confirm.
Part 3. How to Remove Google Photos from Phone
Google Photos is a popular app for storing and managing photos on Android devices. However, if you want to free up your phone's storage space or simply prefer a different photo management app, you may want to remove Google Photos from your device. Here's how to do it.
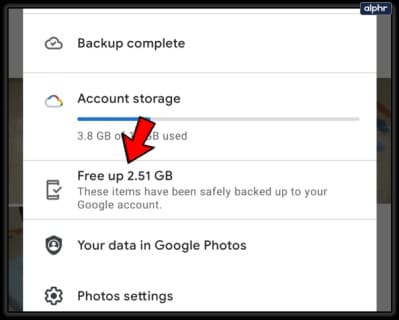
Method 1. Disabling Google Photos Backup
If you've been using Google Photos to back up your photos to the cloud, you'll want to disable this feature before removing the app.
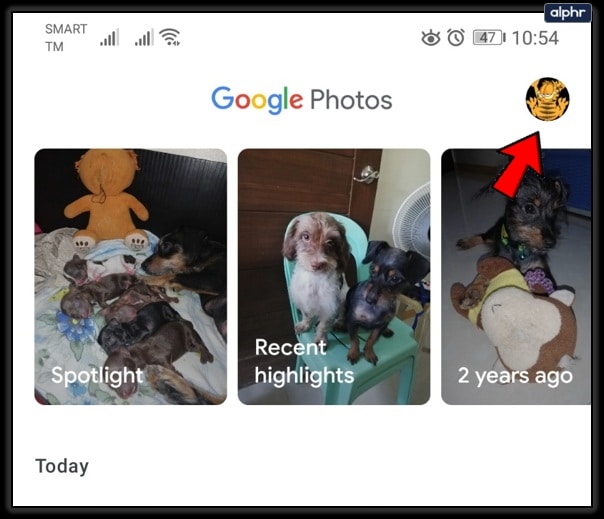
Step 1: Open the Google Photos app on your Android device.
Step 2: Tap on the three-line menu in the upper left-hand corner of the screen.
Step 3: Select Settings.
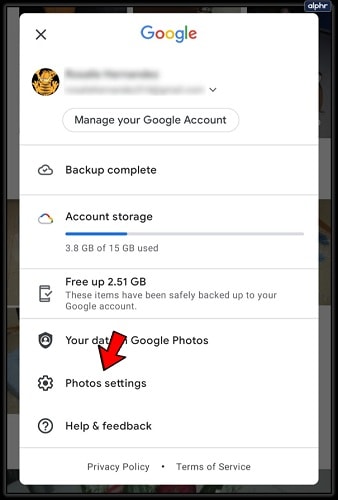
Step 4: Select Back up & sync.
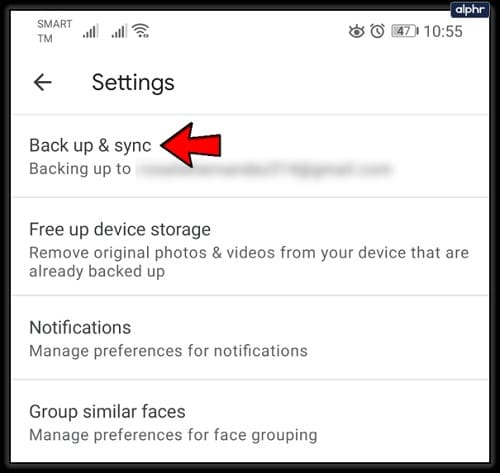
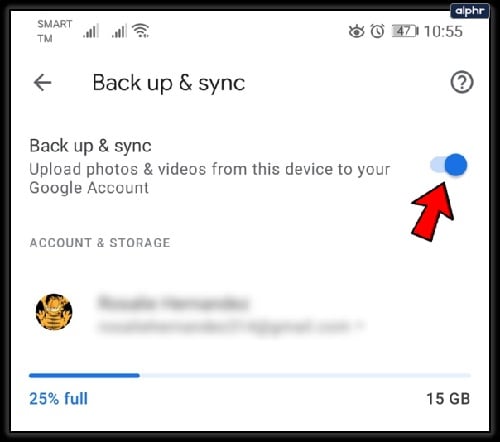
Step 5: Toggle the switch next to Back up & sync to the off position.
Method 2. Removing Google Photos App
To remove the Google Photos app from your Android device, follow these steps:
Step 1: Open the Settings app on your Android device.
Step 2: Select Apps & notifications.
Step 3: Select Google Photos from the list of apps.
Step 4: Select Uninstall.
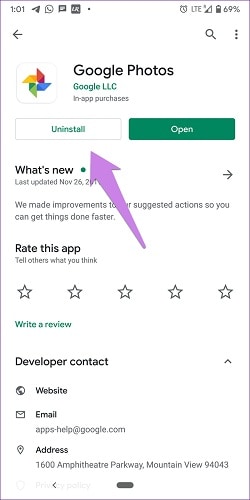
Step 5: Tap OK to confirm.
Method 3. Clearing Google Photos Cache
Even after removing the app, some files associated with Google Photos may still be stored on your device. You must clear the app's cache to completely remove Google Photos and its associated files.
Step 1: Open the Settings app on your Android device.
Step 2: Select Apps & notifications.
Step 3: Select Google Photos from the list of apps.
Step 4: Select Storage & cache.
Step 5: Select Clear cache.

Part 4. Manage your Photos with Wondershare Dr.Fone
Wondershare Dr.Fone is an all-in-one solution for managing photos on Android devices. This powerful tool offers a range of features to help users organize and manage their photo libraries more efficiently.
With Wondershare Dr.Fone, users can easily transfer photos between their Android device and computer and between different Android devices. The software also offers a range of editing tools, allowing users to enhance their photos before sharing them with friends and family.
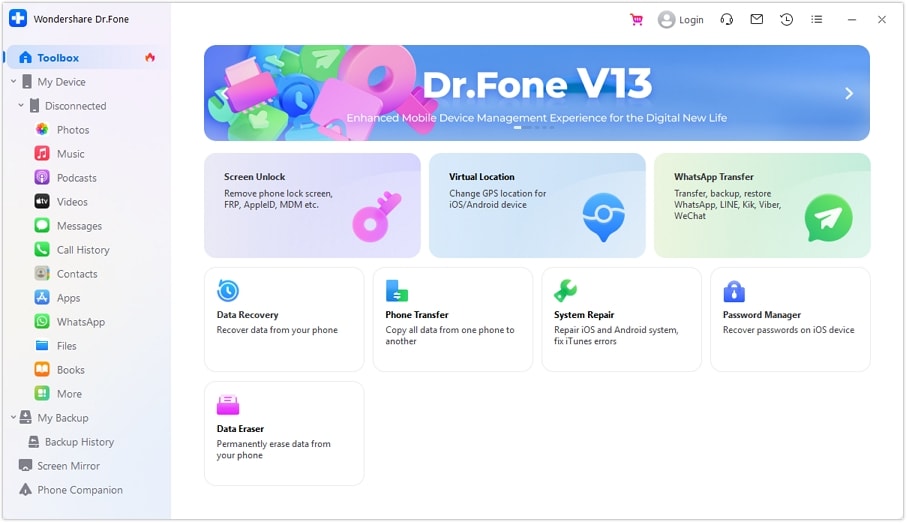
Here are the steps for using Wondershare Dr.Fone to erase all data on your Android device:
Step 1: Download and install Wondershare Dr.Fone toolkit on your computer. Launch it and select Android Data Eraser.
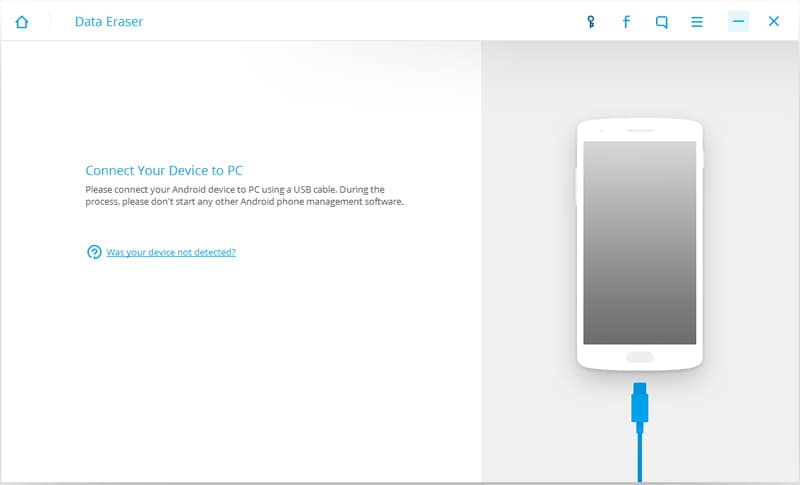
Step 2: Connect your Android device to the computer using a USB cable and enable USB debugging on your phone.
Step 3: Click Erase All Data and enter delete in the text box to confirm. Click Erase Now and wait for the process to finish.
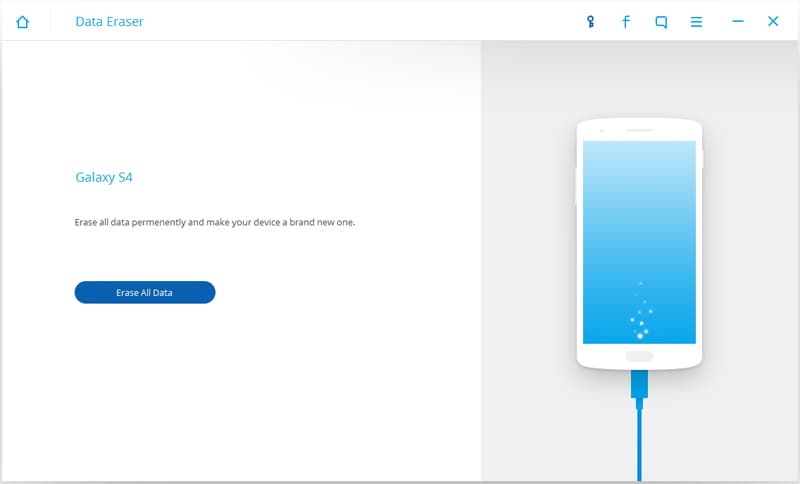
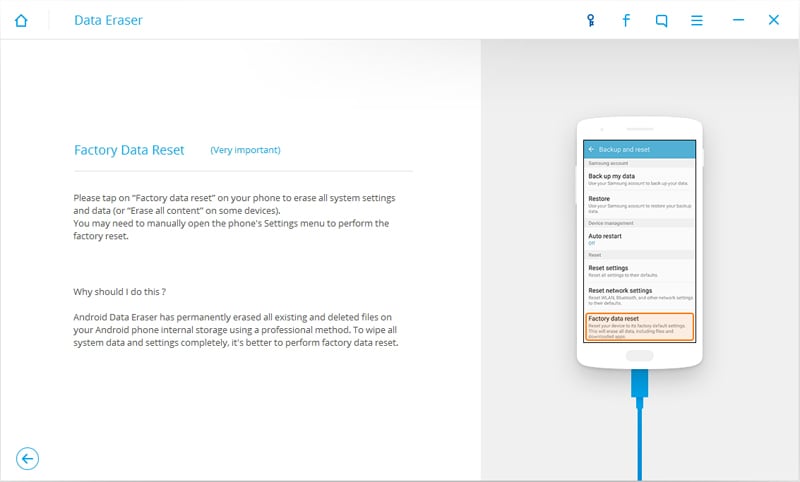
Step 4: Follow the prompts to reset your smartphone to factory settings. Your device will now be cleared of all data and have the settings of a new device.
One of the key features of Wondershare Dr.Fone is its ability to recover deleted photos from Android devices. Whether you accidentally deleted a photo or lost it due to a system crash, Wondershare Dr.Fone can help you recover it quickly and easily.In addition to photo management, Wondershare Dr.Fone offers a range of other features to help users keep their Android devices running smoothly. This software is an all-in-one solution for Android users, from data backup and restoration to system repair and optimization.
Whether you're looking to organize your photo library, recover deleted photos, or keep your Android device running smoothly, Wondershare Dr.Fone is an essential tool for any Android user. Try it today and see how it can help you manage your photos more efficiently.
Part 5: Tips for Managing Photos on Android
Managing photos on your Android device can be daunting, but with these tips and best practices, you can keep your photo library organized and clutter-free.
● Backup your photos to the cloud: Use cloud storage services like Google Photos or Dropbox to automatically back up your photos. This will free up space on your device and ensure your photos are safe and accessible from anywhere.
● Create albums to organize photos: Create custom albums for different events or categories, such as vacations, family gatherings, or work-related photos. This will help you quickly find and share specific photos.
● Use third-party apps to manage photos: Several apps on the Google Play Store can help you manage your photo library more efficiently. Some popular options include PhotoSync, Piktures, and Gallery Doctor.
● Regularly delete unwanted photos: Periodically go through your photo library and delete photos that are blurry, duplicates, or no longer needed. This will help you free up storage space on your device and keep your photo library organized.
Conclusion
Managing photos on Android is essential to ensure your device functions smoothly. Deleting photos from the gallery or removing Google Photos can free up valuable storage space. Additionally, using Wondershare Dr.Fone can help manage your photo library more efficiently. Follow this article's tips and best practices to keep your photo library organized and free up space on your Android device.


Android Erase
- Android Diagnostics
- 1. Fix Android Microphone Issues
- 2. Test NFC on Android Device
- 3. Check Android Device in Minutes
- 4. Apps For Sensor Check Android
- 5. Apps for Testing Device's Hardware
- 6. Tools for Conducting Screen Tests
- 7. Ways to Check Phone's Vibrations
- 8. Check Mobile Signal Strength
- 9.Realme Touch Screen Test Codes
- 10.Android Codes To Test Touch Screen
- 11.Phone Processor Speed Tests
- Erase Android
- 1. Delete Browsing History on Android
- 2. Clear App Data and Cache on Android
- 3. Delete Photos from Android
- 4. Wipe Android When It's Lost
- 5. Wipe Cache Partition on Android
- 6. Delete Text Messages on Android
- 7. Delete WhatsApp Backup
- 8. Wipe Data or Factory Reset
- 9. Erase Android Data Before Selling
- 10. Delete Contacts on Android
- 11.Delete Multiple Contacts on Android
- 12.Wipe Android Phone before Selling
- 13.Delete Photos on Android
- 14.Remove Pre-installed Apps
- 15.Delete Apps on Android
- 16. Access Trash on Android
- Android Reset
- 1. Restart Phone without Power Button
- 2. Reset Phone without Volume Buttons
- 3. Factory Reset Android Phone
- 4. Hard Reset Android Phone Using PC
- 5. Hard Reset Locked Infinix Phone
- 6. Factory Reset Lenovo Phone
- 7. Factory Reset Android Tablets
- 8. Factory Reset Lenovo Tablets
- 9. Format Your Android Phone
- 10. Hard Reset Android Phones
- 11.Reset Android Without Home Button
- 12.Restart Your Android Phone
- 13.Soft Reset Android Devices
- 14.Reset Android without Losing Data
- 15.Ways to Hard Reset Tecno Spark
- 16.Updated Android Factory Reset Code
- Data Erase Apps
- 1. Speed Booster for Android
- 2. Android Cleaners to Boost Device
- 3. Data Erase Apps to Protect Privacy
- 4. Data Eraser Apps to Wipe Android
- 5. 15 Best Cleaning Apps for Android
- Sell Old Android
James Davis
staff Editor