Clean Up Your Contacts in a Flash: How to Delete Multiple Contacts on Android

Jul 12, 2024 • Filed to: Manage Device Data • Proven solutions
One of the main challenges when dealing with many contacts is the potential for information overload. With so many contacts to manage, it can take time to prioritize and respond to each communication effectively. This can lead to missed opportunities, miscommunications, and even damage to meaningful relationships.
Another challenge is ensuring the security and privacy of your contacts. With so much personal information stored in your contact list, it's essential to take steps to protect that information from unauthorized access or theft. This may involve implementing secure storage practices, such as using encrypted storage or limiting access to only trusted individuals.
Finally, as your contact list grows, staying organized and maintaining consistency in how you store and label each contact can become increasingly difficult. This can make it challenging to find the information you need quickly and accurately and may lead to confusion or mistakes. Establishing clear protocols for managing your contacts and using tools and software that can help delete multiple contacts from Android is crucial.
Part 1. Overview of Android Contacts
Android Contacts is a built-in app on Android devices that allows users to manage and organize their contacts. A person's name, phone number, and email address may all be stored in one convenient spot.
Some of the key features of Android Contacts include the ability to create and edit contacts, merge duplicate contacts, import and export contact information, and sync contacts with other accounts such as Google or Microsoft Exchange. The app also allows users to organize their contacts by creating groups, adding tags, or setting up favorites to access frequently contacted individuals quickly.
Using Android Contacts to manage your contacts is essential because it helps you avoid clutter in your contact list by keeping your contacts organized and up-to-date. With the ability to merge duplicates and automatically sync with other accounts, you can ensure that you have a single, reliable source for all your contact information. Additionally, the app's organizational features make it easy to find the contacts you need quickly and efficiently, reducing the risk of missed communication or lost opportunities.
Part 2. How to Delete Multiple Contacts on Android
Managing contacts on an Android device is essential for users to stay organized and communicate effectively. However, keeping track of them all can become overwhelming as the number of contacts grows. Duplicate, outdated, or irrelevant contacts can make finding the contacts you need easier. One solution to this problem is to delete multiple contacts at once.
In this part, we'll explore the various methods for deleting multiple contacts on an Android device and tips for not accidentally deleting important contacts. Whether you're looking to streamline your contact list or declutter your device, this guide will provide the tools to manage your contacts easily.
Using the Google Contacts app
Google Contacts app is a convenient tool for managing your contacts, allowing you to easily add, edit, and delete contact information. Suppose you need to remove multiple contacts at once. This can also be done quickly and easily using the app’s bulk delete feature. In this manner, here is a step-by-step guide on deleting multiple contacts using the Google Contacts application.
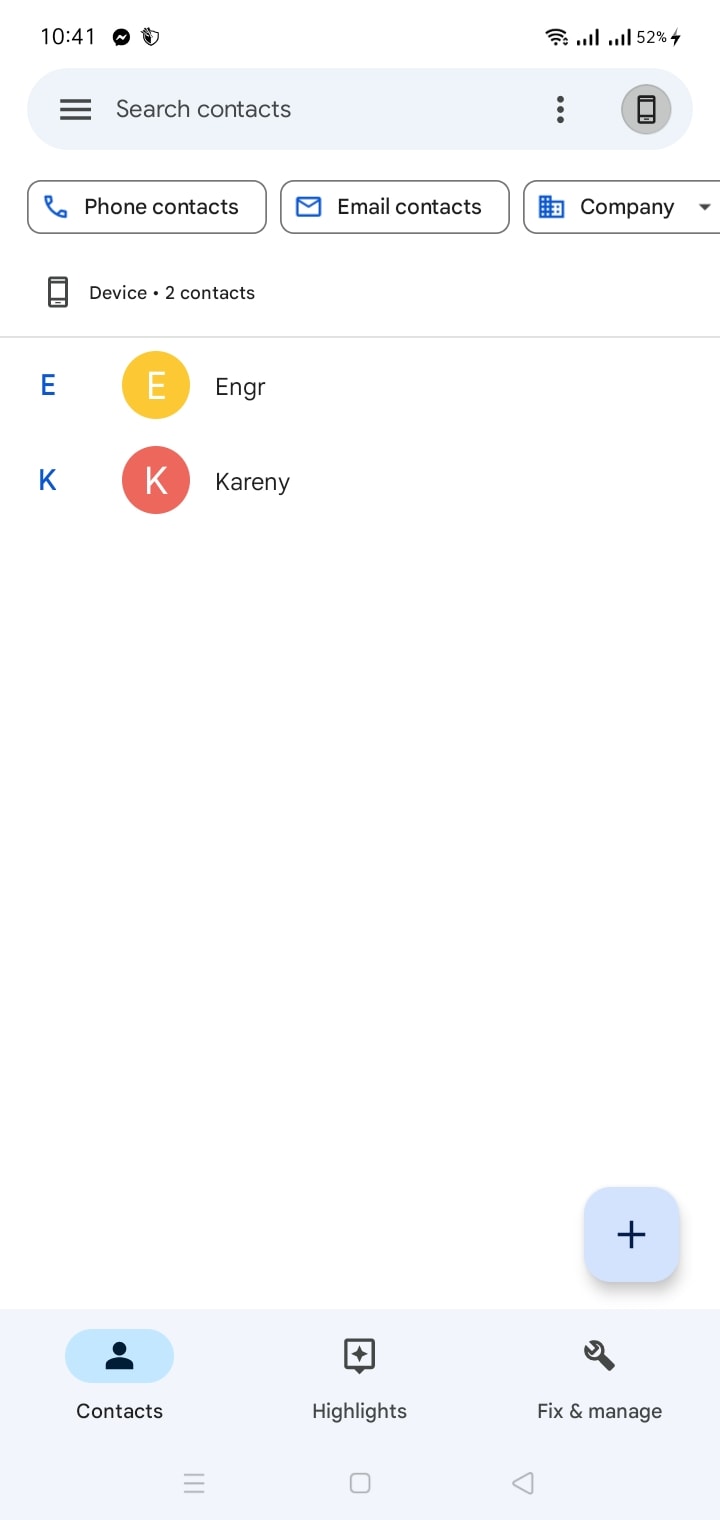
Step 1: Open the Contacts app on your Android device.
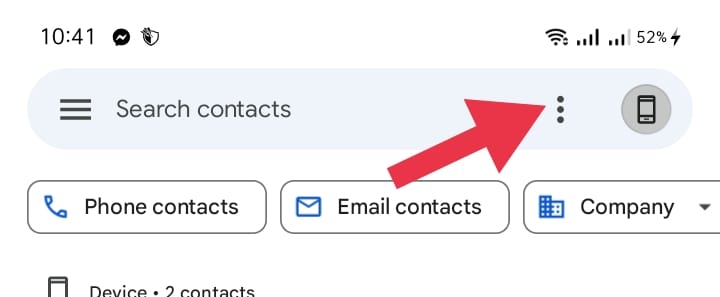
Step 2: Tap on the three dots in the top right corner of the screen to access the settings.
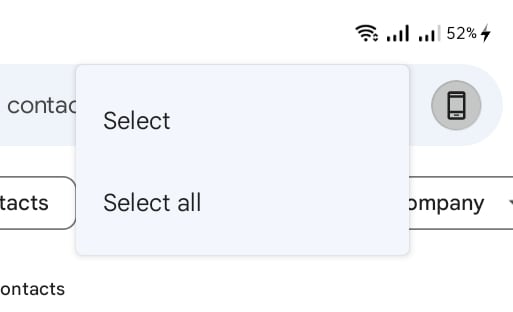
Step 3: From the menu that appears, click Select All.
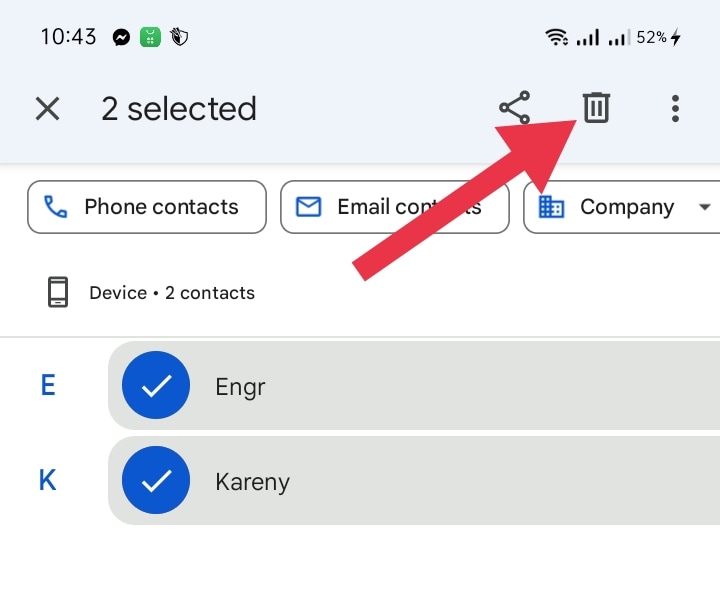
Step 4: Tap the trash icon on the top right corner.
Step 5: Confirm your decision to delete all contacts.
Using third-party apps like Contacts Optimizer and Delete All Contacts
Third-party apps are popular for managing contacts on Android phones. These apps allow users to delete, merge, and organize their contacts more efficiently than the built-in contact management tools. With the help of these apps, users can easily remove unwanted contacts from their phonebook, freeing up valuable storage space and keeping their contacts list clutter-free.
Some of these third-party apps include Contacts Optimizer and Delete All Contacts. Provided below are the step-by-step procedures on how to use these apps in deleting multiple contacts.
Contacts Optimizeris a third-party tool that helps users manage and optimize their contacts list on Android phones by merging, deleting, and removing duplicate contacts. Here is a complete guide on how to utilize the Contacts Optimizer app.
Step 1: Open the Contacts Optimizer app on your Android device.
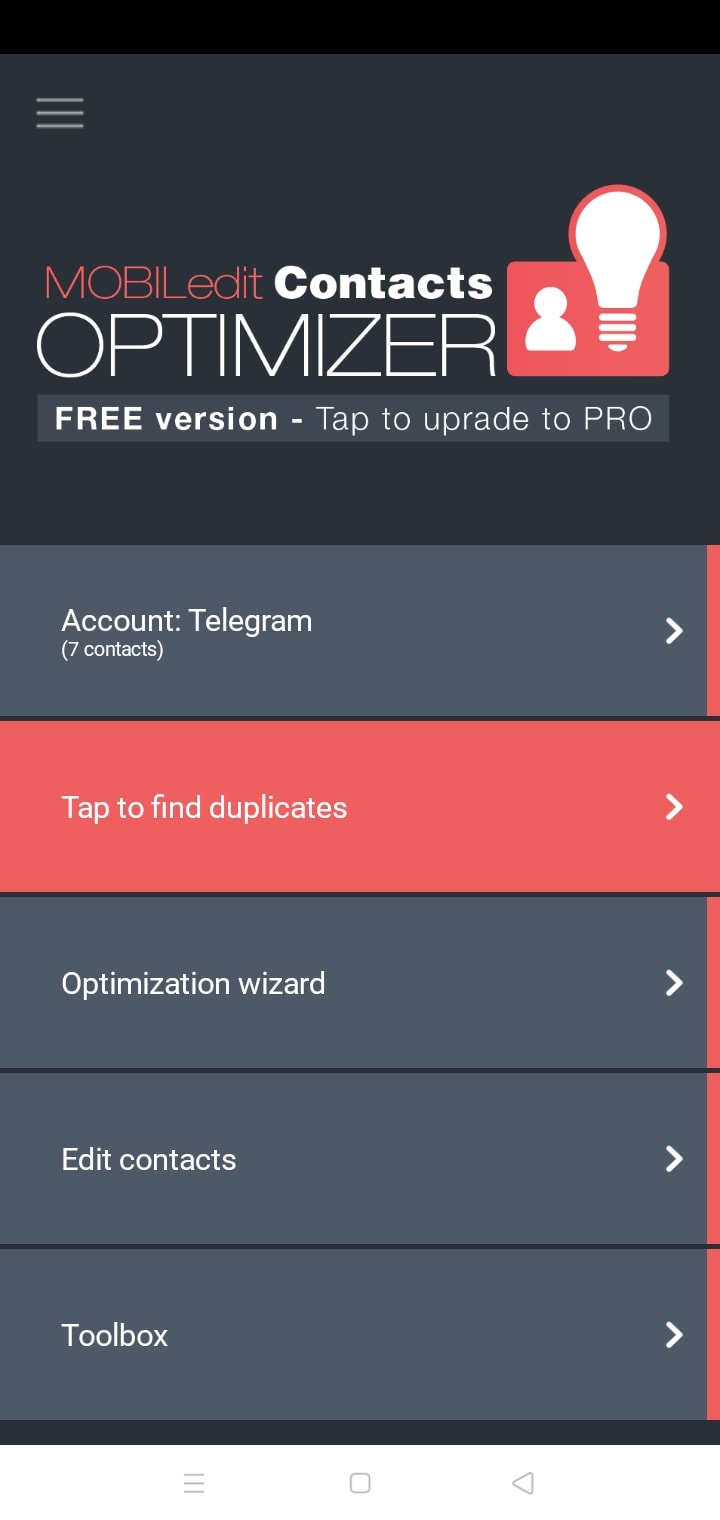
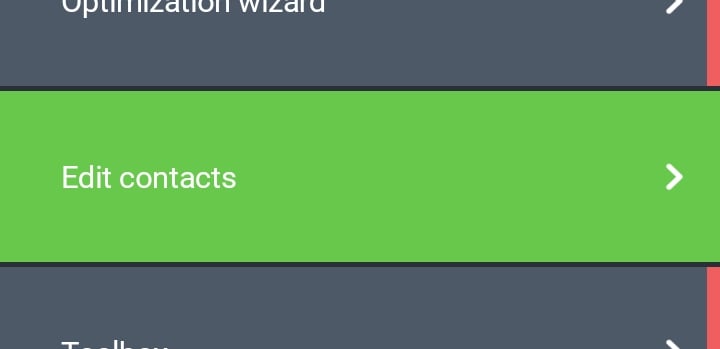
Step 2: Click Edit contacts.
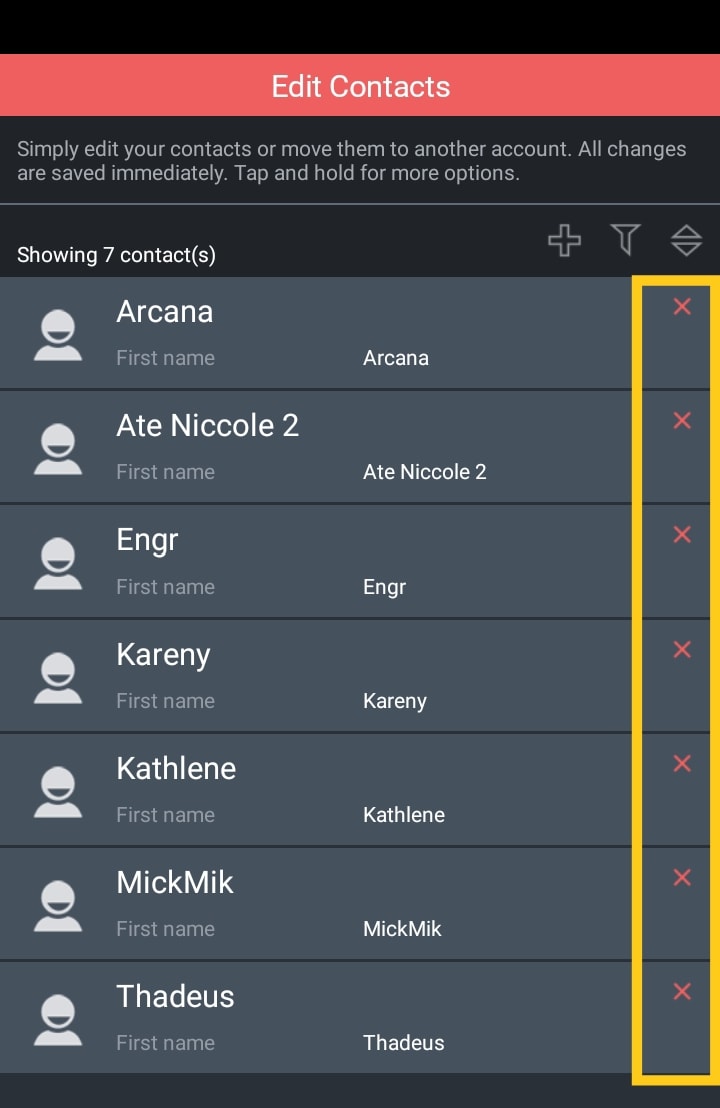
Step 3: Tap x mark on the contact you want to delete.
Step 4: Click OK to finish the process.
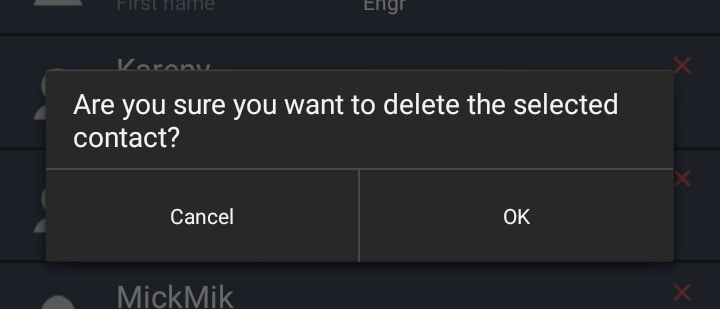
This method allows you to delete individual duplicates, but it can be time-consuming if you have many duplicates to delete.
Delete All Contactsis a third-party tool that allows users to quickly and easily delete all contacts from their Android phone, freeing up valuable storage space and reducing clutter in their phonebook. The best way to use the Delete All Contacts app is outlined below in detail.
Step 1: Open the Delete All Contacts app on your Android device.
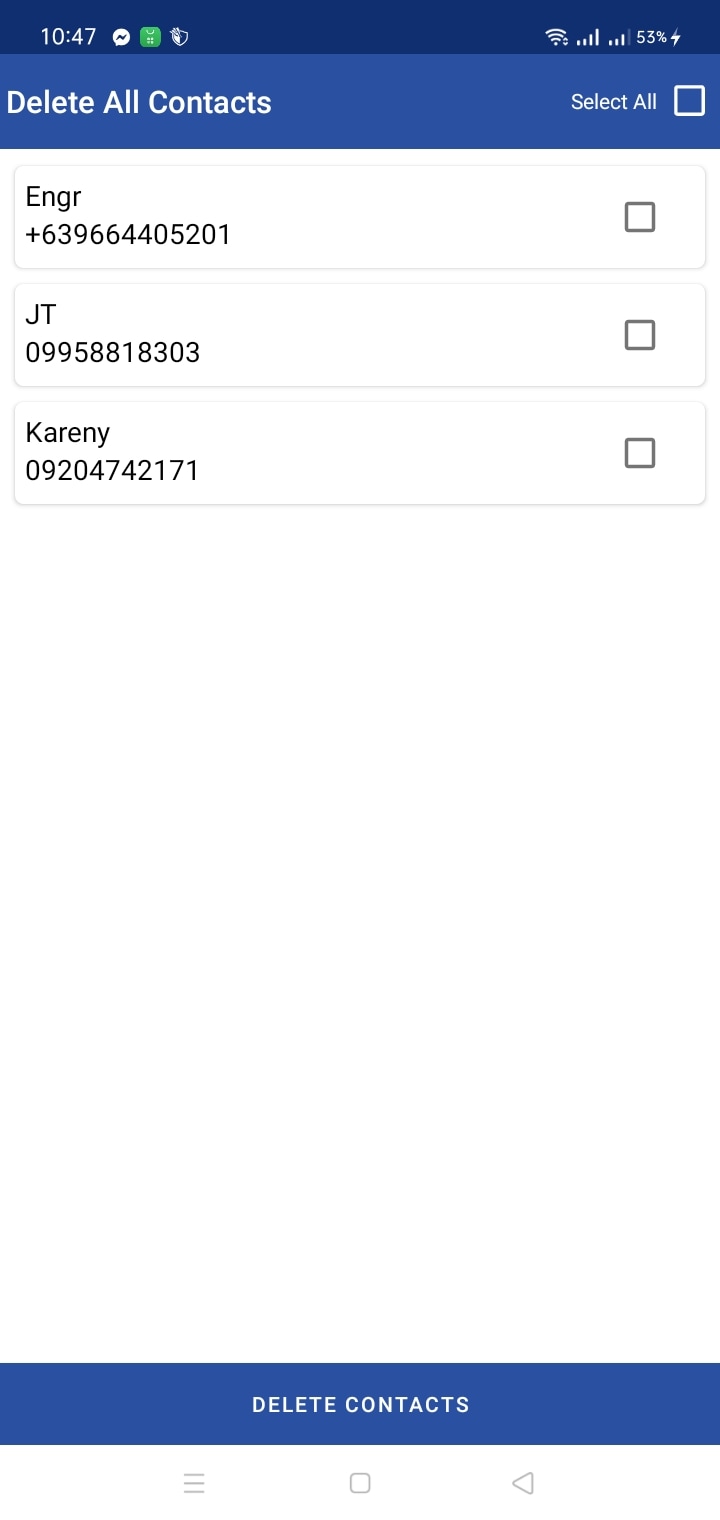
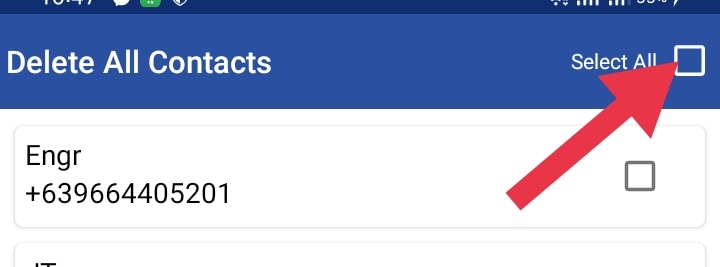
Step 2: Tap the Select All checkbox on the top right corner or you can manually check and uncheck the box of the contacts you want to delete.
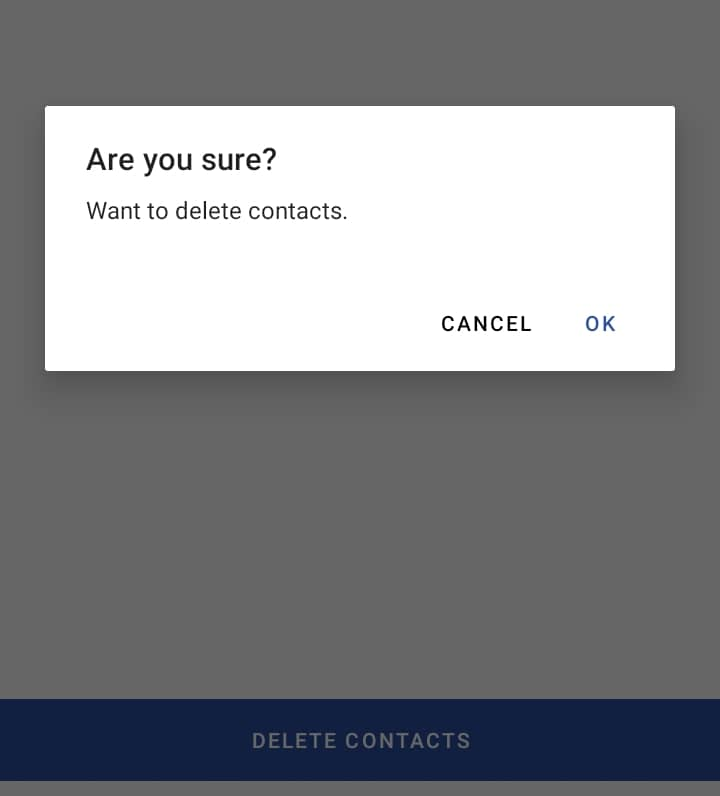
Step 3: Click Delete Contacts >> OK to finish the process of deleting.
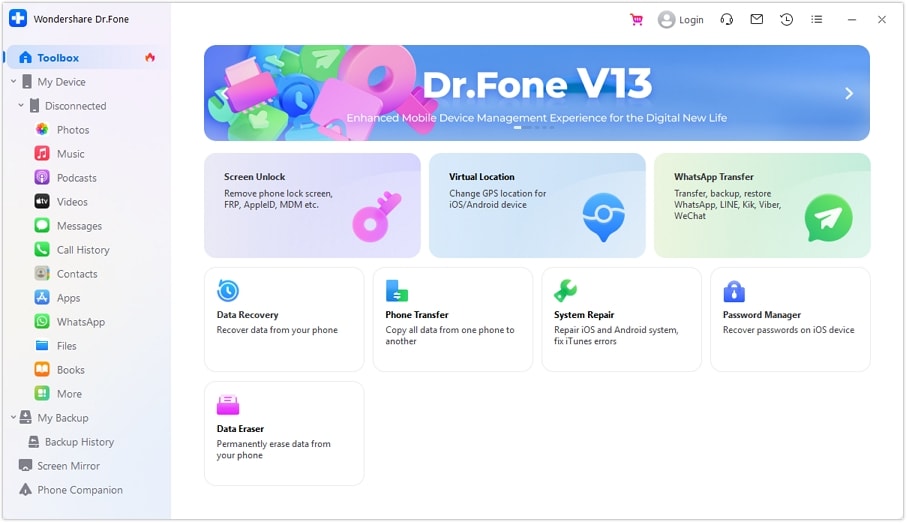
Wondershare Dr.Foneis a powerful data management tool that enables Android users to easily and selectively delete unwanted contacts from their phone, without any loss or privacy concerns. With its intuitive interface and advanced features, it provides a comprehensive solution for managing contacts on Android devices.
Step 1: Download and install the Wondershare Dr.Fone toolset software on your computer. Double-clicking the application executable launches it. Tap Data Eraser from the list of features to delete contacts from an iPhone.
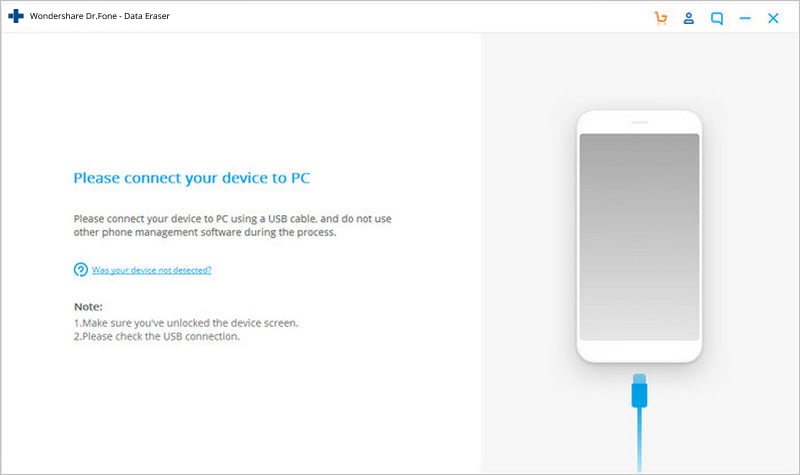
Step 2: Connect Android device to the PC.
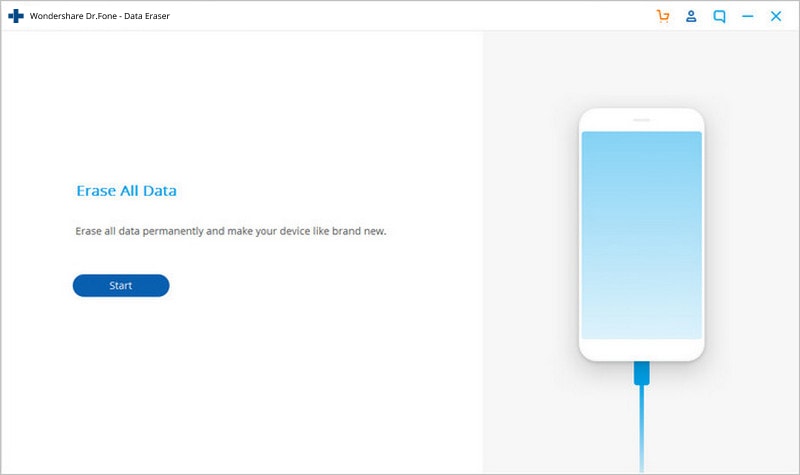
Step 3: Click on the Erase All Data button to start erasing all your data including the contacts.
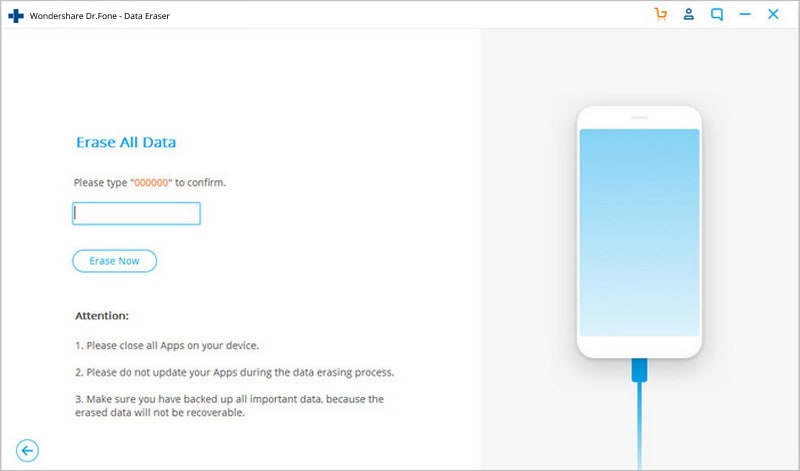
Step 4: If you accidentally delete anything important, you'll need to start over from scratch, so be sure you have a backup before proceeding. Enter 000000 to confirm your action, then press enter.
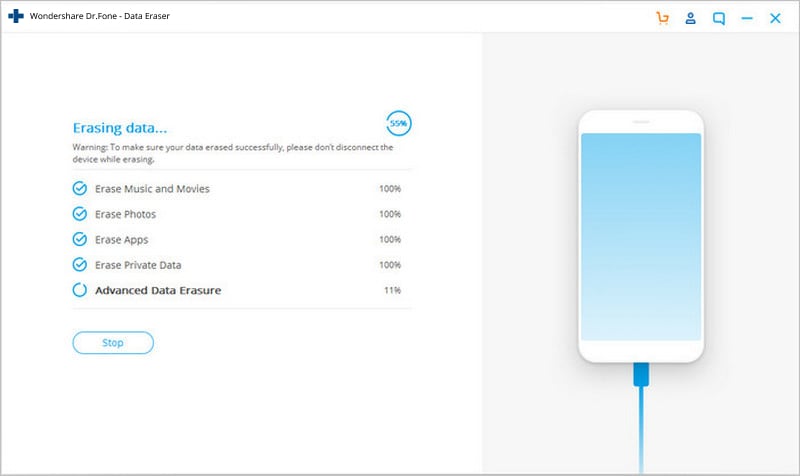
Note: After that, Wondershare Dr.Fone will begin wiping your Android device clean. The whole procedure requires just a short amount of time. Don't hang up or launch any other phone-related programs on your computer.
Step 5: Now that you've erased all of the data from your Android phone, it's as good as new.
Part 3. How to Delete All Contacts on Android
If you're looking to delete all your contacts from your Android device, follow these step-by-step instructions:
Step 1: Open the Contacts app on your Android device.
Step 2: Tap on the three dots in the top right corner of the screen to access the settings.
Step 3: From the menu that appears, click Select All.
Step 4: Confirm your decision to delete all contacts.
Step 5: Tap the trash icon on the top right corner.
Note:These steps may vary slightly depending on your Android device and version of the operating system.
It's important to note that deleting all contacts from your Android device will permanently erase them from your device and cannot be undone. Therefore, it's recommended that you backup your contacts before deleting them to avoid losing any important information.
You might want to delete all contacts from your Android device for various reasons. For instance, you may have changed your phone number or email address and want to start with a clean slate. Alternatively, you may be giving away or selling your device and want to erase all of your personal information.
Deleting all contacts from your Android device can be done through the Contacts app by accessing the settings and selecting Delete All Contacts. It's important to backup your contacts before doing so to avoid losing any important information, and there are various reasons why someone might want to delete all their contacts from their device.
Part 4. Tips for Managing Your Contacts
Managing your contacts effectively is a crucial skill that can help you maintain and strengthen your personal and professional relationships in today’s digital age, where we are constantly connected through multiple channels. Having a well-organized and up-to-date contact list can significantly affect how we communicate with our contacts.
In this context, adopting some best practices for managing contacts is important. Whether you are a busy professional or an individual looking to streamline personal contacts, these tips for managing contacts will help you stay organized and connected with ease.
Here are some tips and best practices for managing your contacts on Android:
- Sync your contacts across devices: If you use multiple devices, such as a phone, tablet, or computer, it's essential to sync your contacts across all of them. You can do this by using a cloud-based service like Google Contacts, which allows you to access your contacts from any device with an internet connection.
- Regularly backup your contacts: Backing up your contacts regularly is crucial in case you lose your device or accidentally delete your contacts. You can back up your contacts to your Google account or export them to a CSV file.
- Remove duplicates: Over time, you may end up with duplicate contacts in your list, which can be frustrating to manage. You can use apps like Duplicate Contacts Remover or merge duplicates in the Google Contacts app to get rid of them.
- Keep your contact list up to date: It's essential to keep your contact list up to date by removing old or outdated contacts and adding new ones. Make sure to update your contacts' information regularly, such as phone numbers or email addresses, to keep them accurate.
- Create groups for better organization: Creating groups for your contacts can help you stay organized and easily find specific contacts. For example, you can create groups for work contacts, family members, or friends. You can easily create a new group in the Google Contacts app and add contacts to it.
Managing your contacts on Android can be made easier by syncing your contacts across devices, regularly backing up your contacts, removing duplicates, keeping your contact list up to date, and creating groups for better organization. If you want to keep your Android contact management tidy and efficient, follow these guidelines.
Conclusion
Managing your contacts is a crucial aspect of staying organized and communicating effectively, especially as the number of contacts grows. Different methods and tools are explored for deleting multiple contacts on Android devices. Highlighted also the ways on how to use Google Contacts app, third-party apps like Contacts Optimizer and Delete All Contacts, and Wondershare Dr.Fone to delete multiple contacts quickly and efficiently. It is important to be cautious when deleting contacts and ensure that you do not accidentally delete important ones. With these tips and tools, you can clean up your contact list and streamline your communication.


Android Erase
- Android Diagnostics
- 1. Fix Android Microphone Issues
- 2. Test NFC on Android Device
- 3. Check Android Device in Minutes
- 4. Apps For Sensor Check Android
- 5. Apps for Testing Device's Hardware
- 6. Tools for Conducting Screen Tests
- 7. Ways to Check Phone's Vibrations
- 8. Check Mobile Signal Strength
- 9.Realme Touch Screen Test Codes
- 10.Android Codes To Test Touch Screen
- 11.Phone Processor Speed Tests
- Erase Android
- 1. Delete Browsing History on Android
- 2. Clear App Data and Cache on Android
- 3. Delete Photos from Android
- 4. Wipe Android When It's Lost
- 5. Wipe Cache Partition on Android
- 6. Delete Text Messages on Android
- 7. Delete WhatsApp Backup
- 8. Wipe Data or Factory Reset
- 9. Erase Android Data Before Selling
- 10. Delete Contacts on Android
- 11.Delete Multiple Contacts on Android
- 12.Wipe Android Phone before Selling
- 13.Delete Photos on Android
- 14.Remove Pre-installed Apps
- 15.Delete Apps on Android
- 16. Access Trash on Android
- Android Reset
- 1. Restart Phone without Power Button
- 2. Reset Phone without Volume Buttons
- 3. Factory Reset Android Phone
- 4. Hard Reset Android Phone Using PC
- 5. Hard Reset Locked Infinix Phone
- 6. Factory Reset Lenovo Phone
- 7. Factory Reset Android Tablets
- 8. Factory Reset Lenovo Tablets
- 9. Format Your Android Phone
- 10. Hard Reset Android Phones
- 11.Reset Android Without Home Button
- 12.Restart Your Android Phone
- 13.Soft Reset Android Devices
- 14.Reset Android without Losing Data
- 15.Ways to Hard Reset Tecno Spark
- 16.Updated Android Factory Reset Code
- Data Erase Apps
- 1. Speed Booster for Android
- 2. Android Cleaners to Boost Device
- 3. Data Erase Apps to Protect Privacy
- 4. Data Eraser Apps to Wipe Android
- 5. 15 Best Cleaning Apps for Android
- Sell Old Android
James Davis
staff Editor