 Permanently erase all iOS & Android data—completely unrecoverable.

 100% Security Verified | No Subscription Required | No Malware

 :
: 
 ChatGPT
 Perplexity
 Gemini
 Claude
 Grok
Grok

I am planning to sell my old smartphone, but I am worried about my private pictures. How to delete photos from Android so that the next owner cannot recover them?
Android User Community
In 2026, our smartphones serve as extensive digital diaries. Almost everyone uses Android smartphones, and these devices consistently come equipped with high-resolution cameras. We capture every moment, documenting our lives from childhood through adulthood. Photos are incredibly effective at preserving our most treasured memories through both good and bad times. Because we capture so much, the thought of losing these photos accidentally is terrifying—memories once lost cannot be easily retrieved. This is precisely why maintaining regular backups of your pictures and videos is highly recommended to avoid heartbreaking data loss.
While keeping photos on your smartphone helps you relive memories at will, there are critical situations where you must permanently remove them from your device. For instance, if you have highly sensitive or personal pictures that you wish to keep completely private, you need to know exactly how to delete photos from Android without leaving any trace. Furthermore, when you plan to sell, trade-in, or give away your Android device, you cannot risk your recovered photos falling into the wrong hands. Simply pressing "delete" is not enough, as basic deletion merely hides the files. Thus, in this article, we will thoroughly explore how to properly back up your memories and securely delete photos from Android permanently.
In this article
Part 1: Backup Photos to Google Drive Before Deleting
We are living in an era where we take thousands of pictures of our lovely moments with family and friends. Given that Android devices often come with advanced dual or triple camera setups, managing storage space can be quite challenging, even with the expanded memory capacity available today. You might feel compelled to clear out space, but you certainly cannot afford to lose your precious memories. This is when creating robust backups becomes essential before you figure out how to delete photo from Android.
While you can always use a hard disk or a pen drive to create local backups, you would have to carry these physical drives with you constantly for immediate access. Moreover, physical drives carry the inherent risk of getting lost, corrupted, or stolen. Therefore, saving photos on a reliable cloud-based service is often the best option. Cloud storage allows you to access your files anywhere and anytime.
Google Drive is an excellent, widely accessible choice for this purpose and remains largely free to use for standard users. If you are preparing to delete photos from Android devices, it is highly recommended to create a comprehensive backup in Google Drive first. Here are the simple steps to achieve that seamlessly.
-
Step 1 Download and Setup Google Drive
Go to the Play Store and download the official Google Drive application. Install and open the app on your Android device. Set up your Google Drive by linking it securely with your preferred Gmail account.
-
Step 2 Select the “Upload” Option
Once your account is set up and ready to use, tap on the brightly colored Plus icon located at the bottom right of the screen. In the pop-up menu that appears, tap on the “Upload” option to begin the process.

-
Step 3 Select Files for Uploading
Now, carefully select all the files and images you wish to upload to Google Drive for safekeeping. You can navigate between different media folders on your Android device by selecting the folder directory from the left side of the screen.
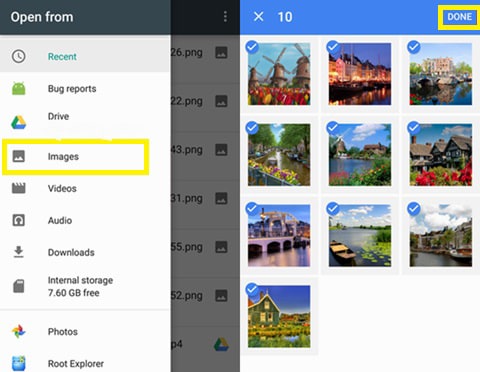
After selecting all the necessary photos, tap on the “DONE” option in the top right corner of the screen. All the files you selected for backup will now be uploaded and securely saved in your Google Drive account. With your memories safely stored, you can proceed to the next section to learn how to delete photos from Android permanently.
Part 2: How to Delete Photos on Android Permanently Without Recovery?
 Permanently erase all data on iOS & Android — completely unrecoverable.
- Military-grade wiping to fully protect your privacy.
- Generate verified erasure reports to boost device resale value.
- Selectively erase private data and remove junk & large files.
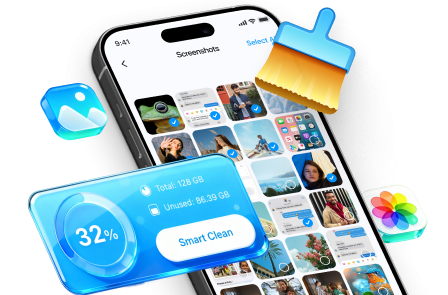
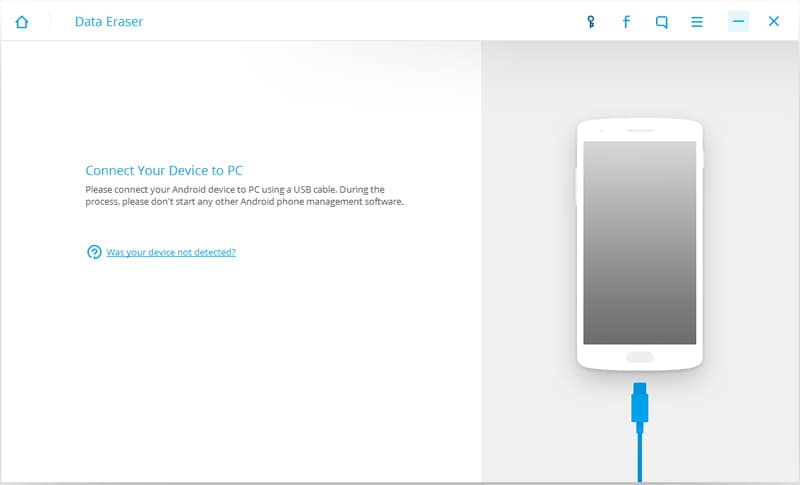
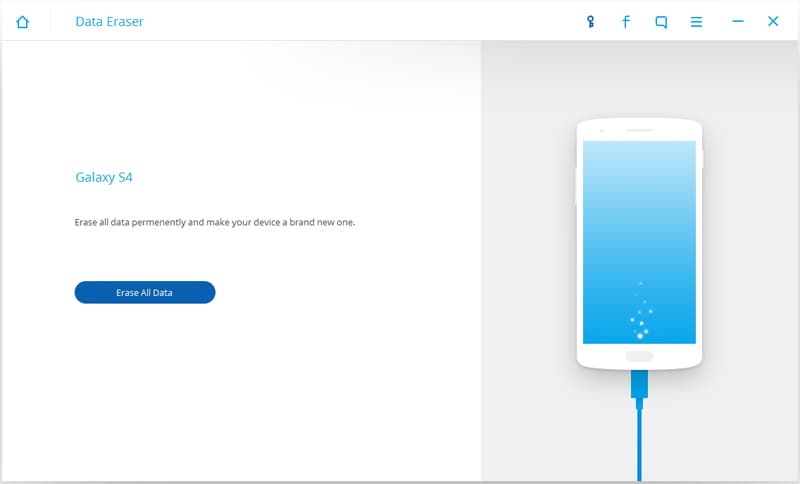
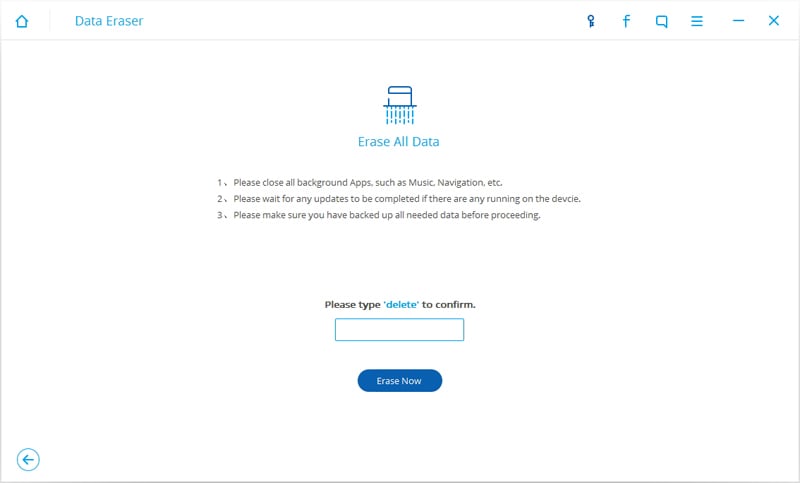
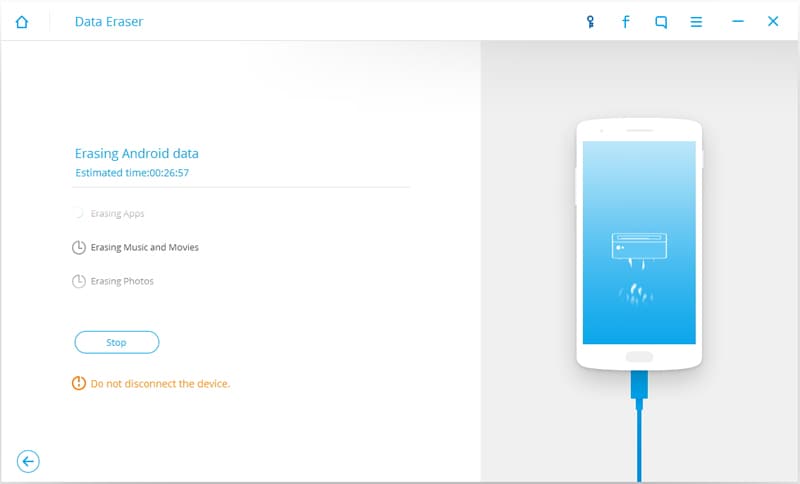
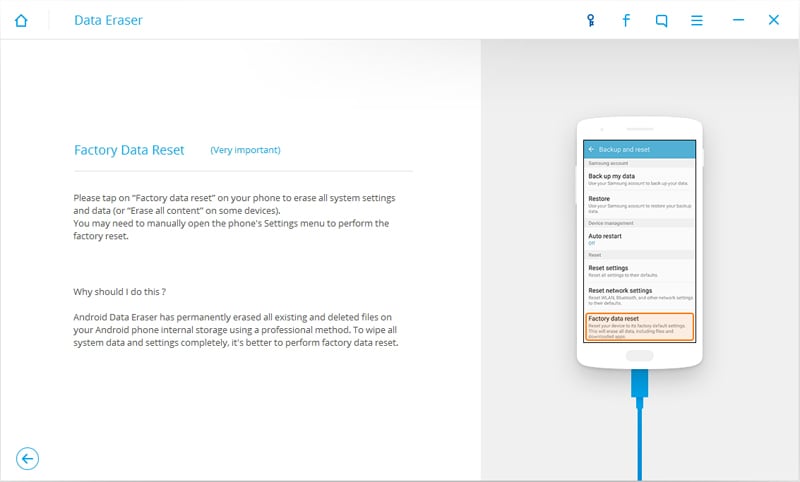
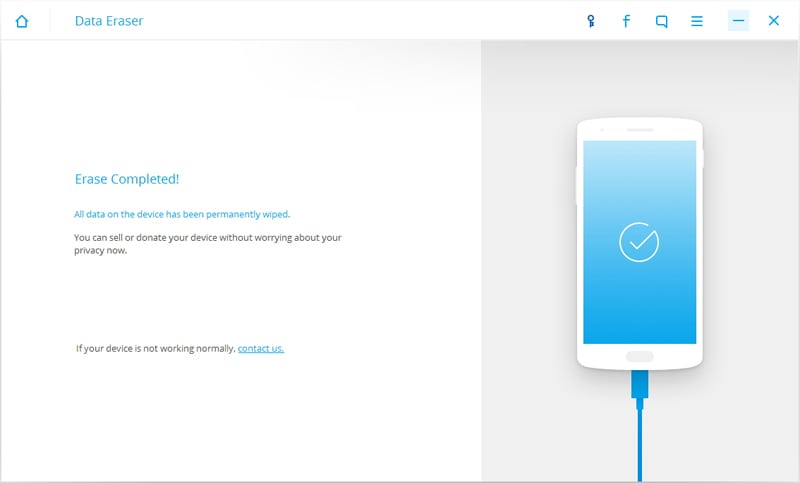
After you have successfully uploaded your photos to Google Drive, you can confidently continue to remove them from your device. Standard deletion methods only hide the files, making them vulnerable to recovery software. To guarantee complete removal, it is highly recommended to use Dr.Fone - Data Eraser . This Android Data Eraser is a powerful, military-grade tool that will help you wipe everything on an Android device permanently, leaving behind a phone that possesses the pristine settings of a brand new device.
However, it is vital to remember that using the Dr.Fone Android Data Eraser toolkit will execute a complete wipe. This means all the information, applications, settings, and media from your device will be deleted permanently and they cannot be recovered by anyone. To avoid losing other critical data, you must ensure you have backed up all essential information stored on your Android device beforehand. You can utilize third-party apps to make a full system backup or manually transfer your contacts and documents to your computer. After you have verified that all important details are secure, you can proceed to delete photos from Android permanently to protect your privacy.






 Add Wondershare Dr.Fone as a preferred source on Google




