Move contacts, messages, photos, videos, app data, and more between iOS and Android.

 100% Security Verified | No Subscription Required | No Malware

 :
: 
 ChatGPT
 Perplexity
 Gemini
 Claude
 Grok
Grok
Switching from an Android device to a brand-new iPhone in 2026 is a thrilling technological upgrade, but the thought of leaving behind years of personal memories can be intimidating. When you need to transfer data from Android to iPhone, moving your contacts, high-resolution photos, crucial videos, and message history might seem like a complex hurdle. Fortunately, modern smartphone migration solutions have made it incredibly intuitive to copy data from Android to iPhone without experiencing any data loss or frustrating downtime.
In this comprehensive guide, we will explore the most reliable and efficient methods to move data from Android to iPhone. Whether you prefer native applications like Apple's official migration tool, cloud-based restorations, or professional desktop software designed for a seamless transition, we have you covered. Read on to discover step-by-step instructions designed to help you securely transfer phone data from Android to iPhone in a matter of minutes.
In this article
- Part 1: Transfer Data From Android To iPhone Using Move To iOS
- Part 2: Transfer Data From Android To iPhone Using Google Drive
- Part 3: Transfer Data From Android To iPhone Using Dropbox
- Part 4: Transfer Data From Android To iPhone Using Mail
- Part 5: Transfer Data From Android To iPhone Using Finder/iTunes
- Part 6: Transfer Data From Android To iPhone Using Google Settings
- Part 7: Transfer Data From Android To iPhone Using The Shareit App
- Part 8: Recommended – Use Dr.Fone To Transfer Data From Android To iPhone Seamlessly!
Part 1: Transfer Data From Android To iPhone Using Move To iOS
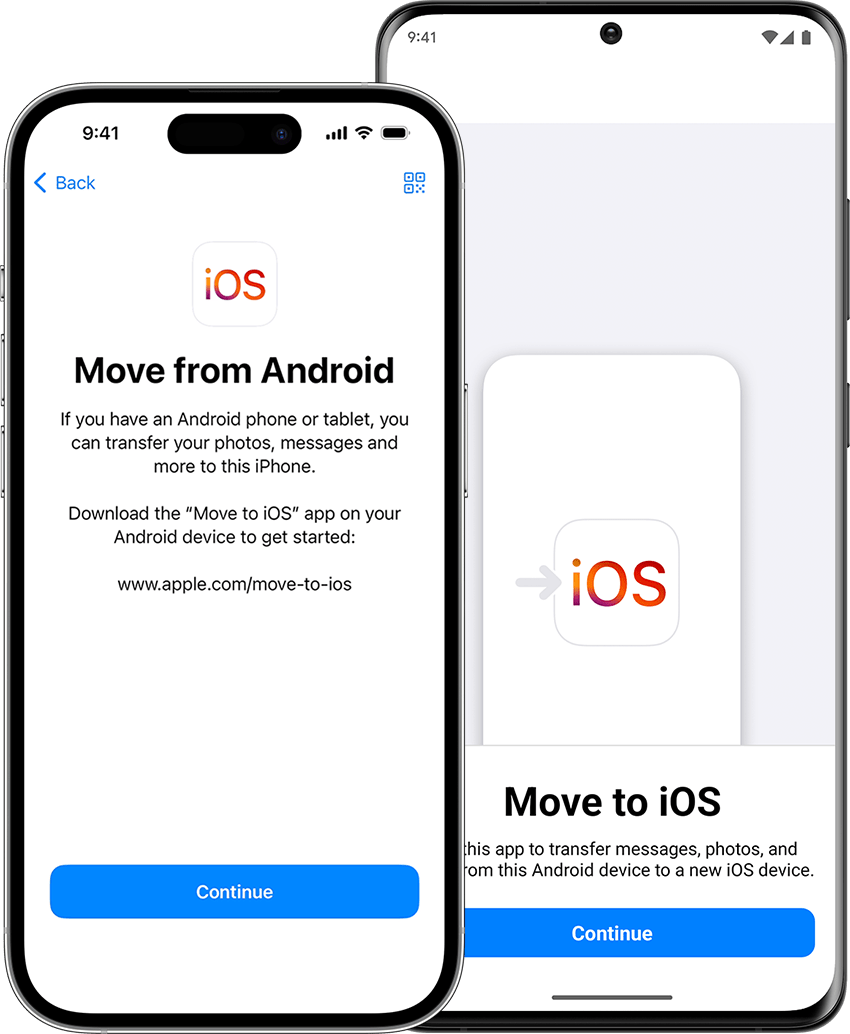
Switching from your trusty Android phone to a slick new iOS device can initially feel a bit overwhelming. Thankfully, you do not have to start totally fresh after you unwrap that new iPhone! You can utilize the official "Move to iOS" application created by Apple to help you easily transfer phone data from Android to iPhone during the initial setup phase.
-
Step 1 Install the App on Android
First things first—head over to the Google Play Store on your Android phone and download the free Move to iOS application.
-
Step 2 Reach the iOS Setup Screen
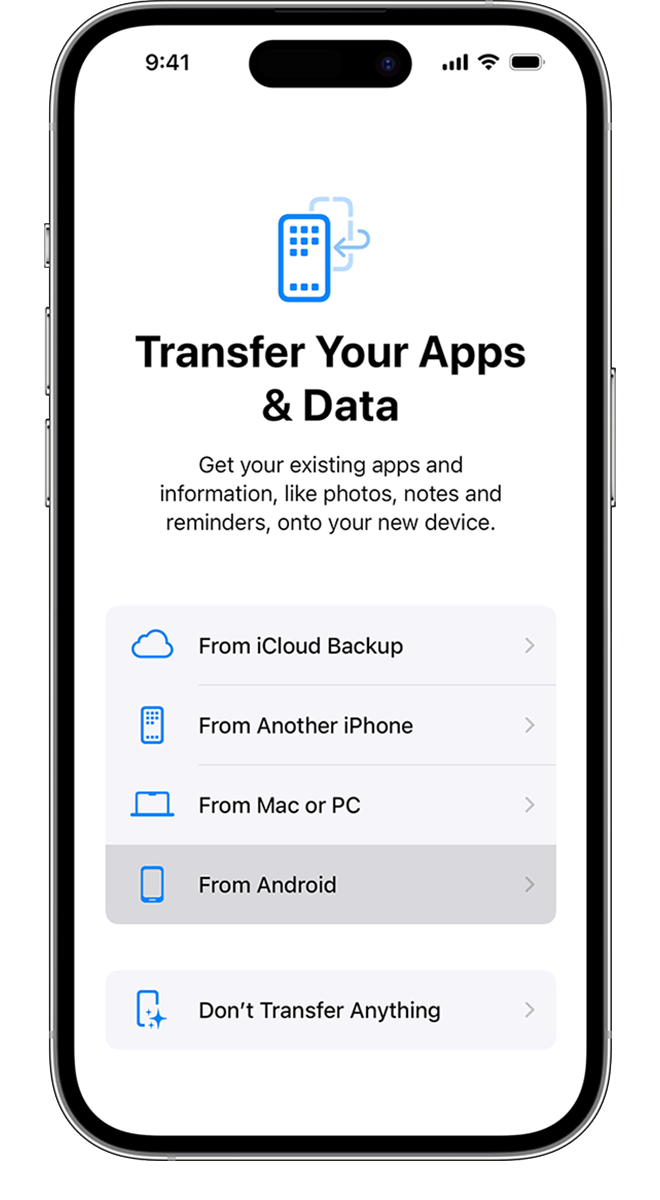
Turn on your new iPhone and follow the standard setup prompts. When you reach the Apps & Data screen, select the option labeled "Move Data from Android".
-
Step 3 Launch the App on Android
Whip out your Android phone, open up the Move to iOS app you just installed, and simply tap "Continue" to proceed to the main interface.
-
Step 4 Agree to Terms
Carefully read through the provided Terms & Conditions, then tap "Agree" to consent and continue with the data transfer preparation.
-
Step 5 Generate the Security Code
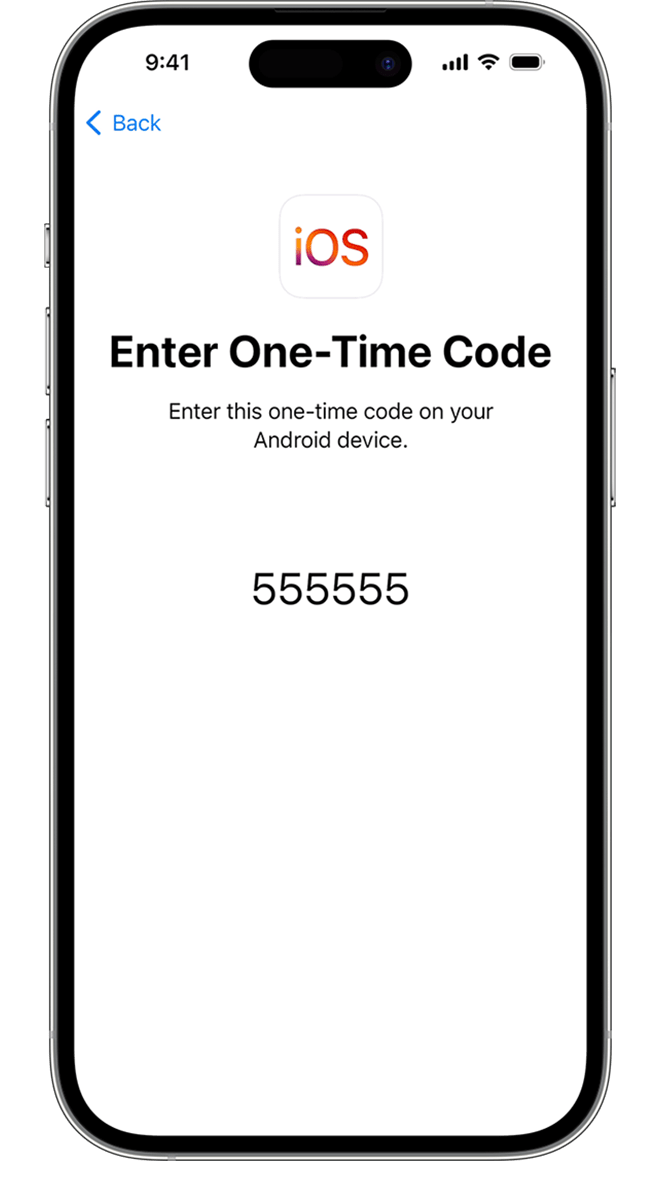
Back to the iPhone: tap "Continue" on the setup screen. Your iOS device will quickly generate a one-time six-digit or ten-digit security code.
-
Step 6 Enter Code and Transfer
Pop that specific code into the Move to iOS app on your Android when prompted. Then, select the specific data types you want to move over (like contacts and messages). Tap transfer and let the wireless magic happen!
-
Step 7 Complete Device Setup
Finally, once the transfer securely completes, wrap up the remaining iOS setup prompts to get to your new iPhone home screen with all your important backed-up Android content ready to go.

Part 2: Transfer Data From Android To iPhone Using Google Drive
Instead of facing a totally blank slate on that glossy new iPhone, you can leverage cloud storage ecosystems. Follow these straightforward steps to restore your Android photos, contacts, videos, and more using the robust magic of Google Drive:
-
Step 1 Back Up Android Data
On your Android device, navigate to Settings > System > Backup and toggle on the "Backup to Google Drive" option. Be absolutely sure to select all the critical data you want to transfer later—messages, images, contacts, etc. Then, let your phone sync everything directly to the cloud.
-
Step 2 Install Google Drive on iOS
Next, grab your new iPhone, download the official Google Drive app from the iOS App Store, and log in with the exact same Google account used on your old Android.
-
Step 3 Access Your Backups
Open the Google Drive app, tap the Menu icon, and navigate to "Backups" to view all the files safely saved from your Android phone. Select the most recent backup archive available.
-
Step 4 Restore to iPhone
Tap "Restore" to initiate transferring your selected data, such as contacts, photos, and videos, from Google's secure servers straight into your iPhone's local storage.
-
Step 5 Verify the Transfer
Once the restoration process completely finishes, you will find all your important backed-up Android content available on your brand-new Apple device!
Part 3: Transfer Data From Android To iPhone Using Dropbox
If you prefer an alternative cloud solution, Dropbox is a highly effective way to transfer data from Android to iPhone. Follow these steps to securely transfer files from one ecosystem to another using cloud synchronization:
-
Step 1 Setup Dropbox on Android
Install and open the Dropbox application on your Android device first. Sign in to your existing account or create a new one if prompted by the app.
-
Step 2 Upload Your Android Files
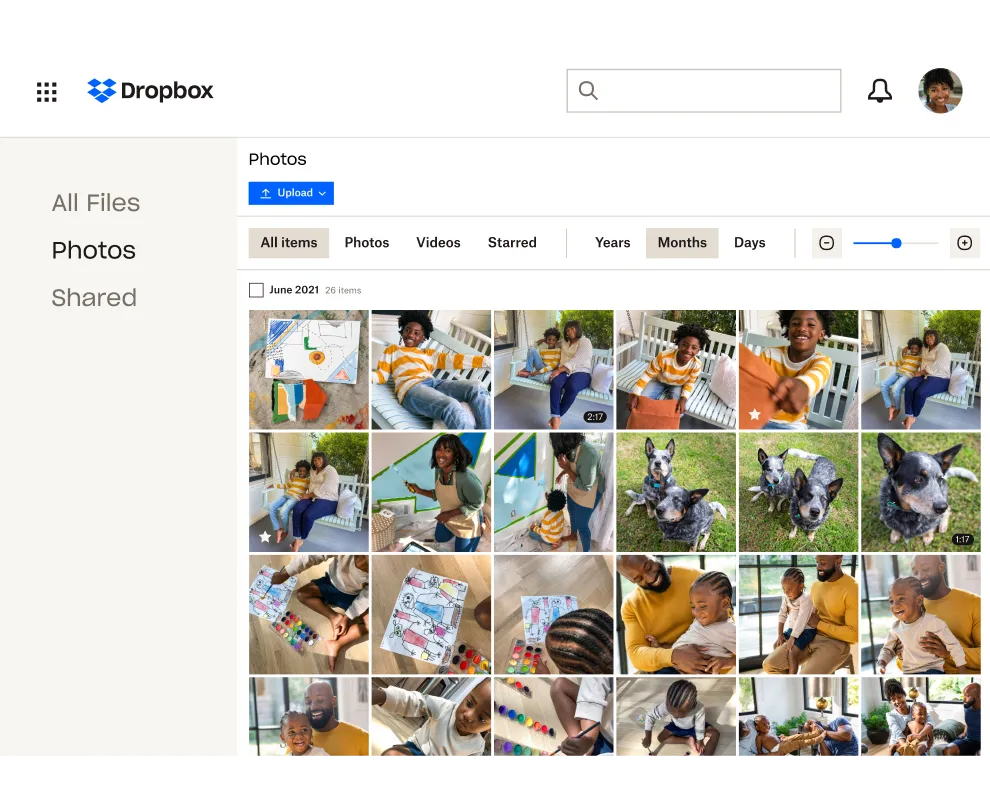
Select "Upload Files", then meticulously choose the photos, videos, important docs, or other content you want to transfer directly from your internal storage.
-
Step 3 Sign In on Your iPhone
Now bust out your new iPhone, download the official Dropbox app directly from the Apple App Store, and sign into the identical account used on your Android device.
-
Step 4 Locate the Uploaded Content
Open the "Files" tab within the iOS Dropbox interface and quickly find the specific folder containing the uploads from your old Android.
-
Step 5 Download to Local Storage
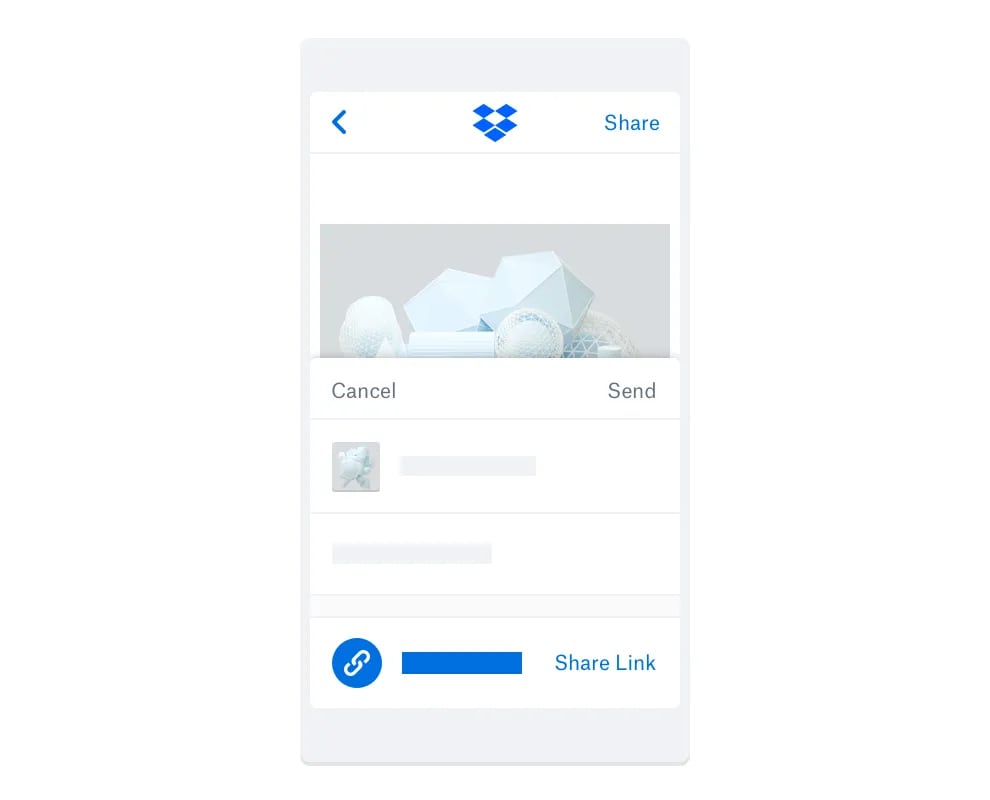
Select each file or folder you need to transfer, tap the download or export arrow, and let synchronization work its magic to save files natively to your iOS storage!
Part 4: Transfer Data From Android To iPhone Using Mail
If you only need to transfer phone data from Android to iPhone in small quantities—like a few select documents or images—using email is a fast, reliable method. Follow these straightforward steps to offload files from your Android and receive them directly on your iOS device via email:
-
Step 1 Compose a New Email
On your Android device, launch your preferred email app (like Gmail or Outlook) and tap "Compose New Email" (or the floating plus icon) to start a fresh message.
-
Step 2 Attach the Files
Next, tap the "Attach File" button, usually located right next to the send button at the top of the interface.
-
Step 3 Select Android Content
Browse your phone's internal storage or SD card to select the specific files you want to transfer from Android. Tap the desired files, then hit "Open" or "Choose File".
-
Step 4 Send the Email
The selected file(s) will now be attached securely to your email composition. Add your own email address as the recipient and any message text, then tap "Send" when ready.
-
Step 5 Download on iPhone
Now, head over to your iPhone to pull down that specific email containing the Android file attachments. Open each file directly from the message to download it locally to your iOS device.
Part 5: Transfer Data From Android To iPhone Using Finder/iTunes
While it does take some extra maneuvering with cables, you can use iTunes (on Windows or older Macs) or Finder (on newer macOS versions) to import your Android music, photos, videos, and more to your Apple device. Here is how to gingerly transfer Android data using desktop software:
-
Step 1 Connect and Export to Computer
First, connect your Android phone to your computer using a USB cable and install any recommended companion software, like Android File Transfer for Mac.
-
Step 2 Save Data to a Local Folder
Use this software to copy over the Android content you want to import into iTunes/Finder. Save it all safely in a dedicated folder somewhere easy to find on your computer's desktop.
-
Step 3 Connect the iPhone
Now, safely disconnect your Android device and plug your new iPhone into the computer's USB port instead. Open iTunes or Finder.
To Import Music:
-
Step 1 Add Music to Library
In iTunes/Finder, click "File" > "Add Folder to Library" and select that handy folder you saved everything in earlier from your Android. This adds all the tracks directly to your iTunes media library.
-
Step 2 Sync Music to iOS
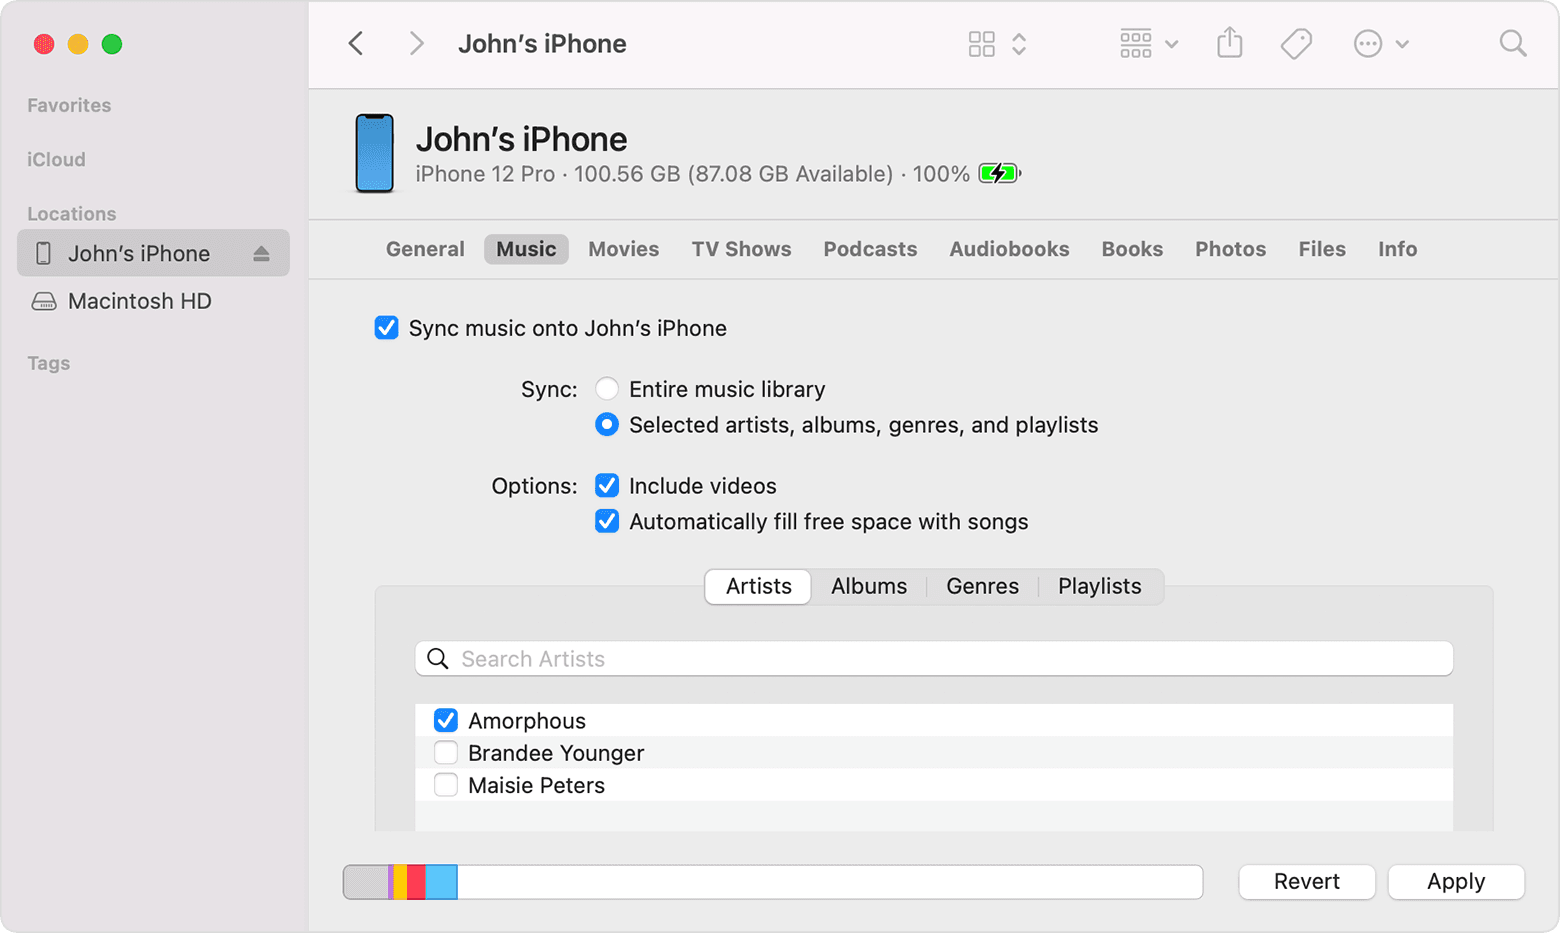
Click the iPhone device icon, navigate to the Music section in the sidebar, and enable "Sync Music". Choose specific tunes or your entire library, then hit "Apply" to transfer the data!
For Photos/Videos:
-
Step 1 Add Media to Library
Just like with the music transfer process, use "File" > "Add Folder to Library" in iTunes or Finder to bring the photos and videos directly into the software.
-
Step 2 Toggle Photo Sync
Click the Phone icon to access your device settings, go to the "Photos" section, and toggle the "Sync Photos" option on.
-
Step 3 Apply the Transfer
Select your newly added image folder from the dropdown menu, ensure you enable "Include Videos", and finally click "Apply" to finish copying the data to your iPhone.
Part 6: Transfer Data From Android To iPhone Using Google Settings
Google provides an incredible backbone for device management. By ensuring your Android is fully backed up to Google's ecosystem, you can easily pull essential settings and contact data onto your iPhone by simply adding that Google account later. Here is how to enable automated Android backup before making the device swap:
-
Step 1 Access Google Preferences
On your Android device, open the main Settings application and scroll down to select "Google".
-
Step 2 Toggle Backup Services
Tap "Backup" and toggle the master switch on—this allows crucial data to seamlessly sync across various Google products and background services.
-
Step 3 Verify Backup Contents
Under the Backup details section, expand the "Google Account data" menu to double-check exactly what is being copied. Ensure app data, call history, contacts, device settings, and calendar events are enabled.
-
Step 4 Allow Time for Syncing
Once the backup enables, leave your Android device alone for a bit while connected to Wi-Fi to give the backend process time to complete. Do not switch phones until everything fully syncs to the cloud!
Part 7: Transfer Data From Android To iPhone Using The Shareit App
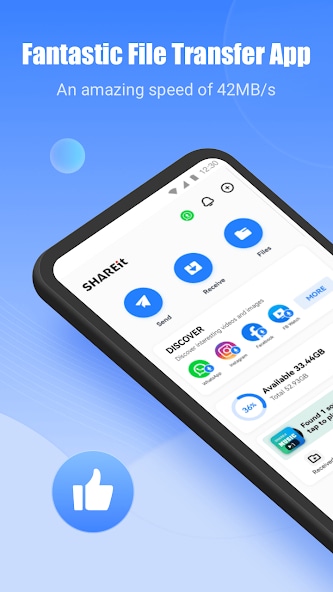
Switching phone ecosystems definitely does not mean losing all your precious memories, documents, and media files. If you prefer a fast, wireless connection without relying on cloud storage limits, you can use the Shareit App to transfer all your data rapidly between platforms!
-
Step 1 Install Shareit Everywhere
Start by downloading and installing the free Shareit application from the respective app stores on both your Android phone and your new iPhone.
-
Step 2 Connect to the Same Network
Ensure you connect both mobile devices securely to the exact same Wi-Fi network, then open the apps simultaneously.
-
Step 3 Prepare the Sender
On your source Android device, tap the "Send" button to select multiple files like photos, music, or large videos you want to transfer over to iOS.
-
Step 4 Prepare the Receiver
On the destination iPhone, tap the "Receive" button to ready the Shareit software for incoming network content from the Android device.
-
Step 5 Initiate the Transfer
The app will automatically detect the other nearby device operating on the same Wi-Fi network and prompt you to begin sending files rapidly from the Android to the iPhone.
Part 8: Recommended – Use Dr.Fone To Transfer Data From Android To iPhone Seamlessly!
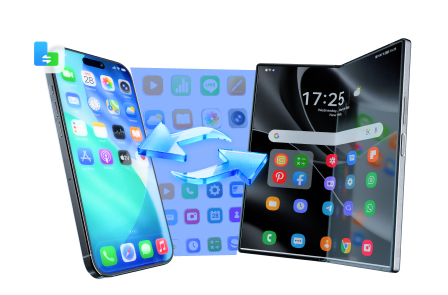
Migrating your precious photos, extensive message history, and media libraries from an older Android to your shiny new iPhone doesn't have to be a frustrating chore or a complicated multi-step ordeal.

Using dedicated desktop software like the Dr.Fone Phone Transfer tool lets you quickly shift files directly between diverse operating systems without complications. Just connect your old Android phone and new iPhone to your personal computer, select the exact content categories you want to move over, and Dr.Fone intuitively handles the complex backup, restore, and transfer entirely for you. Dr.Fone - Phone Transfer provides a 1-click process to copy one phone to another, making switching smartphone ecosystems a total breeze.
Here are the step-by-step instructions using simple, friendly language:
 Move data between iOS to Android and vice versa.
- Transfer contacts, SMS, photos, videos, music, and more types.
- Available with all phones with Android and iOS versions.
- Simple, click-through process.
-
Step 1 Launch the Transfer Tool
Open the primary Dr.Fone interface on your computer and click to launch the dedicated Phone Transfer module from the toolkit.
-
Step 2 Connect Both Devices
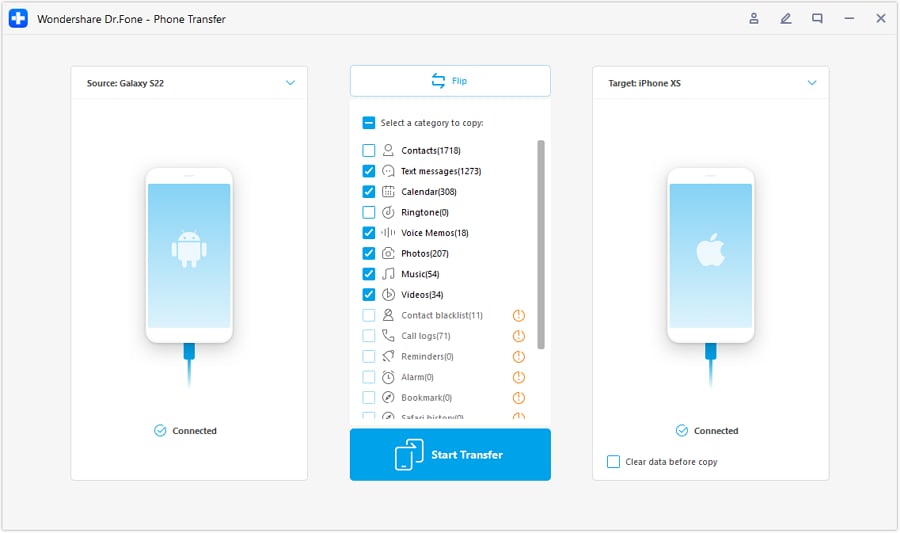
Connect your Android phone and your iPhone to your computer using their respective USB cables. The software will detect them. Make sure to select the Android device as the "Source" and the iPhone as the "Destination". Use the "Flip" button if they are in the wrong order.
-
Step 3 Select Desired File Types
Check the boxes next to the specific file types—like photos, text messages, contacts, and music—that you want to transfer from your Android to the iPhone.
-
Step 4 Start the Transfer Process
Click the "Start Transfer" button! Now Dr.Fone securely shifts your selected data directly between the phones without overwriting existing critical iOS settings.

-
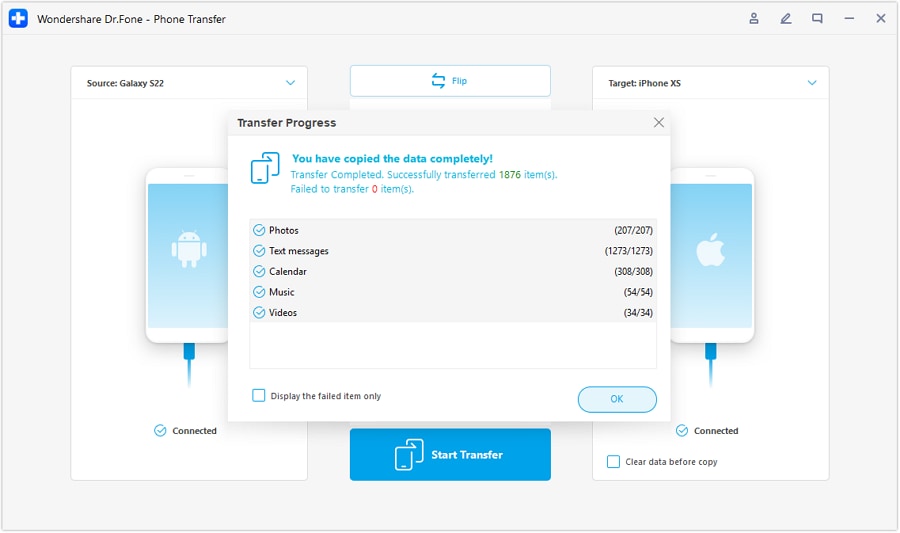
Step 5 Enjoy Your Migrated Content
When the operation is complete, Dr.Fone will display a "Success!" window. You can safely disconnect both phones from the computer and immediately enjoy your familiar Android content properly organized on your new iPhone.




Conclusion
Switching ecosystems and upgrading to a premium iPhone certainly does not mean you have to abandon your treasured Android memories. By utilizing wireless transfer applications, cloud services, iTunes synchronization, or exceptionally reliable third-party desktop tools like Dr.Fone, you can seamlessly move your photos, messages, important videos, contacts, media libraries, and more. Follow the step-by-step walkthroughs highlighted above for a completely stress-free Android to iPhone data transfer experience. Now you are fully equipped to upgrade your devices with absolute confidence in 2026.
FAQ
-
1. Does Move to iOS transfer my WhatsApp chats?
Yes, Apple's Move to iOS app now officially supports transferring your WhatsApp message history, including photos and voice memos, directly from Android to iPhone during the initial setup phase. -
2. Can I use Move to iOS if my iPhone is already set up?
No, the Move to iOS app only works when an iPhone is in its initial setup state. If you have already set up your iPhone, you must either factory reset it to use the app or rely on a desktop alternative like Dr.Fone Phone Transfer to avoid data loss. -
3. Will I lose my Android data during the transfer process?
No. All the methods described, whether cloud-based, wireless, or desktop transfers, merely copy the data from your Android device over to the iPhone. Your original Android data remains completely untouched on the source device. -
4. How long does it usually take to transfer phone data from Android to iPhone?
The transfer time strictly depends on the volume of data you are moving and the method chosen. Cloud transfers and Wi-Fi methods (like Move to iOS) might take anywhere from 10 minutes to over an hour for large photo libraries. Wired desktop transfers are typically much faster.
 Add Wondershare Dr.Fone as a preferred source on Google