Tips to Delete Calendar Event on iPhone

Jul 12, 2024 • Filed to: Data Wipe Solutions • Proven solutions
Gone are the days when one keeps physical diaries and calendars to keep track of special events and birthdays. Smartphones like the iPhone have made this task a lot easier by providing calendar apps on the phone. This virtual calendar app helps manage day-to-day tasks by reminding you about important meetings, any family member’s birthday to keeping a record of special occasions.
Setting a new event might be easy, but removing an event from the iPhone calendar is very confusing. You might have also found it hard to delete recurring calendar events on the iPhone because it can’t be deleted with a simple click. In this article, we will discuss the easy ways to delete the calendar event on the iPhone.
Tip 1: Delete all iPhone calendar events
If you want to delete all calendar events on the iPhone or have been planning to do it, then follow these simple steps mentioned below:
Step 1: Plug your iPhone into the computer with the help of a USB cable. Launch the iTunes app by double-clicking on it.
Step 2: You will see the iOS device in the "Device" section in the iTunes app. Tap on "Info" to display the iPhone's syncing options.
Step 3: Untick the "Sync Calendar" option. Then tap on "Remove Calendars" to remove the Apple Calendar.
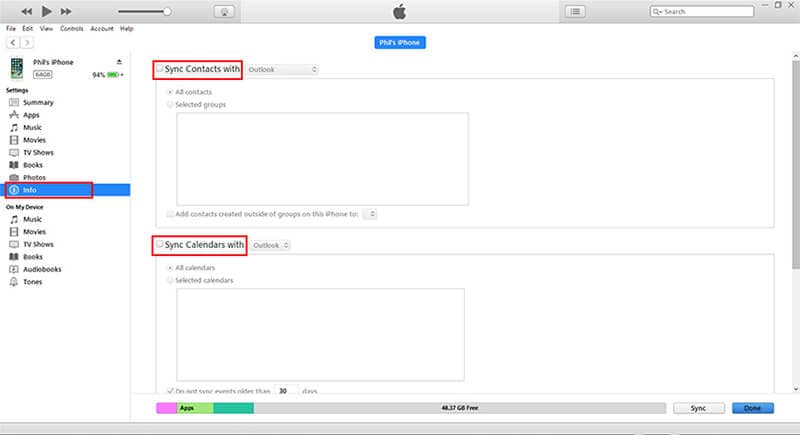
Step 4: Select "Apply/Done," so the changes can be confirmed on the iPhone device. After some time, untick all the calendar events from the iPhone's calendar app.
Tip 2: Delete a single iPhone calendar event
The following are the steps to delete a single event from the iPhone calendar.
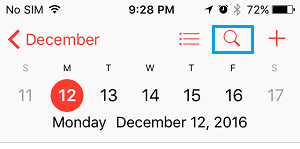
Step 1: Open your Apple device’s calendar.
Step 2: Search for the event you want to delete. You can either find it by selecting the month in which the event falls or type in the event name in the search box.
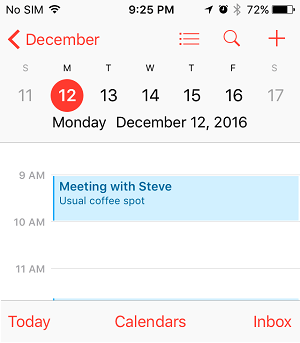
Step 3: Select the day where the event is highlighted. Then, please tap on the event name to see its details.
Step 4: On the “Event Details” page, if you see a delete button on the bottom, then click on it to delete the event.
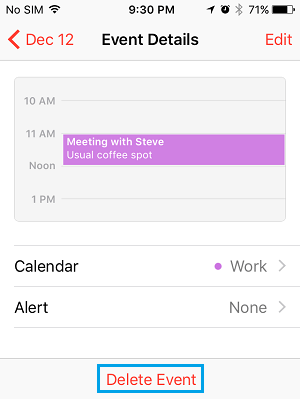
If you don’t see a delete button, then click on the “Edit” button. You will come across the “Delete Event” option; click on it.
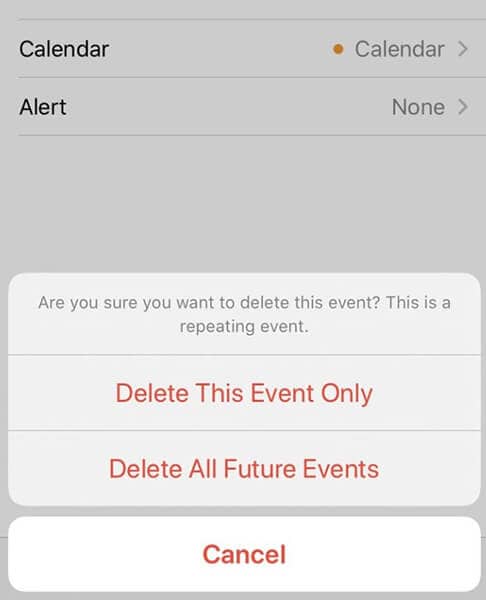
Step 5: Once you click on the “Delete Event” button, a window will pop-up for confirmation. Choose the “Delete This Event Only" option to delete a single event.

If you click on "Delete All Future Events", you will delete the iPhone's recurring calendar event.
Tips 3: Delete calendar events permanently?
In the above sections of the article, we learned how to delete events from Apple’s Calendar. It might seem easy to delete all calendar events on the iPhone since now you know how to do it properly, but we have a surprising fact to tell you. Even after you have removed an event from the iPhone’s calendar, it still might not be deleted permanently. With the help of a professional tech, people can recover the deleted event. This is where Dr.Fone comes into the picture.
About Dr.Fone - Data Eraser:
Dr.Fone is a data eraser app for iOS devices. This app helps to permanently delete any iOS data, so no other hacker, scammer, or professional tech can access it. This means you can save yourself from identity theft as it is an ongoing issue online.
Dr.Fone Data Eraser can delete any file type, so you don’t have to worry about it not supporting a certain file format. This is a powerful iOS data eraser tool because it offers many other useful functions. With Dr.Fone Data Eraser, you can be assured that your events from the iPhone’s calendar are deleted permanently.
Key Features:
- Dr.Fone – Data Eraser tool supports all file formats so you can easily delete your private messages, images, audio, video, calendar events, etc. It is also compatible with all iOS devices.
- It can also delete unnecessary data like system junk files and temp files, which speeds up the iPhone.
- This data eraser tool can compress photos losslessly to release the consumed space in the iPhone.
- Dr.Fone – Data Eraser can wipe any third-party app data, so your online privacy is not disrupted.
- You can preview and select before erasing, so you don't end up deleting an important file.
Step by Step Tutorial:
Here is a step-by-step guide to delete any data permanently from the iPhone with the help of Dr.Fone- Data Eraser (iOS):
Step 1: Launch Dr.Fone and Connect the iOS device to the PC
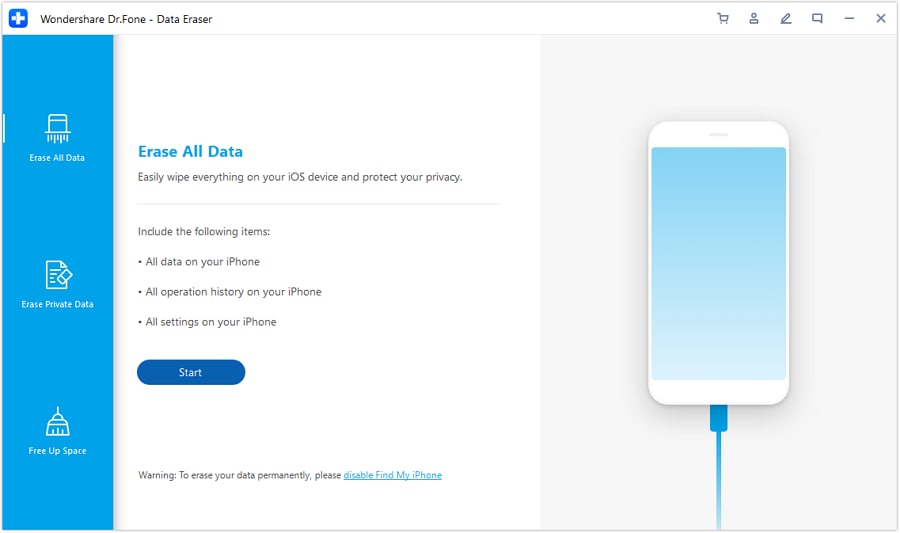
First and foremost, install and launch Dr.Fone on your PC. Select "Data Eraser" from the given options. Connect your iOS device to the PC with the help of the lightning connector. Click on "Trust" on your iOS device's screen so it can connect with the computer.

Once Dr. Fone recognizes your device, it will show 3 options mentioned in the image below. You should click on "Erase Private Data" displayed on the left side of the screen on your PC.
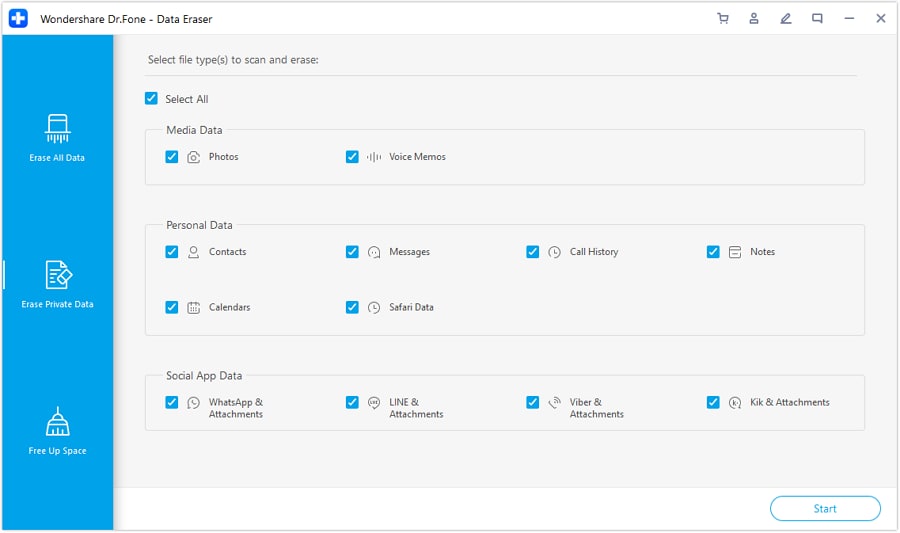
Step 2: Scan the Private Data
Scan the data on the iPhone first so you can proceed with deleting your private data. Tap on "Start" so the scanning process can begin. It will take some time to scan the whole data present on your iPhone. Once the scanning is over, you will see all the private data displayed on the PC's screen.
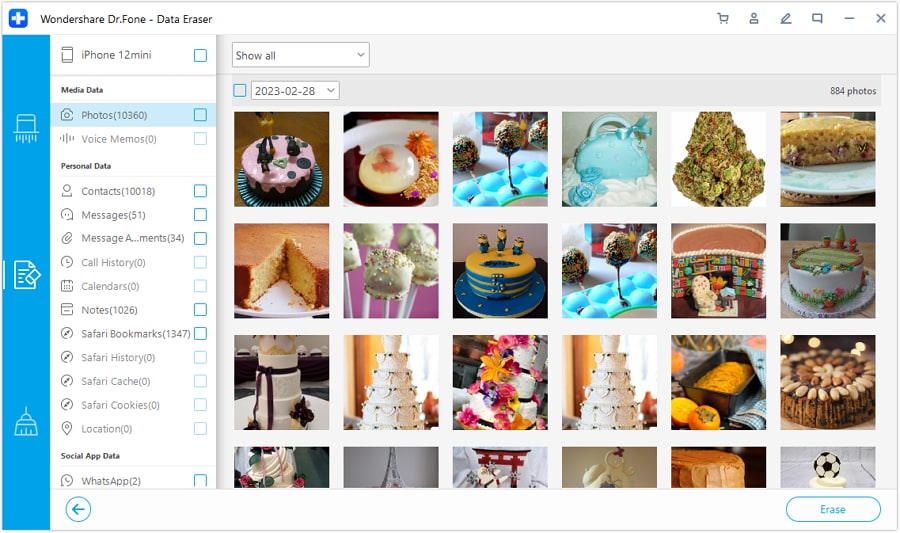
Step 3: Delete the Data Permanently
As shown in the image, you can view your iPhone's private data, like images, call history, messages, and other miscellaneous data on the computer. Select the data you want to delete and click on "Erase" to delete the file permanently.
Steps to Wipe the Deleted Data Permanently:
As we discussed earlier, even the deleted data from your iPhone can be recoverable, but Dr.Fone – Data Eraser allows you to permanently wipe the deleted data.
Step 4: Permanent Data Removal
Do this by clicking on the drop-down menu on top of the screen. Click on "Only show the deleted". Select all the records displayed and Tap on "Erase" to start the deletion process.

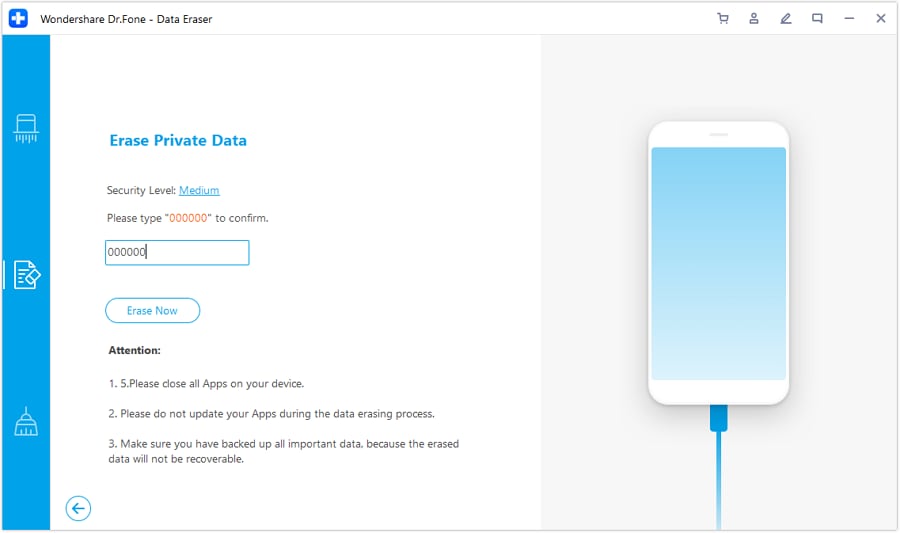
Step 5: Confirm your actions
To confirm, enter "000000" in the input box and click on "Erase Now". This process will take some time, and might even restart your iPhone a couple of times in between. So do not unplug your phone from the PC.
Note: It's important to know that you cannot access the data once Dr. Fone permanently deletes it. This is why you shouldn't be careless with this process.
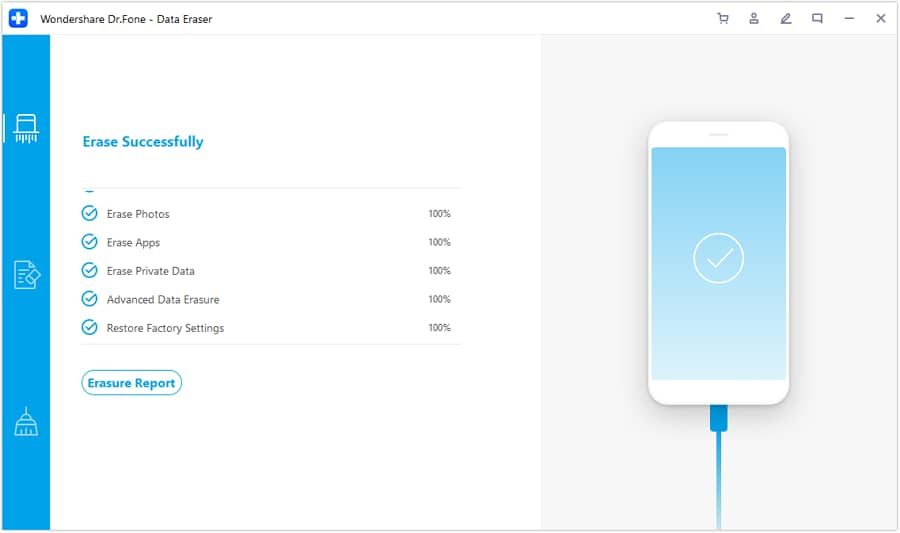
You will see something like this on the screen once the data erasing process is finished. With Dr.Fone – Data Eraser, you can be assured of a 100% permanent data eraser.
Conclusion
Removing an event from the iPhone calendar is not hard, but it is certainly tricky for many users. If you thought you could not delete calendar events on the iPhone device, we hope this article provided you with valuable tips and tricks.
If privacy is your main priority, and you have always found yourself worrying about somebody accessing your deleted files, then the recommended data eraser tool in this article might solve your problem. With Dr.Fone – Data Eraser, you can permanently delete any private data on your iPhone.


iPhone Erase
- Clear iPhone
- Delete iPhone
- 1. Delete Albums on iPhone
- 2. Delete Apps from iPhone
- 3. Delete Calendar Event on iPhone
- 4. Delete Documents on iPhone
- 5. Delete Email Account on iPhone
- 6. Delete Visited Sites on iPhone
- 7. Delete Music from iPhone
- 8. Delete Snapchat Messages on iPhone
- 9. Delete Songs from iCloud
- 10. Delete Voicemail on iPhone
- 11. Delete WhatsApp Message for Everyone
- 12. Delete WhatsApp Message Permanently
- 13. Delete Downloads on iPhone
- 14. Delete Calendars from iPhone
- 15. Delete History on iPhone
- 16. Delete Snapchat Story/History
- 17. Delete Call History on iPhone
- 18. Delete Kik on iPhone
- 19. WhatsApp Delete Message Tips
- 20. Anti Spyware for iPhone
- 21. Get Rid of Virus on iPhone
- 22. Delete Other Data on iPhone/iPad
- 23. Remove Subscribed Calendar iPhone
- Erase iPhone
- 1. Erase an iPhone without Apple ID
- 2. iPhone Data Erase Softwares
- 3. Remove Cydia from iPhone/iPad
- 4. Erase All Content and Settings
- 5. Erase Old iPhone
- 6. Erase iPhone 13 Data
- 7. Erase Data Old Device
- 8. Erase iPhone without Apple ID
- 9. Empty Trash on iPhone
- 10. Sell My Old iPhone
- 11. Sell A Used Phone
- 12. Safely Sell Used Phones
- 13. Apple Trade in Program
- iPhone Storage Full
- 1. iPhone Cleaners to Clean iPhone
- 2. Clean Master for iPhone
- 3. Clean Up iPhone
- 4. Free Up Storage on iPhone
- 5. Make iPhone Faster
- 6. Speed Up iPhone/iPad
- Wipe iPhone
- Sell Old iPhone
Alice MJ
staff Editor